Here’s a fun way to turn the side dish at your next meal into arts & crafts! Not only will this cooking project engage children’s artistic side, but you might just get them to try a new food, too.
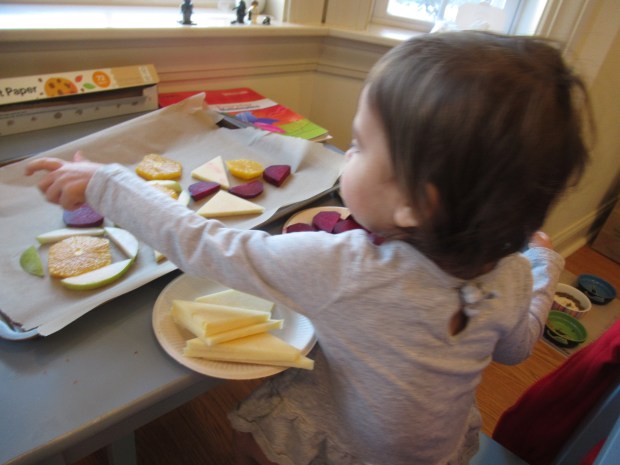
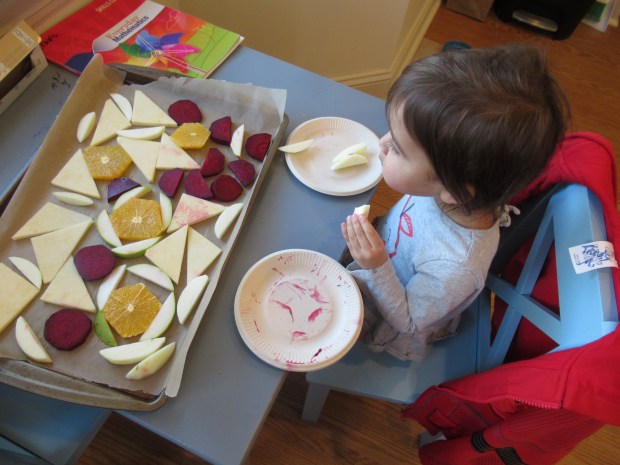
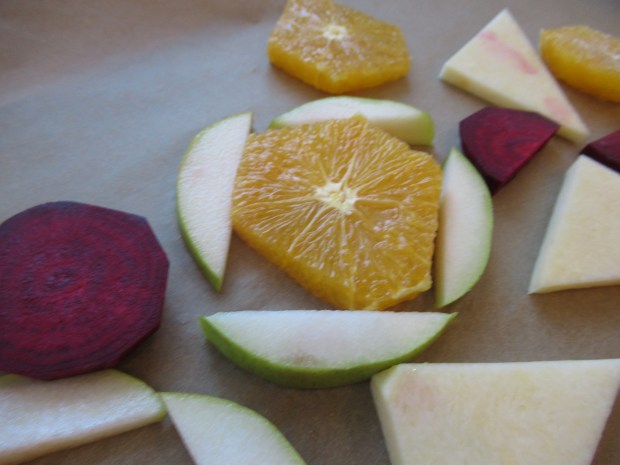
To start, I sliced a variety of veggies and fruits (yes, you can roast fruit), resulting in a hodgepodge of rutabaga, beets, apple, pear, and oranges. I tried to cut each item into different shapes, like triangular rutabaga pieces, semi-circle beets, circular orange slices, and apple wedges.

I then set everything out for Veronika alongside a baking sheet lined with parchment paper and encouraged her to arrange the items however she wanted. She looked so proud as she chose where to place each piece of food.

She especially loved the beets because they made her fingers pink!

I demonstrated how some of the items could be arranged almost like images from a kaleidoscope (oranges surrounded by apple wedges were pretty, for example), but mostly I left the design up to her. She talked about the shapes as she worked; meanwhile ‘rutabaga’ and ‘beets’ were new vocab for her and she quickly latched on to these new words.
When her design was finished, I drizzled with about 2 tablespoons olive oil and sprinkled with a dash of salt, then roasted at 400 degrees F for 30 minutes.

The resulting mix made a perfect side dish to a winter meal! You can try this with any number of root veggies or fruits, and see what combination your little artists like best.