Secret Flower Messages

Secret Flower Messages (3)

With Valentine’s Day just a few days away, roses are everywhere. Well, it turns out that roses are red, violets are blue… and roses can make acids look blue, too! Silly rhymes aside, this is a fantastic STEM lesson on acids and bases and pH indicators for elementary school kids.

To start, Travis needed to write a few secret messages. We filled one cup with a base solution (1 teaspoon of baking soda mixed with just a splash of water) and one cup with an acid (lemon juice).

Use a q-tip to write secret messages or pictures with each solution on plain white paper, making sure to use a separate q-tip for each. Let dry for at least 1 hour. Travis made a few designs his own, but I also left some secret hidden messages for him.

Secret Flower Messages (2)

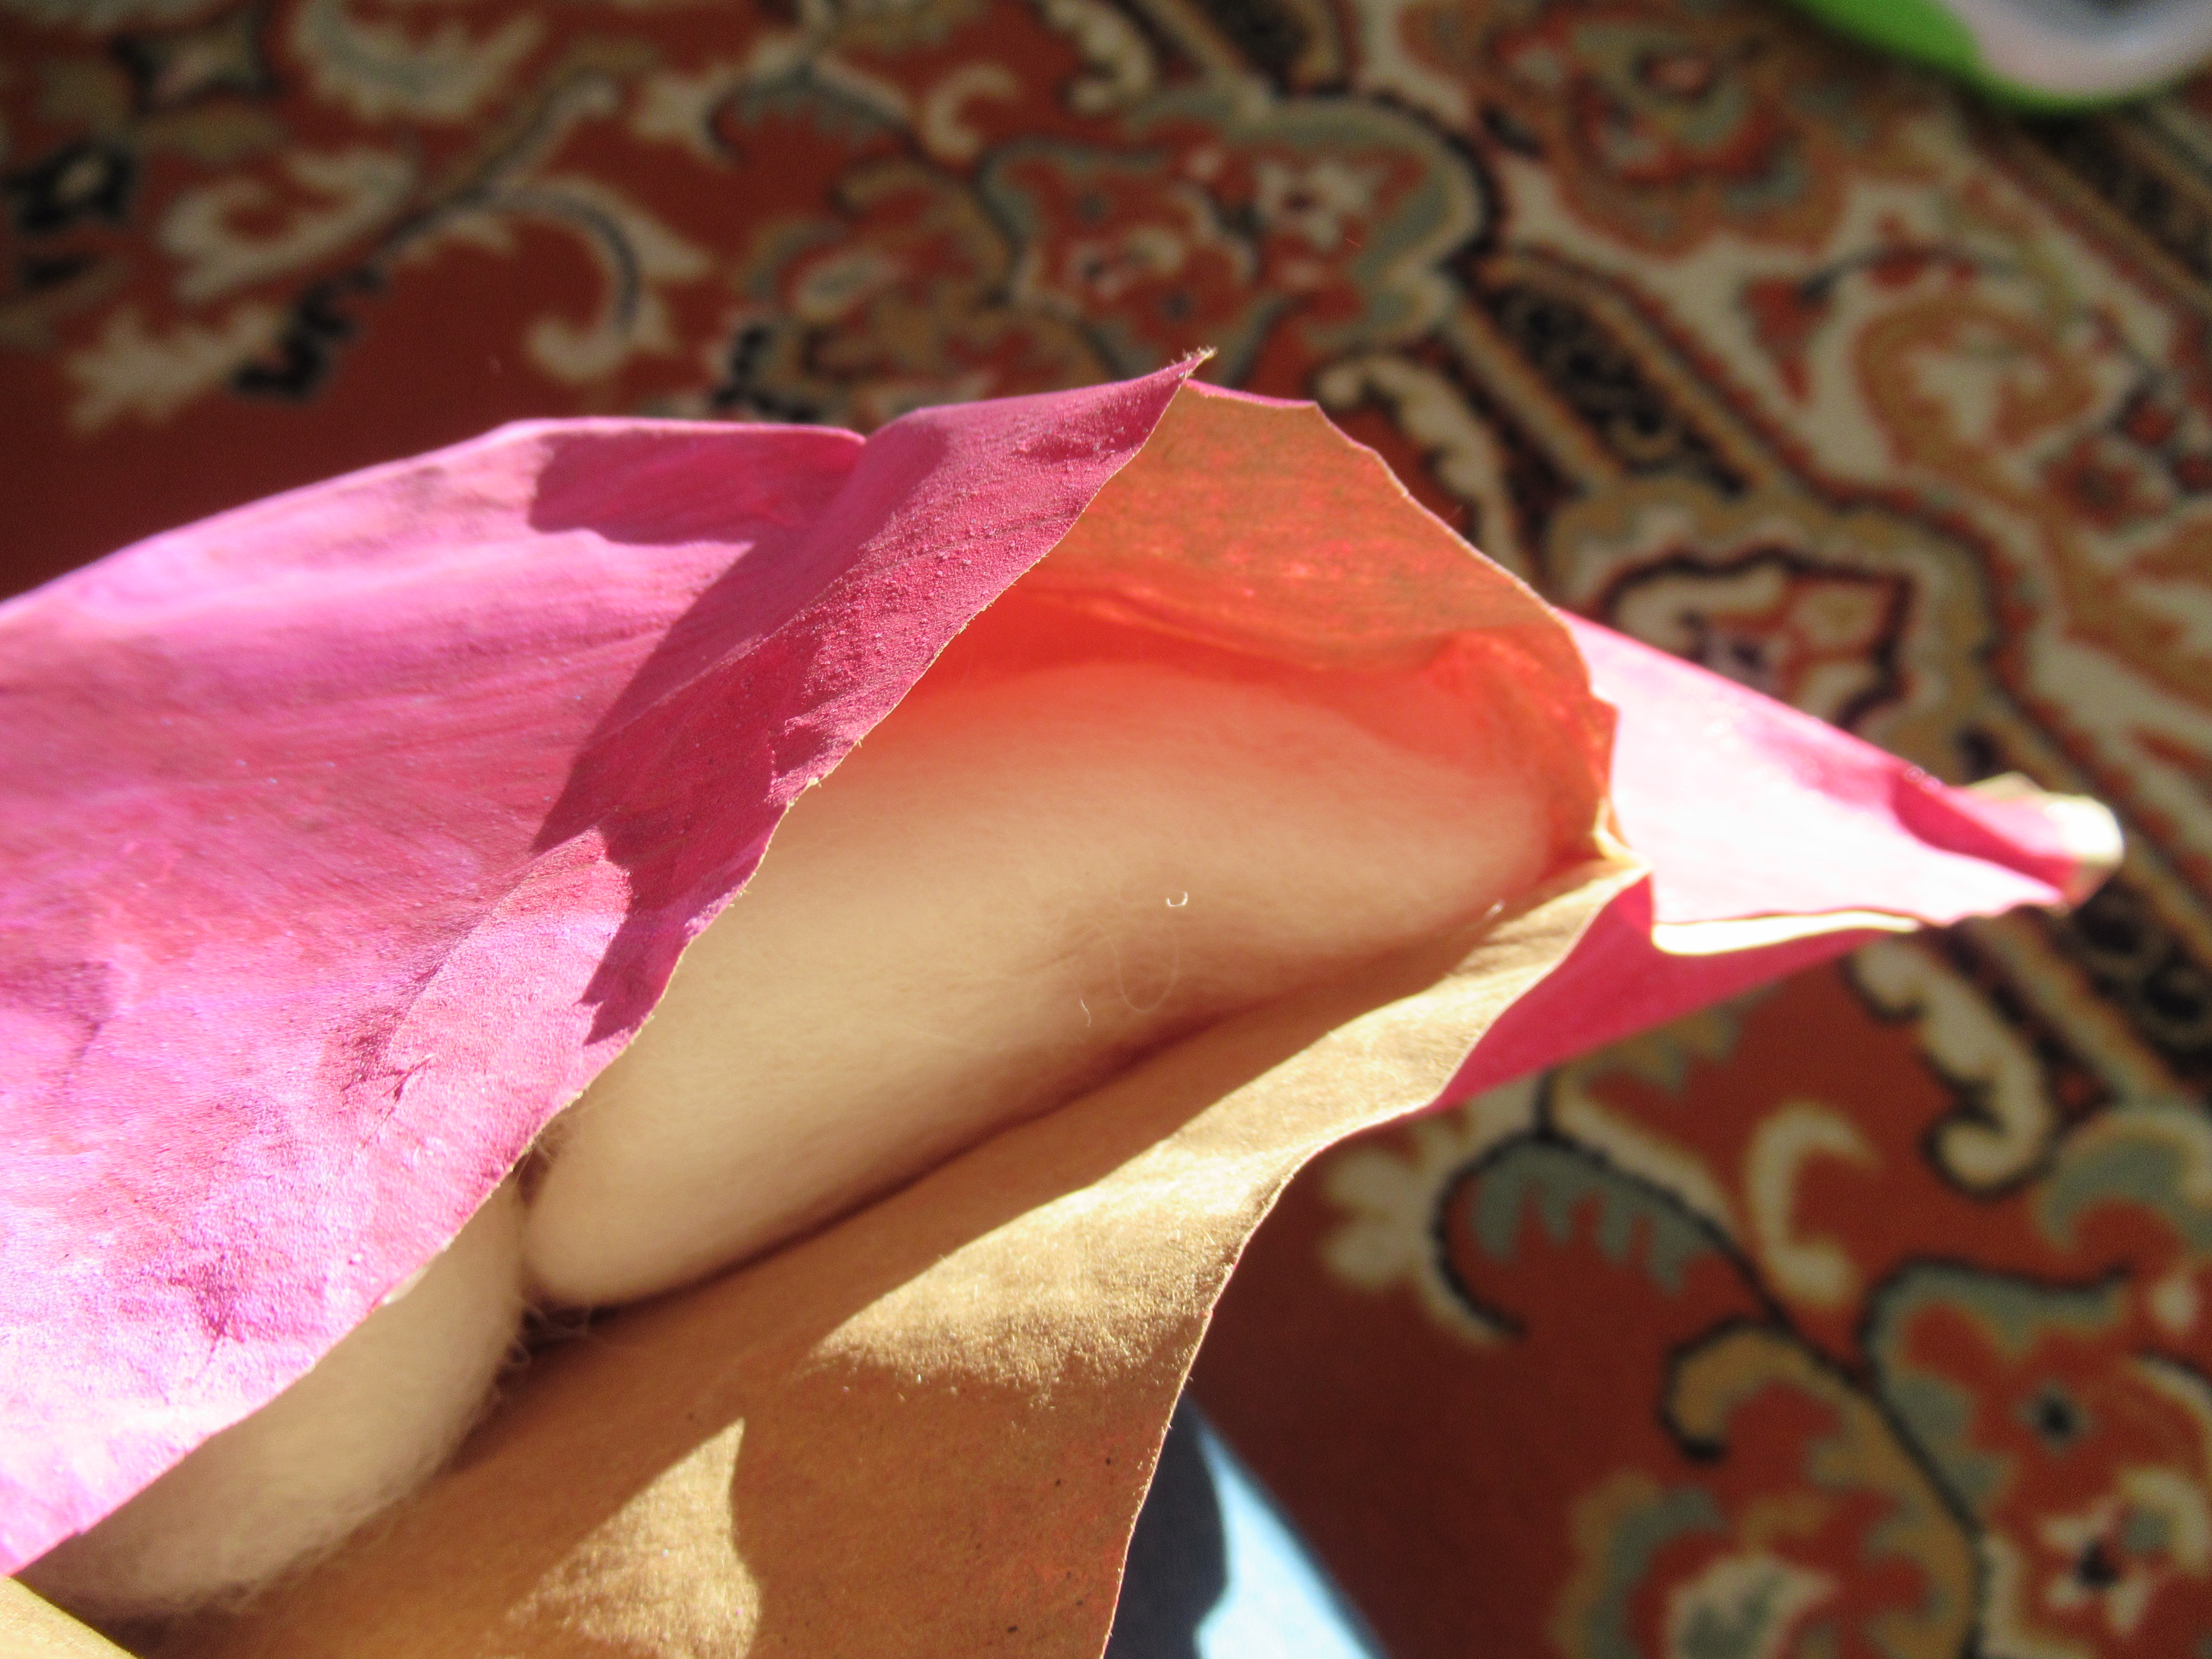
Now it was time to reveal those secrets! Travis rubbed a rose petal from our bouquet over the acid message I’d left behind to reveal this Valentine’s Day-themed word: love!

Secret Flower Messages (4)

Yup, the rose petals act as a pH indicator and truly will turn the acid a bright blue, such a neat reveal!

Unfortunately, we weren’t able to clearly see the messages we’d left behind in the base, so perhaps our baking soda mixture was too watery. I had hoped for him to reveal a smiley face.

Secret Flower Messages (5)


Advertisement

Stuffed Heart Pillow

Stuffed Heart (6)

We’ve been making lots of Valentine’s Day cards and crafts to send, but Veronika wanted something to be hers around the house! This “stuffie” heart was the perfect Valentine’s friend to keep.

First, I knew we’d need to cover a large area with paint so I laid down our roll of craft paper. I decided the easiest way for her to paint this would be simply to dollop paint all over the paper and let her smear it with a wide-bristle paintbrush.

Stuffed Heart (1)

We used three shades of red, pink, and purple, one of which was glittery, so it all combined into a nice mix.Stuffed Heart (3)

Once we had covered the paper, I set it upstairs to dry where little feet wouldn’t accidentally walk across it!

Later in the day, it was time to make the heart into a “stuffed animal”. I drew a heart shape on the paper and cut out, then traced it so we had two hearts. Use hot glue to attach these at the edges (so much easier than sewing!).

Stuffed Heart (4)

We used cotton roving for stuffing, but if you don’t have any roving, wadded up newspaper would probably work just fine.

Stuffed Heart (5)

I drew on a smiley face as the final touch.

Stuffed Heart (7)

It turns out Veronika wasn’t the only one smitten with this new stuffed friend. It brought an instant smile to big brother Travis’s face.

Stuffed Heart (8)

And needed a big hug, too!

Stuffed Heart (9)

Kids are sure to love this Valentine’s Day friend.


Wonder Wheel Valentines

Wonder Wheel Valentine (5)

These sweet Valentine’s (thanks Parents magazine!) are sure to give every one of your kid’s classmates an ego boost. No matter where the spinning arrow points, a compliment is waiting!

To start, trace a 3-inch round cookie cutter onto cardstock, making enough circles for each recipient. Next, trace additional circles on two different colors of cardstock (we used shades in the red and pink family). Divide each of these circles into 6 segments and cut out. You’ll need double the number of segments as you have classmates (so for Travis’s class of 15 kids, I needed 30 red segments and 30 pink segments).

Wonder Wheel Valentine (1)

Using a glue stick, attach these segments onto your base circles, alternating colors. Such a pretty tricolor effect!

Wonder Wheel Valentine (3)

Next, write in sweet and empowering messages on each wedge of the wheel. Older kids can take charge of this step, but I knew it would be overwhelming for Travis to do so much handwriting. Instead, I wrote 5 of the wedges for each card (with statements like “You’re Gr8!” or “Superstar!”) and left the final wedge blank for him to write in the classmate recipient’s name.

Wonder Wheel Valentine (4)

For the arrow spinner, I traced an arrow on a fourth color of cardstock, then traced and cut out 15 of them. Poke a brad fastener through the arrow and then through the center of the wheel, folding down to secure in place.

Wonder Wheel Valentine (2)

Give that wonder wheel a spin!

Wonder Wheel alt