Puffy Paint Hearts

puffy-paint-hearts-5

Say ‘I love you’ with this fun make-it-yourself paint. Children will love the puffy paint mixture, and a special adult will love receiving the final product, either as a card or stand-alone gift this holiday season!

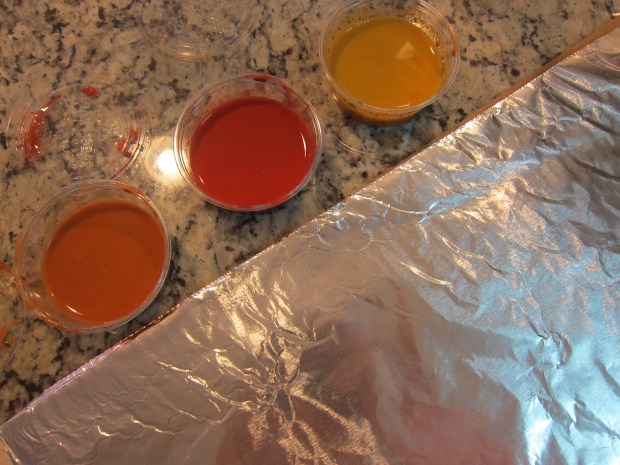
To make our puffy paint, we combined the following:

1/2 cup flour

1/2 cup salt

1/4 cup water

1/4 cup tempera paint

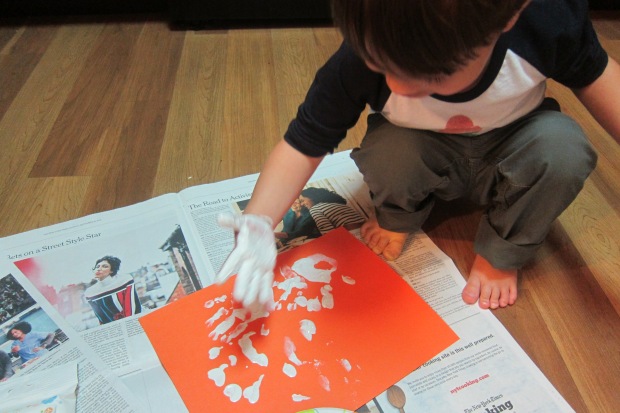
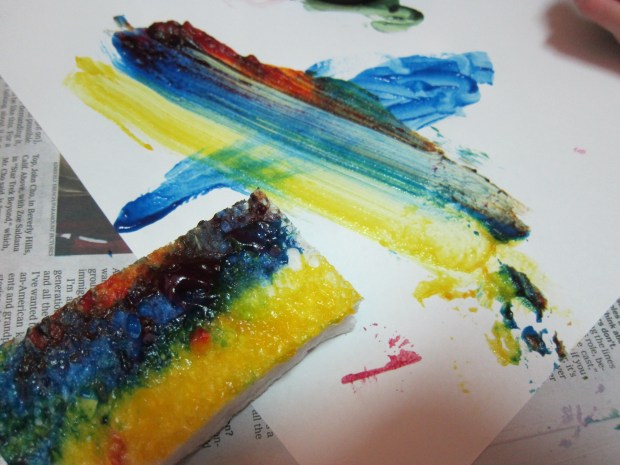
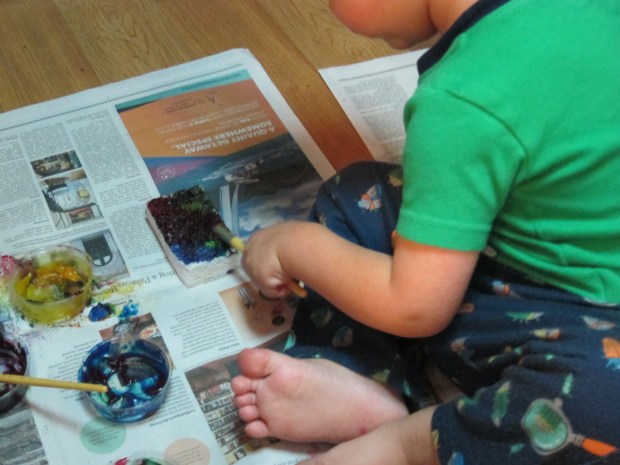
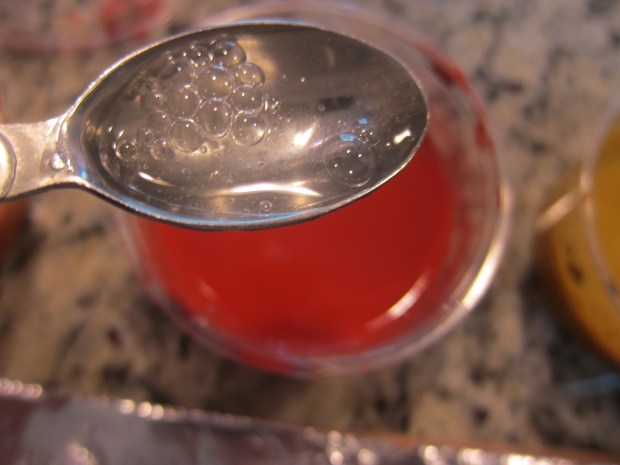
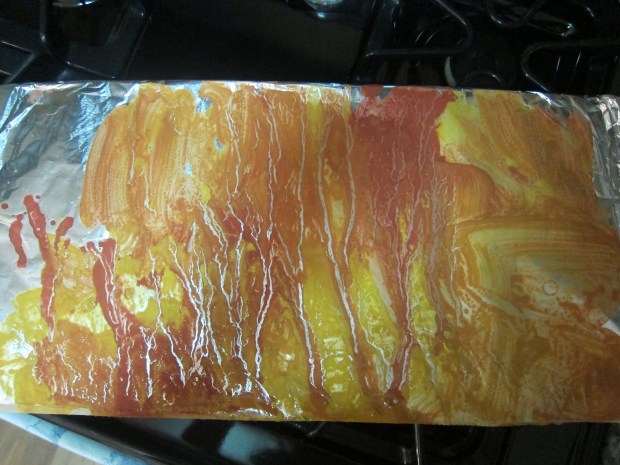
Travis had so much fun mixing the gloppy paint together that it took a while before I could direct his attention to the rest of the craft!

puffy-paint-hearts-2

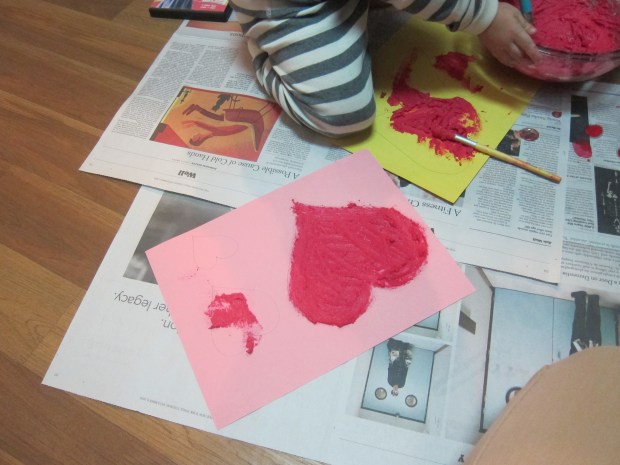
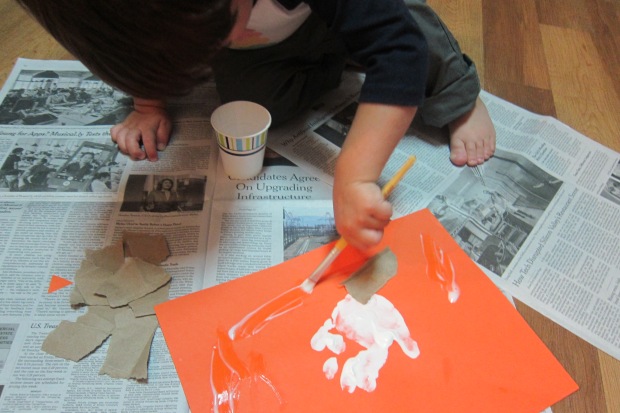
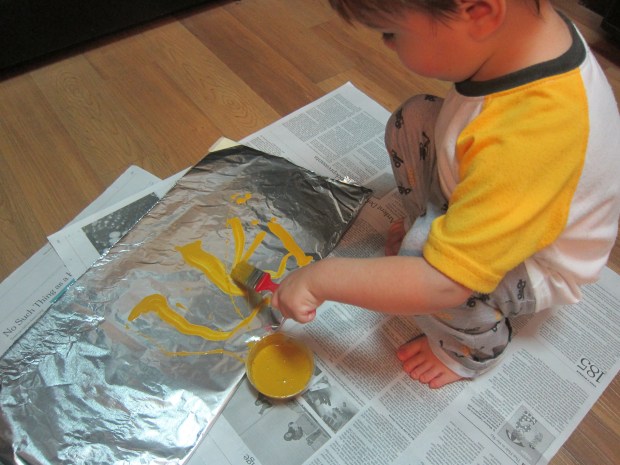
I outlined several hearts on paper with pencil for him, and let him fill in the shapes with his puffy paint.

puffy-paint-hearts-4

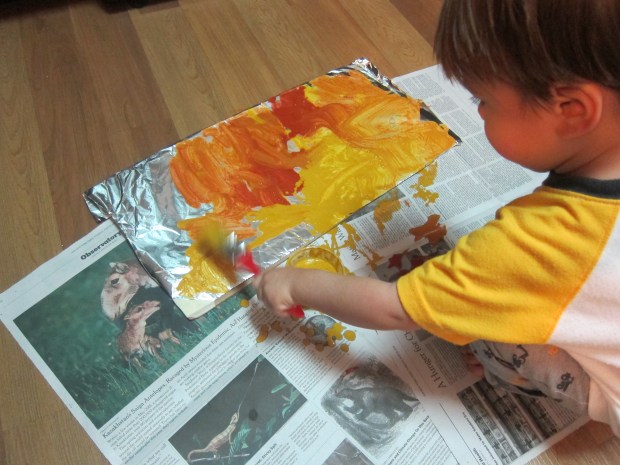
I also filled in one heart myself as an example, so he had a sense of what his final craft could look like, but don’t expect a toddler to get the heart exactly right!

puffy-paint-hearts-3


Autumn Painting

apple-prints-4

Prints are a great way to keep painting projects fresh and different for toddlers. At any time of year, items around the house (like toilet paper tubes and Duplo blocks!) make for fun print painting. Two very autumnal items lend themselves perfectly to this idea.

First, Travis and I tried apple prints. Cut an apple in half and remove the seeds, lightly drying the inside of the apple with a paper towel. This is also a great way to take about the fruit with your toddler, since the inside looks so different from the outside!

apple-prints-1

Dip the cut apple halves in paint and press onto paper for a neat, almost heart-shaped effect.

apple-prints-3

Next we tried corn rolling, using ears of beautiful dried corn from the farmers’ market. Travis loved the corn, carrying it all around the house, so I was surprised that when the time came to paint, he wasn’t interested.

corn-rolling-2

Aside from one brief roll, he had a very toddler moment wanting to dip his whole hand into the blue paint. So… you win some you lose some! On the other hand, he loved looking at the example I finished, proudly telling anyone who saw it that we made it with corn.

corn-rolling-4

What other fall items have you made prints with? Please share in the comments!

Spaghetti Monsters

spaghetti-monster-7

If ever there was a time for oopy goopy fun, Halloween is it! Travis is too young for classic Halloween gags like a bowlful of spaghetti “brains,” but it’s the perfect time to play with cooked spaghetti and make friendly “monsters” instead.

Present your child with a bowl of cooked and cooled spaghetti. Demonstrate how to take a handful of spaghetti, dip it in a shallow plate or pie tin filled with tempera paint, and then smear onto construction paper.

spaghetti-monster-2

I thought Travis might be hesitant to get so messy, but he dove right in! He had so much fun dipping the spaghetti in the paint that I had to remind him to transfer over to the paper on occasion.

spaghetti-monster-4

When the paint is dry, finish your friendly “monsters” with googly eyes and any other scraps you have on hand, like ribbon, yarn, or fabric.

spaghetti-monster-6

The silly looking monsters are a nice way to decorate with non-threatening creatures around the house, making sure the holiday isn’t too scary for little ones.

spaghetti-monster-8

Handprint Bird

handprint-bird-4

Your child’s hand can magically turn into a baby bird’s body and wings with the help of a little paint!

Travis’s favorite part of this craft by far was smooshing his whole hand in a plate full of white paint, and pressing it onto the paper.

handprint-bird-1

So that our craft would stay precise, I provided him with extra paper where he could make hand prints to his heart’s delight until the white paint was gone.

handprint-bird-2

We returned to the craft itself once the paint was dry, and now it was time for glue! Have your child help you rip up a brown paper bag into pieces, and then glue in an overlapping pattern to form the bird’s nest.

handprint-bird-3

You can then add a googly eye and triangular beak (which I cut from orange construction paper) to finish your bird. Because white-on-orange wasn’t the best color choice, I outlined our bird in order for Travis to see it better.

The handprint makes this particular craft keepsake worthy – you’ll marvel some day at those tiny fingers and thumb! It might make a beautiful gift to send to grandparents or other family members!

Rainbow Painting

Rainbow Painting (2)

We’ve enjoyed exploring rainbows recently, and I read about this neat painting method to continue our fun – perfect for little hands not yet ready to draw an arced rainbow line by line. It’s a little bit messy, but great fun!

Paint the colors of the rainbow in order on a clean sponge, making the paint quite thick. Preschoolers can paint the rainbow on themselves, but toddlers will no doubt need adult help. This craft was a great opportunity for us to try out our new Glob paints, another great vegan and all-natural option. When the powder is mixed with water, the paints were as globby as their name would suggest, with wonderfully vibrant colors, and a rich texture on paper whether we used sponges or regular paintbrushes.

Rainbow Painting (4)

Flip over the painted sponge, drag it across white construction paper or poster board, and you’ll create a perfect rainbow – wow!

Travis did rather quickly lose interest in the rainbow exploration, but thought painting the globby paint on the sponges was fantastic fun, so we continued that for a while. We had a good time seeing what other prints we could transfer from sponge to paper (I made this little flower for him to press down):

Rainbow Painting (8)

….painting on other color combinations of stripes:

Rainbow Painting (5)

… and just painting on the sponges!

Rainbow Painting (7)

Travis loved when his hand got messy in the process, too. “I have a rainbow on me!” he told me proudly. And then of course it was clean up time!

Rainbow Painting (6)

Rolling Wheels

Rolling Wheels (3)

I have yet to meet a little boy who didn’t love all things with wheels – buses, cars, trucks, bulldozers – you name it! So what better way to paint than to create “tire tracks” in your own home?

Tuck the paintbrushes aside for the day, and instead set a variety of small trucks and cars alongside paper plates or foil pie tins filled with a different paint colors. Black is an obvious choice, to make authentic-looking tire tracks, but we had fun with green and orange paint too. Sturdy construction paper or poster board are good for this project.

Rolling Wheels (1)

Travis loved dipping his cars in the paint, and seemed surprised every time he saw the resulting color on the page, after giving a vroom. “It’s green!” he would declare with delight.

Rolling Wheels (4)

For variety, try using cars with wheels of varying thickness. A Brio train made nice big tracks.

Rolling Wheels (5)

When we were cleaning up, Travis invented a new method of painting: he dipped a wet wipe in the paint trays and rubbed all over the newspaper we had layered on the floor – quelle artiste!

Rolling Wheels (6)

Cloud Blobs

Cloud Blobs (4)

This simple art project was a fun way to introduce Travis to the idea of cloud-watching, and is also great for sparking imagination.

Use any dark-colored construction paper as the background, since you’ll be using white paint. I chose blue and black so we could have clouds in both a “daytime” and “nighttime” sky.

Have your toddler dip a spoon into the white paint, and drizzle in the middle of the paper. Travis was very into the novelty of using a spoon instead of a brush, and needed to cover a few more sheets of paper once we’d completed the project itself.

Cloud  Blobs (1)

Fold the construction paper in half and smooth down, then open back up again – you’ll have a “cloud” blob of white paint. Encourage your child to tell you what he or she sees in the image. I joked that this was a little like a toddler Rorschach test!

Cloud Blobs (3)

To wit, I thought our cloud on blue paper looked like a bee, but Travis told me he saw an octopus. If you like, have your toddler use white crayons (or other colors) to embellish the paintings, but Travis mostly lost interest at that point.

Cloud Blobs (5)

To end the fun, we took a trip outside to look at real clouds, and I encouraged him to spot shapes in the sky as well. Overall, a nice introduction to the wonderful art of cloud-watching!

Cloud Blobs (2)

Fireworks Circle Prints

CIrcle Prints (5)

This easy art project is a fun way to talk about a specific shape. Travis and I used circles, but if you’d rather focus on squares, triangles, or any other shape, it lends itself perfectly!

For the circle version, seek out a variety of round items in your home that you can dip into paint – jar lids and small (washable) circular toys work well.

Circle Prints (1)

Fill pie tins or paper plates with paint in two or more colors, and show your child how to press the circular objects in the paint and then onto the paper. Travis quickly picked up on the fact that we were making only circles, and had fun playing with the different sizes and making small circles inside larger ones.

Circle Prints (2)

Although we used purple and red paint for this project, the purple was so deep it dried nearly blue. When Travis had finished, I realized the resulting, overlapping circles looked like fireworks bursting in air!

Circle Prints (4)

It turned out to be very appropriate for so soon before the Fourth of  July, and will hang on the fridge in celebration for the next week or so.

Make a Shiny Picture

Shiny Painting (4)

This idea came to us care of High Five magazine – the younger sibling of the well-known Highlights (Travis has just “graduated” from his subscription to Hello, the very youngest magazine aimed at ages 0-2!). The shiny background plus paints in the hot color trio of red, orange, and yellow make it the ideal art project for a scorching summer day.

Set out plastic cups with red, orange, and yellow paint. Tape a piece of aluminum foil to cardboard for a sturdy work surface.

Shiny Painting (1)

Add 1 teaspoon dish detergent to each paint cup, stirring to combine – the soap helps make the paints extra shiny!

Shiny Painting (2)

Now set your child up with paintbrushes and the paint cups, and the rest is up to them! I told Travis he was painting the hot colors of the sun on his shiny canvas, which he was very into.

Shiny Painting (3)

I was particularly proud because this is the first painting project of ours in which I literally didn’t put down a drop of paint, not even one swipe as an example to get him started. Every single brush stroke was Travis’ own. He was so absorbed in his work, and clearly very carefully using the brushes in different ways – long strokes, short taps, running the colors together, etc.

Shiny Painting (5)

Without meaning to, I set the painting on a slight tilt to dry; the angle created tiny rivulets that I thought made it look even more like the sun! My husband loved the result so much he wants to frame it for our apartment. Thanks High Five!

Shiny Painting (6)


Sticker Surprise

Sticker Surprise (6)

Travis is under the weather, so needless to say we had a very quiet, snuggly day. The happiest and most alert he was all day, though, was when I suggested sticker play – he can’t get enough of his shape stickers! I decided to make things even more interesting with this painting “surprise.”

Sticker Surprise (1)

Encourage your toddler to arrange stickers (big ones in interesting shapes work best) however he or she would like on a piece of construction paper.

Sticker Surprise (2)

Next, let your child paint over the entire paper – stickers included! – with tempera paint. This was our first opportunity to test out the non-toxic tempera paints from Natural Earth Paint and they worked wonderfully! (Note: The paint is available in both vegan or milk-based versions).

Sticker Surprise (3)

Travis chose purple and green and loved that his stickers were now “hiding.”

Sticker Surprise (4)

Unfortunately by the time the paint dried and I did the big reveal – peeling off the stickers to show the shapes left behind – Travis was feeling even crummier. I hung our craft on the fridge, and hopefully he’ll look back on it in a day or two to remember the fun he had putting it together!

Sticker Surprise (5)

Now it’s time for more toddler snuggles.