Rainbow Shape Mobile

Rainbow Mobile (9)

Travis has been a big helper decorating our new home, and this project was a fantastic way to continue recent projects where we talked about exact rainbow order. It’s also a great review of shapes before he steps into pre-k in a few weeks!

Sorry grown-ups, but this one’s a little labor-intensive on your part at the front end. Using construction paper in all the colors of the rainbow, I cut out a square, rectangle, triangle, and circle from each.

Rainbow Mobile (1)

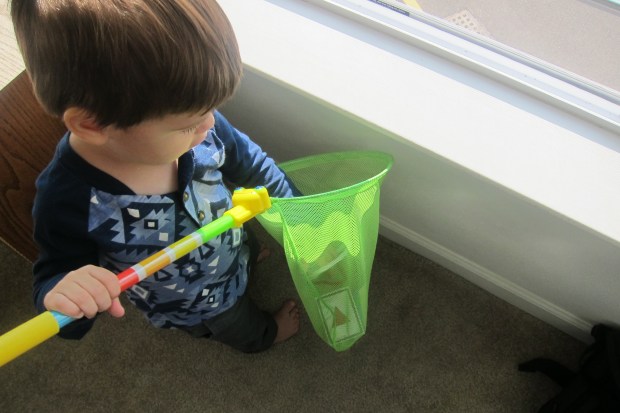
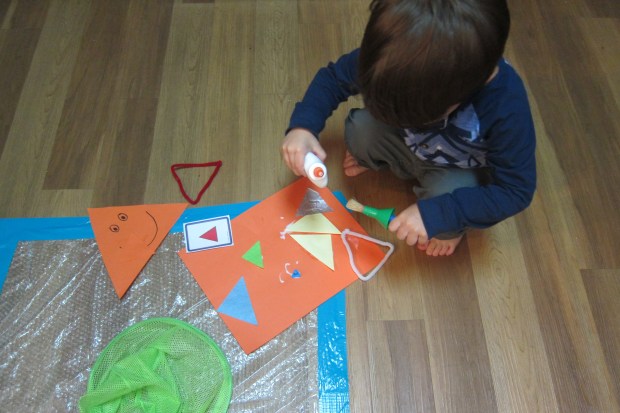
While I was busy cutting, Travis got in some practice with safety scissors:

Rainbow Mobile (2)

Your child might also like to try tracing or drawing shapes of his or her own as you work.

Once the shapes were ready, we needed to sort! Travis has been very into sorting lately, so loved helping separate the pieces into four piles by shape.

Rainbow Mobile (3)

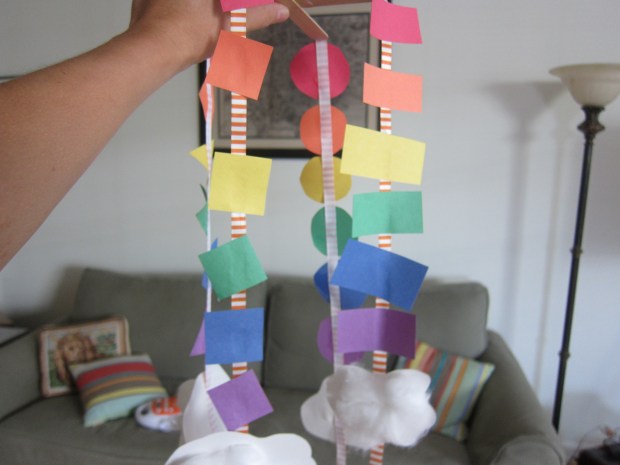
For each group, we snipped a long ribbon and then glued the pieces on in rainbow order, singing the order of the colors as we went: “Red, Orange, Yellow, Green, Blue, Purple, Makes a Rainbow.” (My apologies to indigo and violet).

Rainbow Mobile (4)

When we had finished with the rectangles, Travis excitedly asked, “Are we going to do another one??” He chose triangles next, and so on until all our shapes were glued.

Rainbow Mobile (5)

This project was gorgeous even while drying on the counter!

Rainbow Mobile (8)

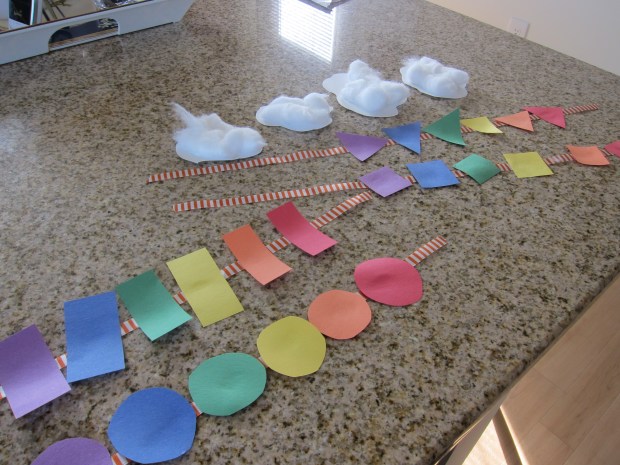
While the shapes dried, we made the finishing touch – white cloud shapes with puffy cotton balls glued on. We added these below the purple shapes on our ribbons.

Rainbow Mobile (6)

To assemble your mobile, glue two jumbo craft sticks together at the middle. Note: You can have your child color on the craft sticks with marker if they’d like to, but since this part of the mobile will hang up on the ceiling, it’s not necessary.

Rainbow Mobile (7)

Glue one strand of shapes onto each of the four craft stick ends, then use a length of yarn or ribbon to suspend your mobile.

Rainbow Mobile (10)

You’ll have a rainbow to cheer you every day in your home, whether you’ve just moved in or have been there for years!

Rainbow Mobile (11)


Halloween Tote

koala halloween (4).JPG

Instead of purchasing a bag for all the upcoming Halloween loot, engage your child’s creativity and have them decorate their own tote! We got ours care of Koala Crate, but you can easily buy a blank canvas bag and cut shapes from felt to adhere.

Although our kit came with suggestions for animal faces, Travis had other plans. He dove right in, telling me which shape he was holding and assembling into an ever-intricate design.

koala-halloween-1

He had so much fun that I simply sat back and let him decorate. On the reverse side, I added a face with the leftover stickers, something sort of resembling an owl!

koala-halloween-3

It will be Travis’ first Halloween going door-to-door, so I hope this tote helps create special memories.

koala-halloween-2

Triangle Fun

triangles-5

Travis is great now at recognizing basic shapes, so I wanted to take things up a notch; what is it that makes a triangle a triangle, aside from simple visual recognition?

We started our play with a very cute rhyme, care of 365 Toddler Activities That Inspire Creativity, and introduced “Tommy Triangle.”

triangles-4

Tommy Triangle is the name for me

Count my sides: one, two, three

It seemed a little silly to me, but Travis loved Tommy, carrying him around for the next couple days, and wanting him to hang on our fridge when not in use. The “one-two-three” rhyme was really helpful for learning. I’d ask Travis to count Tommy’s sides, and he kept wanting to go by rote up to 5. Soon it dawned on him that he needed to stop at 3, and that each number corresponded to a side of “Tommy.”

To continue the fun, I hid triangles in various materials (paper, felt, pipe cleaners) around the house, and Travis “captured” them in a net.

triangles-3

Don’t stop there – photos and paintings around the house are great places to look for “hidden” triangles, so lift your toddler up and go exploring!

Finally, we put all of our triangle finds into a collage, which he loved gluing down.

triangles-1

You could focus on just about any shape with these games, making up different rhymes and characters for circles, squares, or other familiar shapes.

Fireworks Circle Prints

CIrcle Prints (5)

This easy art project is a fun way to talk about a specific shape. Travis and I used circles, but if you’d rather focus on squares, triangles, or any other shape, it lends itself perfectly!

For the circle version, seek out a variety of round items in your home that you can dip into paint – jar lids and small (washable) circular toys work well.

Circle Prints (1)

Fill pie tins or paper plates with paint in two or more colors, and show your child how to press the circular objects in the paint and then onto the paper. Travis quickly picked up on the fact that we were making only circles, and had fun playing with the different sizes and making small circles inside larger ones.

Circle Prints (2)

Although we used purple and red paint for this project, the purple was so deep it dried nearly blue. When Travis had finished, I realized the resulting, overlapping circles looked like fireworks bursting in air!

Circle Prints (4)

It turned out to be very appropriate for so soon before the Fourth of  July, and will hang on the fridge in celebration for the next week or so.