Glowing Planets

Glowing Planets (6).JPG

One of the bonuses about winter’s early sunsets is that even little kids are awake to see the stars and planets. Travis and I talked recently about what it is that makes planets glow; they don’t make their own light the same way stars do, of course, but they do reflect the light of the Sun and thus give off a glow – sometimes the brightest one in the sky!

We came in to make our own glowing planets, thanks to a few simple materials.

glowing planets (1)

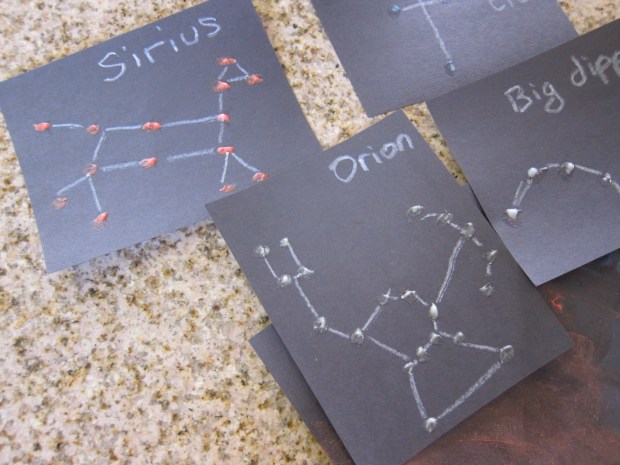
First, I asked which planets Travis wanted to make, and for each, we brainstormed a little diagram of what he knew about it. Earth, for example, would appear blue and green from space, and has oceans and continents.

glowing planets (2)

Saturn was made of gases, has rings, and is colder than Earth.

glowing planets (4)

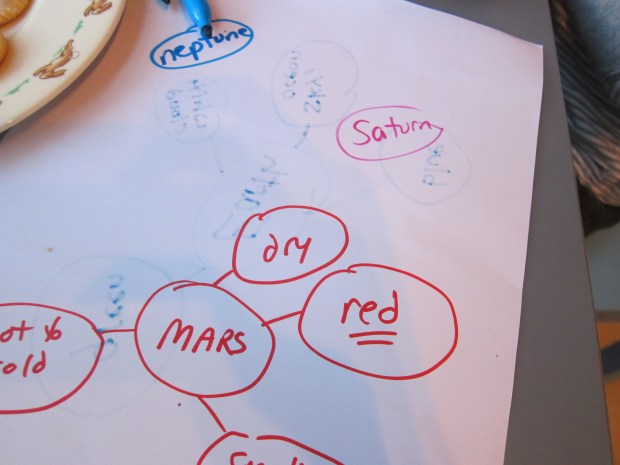
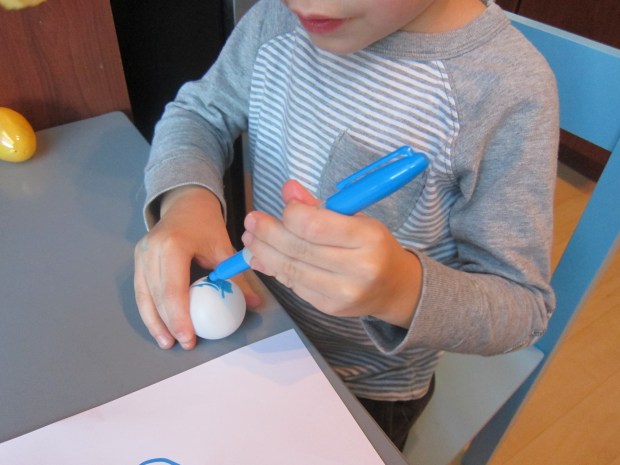
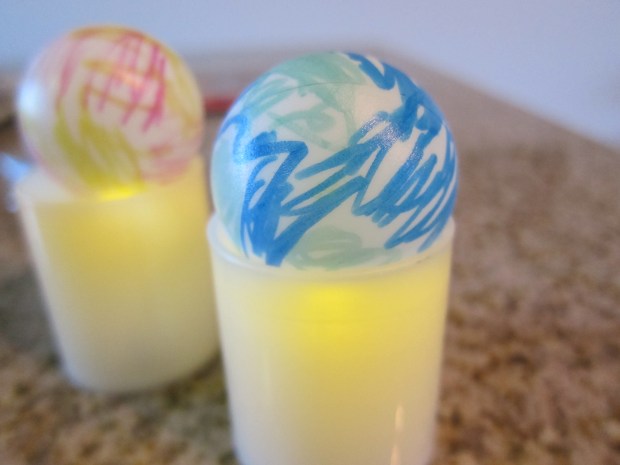
We finished out diagrams for Earth, Mars, Saturn, and Neptune (the four that Travis picked) and colored four golf balls accordingly. Travis loved making Mars bright red! Use permanent marker for the best results.

glowing planets (3)

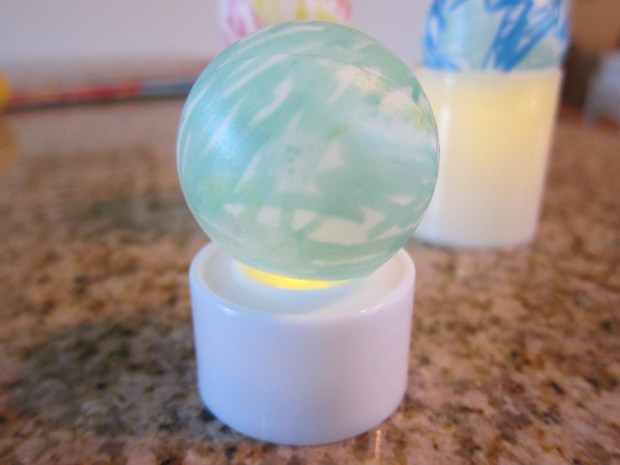
Now make a slit in the bottom of each ball with an X-acto knife (grown-up step), and place over the flame of a tea light.

glowing planets (5)

We found that small tea lights worked better than tall ones, even though we had more of the latter.

glowing planets (8)

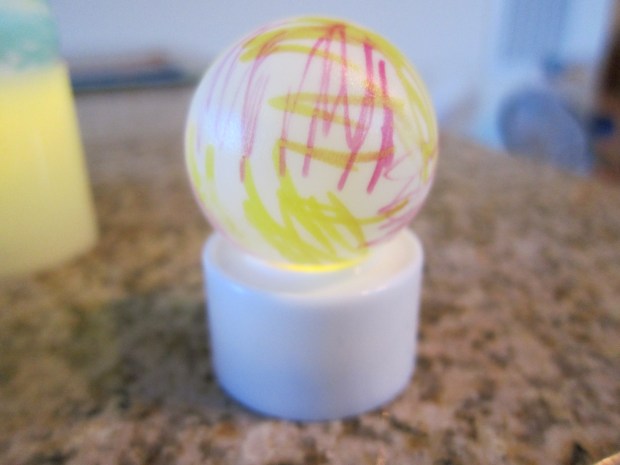
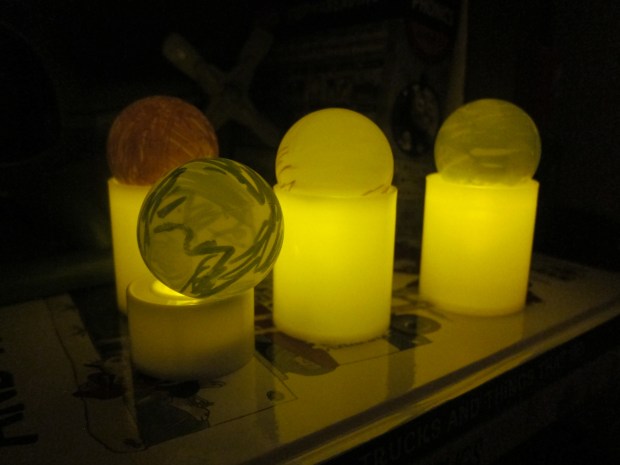
Now your planets glow just like the ones in the sky! These were especially fun in the bedroom at night.

glowing planets (9)

Glow-in-the-Dark Constellation Cards

Constellation Cards (6).JPG

This project is such a neat update on simply sticking glow-in-the-dark stars on your child’s wall or ceiling as décor. Turn it into a mini astrology lesson – as well as an art project! – and you have homemade constellations.

First, we needed to find images of constellations as inspiration. I’m no artist, so relied heavily on the ones we found in our Usborne Book Big Book of Stars and Planets.

Constellation Cards (1)

Set out dark paper and glow-in-the-dark paint and recreate the star patterns. Older kids can draw the outlines and stars themselves. Younger kids may be happier filling in the dots if you draw circles where the stars go first.

Constellation Cards (3)

In fact, Travis was happy painting his own invented “constellation” while I did the more meticulous detail of recreating what was in the book – just fine for a three year old!

Constellation Cards (4)

A couple pointers: If you have dark cardstock instead of construction paper, use that. The paint will show up better. If you’re relegated to porous construction paper like we were, make sure your star dots are quite thick, or the paint won’t show up once it’s lights out.

Constellation Cards (2)

We let the paint dry, then I connected the stars with white crayon. I added the name of each constellation in crayon as well.

Constellation Cards (5)

Note: If you prefer, you can also paint the lines between stars with glow-in-the-dark paint, but I liked the idea that Travis would see just the stars in the dark, and the constellation lines by day.

Next up was mounting the cards on the ceiling – uh oh, could mama reach that high? Thanks to a stool, she could! I positioned them directly above the lamp in Travis’s bedroom so they could “charge.”

Constellation Cards (7)

At lights out, we saw the best starry night sky! My camera could barely capture it, but do you see the glow?

Constellation Cards (8)