Candy-Less Canes

Candy Less Canes (2)

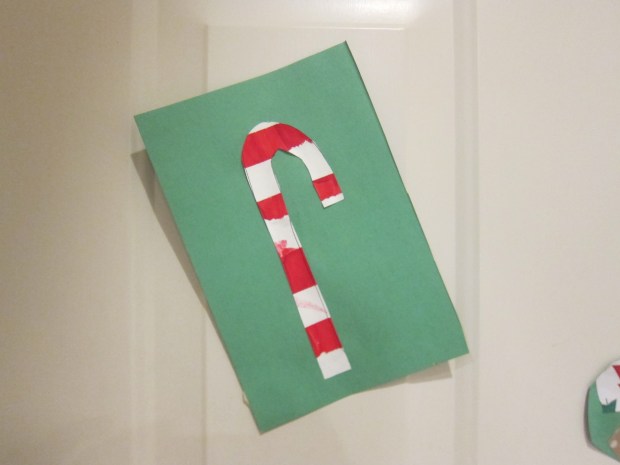
Confession: we’ve probably eaten way too many sugary candy canes this holiday season. So it was time to put a healthier spin on this favorite holiday treat!

Over two afternoons, we had fun making faux candy canes with red-and-white foods. First up was a fruit version. I sliced strawberries and bananas and set them on a cutting board, then challenged Travis to arrange them like a candy cane (or as Veronika calls it, a “minty”).

Candy Less Canes (1)

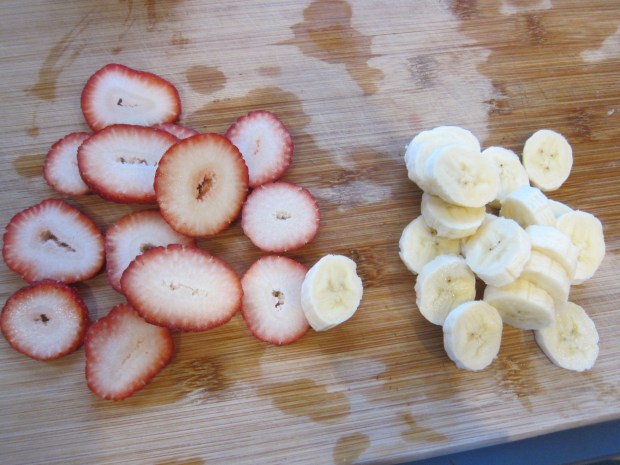
He quickly got the hang of it, and then both kids loved devouring this trompe l’oiel snack.

Candy Less Canes (3)

Needless to say, the red stripes (a.k.a. strawberries) didn’t last long.

Candy Less Canes (4)

The next day it was time for a savory spin on the treat! This time I set out piles of sliced tomato and vegan feta cheese. Travis again quickly figured out how to line them up like candy cane stripes.

Candyles Canes (6)

And the kids quickly polished it off for a snack! What foods would you use for a pretend candy cane? Please share in the comments!

Tape Resist Candy Cane Painting

Tape Resist Candy Cane (7)

Tape resist is a great art method for toddlers because they get to make a mess but still wind up with a recognizable image or picture. This candy cane version is just right around the holidays!

I first placed horizontal strips of masking tape on white construction paper, then squirted generous blobs of red fingerpaint all over it. I was glad we did this in a craft tray, because it definitely got messy.

Tape Resist Candy Cane (1)

All Veronika had to do now was smear! She quickly decided she wanted to use yellow paint instead, so I let her play with that on the side and finished off the red version, making sure to wipe off excess paint.

Tape Resist Candy Cane (3)

Immediately peel off the strips of tape, then let the paint dry completely. “Look what I made!” Veronika proudly said when she spotted it drying on the table.

Tape Resist Candy Cane (4)

Once dry, I cut the paper into candy cane shapes and glued them against a green paper backdrop. You can hang these from a door if you attach a loop of ribbon, or simply tape to a wall as holiday decor.

Tape Resist Candy Cane (6)

No one will believe your toddler can make such straight lines, but they can!

Melted Candy Cane Ornaments

Candy Cane Ornaments alt

Caution: these pretty ornaments are fragile, so they might not last beyond one holiday season. But the fun of making them is worth it!

Line a baking sheet with parchment paper, and spray with cooking spray. Select which shapes you want your ornaments to be from among Christmas-themed cookie cutters and coat those with cooking spray as well before setting on the parchment.

Break mini candy canes into smaller pieces to fill the cookie cutters in an even layer. Look at my littlest kitchen elf!

Candy Cane Ornaments (1)

Bake at 350 degrees F for 6 minutes, just until the candy canes are melted.

Candy Cane Ornaments (2)

Remove from the oven and let stand for 2 minutes, then use a skewer to poke a hole near the top of each ornament.

Candy Cane Ornaments (3)

This was the trickiest part, as the candy canes need to be cooled enough not to run right back over the hole, but not so firm that cooled strands stick to the skewer. I confess we broke a few of our ornaments at this stage!

Candy Cane Ornaments (4)

Let stand an additional 5 minutes, then remove the cookie cutters.

Candy Cane Ornaments (5)

Thread twine or cord through each hole and tie into a loop before hanging from your Christmas tree.

Candy Cane Ornaments var

And yes, that’s a Darth Vader candy cane ornament you see!