Cinnamon Drawings

Cinnamon Drawings (8)

If there’s one scent that evokes Christmas in our home, than cinnamon is it. Here’s a fantastic sensory project that allows toddlers to take in one of the best smells of the season while making art!

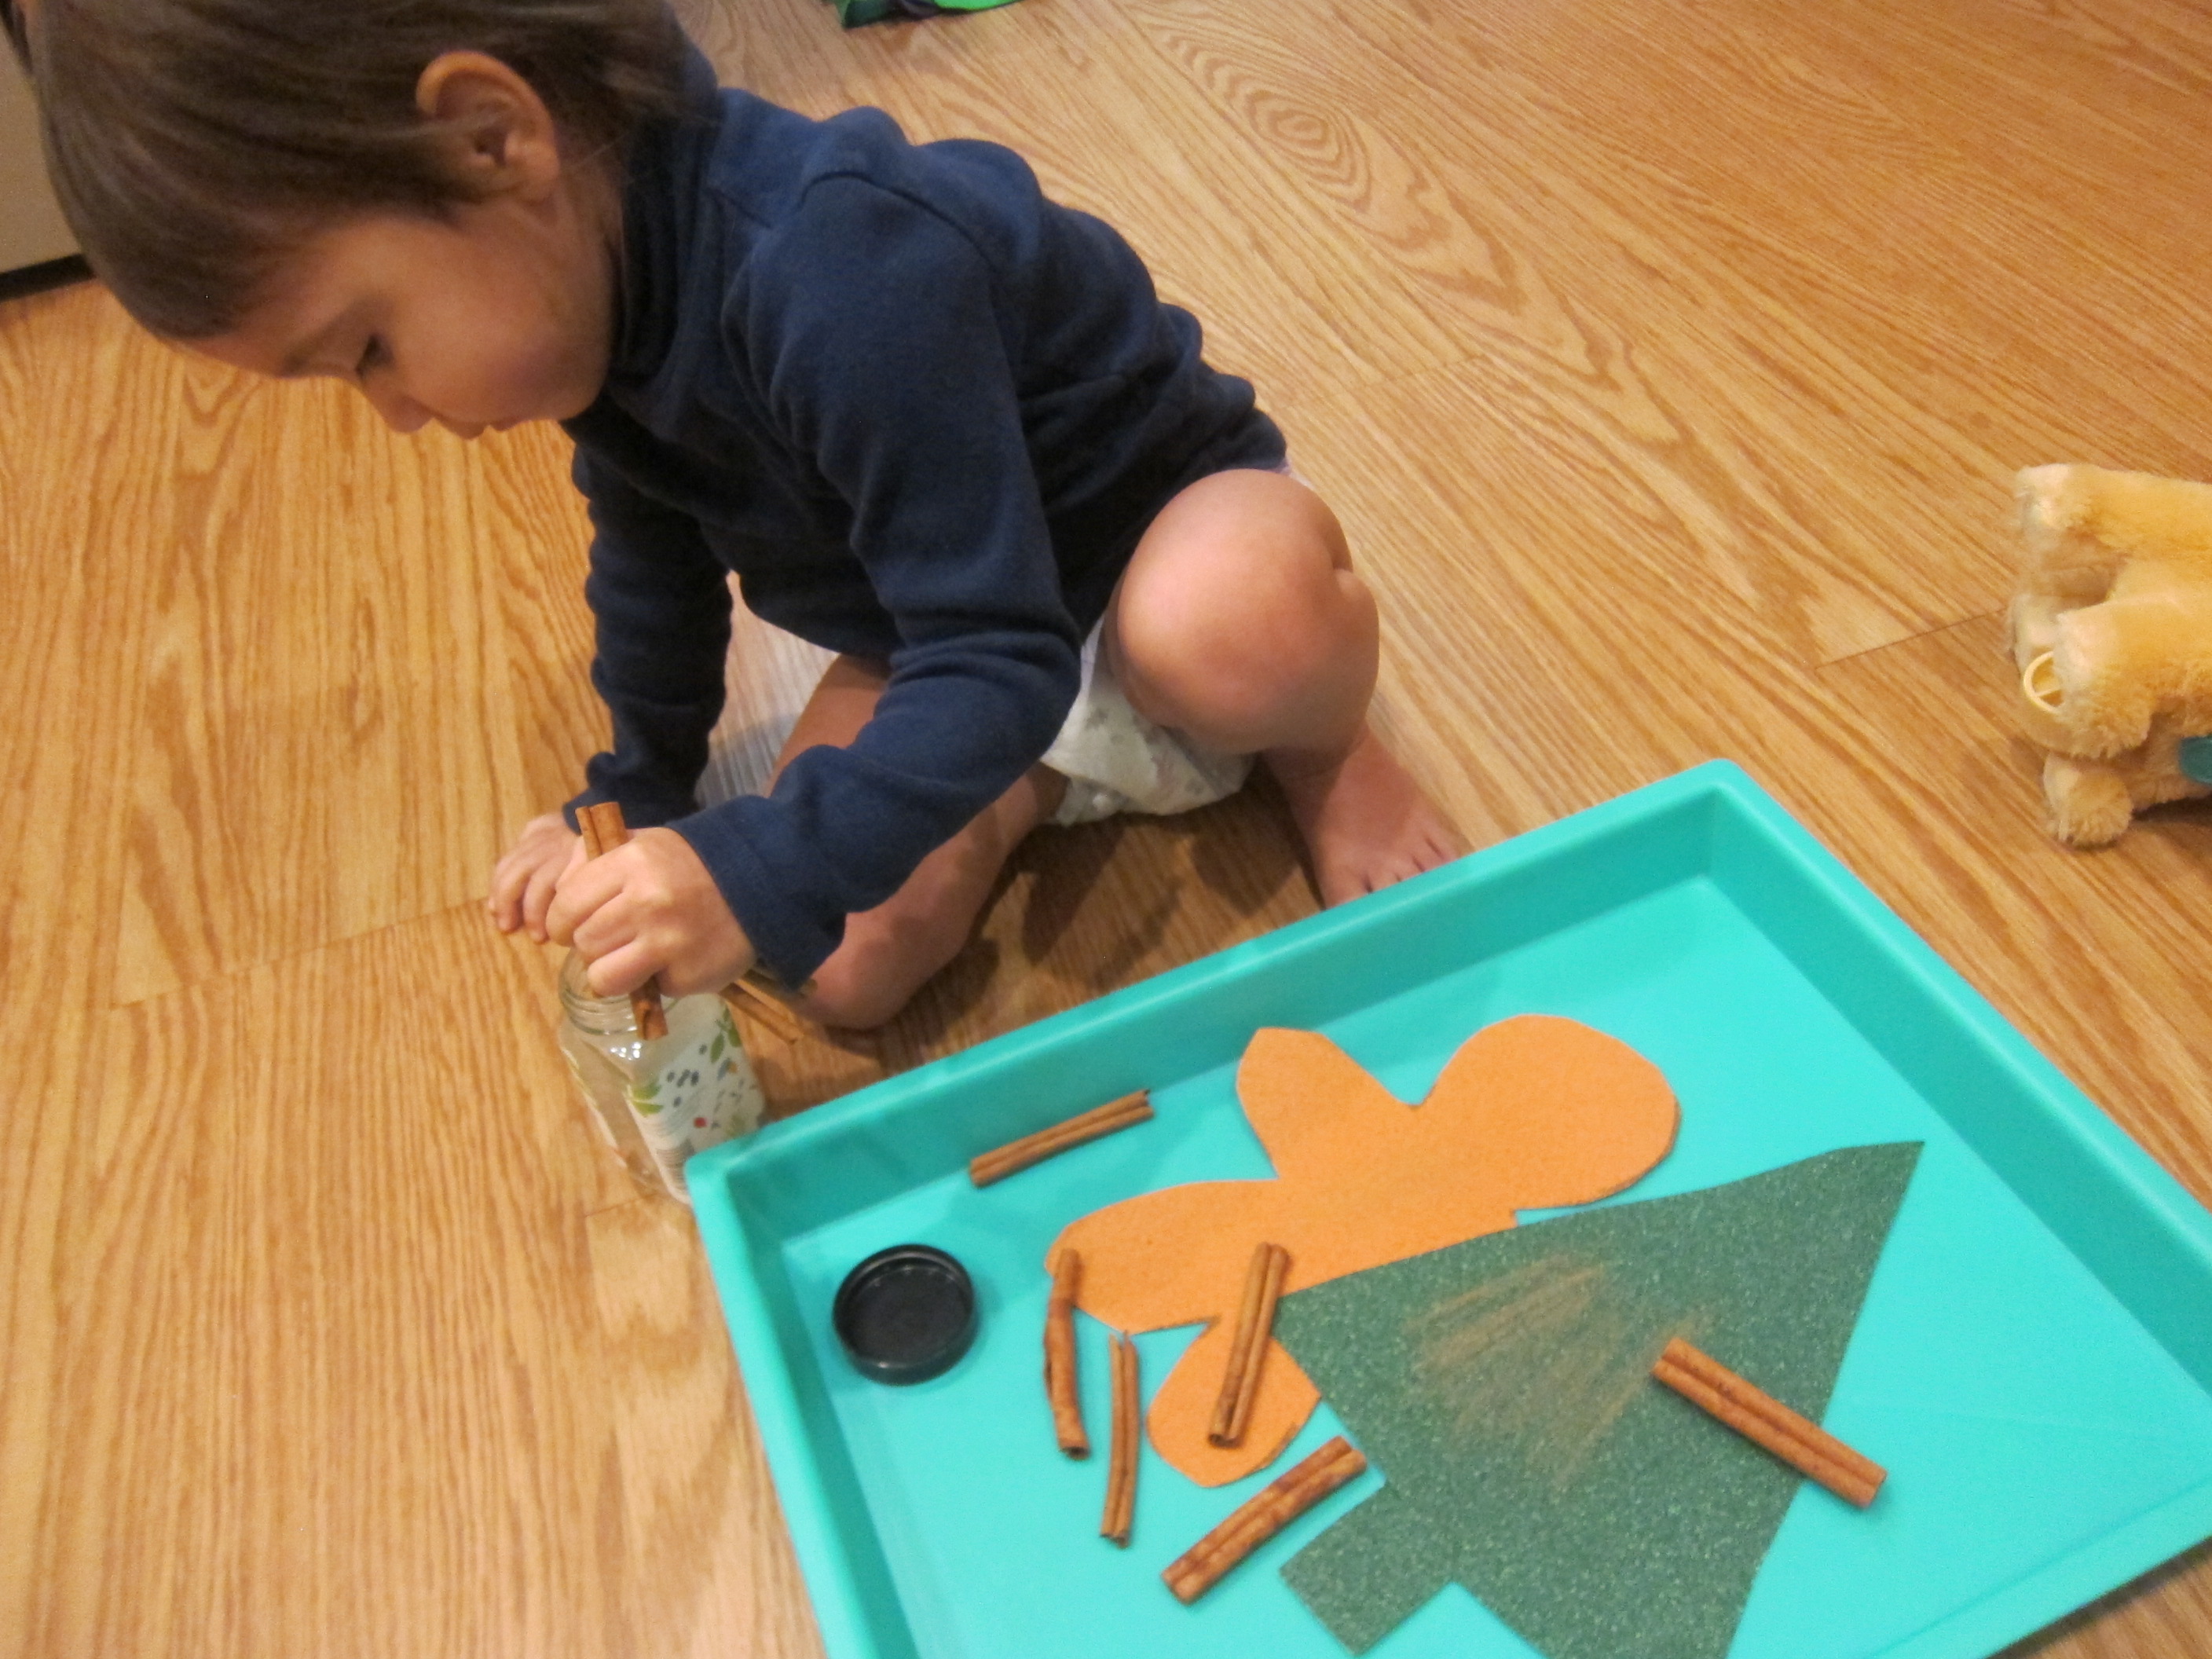
To start, I cut out two simple Christmas-themed shapes from sandpaper. I had a coarse grade in green and a medium grade in brown, so it worked out nicely to draw a Christmas tree on the green and a simple gingerbread man on the brown.

Cinnamon Drawings (2)

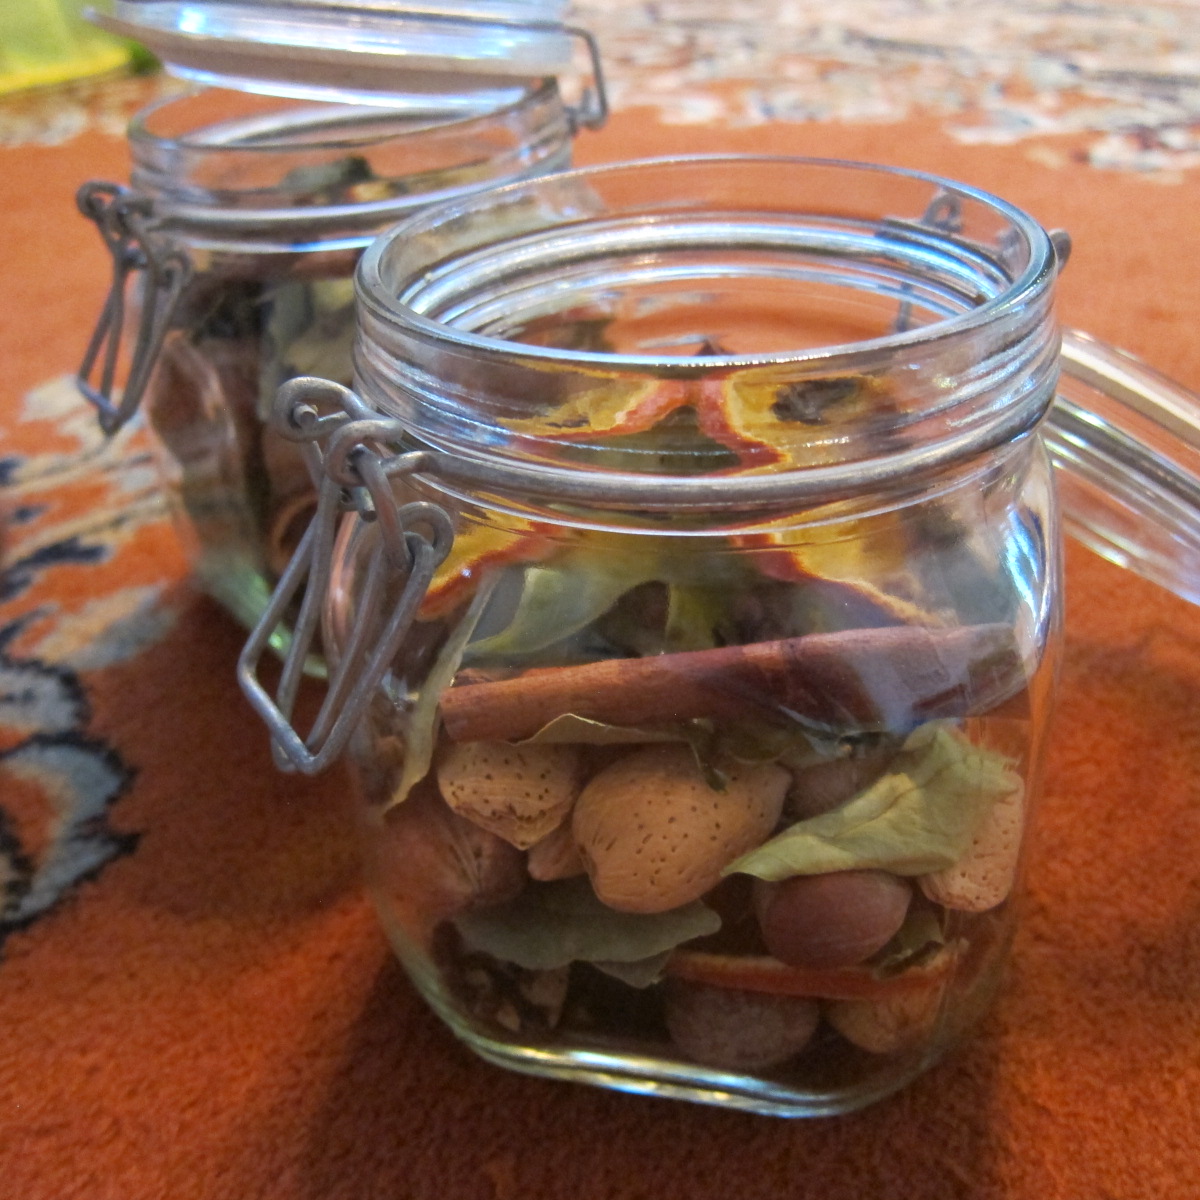
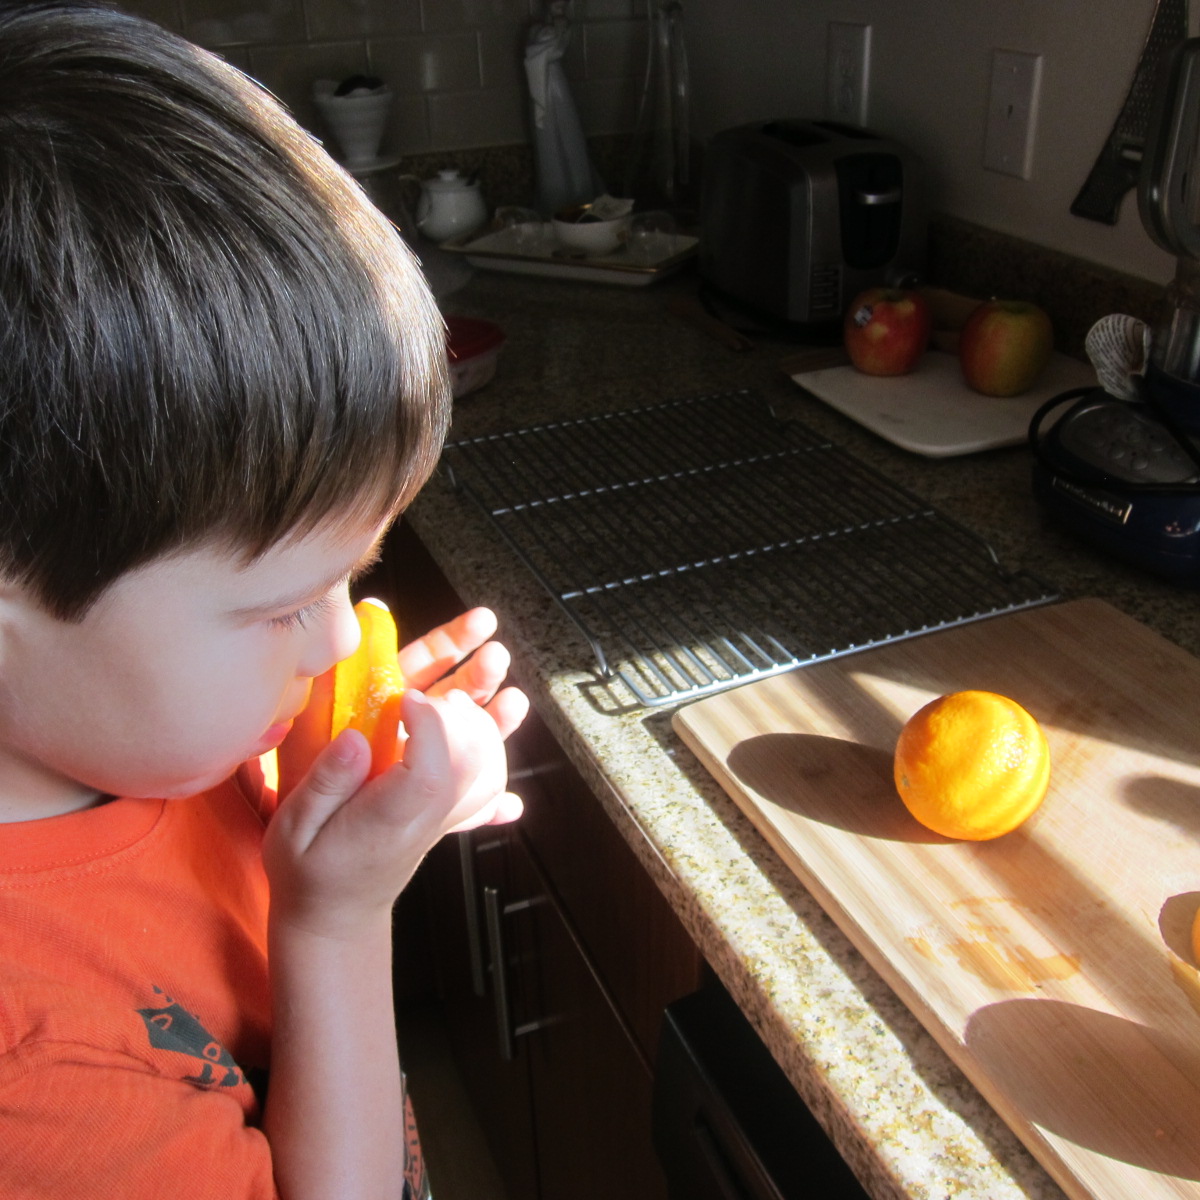
Cut out your shapes and give to your toddler along with a few whole cinnamon sticks. Of course the first thing to do is take a nice big smell. “I smell with my nose!” Veronika is learning to say of her sense of smell.

Cinnamon Drawings (1)

Then I showed her that if she rubbed the cinnamon against the rough sandpaper, it left behind a trail of scented brown cinnamon.

Cinnamon Drawings (3)

Of course we had to smell the artwork again once it was covered!

Cinnamon Drawings (5)

Veronika loved both the shapes and the smell, but she was also very interested in transferring the cinnamon sticks in and out of their jar for a while. That meant this turned into a fine motor skills activity, too!

Cinnamon Drawings (4)

When the sandpaper was covered, I drew on a few final features with marker, then punched a hole and threaded ribbon through each so they could hang on our tree.

Cinnamon Drawings (7)

Pumpkin Scented Rice Bin

Pumpkin Scented Rice (5)

This was easily one of the prettiest sensory rice bins I’ve put together for Veronika. And it certainly smelled the best!

To prepare the rice, you’ll want to start the night before. I didn’t have orange food coloring, but I dripped in a good sized blob each of red and yellow, then added about 2 tablespoons of hand sanitizer. Add a bag of plain white rice, along with 1 tablespoon pumpkin pie spice, and stir until it’s all combined.

Pumpkin Scented Rice (3)

I ended up really liking the striated effect this achieved, since some pieces were more yellow, some more red, and some a perfect blend of orange. All the fall colors! Spoon the mixture onto a shallow tray so it can dry overnight.

In the morning, I laid out the rice for Veronika, along with pine cones and whole cinnamon sticks. Feel free to add other whole spices if you have them, like nutmeg or star anise.

Pumpkin Scented Rice (6)

Veronika loved the bin right away, first wanting to get her hands on the cinnamon sticks. “Can I smell them?” she asked.

Pumpkin Scented Rice (8)

I also added in a few orange pipe cleaners so she could thread the cinnamon sticks onto them, almost like long beads.

Pumpkin Scented Rice (7)

Cinnamon bracelets!

Pumpkin Scented Rice (10)

Then she started sprinkling handfuls of rice over the pine cones. She loved the sound it made!

Pumpkin Scented Rice (4)

It was fun to bury the pine cones in the rice and then unearth them. And of course she paused often to lift the rice near her nose and take a deep breath in. There’s nothing better than the smell of pumpkin pie!

Pumpkin Scented Rice (11)

This one kept her busy for a while!

Pumpkin Scented Rice (9)

Cinnamon Ornaments

Cinnamon Ornaments (10)

Did you know you could make dough just from cinnamon and applesauce? Nor I, but here’s the perfect dough to craft holiday ornaments, thanks to Travis’s Ranger Rick Jr.. Once the cinnamon is in the oven, your whole house will smell like Christmas!

Travis loved concocting the dough. Simply dump in 1 (2-ounce) jar of cinnamon into a bowl. Careful to pour slowly so you don’t get cinnamon in your face!

CInnamon Ornaments (2)

Add 4 ounces applesauce, stirring until very well combined.

Cinnamon Ornaments (3)

Turn the dough out onto a cutting board and use a rolling pin to flatten to about 1/4-inch thick.

CInnamon Ornaments (5)

Travis was so excited we got to use our holiday-shaped cookie cutters for the first time since last Christmas.

Cinnamon Ornaments (6)

He loved selecting which shape to use each time we rolled the dough.

Cinnamon Ornaments (7)

Carefully transfer to a baking sheet.

Cinnamon Ornaments (8)

Use a toothpick to poke a hole in each ornament, then bake at 200 degrees F for 20 minutes.

The instructions says to thread pretty ribbon through the holes, but the toothpick holes were much too small for this. Next time I would punch out holes with a straw. Thinking quickly, we threaded the ornaments onto pipe cleaners, instead.

Cinnamon Ornaments (9)

Thread several onto one pipe cleaner (or ribbon) for a pretty garland, or make singles to hang as ornaments. Either way, these would also be wonderful to give away as gifts!

Fall Potpourri

Potpourri (14).JPG

We were a little aimless on Sunday morning, so I asked Travis if he wanted to help me make the whole house smell like fall. I’ve never made potpourri before, and to be honest, have always equated it with those little sachets of lavender that you put in the sock drawer. However, in looking up potpourri recipes online that were kid-friendly, I learned that potpourri doesn’t need to be tied into a sachet, and is often left on a bowl or container on the counter, simply to scent a home. This seemed like a wonderful way to invite fall inside!

To make a super-simple countertop potpourri, we started with juicy oranges, and cut them into 1/8-inch thick slices. Travis loved the smell already!

Potpourri (1)

He helped me arrange the slices on a wire rack, after which they went into the oven at a low setting (250 degrees F) for a full 2 hours to dry out. We loved peeking at them through the oven door on occasion to check their progress, and the house already smelled lovely!

Potpourri (3)

When the oranges had dried, we combined them in a bowl with cinnamon sticks, and set it out on the counter. Easy as that!

Potpourri (6)

For a version that would last a little longer, we re-used those orange slices and cinnamon sticks, but added a whole lot more. To make your potpourri, follow my guide below as closely or loosely as you like, using whatever appeals to you best. I had originally intended to use pine cones, but we haven’t brought any home recently from nature walks. It turns out I didn’t miss their omission, but feel free to incorporate into yours!

Instead, I laid out a tray for Travis with all sorts of goodies – whole nuts in the shell, orange leaves, bay leaves, whole clove, and of course the cinnamon and orange.

Potpourri (8)

I also set out options for essential oils to add, choosing three that seemed autumnal – clove, pine, and sweet orange.

Potpourri (7)

Travis loved the multi-sensory tray, needing to smell and touch everything on it! We simply filled our jars in whatever mood struck us, layering the items as we went.

Potpourri (10)

Sprinkling on cloves was a particular favorite.

Potpourri (11)

At the end, Travis decided he liked the clove scent best, so we sprinkled in a few drops of that essential oil to one jar.

Potpourri (12)

What a gorgeous final product!

Potpourri (16)

The clove-scented one found a home in his room, and we made a jar scented with pine for mommy and daddy’s room.

Potpourri (15)

Apple Theme Sensory Bin

Apple Sensory (4)

It might not officially be autumn yet, but back-to-school has us thinking of all things apple. I put together this little sensory bin to delight Travis in the afternoon when he returned from school.

Almost any assortment of apple-themed objects will work for a sensory bin like this, so use the suggestions below as a template. I filled a tub with a base of green split peas, then added in miniature apples and a rake, great for sensory digging and pouring.

Apple Sensory (5)

Add any cute finds you have at home, like this dollhouse barrel of apples!

Apple Sensory (6)

Cinnamon sticks made this bin a multi-sensory experience, bringing our sense of smell into play as well.

Apple Sensory

For the little trees, I glued leaf shapes cut from green felt onto old toilet paper tubes. Tiny red pom poms were the apples, and Travis could “pick” them from the trees, or stick back on again.

Apple Sensory (2)

A nice way to kick off the fall season!

Apple Sensory (9)