Confetti Heart Art


Confetti Heart (8).JPG

The heart-shaped sentiment of love in this artwork makes it perfect as a card or gift to a loved one. And kids will love making it, since it involves quite a few novel steps!

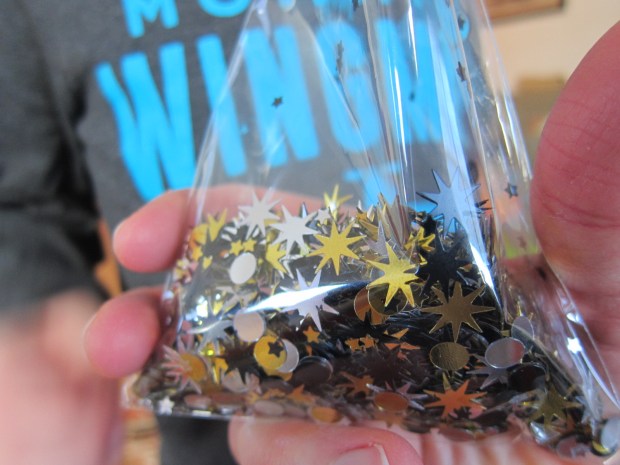
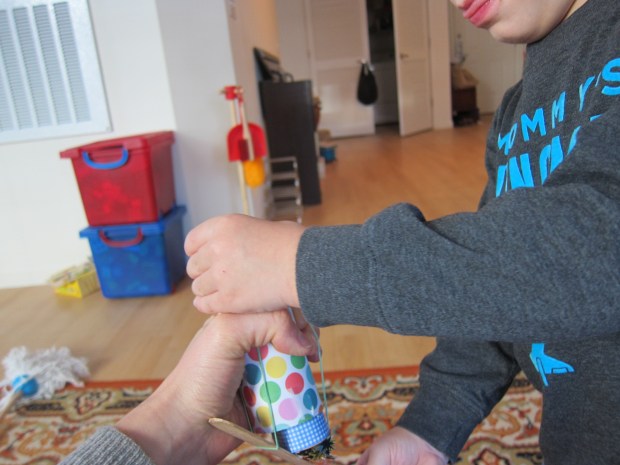
I told Travis that the first thing we needed for our craft today was lots of confetti, and he eagerly grabbed a pair of safety scissors and begin snipping construction paper alongside me. You’ll need the pieces to be quite tiny for the heart to come out right, so adults and bigger kids can make sure all the pieces are small enough. Note Travis’s look of concentration!

Confetti Heart (1)

Next we put all the confetti in a brown paper lunch bag, closed it tight, and shook it up for all the colors to mix. Set the confetti aside.

Draw a heart on one piece of paper (or use a heart-shaped stencil) and tape down to a second piece of paper. I recommend a sturdy background like watercolor paper.

Confetti Heart (2)

Next, have kids smear glue all around the heart – it doesn’t matter if a little gets on the heart cut-out as well, since you’ll be lifting that off shortly.

Confetti Heart (3)

Now it’s time for an explosion! Blow into the bag a few times to inflate it, then hold over the gluey paper and have your kids smack it with both hands for a pop. Blurry photo!

Confetti Heart (4)

Travis was thrilled to see the confetti flutter down.

Confetti Heart (5)

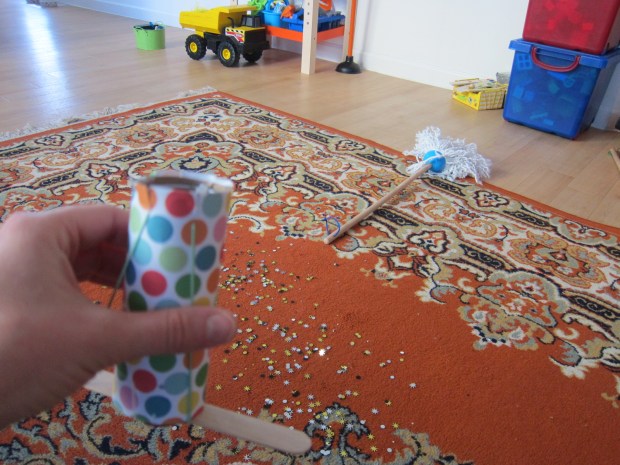
Clean-up was half of the fun for this one!

Confetti Heart (6)

Once the glue dries, peel off the heart shape, and you’ll have a beautiful confetti-outlined heart left in the center.

Confetti Heart (7)

Colorful Confetti Eggs

confetti eggs (5)

We love creating our monthly craft from High Five magazine… so I was a bit dismayed when we saw that this month’s project was decidedly not vegan. Cascarones are confetti-filled eggs, traditionally made in Mexico during Easter and crushed over a friend’s head as a surprise. Although it’s easy to paint or dye wooden eggs for vegan kids, how were we going to make a vegan egg that could crack? With a little advanced planning and some ingenuity, we made it work!

First, I searched online for hollow vegan chocolate eggs, and was rewarded with Peek-a-Boos from No Whey Chocolates. This actually have a little white chocolate chick inside, but still plenty of room for confetti!

confetti eggs (1)

It took a few tries before we learned how much pressure was needed to crack the eggs with a butter knife, but we got a small hole in a few of them. Don’t make the hole right at the apex of the oval, or the chocolate egg will cleave in half.

confetti eggs (2)

Travis of course needed to do a taste test at this point! I recommend setting aside a few of the eggs for eating, since the ones you’re about to use for the rest of the project won’t remain edible.

Next up we painted our eggs. Since we were painting on chocolate, we used food coloring.

confetti eggs (3)

Roll a piece of paper into a funnel, and insert into the opening you’ve made in each egg. Carefully pour in confetti through the funnel.

confetti eggs (4)

Finally, we glued a colored piece of tissue paper (pastel, in keeping with the Easter theme!) over the hole we’d made in each egg. Set aside to dry.

confetti eggs (6)

Now of course you won’t really want to crush these over a friend’s head – unless you enjoy shampooing chocolate out of your hair!

Instead, I set up a large surface area covered with newspaper and gave Travis a mallet and let him go to town crushing the eggs. Perhaps they weren’t exactly cascarones, but I’m glad we were able to capture the spirit of the craft!

confetti eggs (8)

We’ll be hopping toward Easter with a few other crafts this week, so stay tuned!

confetti eggs (7)

Confetti Launcher

Confetti Launch (9).JPG

Well, we didn’t get to this one in time for New Years Eve, but there’s nothing wrong with having messy fun with leftover confetti just to fill a winter’s afternoon! Making the launcher will be a bit tough for the littlest hands, but Travis loved watching the assembly of it until it was time to make our confetti fly. Kids in elementary school on up can help with the entire process.

First, you’ll need two short cardboard tubes, such as toilet paper tubes. If they are the same size, cut one open and tape it so it is slightly narrower than the other.

Confetti Launch (1)

Cover both tubes in pretty decorative paper and set aside.

Confetti Launch (5)

Cut two slits along each side of the top of the wider tube, and thread through a rubber band. Stretch the ends of the rubber band around a jumbo craft stick.

Confetti Launch (3)

Trace the bottom of the narrower tube onto construction paper, and cut out the circle. Glue the paper to cover one opening of the tube.

Confetti Launch (2)

Now fit the narrow tube into the wider one, and glue the paper onto the craft stick. Let dry for at least one hour.

Confetti Launch (4)

Time to launch! Travis helped sprinkle in leftover New Years confetti.

Confetti Launch (6)

Little hands will likely need a grown-up’s help to pull the launcher back far enough, so I couldn’t capture a photo right in the middle of the action but…

Confetti Launch (7)

Confetti!

Confetti Launch (8)

We had to repeat over and over of course. We’ll definitely be making this for parties and celebrations to come!