Halloween Countdown Day 16: Mix-and-Match Costume Party

Halloween 16 Try on Costumes (5)

Whether your kids need to try on their costumes to ensure a perfect fit before the big day, or you’re pulling out last year’s costumes for fun, or heck if they’re just too impatient to wait until the 31st, declare the day a Try-On Party and let the costume mixing and matching begin!

Things around here are very clearly Star Wars themed. Travis sported Boba Fett…

Halloween 16 Try on Costumes (4)

…followed by Darth Maul.

Halloween 16 Try on Costumes (7)

Veronika could be Baby Yoda…

Halloween 16 Try on Costumes (3)

…or Queen Amidala!

Halloween 16 Try on Costumes (12)

For extra fun, we decided to break out the face paint. Veronika loved testing it on herself. “I’m very green!” she said when I showed her in the mirror.

Halloween 16 Try on Costumes (6)

We also got silly and mixed-and-match the Halloween costumes with other items from the dress-up bin. Darth Maul needed black gloves of course.

Halloween 16 Try on Costumes (14)

And we soon had a little magician prancing around.

Halloween 16 Try on Costumes (1)

And no Star Wars costume party is complete with a light saber for an accessory.

Halloween 16 Try on Costumes (8)

We had a blast with this! Here’s wishing your family an equally joyful costume and accessory party.

Halloween 16 Try on Costumes (11)

Puffin Costume

Puffin (10)

Our October issue of Ranger Rick Jr. featured a cover story on puffins, with information inside about these bright-beaked birds. If your child is still looking for a Halloween costume, consider putting together this DIY puffin outfit. It’s perfect for trick-or-treating… or just everyday dress up!

Because we were making the costume simply for play at home, I skirted a few corners. But you can be more exact if this will actually be the Halloween garb of choice for your child.

First, make the puffin’s head. Fold a 20 inch x 12 inch piece of white felt in half. Draw the head shape (available from the online template) onto one side of the fold and cut out.

Puffin (1)

Add two “head top” shapes cut from black felt with fabric glue or a hot glue gun. Next cut the beak shape from orange construction paper and glue on as well. Let dry.

Puffin (2)

We added details like eyes and feathers with a marker. Here is my very serious puffin testing out the headpiece.

Puffin (7)

The piece of black felt I had at home was big, but not quite large enough for the suggested wings – a full 34 inch x 18 inch rectangle! So working with what I had, I traced on the wing shape from the template in chalk, and cut out. I added a ribbon to tie around Travis’s shoulders; if you are using truly large enough felt, part of the felt itself will become the tie.

Puffin (5)

Finally, we needed puffin feet. Trace the foot shape onto orange craft foam and cut out; add details with marker.

Puffin (6)

Poke a pipe cleaner (ideally orange) through the middle of each foot shape, and wrap around the thong of a flip flop. If you’re going all out for Halloween, make sure your pipe cleaners and flip flops are orange too! Yellow pipe cleaners and some old summer flip flops worked for us in a pinch.

Puffin (9)

Finish a true puffin costume with a white shirt and white pants.

My little bird was happy just to fly around the apartment.

Puffin (8)

What a cute idea this was!

Duck, Duck, Goose Dress-Up

Duck Duck Goose (13)

There’s no time like October to embrace the glee of dress-up. Whether you’re planning out your actual Halloween costumes or just having fun around the house, kids seem to just morph when they are in costume, If you want, save this one (an adorable suggestion from Highlights High Five) for Halloween; it would be perfect for a parents and a child or for a group of siblings. Or just get silly like we did during a morning of play and use for creative costume play!

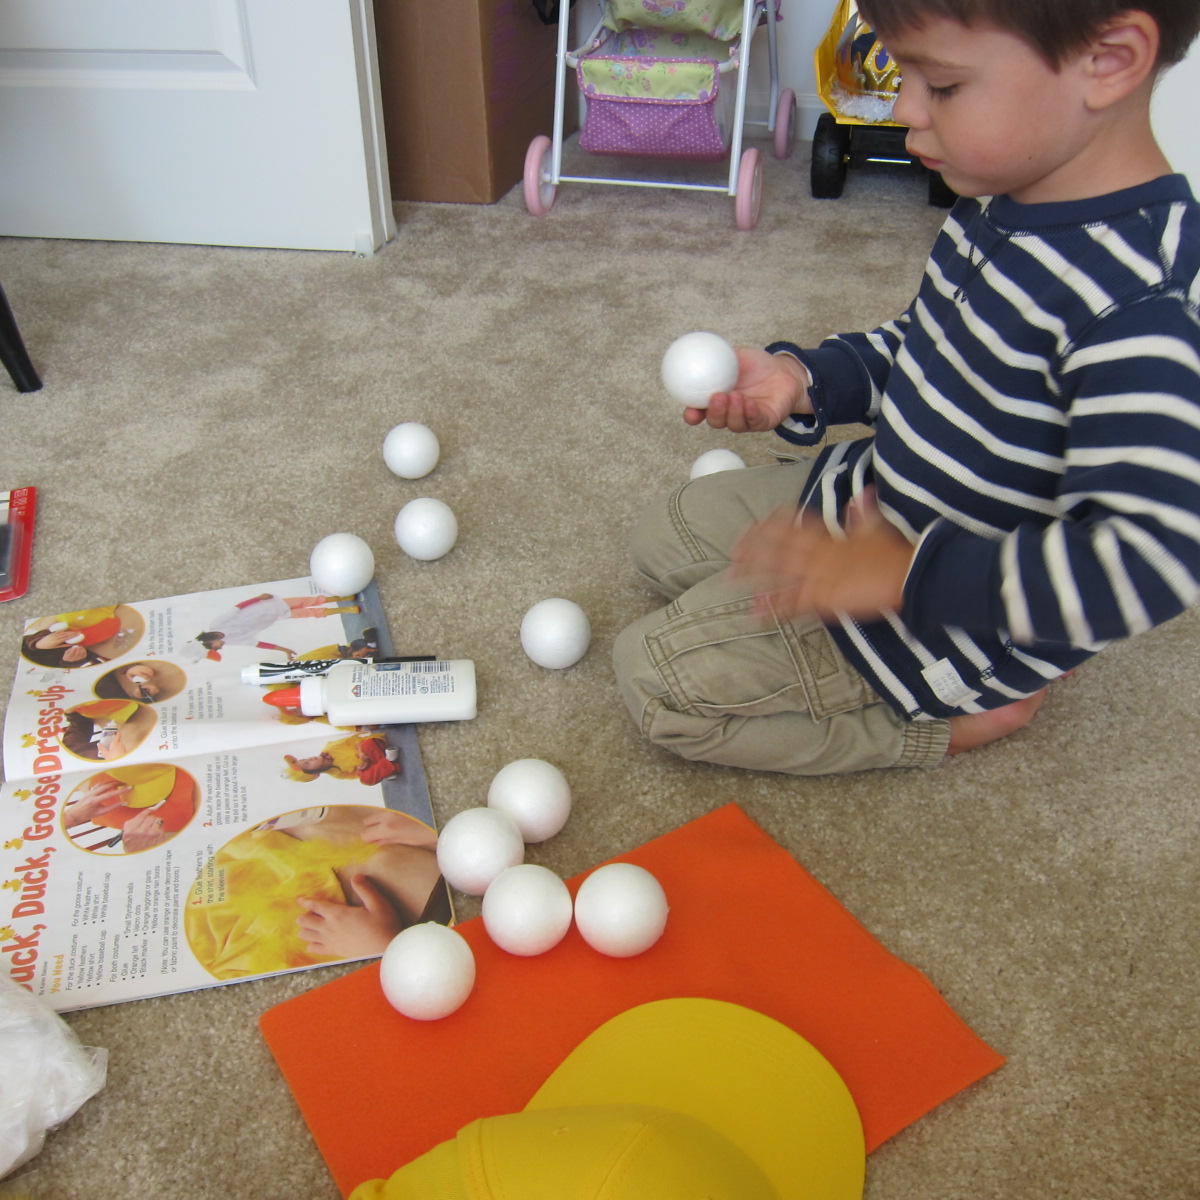
Travis thought the project was a delight from start to finish, intrigued right away by all the materials as we gathered them.

Duck Duck Goose (1)

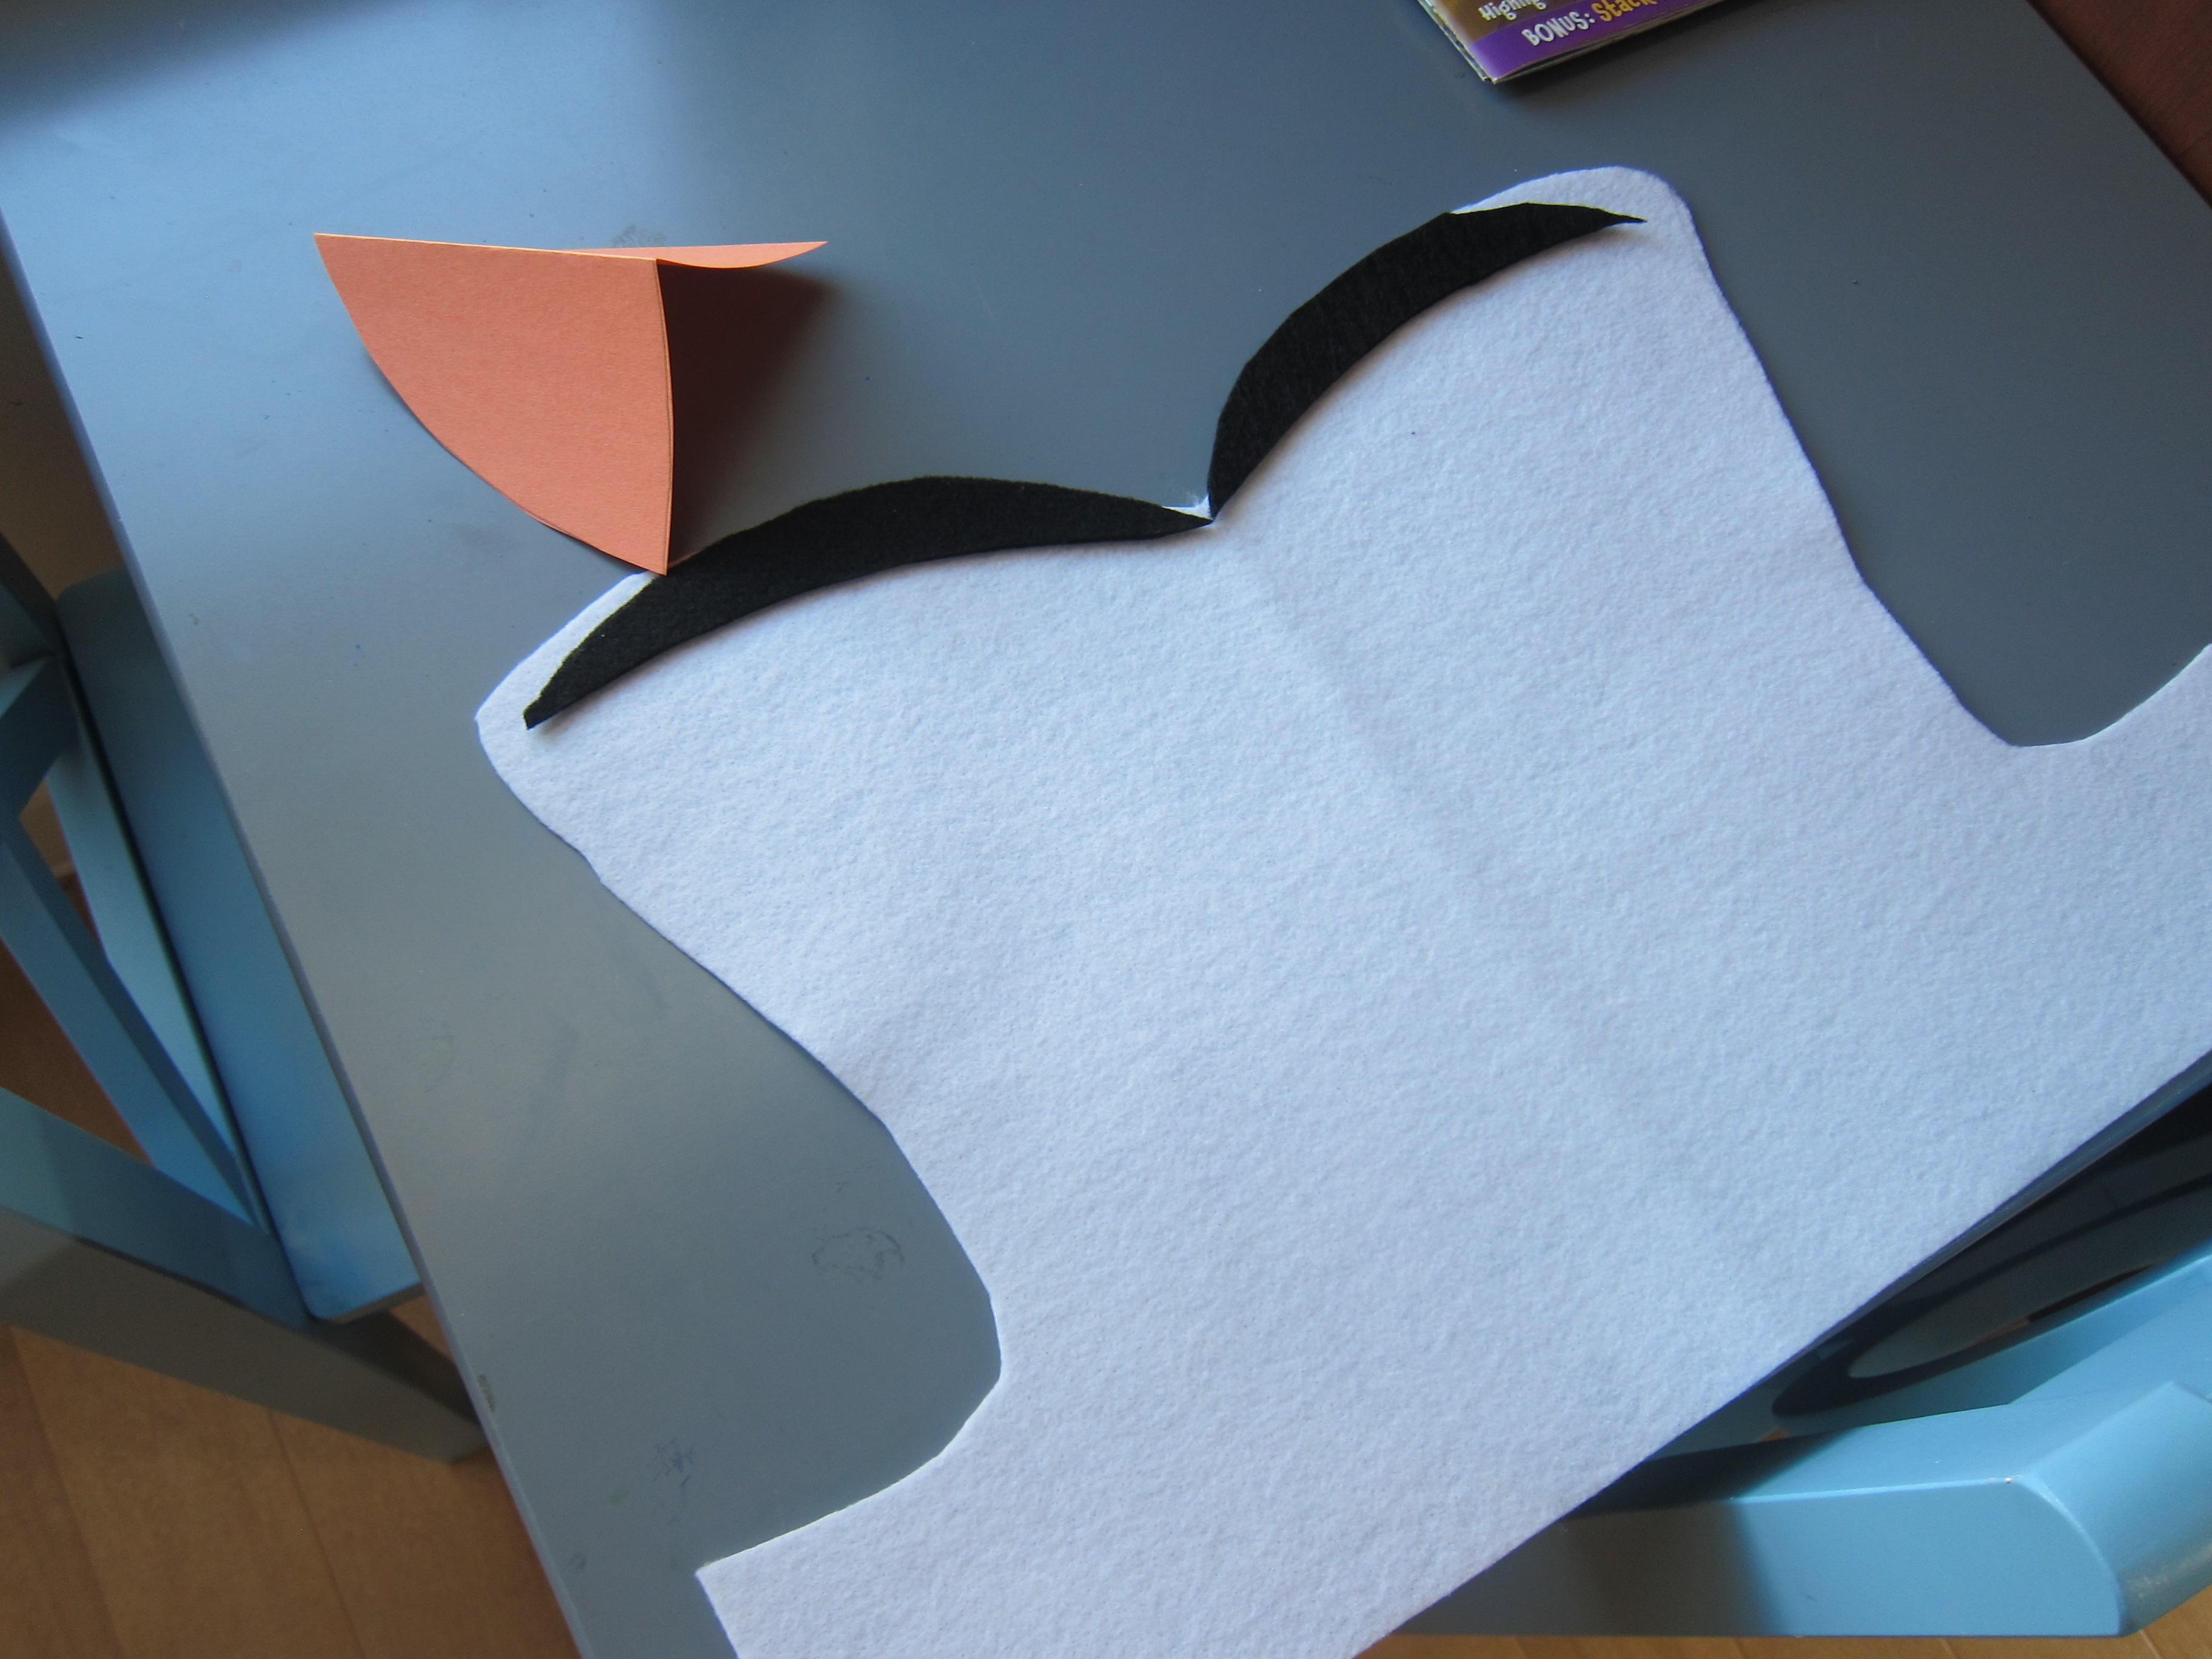
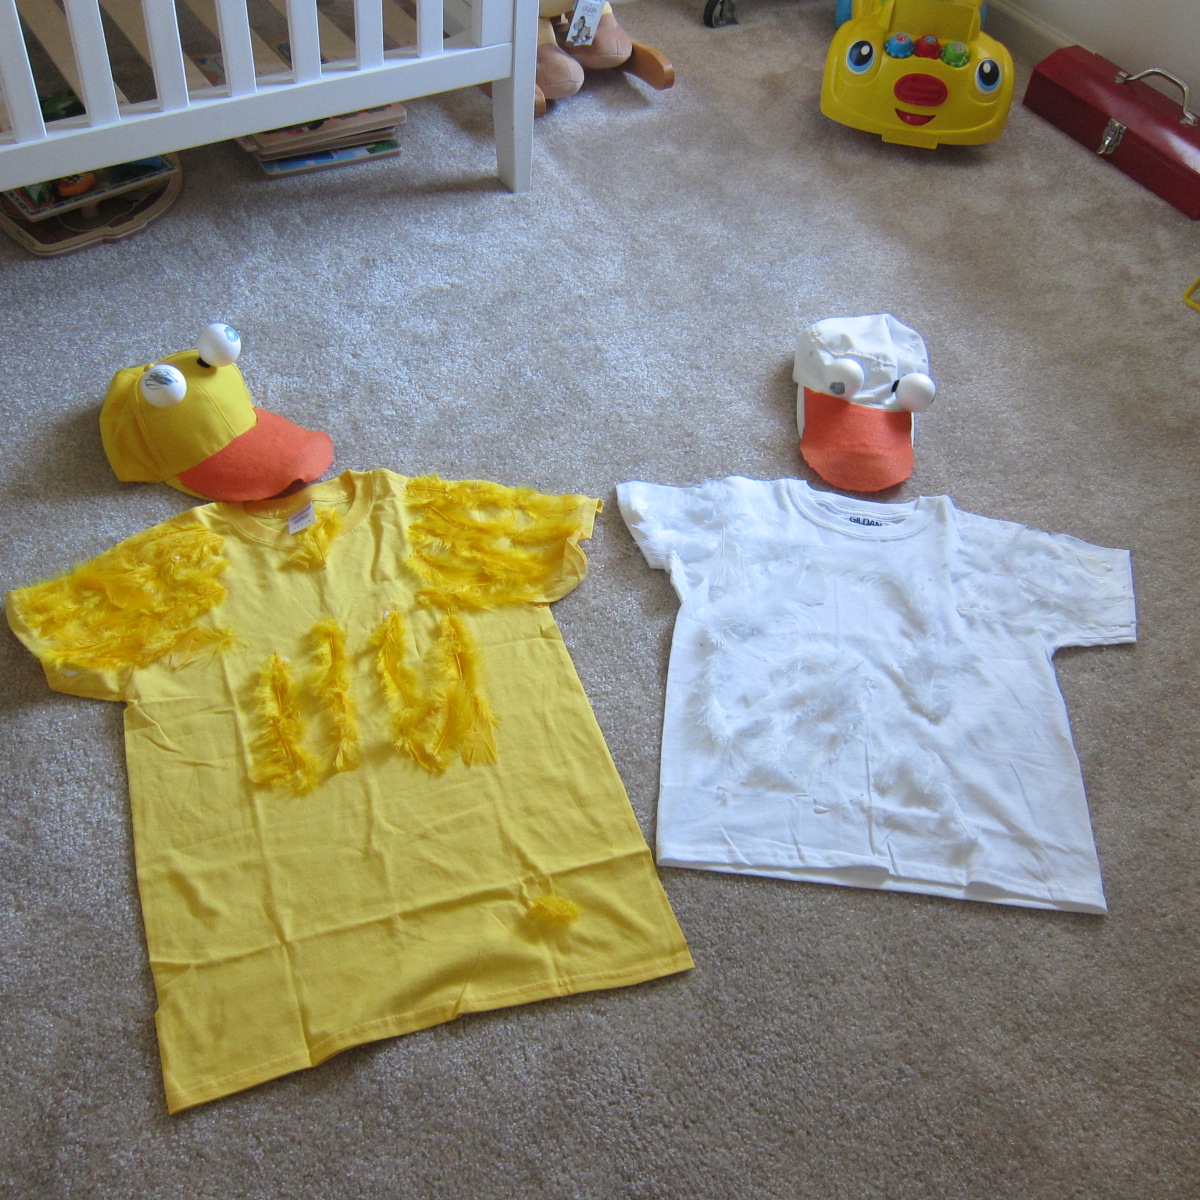
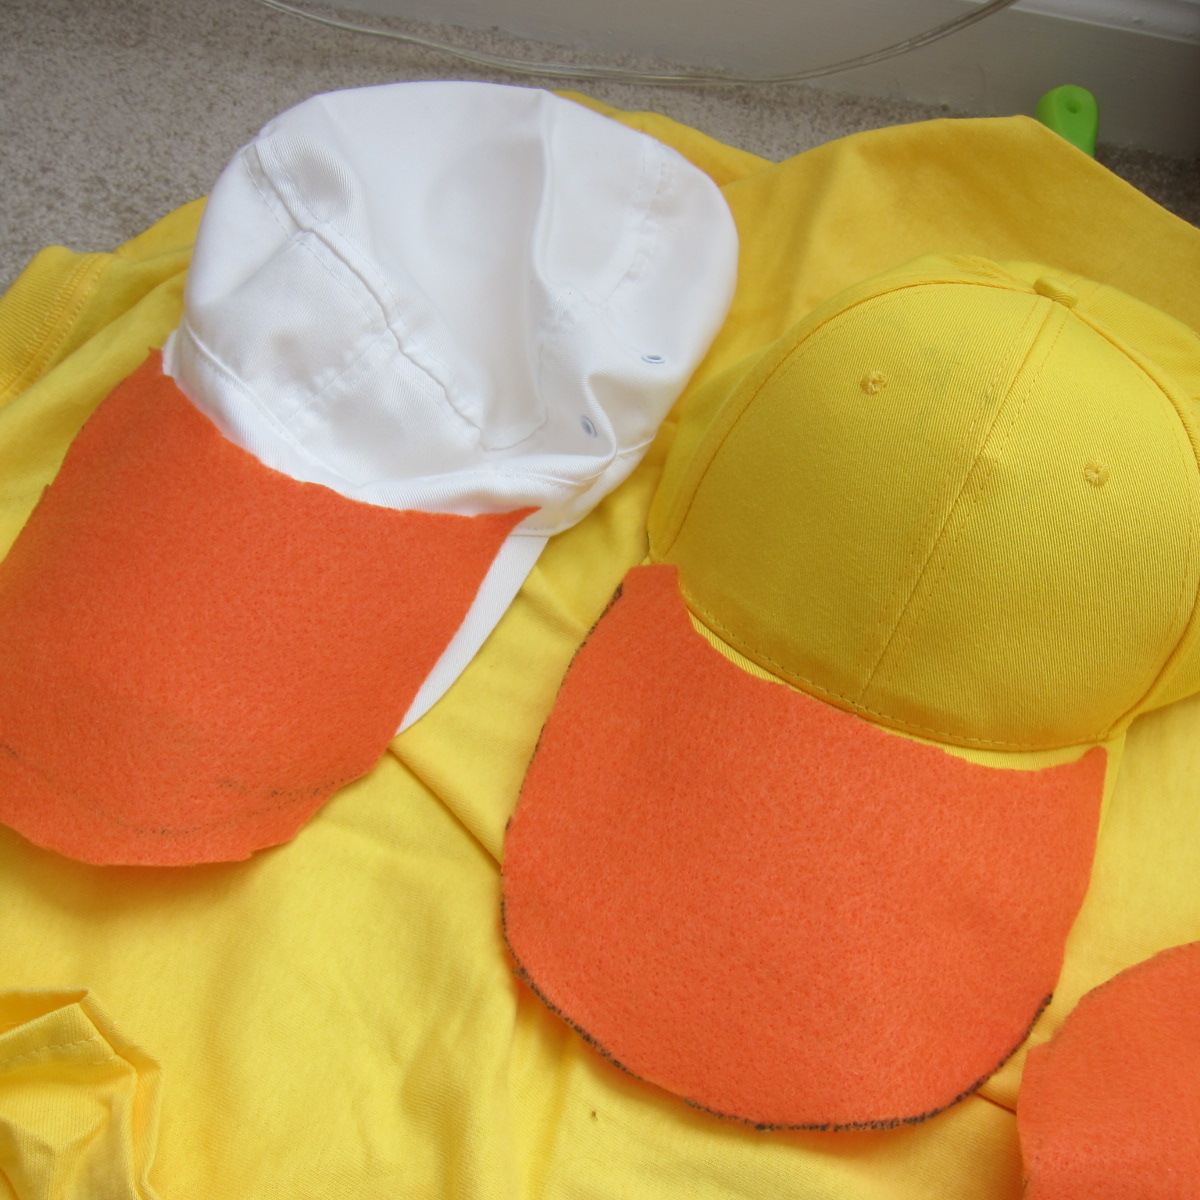
First up was making our hats – two yellow ducks for mom and dad, and a white goose for Travis. Buy solid color hats from a craft store, then trace the visors of the hats on orange felt, leaving an outer edge about 1/4-inch longer than the brim for the “beak.”

Duck Duck Goose (2)

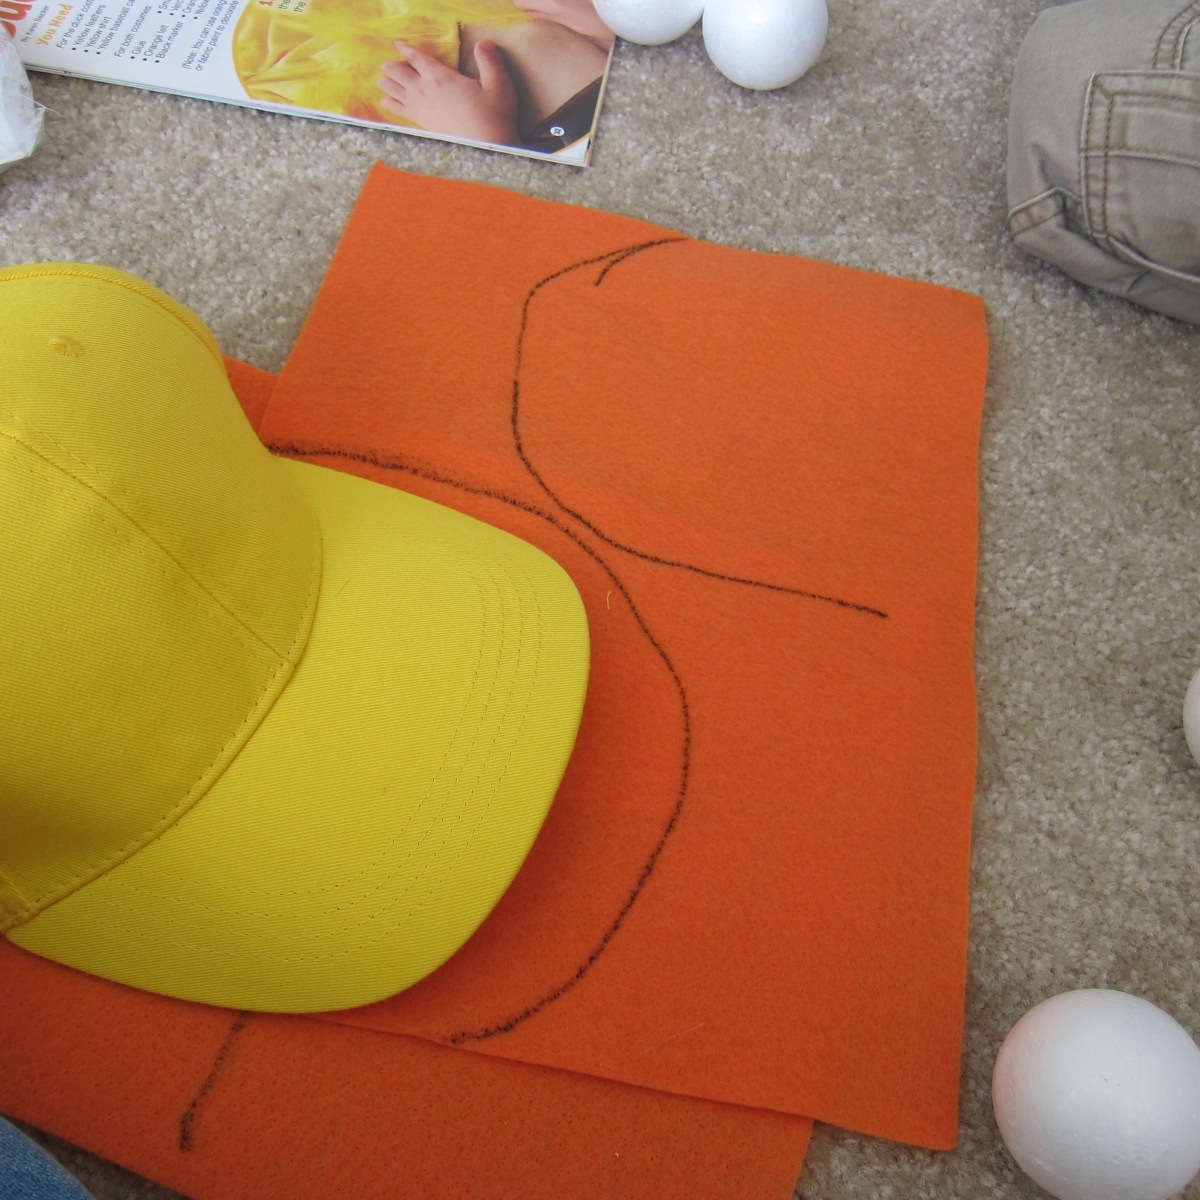
I cut them out, trimming slightly to make sure they fit the brim, and then glued on. You can have your child help you with regular glue, or use hot glue for slightly better adherence.

Duck Duck Goose (3)

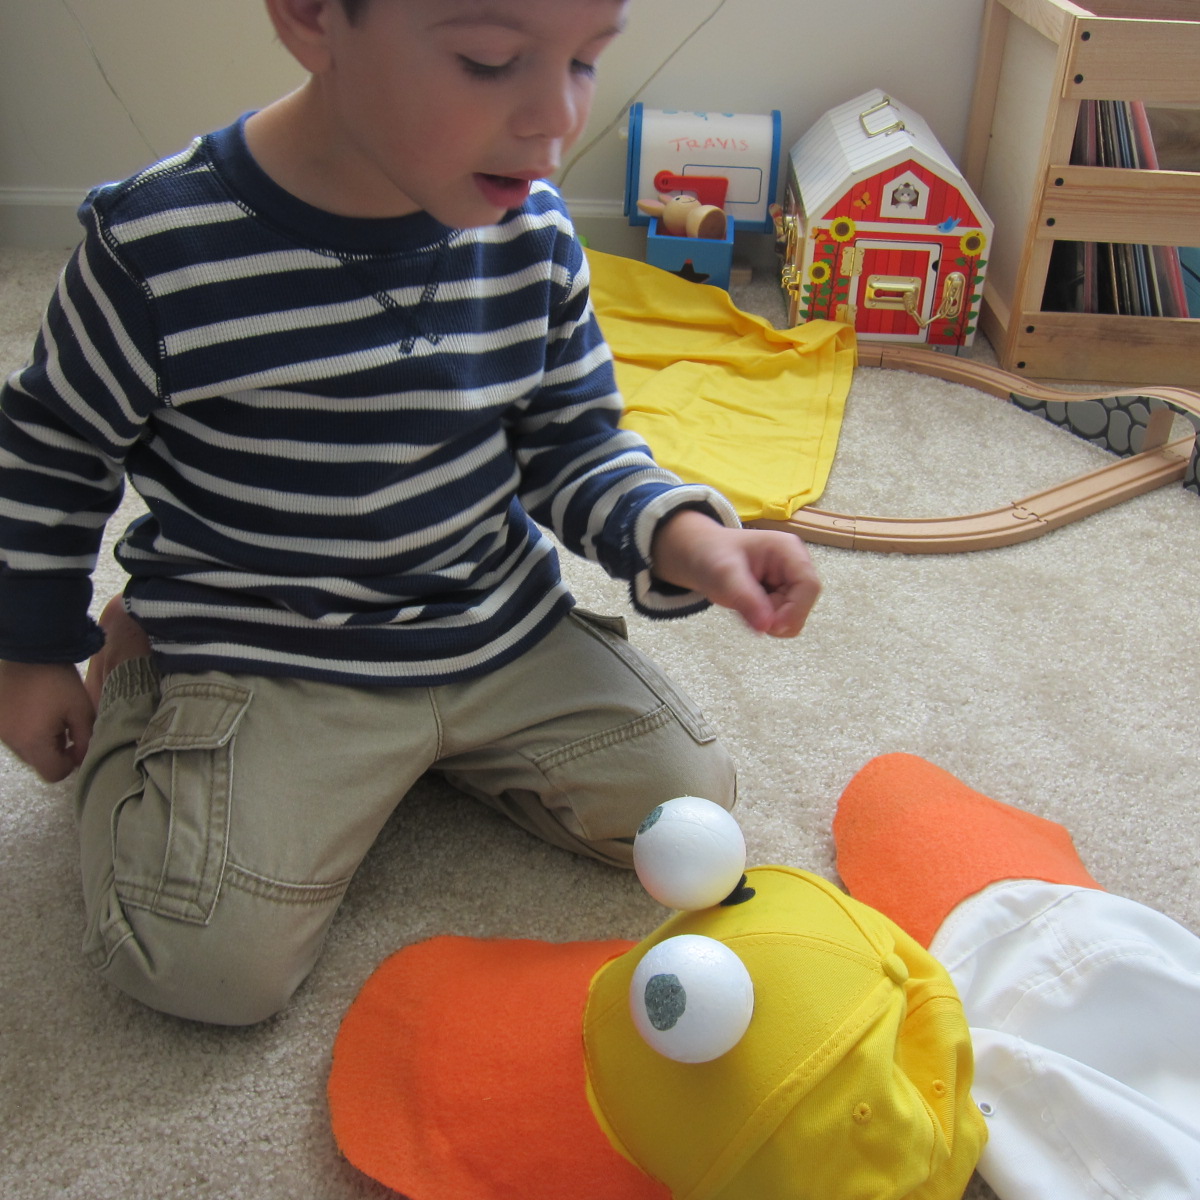
To make the eyes, draw black dots with marker on styrofoam balls. Travis had fun drawing one very wobbly eye, but then asked me to fill in the circles on the others.

Duck Duck Goose (4)

Use Velcro dots to add the eyes to each hat. Neat, they stick!

Duck Duck Goose (6)

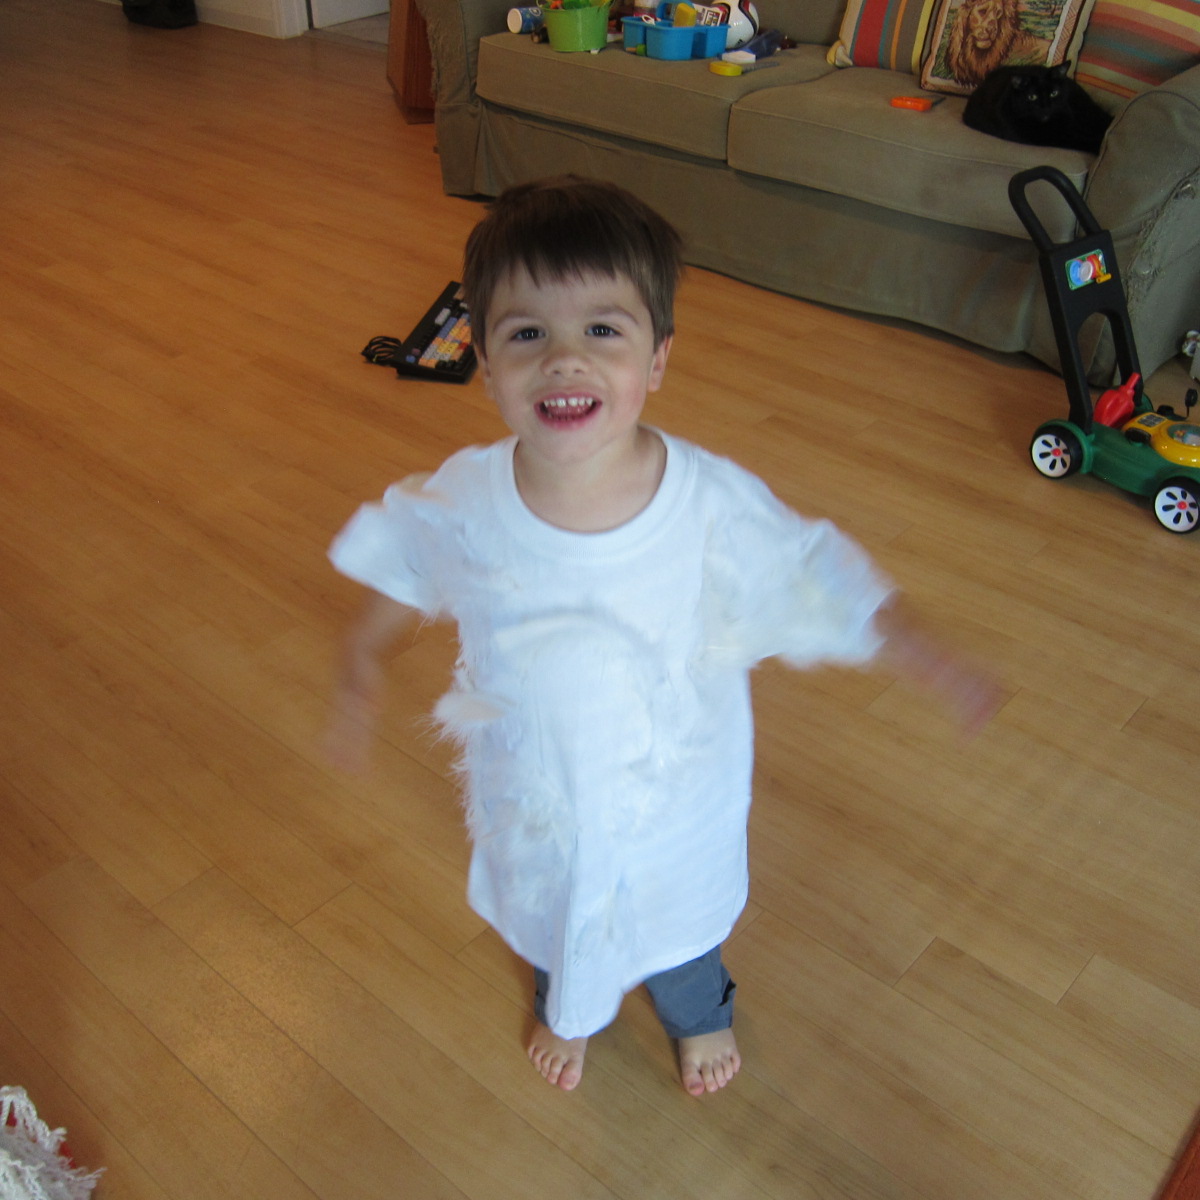
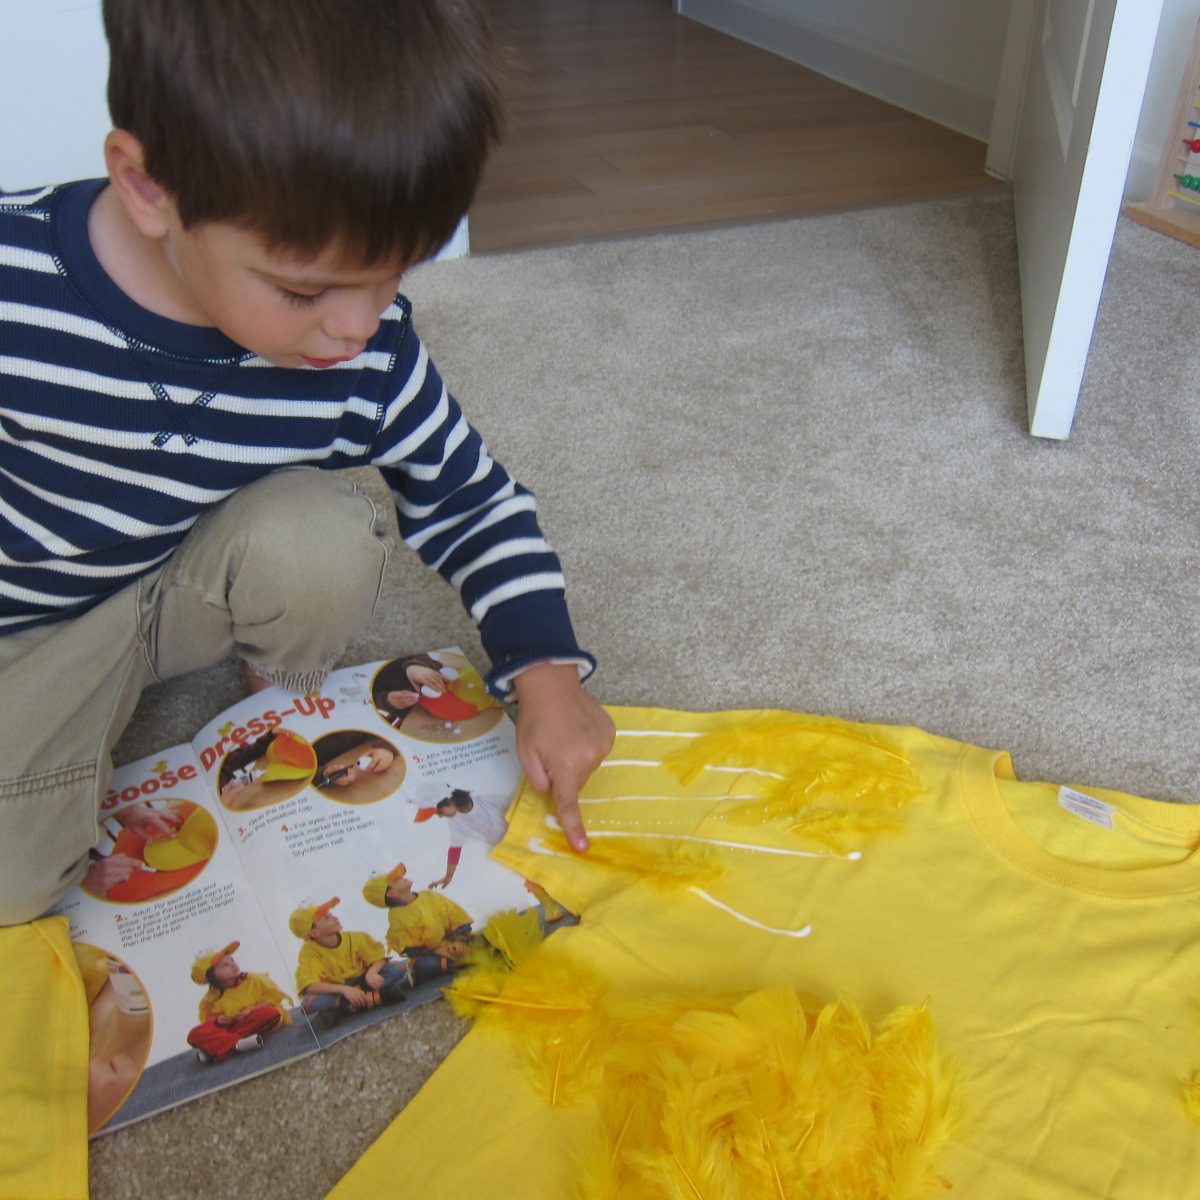
To make our shirts, we made long lines of glue on the sleeves of plain t-shirts from the craft store – two yellow, one white – and stuck on feathers in the corresponding colors.

Duck Duck Goose (9)

Travis thought this part was endlessly fun, so we covered the bellies of the shirts as well.

Duck Duck Goose (10)

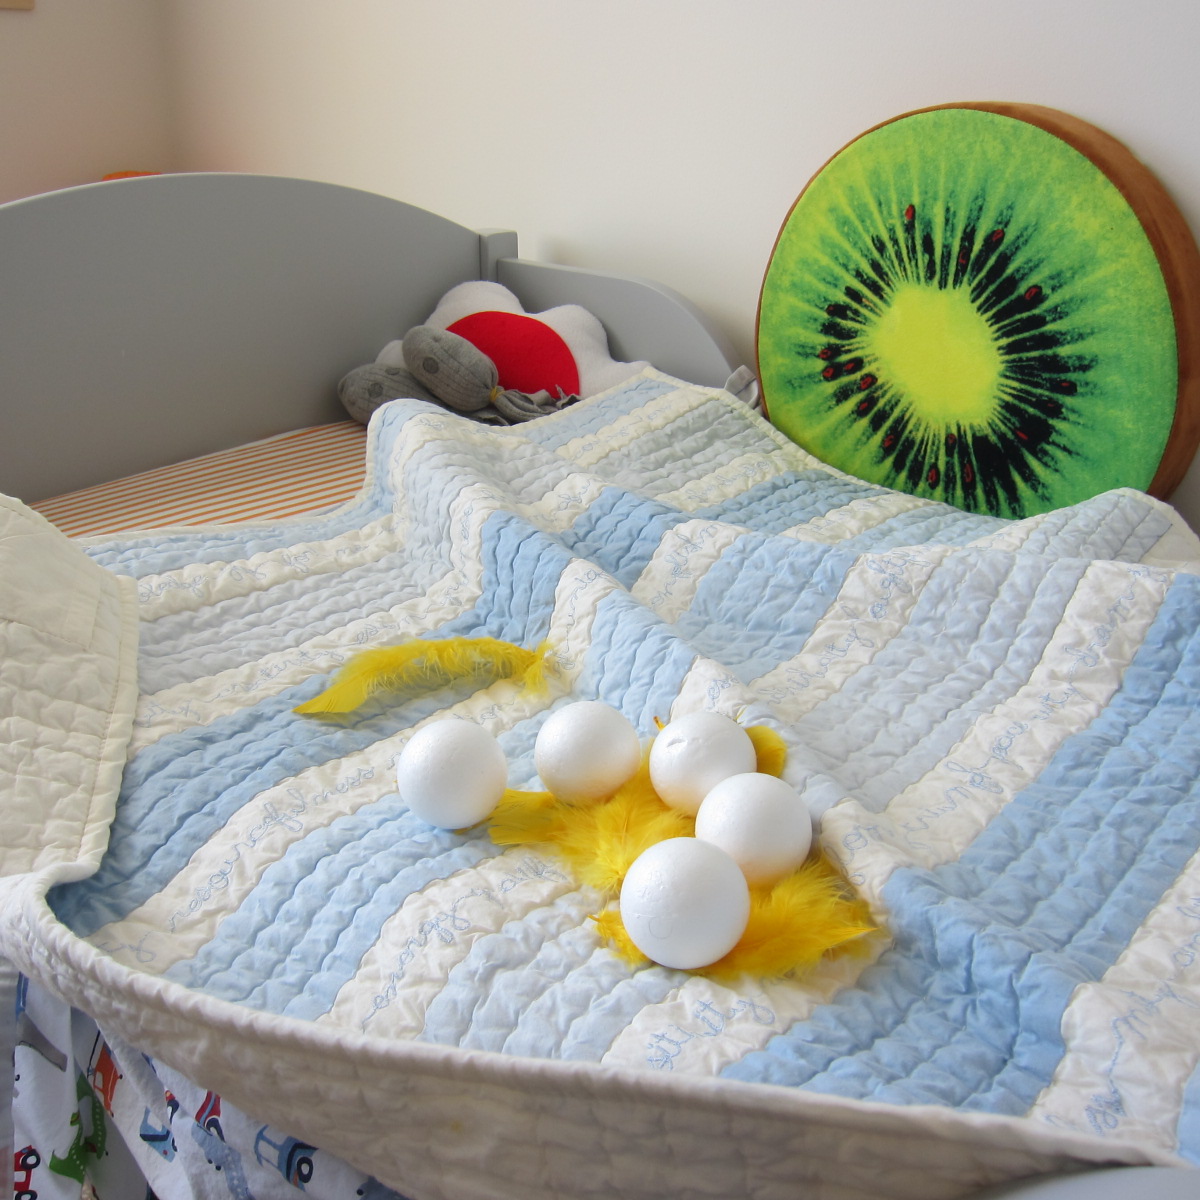
Let your costumes dry completely. While we waited, Travis gathered leftover feathers and pretended it was the duck’s nest! Leftover Styrofoam became the “eggs.”


Duck Duck Goose (12)

The next day, it was time to play! I thought Travis might find the feathery shirt uncomfortable, but he was so excited to be a goose, instantly honking up a storm.

Duck Duck Goose (14)

And insisting that Mommy Duck quack, of course, so here I am:

Duck Duck Goose (17)

Even Daddy Duck got in on the action. We played many rounds of Duck, Duck, Goose of course, and Travis wanted to wear his shirt the rest of the morning. If you do opt for these costumes on Halloween, wear white or yellow rain boots to complete the look.

Duck Duck Goose (15)