
I put together a simplified version of this box back when there was a solar eclipse in our area in 2017. Today we wanted to see if the box would work for Mercury’s transit across the sun, and now Travis was old enough to help with all the steps!
To start, we upcycled a Kiwi crate (though any shoe box would work). Measure 2 inches in from one edge and poke a push pin or thumb tack through for a small hole.
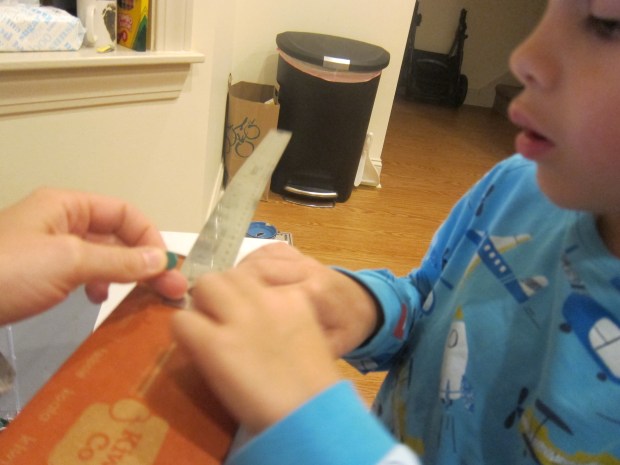
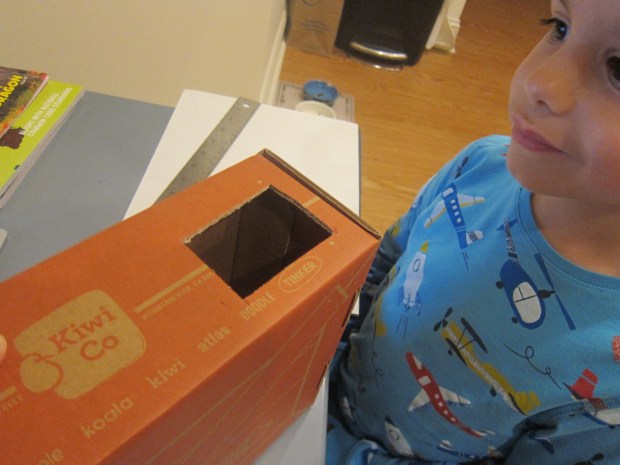
On the opposite side of that same edge, measure in 1/2 an inch and cut a square that is 2 inches on each side.
Cut a square from black paper that is 2.5 inches on each side. Travis loved cutting along the lines I measured with our ruler.

Trace the inside of a small roll of tape in the center of the black square, and cut out this circle (a mommy step).

Tape down on the inside where you’ve cut the viewing hole.

Next cut a rectangle from white paper that is 10.5 inches long x 3.25 inches tall. Use double-sided tape to attach on the inside of the box opposite the viewing hole.

Now cover any seams or cracks with tape. Travis took it very seriously to ensure that we had no points where light could filter through.

We peeked inside in the kitchen, but if course there was only darkness without any sunlight coming through our tiny pin prick.

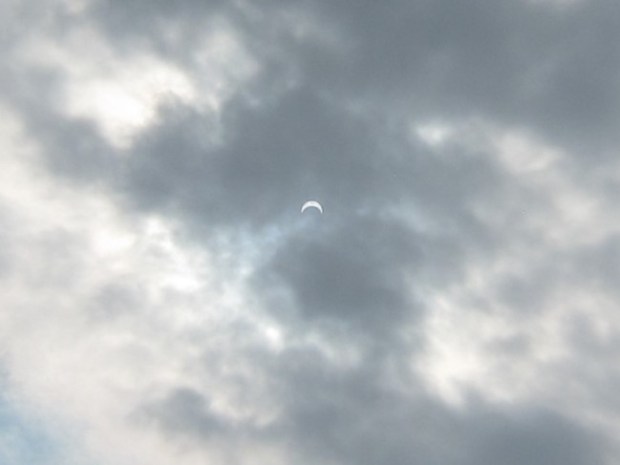
The answer to our initial question (would the box work for Mercury), alas, was no.
Mercury entered its transit across the sun the next morning at 7.30, but it was so cloudy that the sun wasn’t visible all day! Further research suggested that Mercury would be much too tiny to spot in our viewer anyway, and what we really needed was a telescope with a proper sun filter. Instead, we checked out the transit online. And now we’re going to set aside our solar eclipse viewer for the next one… in 2024!
 The box pinhole projector we made was much more effective, though a bit more labor intensive. Cut two holes into one short side of a shoebox or cereal box. Cover one hole with foil; leave the other hole open (this is what you’ll peer into). Prick the foil with a needle or toothpick.


