Crystal Suncatcher

Crystal Suncatcher (8).JPG

This neat science project will require a few days of patience, but has a beautiful ice crystal reward at the end, perfect for winter!

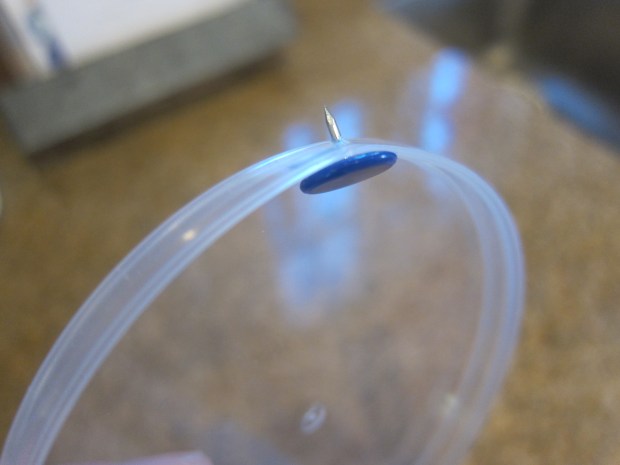
To start, poke a hole through the rim of a clear plastic container (we used the top of a Pringles canister) with a needle or push pin. Make slightly wider with a pen or pencil, then set aside.

Crystal Suncatcher (1)

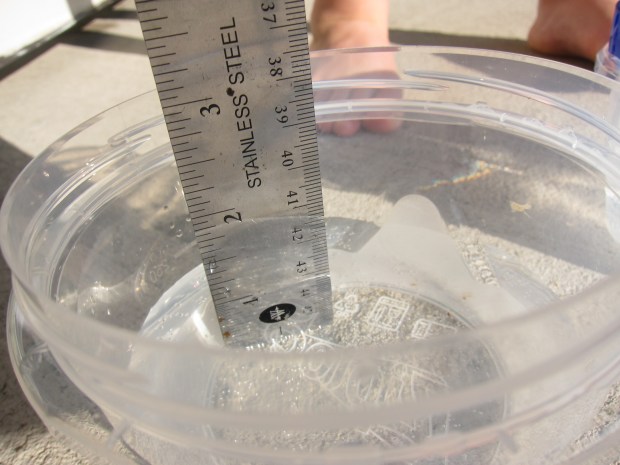
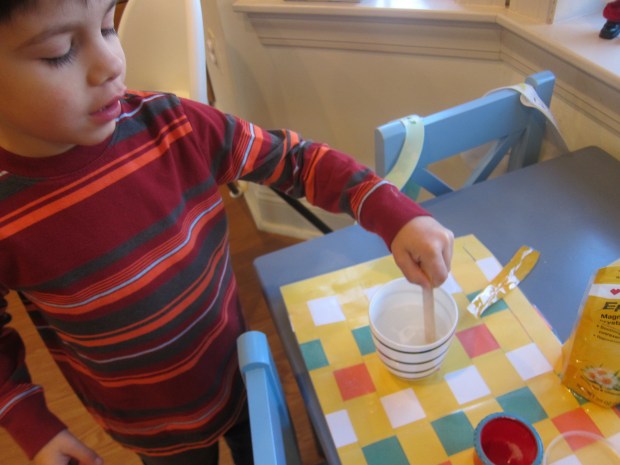
In a microwave safe bowl heat 1/2 cup water for about 45 seconds, or until warm. Add 1/2 cup Epsom salts, stirring until dissolved. Travis loved making this “potion”.

Crystal Suncatcher (2)

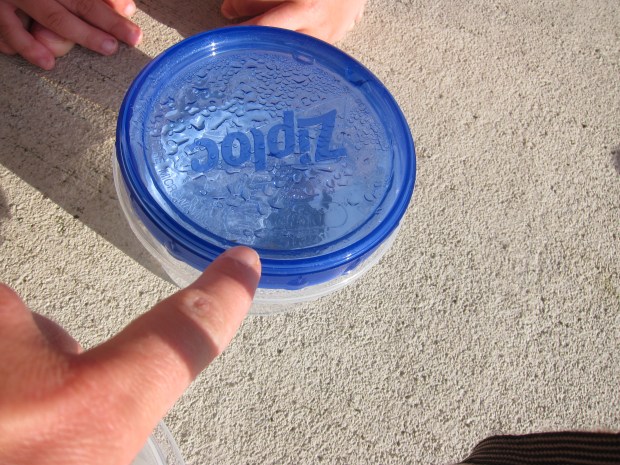
Fill the container lid with the salt solution and set someplace that gets a lot of sunlight. Now wait! Here’s how our crystals looked after 24 hours:

Crystal Suncatcher (5)

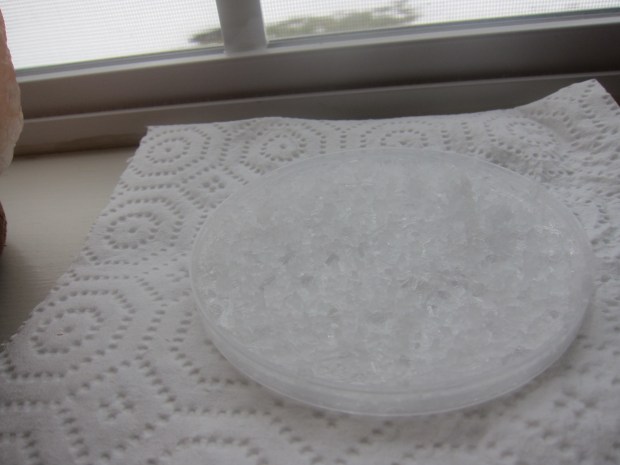
And now after 48 hours!

Crystal Suncatcher (6)

The science here is fairly simple. When you stir the Epsom salt into the hot water, it doesn’t disappear of course; it dissolves. But when the water evaporates off, the Epsom salts are revealed again. Hence the beautiful crystals!

To capture your experiment into a work of art, cut the rim off an identically sized lid (again we used a Pringles container). Hot glue them together carefully so as not to crush the crystals.

Crystal Suncatcher (9)

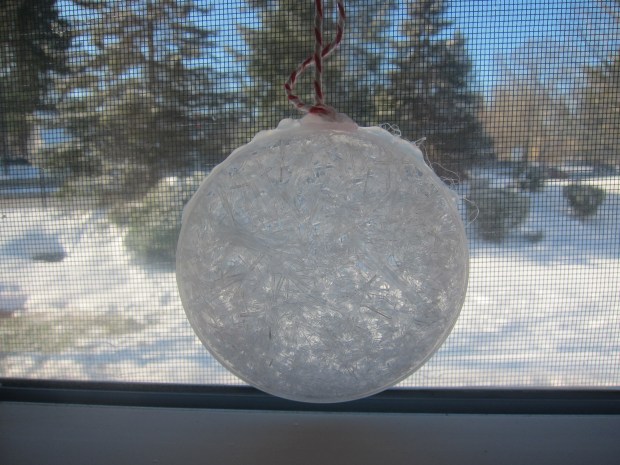
Thread a length of string or yarn through the hole you poked in the beginning. I worried we might crush the crystals because our hole was quite tiny, so we hot glued on our string instead, which works in a pinch! Now it looks like Jack Frost has come to call at our window.

Crystal Suncatcher (7)

Water Work

Water Work (6)

This easy experiment will teach your preschooler or kindergartner about evaporation in an easy to see, hands-on way. Plus get you out into the sunshine each morning!

Travis filled two equal containers with 1 cup water each. We made sure to measure carefully before pouring, so our results would be accurate.

Water Work (1)

We screwed the lid tightly on one container but left the other container open. Place them somewhere that gets direct sunlight.

Water Work (2)

Each morning for a week, we headed out and measured the water. On the first day, the difference wasn’t that great, 1.5 inches of water in the lidded container, versus 1 inch in the open one.

Water Work (3)

By the next day, the results were 1.25 inches in the closed container (some had condensed on the lid!) versus only .75 inches in the open.

Water Work (5)

I asked Travis where the water was going and he correctly understood that some was evaporating into the air each day.

We continued to check on subsequent days, until a final reading of .25 inches in our open container. As a final component, Travis drew what had happened, showing a very full closed container and only a small layer of water in the open one. Those are three hot orange suns boiling off the water at the top!

Water Work (7)

A fantastic STEM/STEAM project for your summer!