Change the Scenery

Change Scenery (5)

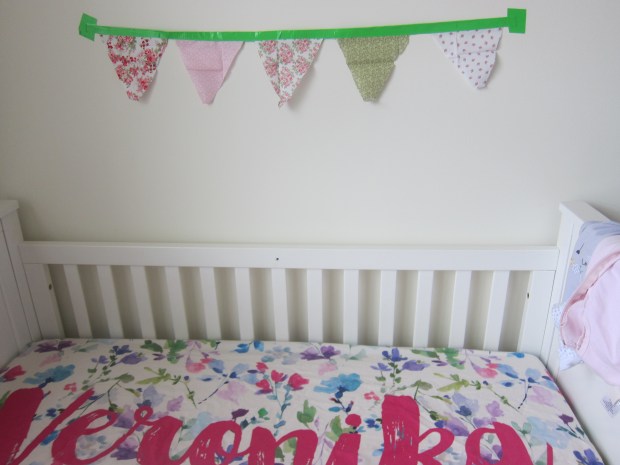
We’ve only decorated Veronika’s nursery with little touches here and there, and I wanted to add a nice change of scenery for her. There are two ways to make this cute bunting – the true way if you can really sew, or my super-quick hack if you have no skill with a needle and thread!

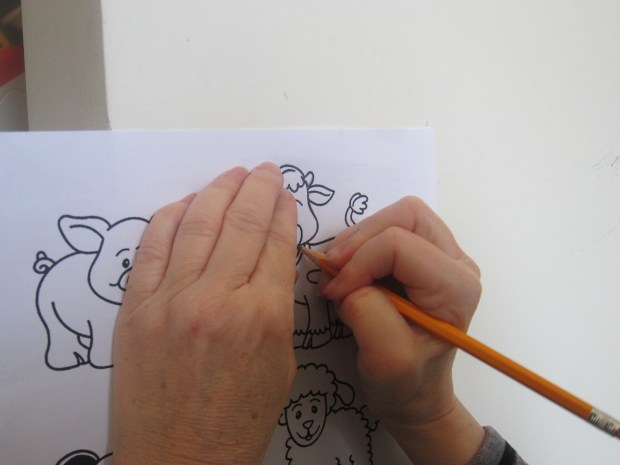
First, I traced a triangle onto paper, and cut out. Use the triangle to cut shapes from different patterned fabrics (available at a craft store).

Change Scenery (1)

What a pretty assortment!

Change Scenery (2)

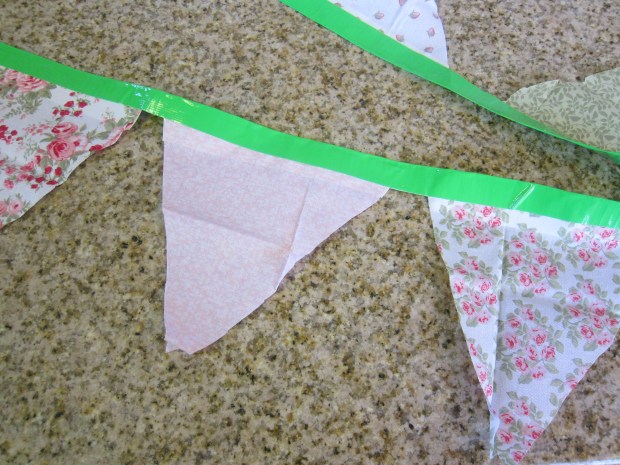
Lay down a long piece of colored duct tape, and arrange the fabric triangles along the tape, evenly spaced. Fold the tape down to secure them in place, then hang on your baby’s wall or in the nursery windows.

Change Scenery (3)

If you are more skilled – and own a sewing machine! – here are more detailed instructions. Safety pin the paper template onto the fabric, and cut two triangles for each desired pattern. Pin the pieces together inside-out, then use a sewing machine to attach on the long sides. Turn the flags the right way around and trim with pinking shears.

Insert the sewn flags into bias tape. Pin the flags to the tape at 2-inch intervals, and sew together. I’d love to see the results if you do this correctly, so please share in the comments!

Change Scenery (6)


Wall Mural

Wall Mural (7)

I didn’t decorate the nursery with either of my children, which had more to do with my disinterest in interior design than anything else. And since we rent an apartment, I always felt I couldn’t do too much to walls or windows.

But it seemed a shame to let the chance pass me completely by, and I loved this cute idea to project an image on just a small portion of a wall, trace with pencil, and then fill in with paint.

The activity book I found this in is so old that it recommended an overhead projector for the task. (!) Do they even make those anymore? Failing to have a projector, I was at a loss for how to trace an image onto the wall until shown a neat technique, no artistic skills required:

Print out the image you want (we went with a farm animal theme) and make a heavy layer of pencil on the opposite side of the paper.

Wall Mural (2)

Now hold the paper up to the wall, and trace all lines with pencil – the graphite will transfer through!

Wall Mural (1)

Soon we had four little farm animals to color in.

Wall Mural (3)

I chose a spot on the wall that was fairly low, so it will be at eye level with Veronika once she starts to crawl or toddle about.

Wall Mural (8)

I used acrylic paint, and decided that it looked neater with the outlines of the animals painted, but not filled completely in.

Wall Mural (4)

Little blue sheep was too adorable!

Wall Mural (9)

Veronika was my eager audience, her eyes wide as I worked!

Wall Mural (6)

And ha, then there was the problem of explaining to my four year old why mom was suddenly allowed to paint on the wall. So I let him make a design of his choice in a tiny portion of the corner. Behold his red bird:

Wall Mural (11)

I can’t wait for Veronika to enjoy this beautiful little portion of her room!

Wall Mural (10)