Dancing Turkeys

Dancing Turkey (10)

If you’re starting to get in the mood for all things turkey in advance of Thanksgiving, these silly turkey puppets will kick things off on a lighthearted note.

To make the turkeys was quite complicated, and truth be told ours looked a  bit more like a chicken since I had white yarn, not brown, for the steps that follow.

For the body, wrap a ping-pong ball or golf ball in double-sided tape and then wrap with yarn. Tuck the final strand under to secure.

Dancing Turkey (1)

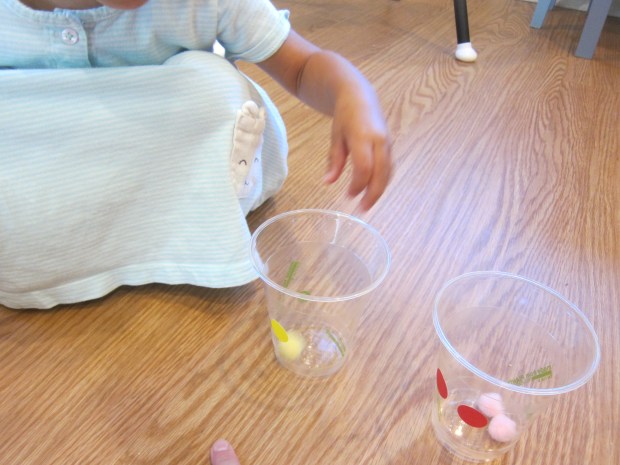
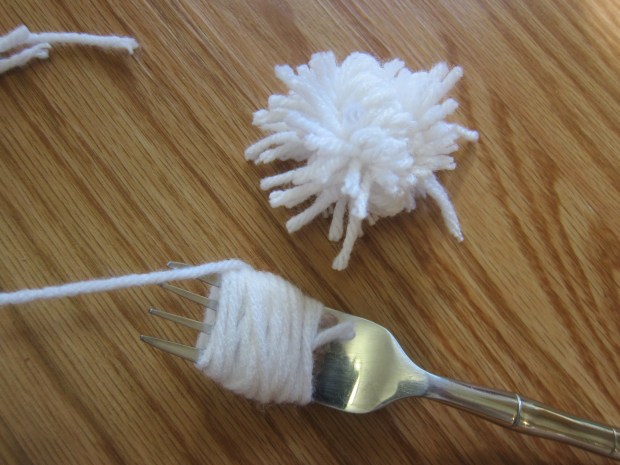
Next, you’ll need to make three pompoms, two for feet and one for the turkey’s head. For an easy at-home pompom, wind yarn around the tines of a fork, then tie a string tightly around the middle in the other direction. Slip off the fork and snip the loops to make pompom fringe. Make sure to leave one long strand on each pompom foot.

Dancing Turkey (2)

Cut a beak from felt and hot glue onto the head pompom, along with 2 wiggle eyes.

Dancing Turkey (3)

Now put it all together! I hot glued a length of craft boa onto the back of the body, then curved a half-length of pipe cleaner into an S shape. Hot glue the top of the S to the head, and curve the bottom of the S around the body, securing with a little extra hot glue.

Dancing Turkey (5)

Tie the long strands from each pompom foot onto the body. Finally, hot glue feathers along the boa in back for the turkey’s tail feathers.

Now to make it dance! Cross two Popsicle or craft sticks into an X and secure with yarn around the middle.

Dancing Turkey (6)

Cut three lengths of stretchy jewelry cord; you’ll need two 12-inch pieces and one 6-inch piece. Tie the long ones to the legs, and the short one to the head, and then secure them all to the Popsicle sticks.

Dancing Turkey (8)

Break out the Thanksgiving tunes and make it dance! We loved kicking off this holiday in celebration of these beautiful birds.

Dancing Turkey (9)

Pompom Counting Fun

More Pom Pom Fun (3)

Veronika and I have been exploring early math concepts lately, and here was another fun way to do so using simple materials that she loves: stickers, plastic cups, and pompoms!

I marked three clear plastic cups with dot stickers, each cup with a different color. The first cup had 1 yellow sticker, the second had 2 red stickers, and the third had 3 blue ones.

More Pom Pom Fun (1)

I then showed Veronika the one dot on the first cup, and told her there was one sticker. “Can you add one pompom?” I asked her. I chose to color-coordinate the pompoms to the dot stickers for clarity, but you don’t have to.

She dropped in one pompom!

Now I held up the second cup and we counted the stickers. One sticker, two stickers. “Can you add two pompoms?” Plink plink into the cup!

More Pom Pom Fun (2)

We repeated for the third cup with three pompoms. Obviously I was directing the game very clearly, which helped her get each answer “right”; don’t expect a toddler to do this game solo. But the activity reinforces the notion of counting up, and that numerals are attached to a tangible amount.

More Pom Pom Fun (4)

It would be been coldhearted not to let her play with the extra materials after that! There were more stickers she could happily dot onto extra cups, and lots more pompoms to play with and keep herself busy for a while.

More Pom Pom Fun (6)

While we were at it, we could talk about a few opposite concepts, like over the cup and under the cup.

More Pom Pom Fun (7)

So this activity is definitely a winner.

More Pom Pom Fun (8)