Collagraph Prints

Collagraph Prints (11)

Collagraphy (not to be confused with calligraphy!) is a print-making technique that uses textured elements applied to a rigid surface to make a picture. It’s a fun art process that will engage your preschooler with texture in new ways.

Before school, Travis and I glued various items from our craft bin onto a piece of cardboard. Sponges can be cut into smaller sizes and applied.

Collagraph Prints (2)

We also added craft sticks, foam pieces, and buttons.

Collagraph Prints (1)

Corrugated cardboard works especially well; try using the reverse side of a coffee cup sleeve for this!

Collagraph Prints (5)

I asked Travis what kind of scene we should make, and he decided a spring garden. We glued down all our elements to make flowers, a tree, a fence, and “pebbles” on the ground (these were the buttons).

Collagraph Prints (3)

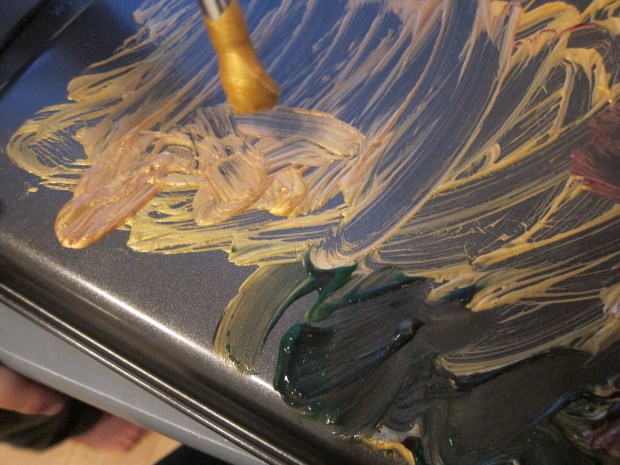
By the time he was home from school, the glue was dry and it was time to paint! I set out cups with different colors. For the first round, we stayed true to nature: a yellow sun, green flower stems, red blossoms, etc.

Collagraph Prints (6)

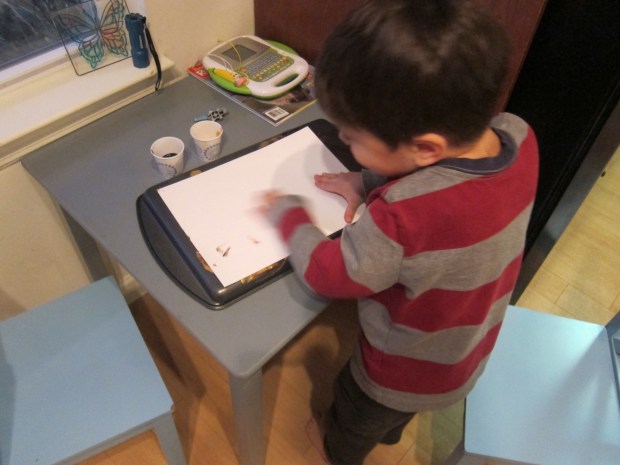
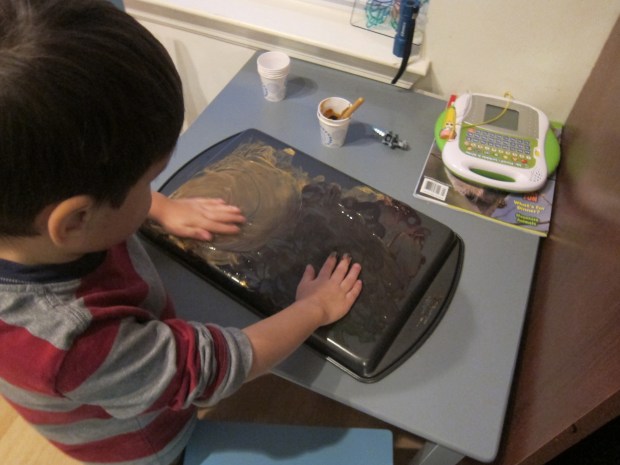
Press a piece of white paper over the print, making sure to press down hard on all your 3-D elements.

Collagraph Prints (7)

We lifted up the paper for the big reveal. Travis was astonished and loved it!

Collagraph Prints (8)

He immediately wanted to make a second version, but with different colors to see how it turned out.

Collagraph Prints (9)

We’d run out of yellow for the sun and sky, so instead painted these parts black. As we lifted off the paper, I said it looked like a black rain cloud. But Travis said, “It’s a turtle with a smile!” Talk about glass half-full, what a wonderful answer!

Collagraph Prints (12)

Then he decided it would be silly to make an all-black print, very Rorschach test of him.

Collagraph Prints (10)

In sum, this was a a fantastic art project and we would definitely do it again.


Cookie Sheet Prints

Cookie SHeet (10)

This is an old idea from Parents magazine that I’ve waited to trot out forever. It turns out there was so much for Travis to love about it, including the first fact that your art canvas will be a cookie sheet.

To set up, set out cups of tempera paint and a cup of water for your child, along with paintbrushes. Dip the brush in the water, followed by the paint, then apply to the back of the cookie sheet.

Cookie Sheet (1)

Travis couldn’t believe he was able to paint on one of mommy’s dishes, a fact which got him over initial skepticism about the project. Pretty soon he was eagerly smearing gold paint all over, and adding highlights of other colors.

Cookie Sheet (3)

Your child can just scribble, or make deliberate designs like circles or other shapes. When Travis was satisfied with his work, we pressed a piece of thick paper down (watercolor paper works well), and pressed firmly.

Cookie Sheet (5)

Now for the big reveal! Travis loved peeling back the paper all by himself.

Cookie Sheet (4)

You can make the resulting prints even neater by drawing deliberate lines in them, either with the back of the paintbrush, or with fingertips.

I showed Travis an example, writing in his requested word (in reference to the shiny gold paint).

Cookie Sheet (7)

But he had way more fun just smearing everywhere with his fingertips. “Now whole hands!” I loved watching him.

Cookie Sheet (8)

Needless to say, we needed to make lots of prints before he tired of the project. A great crafty idea for a cold winter’s day.

Cookie SHeet (9)