Scrunchy Sock

Scrunchy Sock (7).JPG

This easy DIY toy will delight your baby both in sound and looks!

To start, you’ll simply need to use any old sock. I actually used a pair of girl’s tights, which meant I could have a longer snake… and could also make two, one for big brother, since he eagerly needed one after seeing the project.

Scrunchy Sock (1)

Fill each sock with crumpled cellophane, and securely knot at the end. The sound of the cellophane seemed to alarm Veronika somewhat…

Scrunchy Sock (2)

But already she loved it!

Scrunchy Sock (4)

To make it a snake, I cut out details from felt: a red tongue, white and black eyes, and yellow triangles along the back.

Scrunchy Sock (3)

Hot glue on the pieces securely before baby plays.

Scrunchy Sock (5)

Now our snake was ready to slither and scrunch!

Scrunchy Sock (6)


Rattlesnake and Other “Critters”

Rattlesnake (4)

You can bring the “wild wild west” to life for your kids with this easy snake craft. I purchased a tie on clearance at Target for our snake, but you can also raid daddy’s closet for old ties instead of buying something new.

First, we cut a bit of length off the end where it was too narrow, then stuffed bells into the seam to be the snake’s rattle. You can also use wooden beads for this step – anything that will make a noise!

Rattlesnake (1)

Secure the bells or beads between two elastic bands.

For the head, stuff in two old socks. I was worried the socks would fall out, so used a safety pin to help keep them in place.

Rattlesnake (5)

To finish our wiggly friend, Travis glued on two googly eyes and decorated with markers.

Rattlesnake (3)

Squiggles from Travis, diamonds care of mama. (And yes, he insisted on wearing another pair of old socks on his hands as he worked, ha!)

Rattlesnake (2)

Now it was time to take our snake out for play. He can squiggle…

Rattlesnake (7)

…or coil up in a ball!

Rattlesnake (6)

As we played with the snake, we talked about other Wild West critters, like vultures and armadillos. Your kids can pretend to be the animals, curling up in a ball like the armadillo, or trotting through the Western town horseback. For more Wild West fun, see our Koala Crate from ages ago!

Cardboard Tube Coiled Snakes

Cardboard Snakes (8)

This is a fun craft to put together, and the adorable final product can be used either to play with or to occupy a cute space in your garden!

First, paint toilet paper tubes with paint on the insides and out. We liked selecting fun bright colors for this project!

Cardboard Snakes (1)

If you intend to set the snakes outside in the garden, be sure to use acrylic paint. Painting the inside was a bit tricky for Travis, so I did that part and neatened up the outside of his blue one. Let dry completely.

Cardboard Snakes (2)

Cut each tube into a coil shape. I confess that I found this step tricky, so our snakes only have about 4 loops each. I saw others online that were cut into very thin little spirals – by all means go ahead if it doesn’t hurt your wrists as it hurt mine!

Cardboard Snakes (4)

Coil your snakes around a longer tube (like an old paper towel roll) to hold them steady and add colorful dots using the handle of a paintbrush rather than the bristles – a novelty!

Cardboard Snakes (5)

Let one side dry completely before you flip the tubes and dot the other side.

Cardboard Snakes (6)

For a final touch, we glued on triangle “tongues” made from red paper and two googly eyes.

Cardboard Snakes (7)

Travis was so excited by the way the snakes stretched out! Great for imaginative games.

Cardboard Snakes (9)

When it’s time to find your snake a place in the rainforest (er, I mean garden), choose a cozy spot and nestle them in.

Paper Tube Snake

Paper Tube Snake (8)

We had good fun with a snake straw puppet a few days ago, and soon decided we needed another slithery friend around the house. Travis enjoyed this method of making a snake even more!

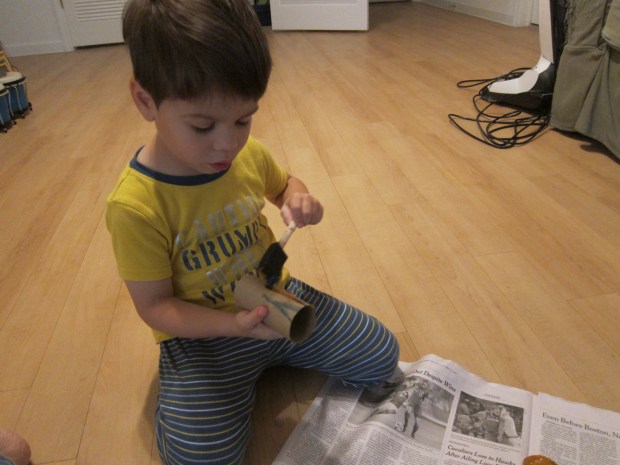
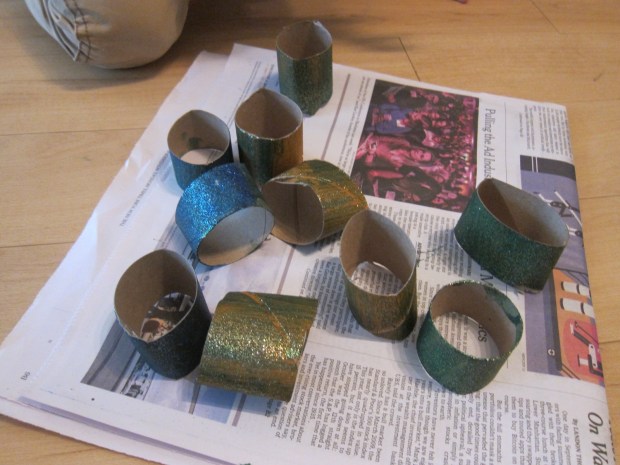
To start, paint cardboard tubes to be the snake’s body. I had one empty paper towel tube and one empty toilet paper tube, which dictated how long our final snake would be. Save lots of tubes and you can make your snake even longer!

Paper Tube Snake (1)

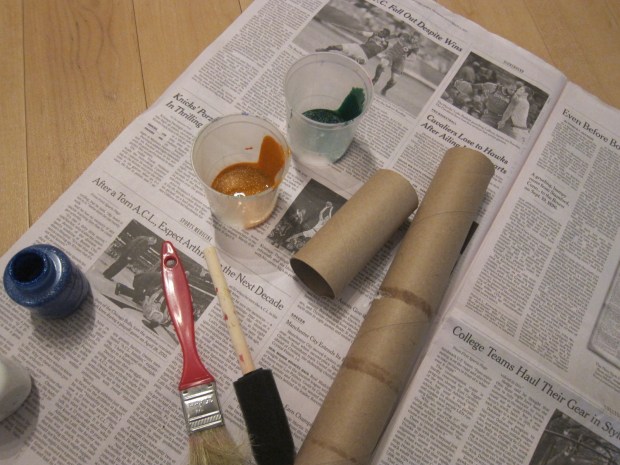
We painted the snake with glitter paint, giving it a very reptilian shimmer, then set it aside to dry.

Paper Tube Snake (2)

Once the paint dries, cut the tubes into pieces (about 3 pieces for a toilet paper roll, and 6 or 7 from a paper towel roll).

Paper Tube Snake (3)

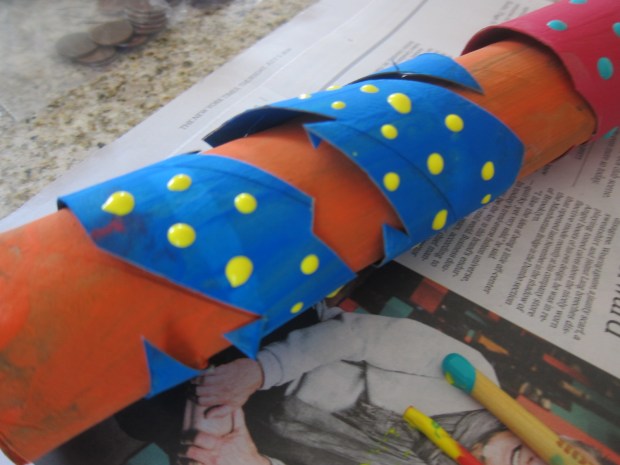
Your child can decorate the snake further by making dots, squiggles, or other designs with more paint or with markers. But Travis decided he liked the glitter plain, and was super excited for the next step because it involved…

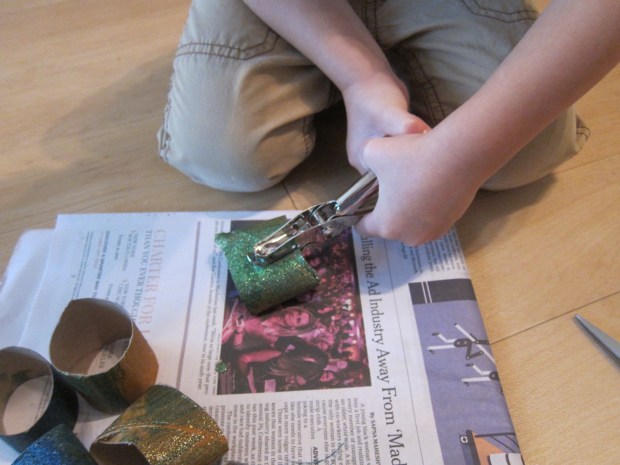
The hole punch! He loves practicing with the hole punch on paper, and was very curious to see if he could punch all the way through cardboard. The verdict is that he needed a little extra oomph from mommy’s hands, but he loved the process of punching two holes into each segment of cardboard.

Paper Tube Snake (4)

Next up was lacing. We used a long red string with an eyelet at the end, making it easier to poke through the holes without fraying, but regular yarn would work too. Travis was so proud of his ability to thread up and down through the holes as we attached our snake segments together, declaring at one point, “I love lacing!”

Paper Tube Snake (5)

Once all of your pieces are threaded on the string, tape the back and front end of the string to the cardboard. We left a little extra string at the front so Travis could tug the snake around the room.

Paper Tube Snake (6)

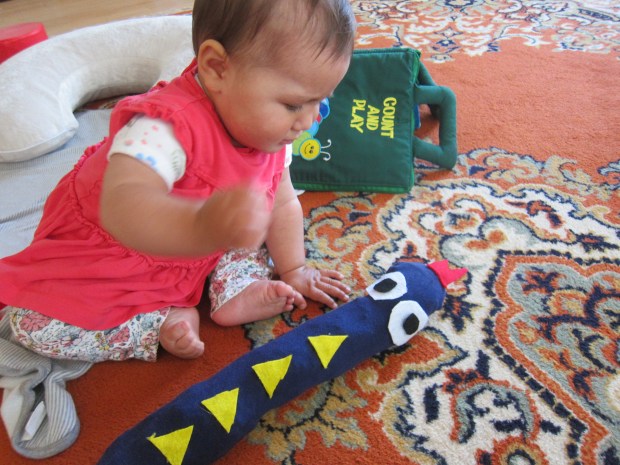
A little glue helped us add googly eyes and a red felt tongue as the finishing touches.

Paper Tube Snake (10)

Pardon the blurry picture, but the snake was wiggling too fast once in Travis’s hands for me to capture a clear image – a sure sign of an enjoyable snake!