Thankful Spelling

Spell Thanks (3).JPG

Travis is quite proud of his spelling lately, so the Thanksgiving holiday was the perfect opportunity to practice with stick writing. What an advancement from when he and I made the alphabet in sticks before kindergarten started!

After a quick walk, we returned home with lots of little sticks. Make sure you have some that are long and some that are shorter.

Spell Thanks (1)

I had him carefully sound out the word T-H-A-N-K-S. As we got to each letter, he crafted it from sticks. He loved finding just the right piece, for example shorter sticks to cross his H or A.

Spell Thanks (2)

S was tricky, so we ended up snapping a long stick in such a way that it curved twice. He had so much fun that he continued to make letters on the floor for a while after! And I was thankful for that.

Spell Thanks (4)

Stick Letters

Stick Letters (2)

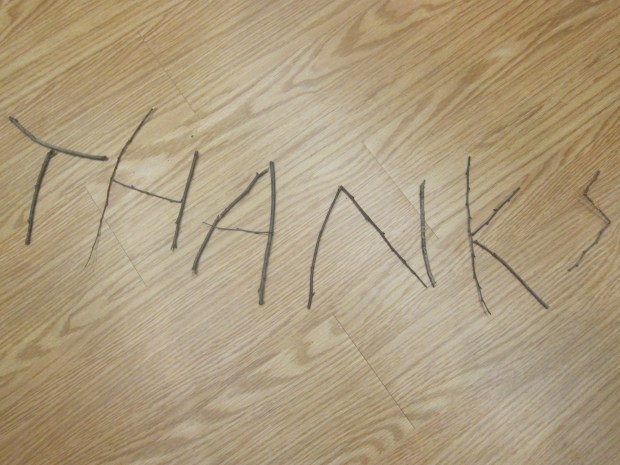
I recently made sure to collect a variety of sticks: some long, some short, some very straight, and some slightly curved. Because I knew Travis and I had stick letters in our future!

The following day, I dumped out the bag of sticks on the floor and told him we’d be going through the alphabet.

Stick Letters (1)

Now, this was a real test for Travis as we prep for kindergarten, because I knew it would require patience to work through all 26 in one sitting, plus he had no guidelines to follow for the letters. I am thrilled to report our summer work is paying off; he was fascinated and focused the whole time.

Part of the fascination is that we turned it into a challenge: which letters would take the fewest sticks, and which the most?

He started confidently with 3 sticks for A. But then B really gives him pause; I pointed out that to make curves, we needed more sticks, but they had to be short ones. That meant a total of 6 sticks for B!

Stick Letters (3)

He began working his way through the alphabet and this was a great way for me to notice which ones gave him pause. At first he boldly clustered the lines of E together. I helped him see one went at the middle, one at the top, and one at the bottom.

Stick Letters (11)

M and N were a little tricky. We focused on a vocalizing an “up down up down” pattern to help him get there.

Stick Letters (5)

Could he turn P into an R by adding only 1 stick? He could, no help required!

Stick Letters (6)

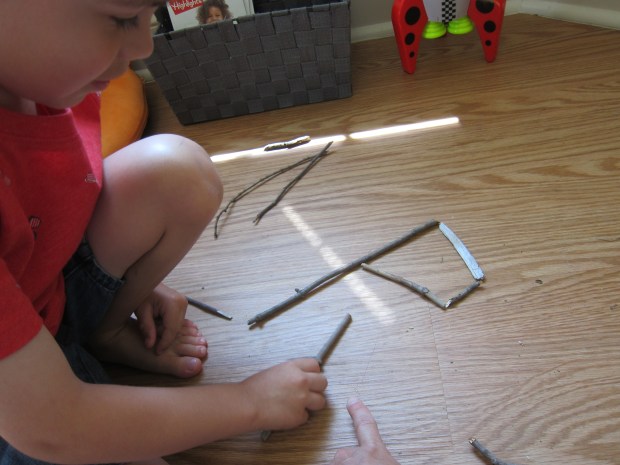
Curvy S needed so many sticks.

Stick Letters (7)

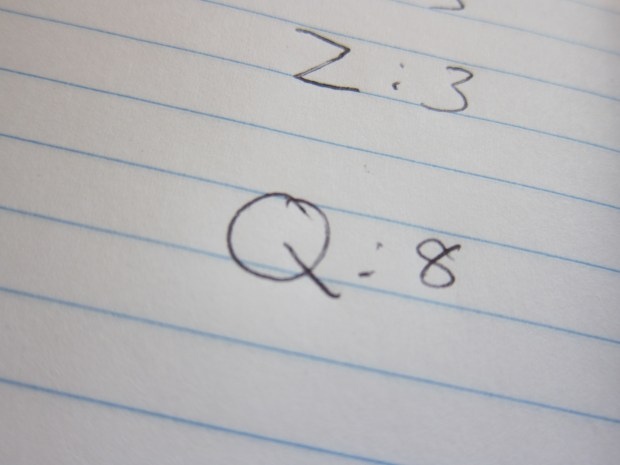
But the winner for the most sticks was the curviest – Q, requiring a total of 8.

Stick Letters (10)

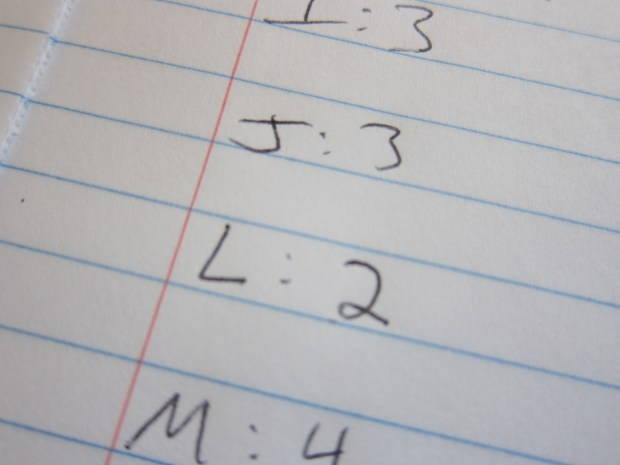
Meanwhile, he aced the ones that used only 2 sticks: L, T, and V.

Stick Letters (9)

We loved everything about this activity, from the nature walk to collect the sticks, to the feeling of accomplishment, to the fun of making each letter.

Twig Stars

Twig Stars (10).JPG

There is a beautiful, yuletide feel to these stars, although here we are crafting them in October! Make them now, or set the idea aside for the upcoming Christmas season.

For each star, you’ll need 5 sticks that are roughly the same thickness and length; break any to the proper size if they are too long.

Twig Stars (1)

I hot glued the stars together, then set Travis up with tidbits to decorate them – berries, pine needles, a bowl of glue, and a bowl of glitter. Little pinecones would look sweet, too.

Twig Stars (2)

First dunk the berries in the glue, then immediately transfer to the glitter. He loved this part!

Twig Stars (3)

If you like, dunk in the tips of your pine needles, too, or any other nature finds you have to add to your stars. Let dry completely.

Twig Stars (5)

The next morning, we dabbed glue all over the stick stars, and added our berries and other treasures.

Twig Stars (6)

Travis got a bit impish and loved smearing glue over the leftover glitter on our work surface, too. Good thing I had things covered with a layer of foil!

Twig Stars (7)

Hang the resulting stars from twine, indoors or out.

Twig Stars (9)

As mentioned, these would be beautiful at Christmas, but will light up a windowsill or other area of your home any time!

Twig Stars (8)

Nature Hunt Treasure Stick

Nature Hunt Stick (6)

This neat idea from KiwiCo’s website is a great way to bring home treasures from the outside world. Bonus points if you craft it while you’re still out in the woods!

We went for a short walk after a morning of classes, bringing along two Y-shaped sticks that I’ve hoarded just for this purpose.

Nature Hunt Stick (1)

As we walked, we gathered anything we deemed a “treasure” – leaves we liked, little flowers, berries, and more.

Nature Hunt Stick (4)

Back at the park entrance, we seated ourselves at a picnic table and I showed Travis how to wind yarn (which I’d brought along) around the Y of his stick. Keep wrapping all the way up the Y, then tie the yarn off.

Nature Hunt Stick (3)

Now tuck in your treasures!

Nature Hunt Stick (5)

Travis and I each made one, reflecting the various things we’d found beautiful along the way.

Nature Hunt Stick (8)

A great way to get outside with your little one in these wonderful autumn days.

Nature Hunt Stick (7)