Smeary Paintings

Veronika loves the look of watercolors, but they can be hard for her to use because she often forgets to alternate her paintbrush between the cup of water and the tin of dried paints. This alternative method creates a similar smeary, watery look, but was easier for her to do.

To start, I used a wide paintbrush to spread water all over a sheet of thick paper. Veronika then used a smaller paintbrush and picked out pink and purple tempera paints to dip into. The colors bleed and run across the sheet in such a pretty way!

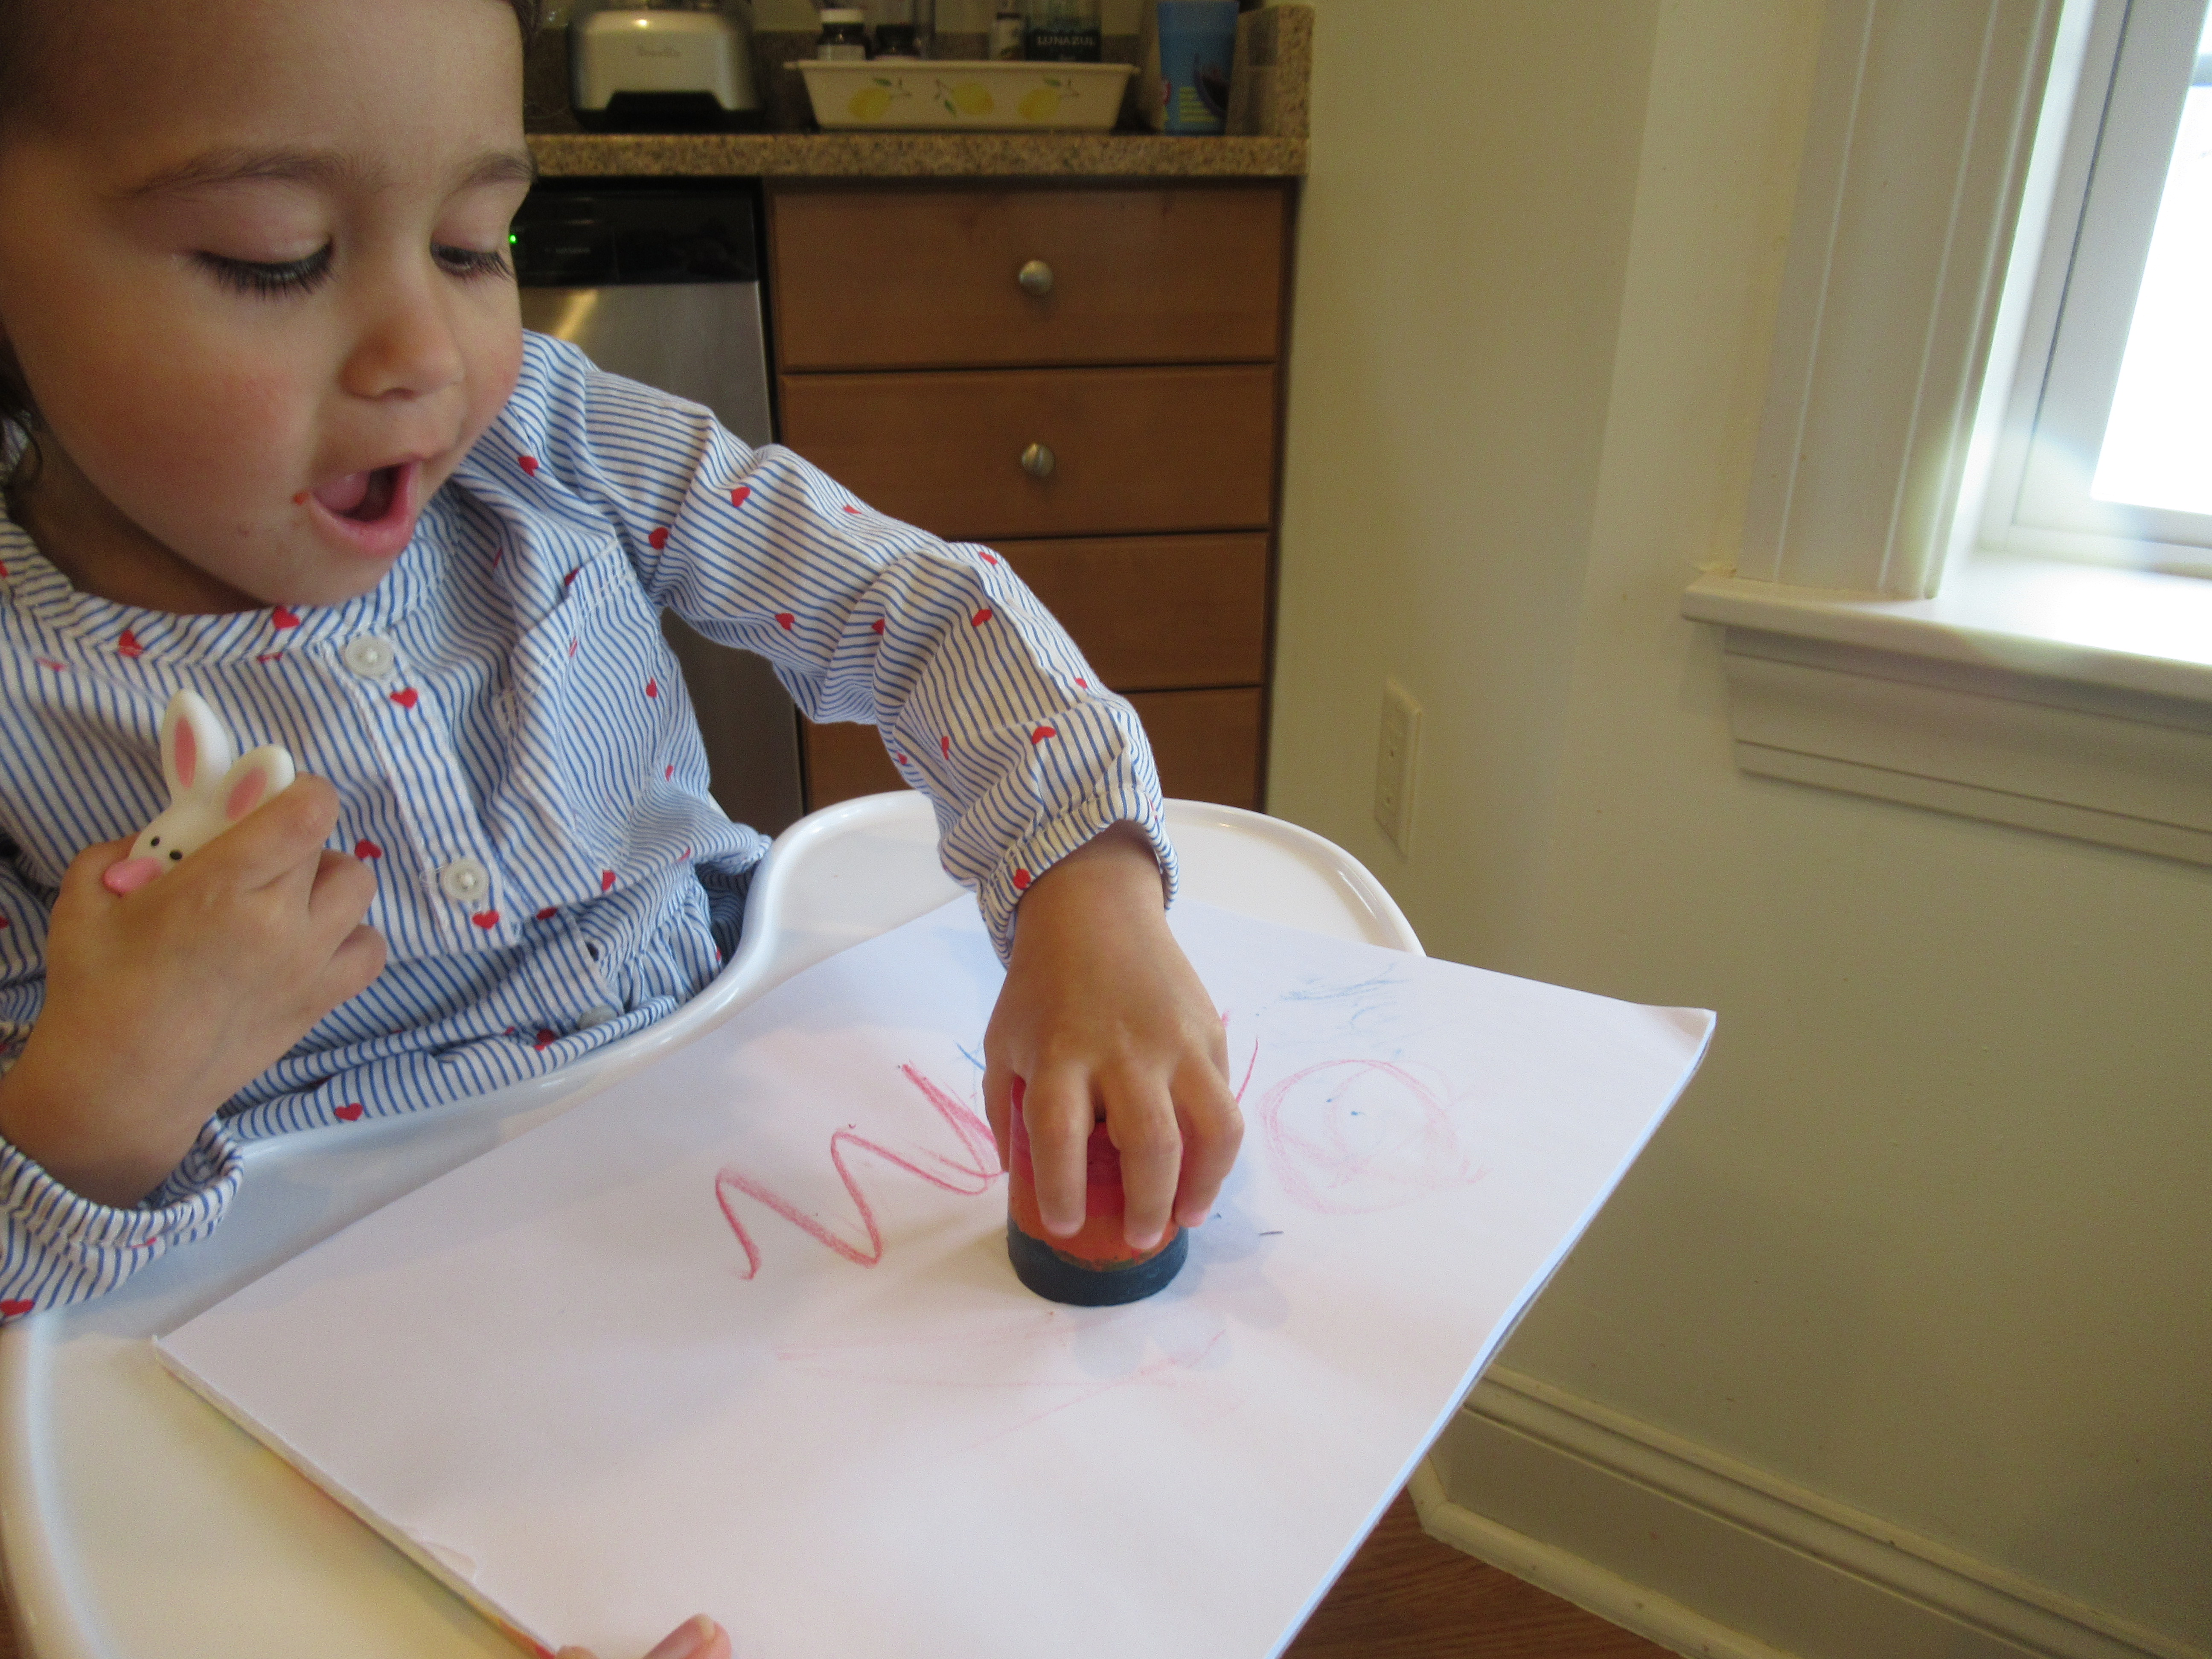
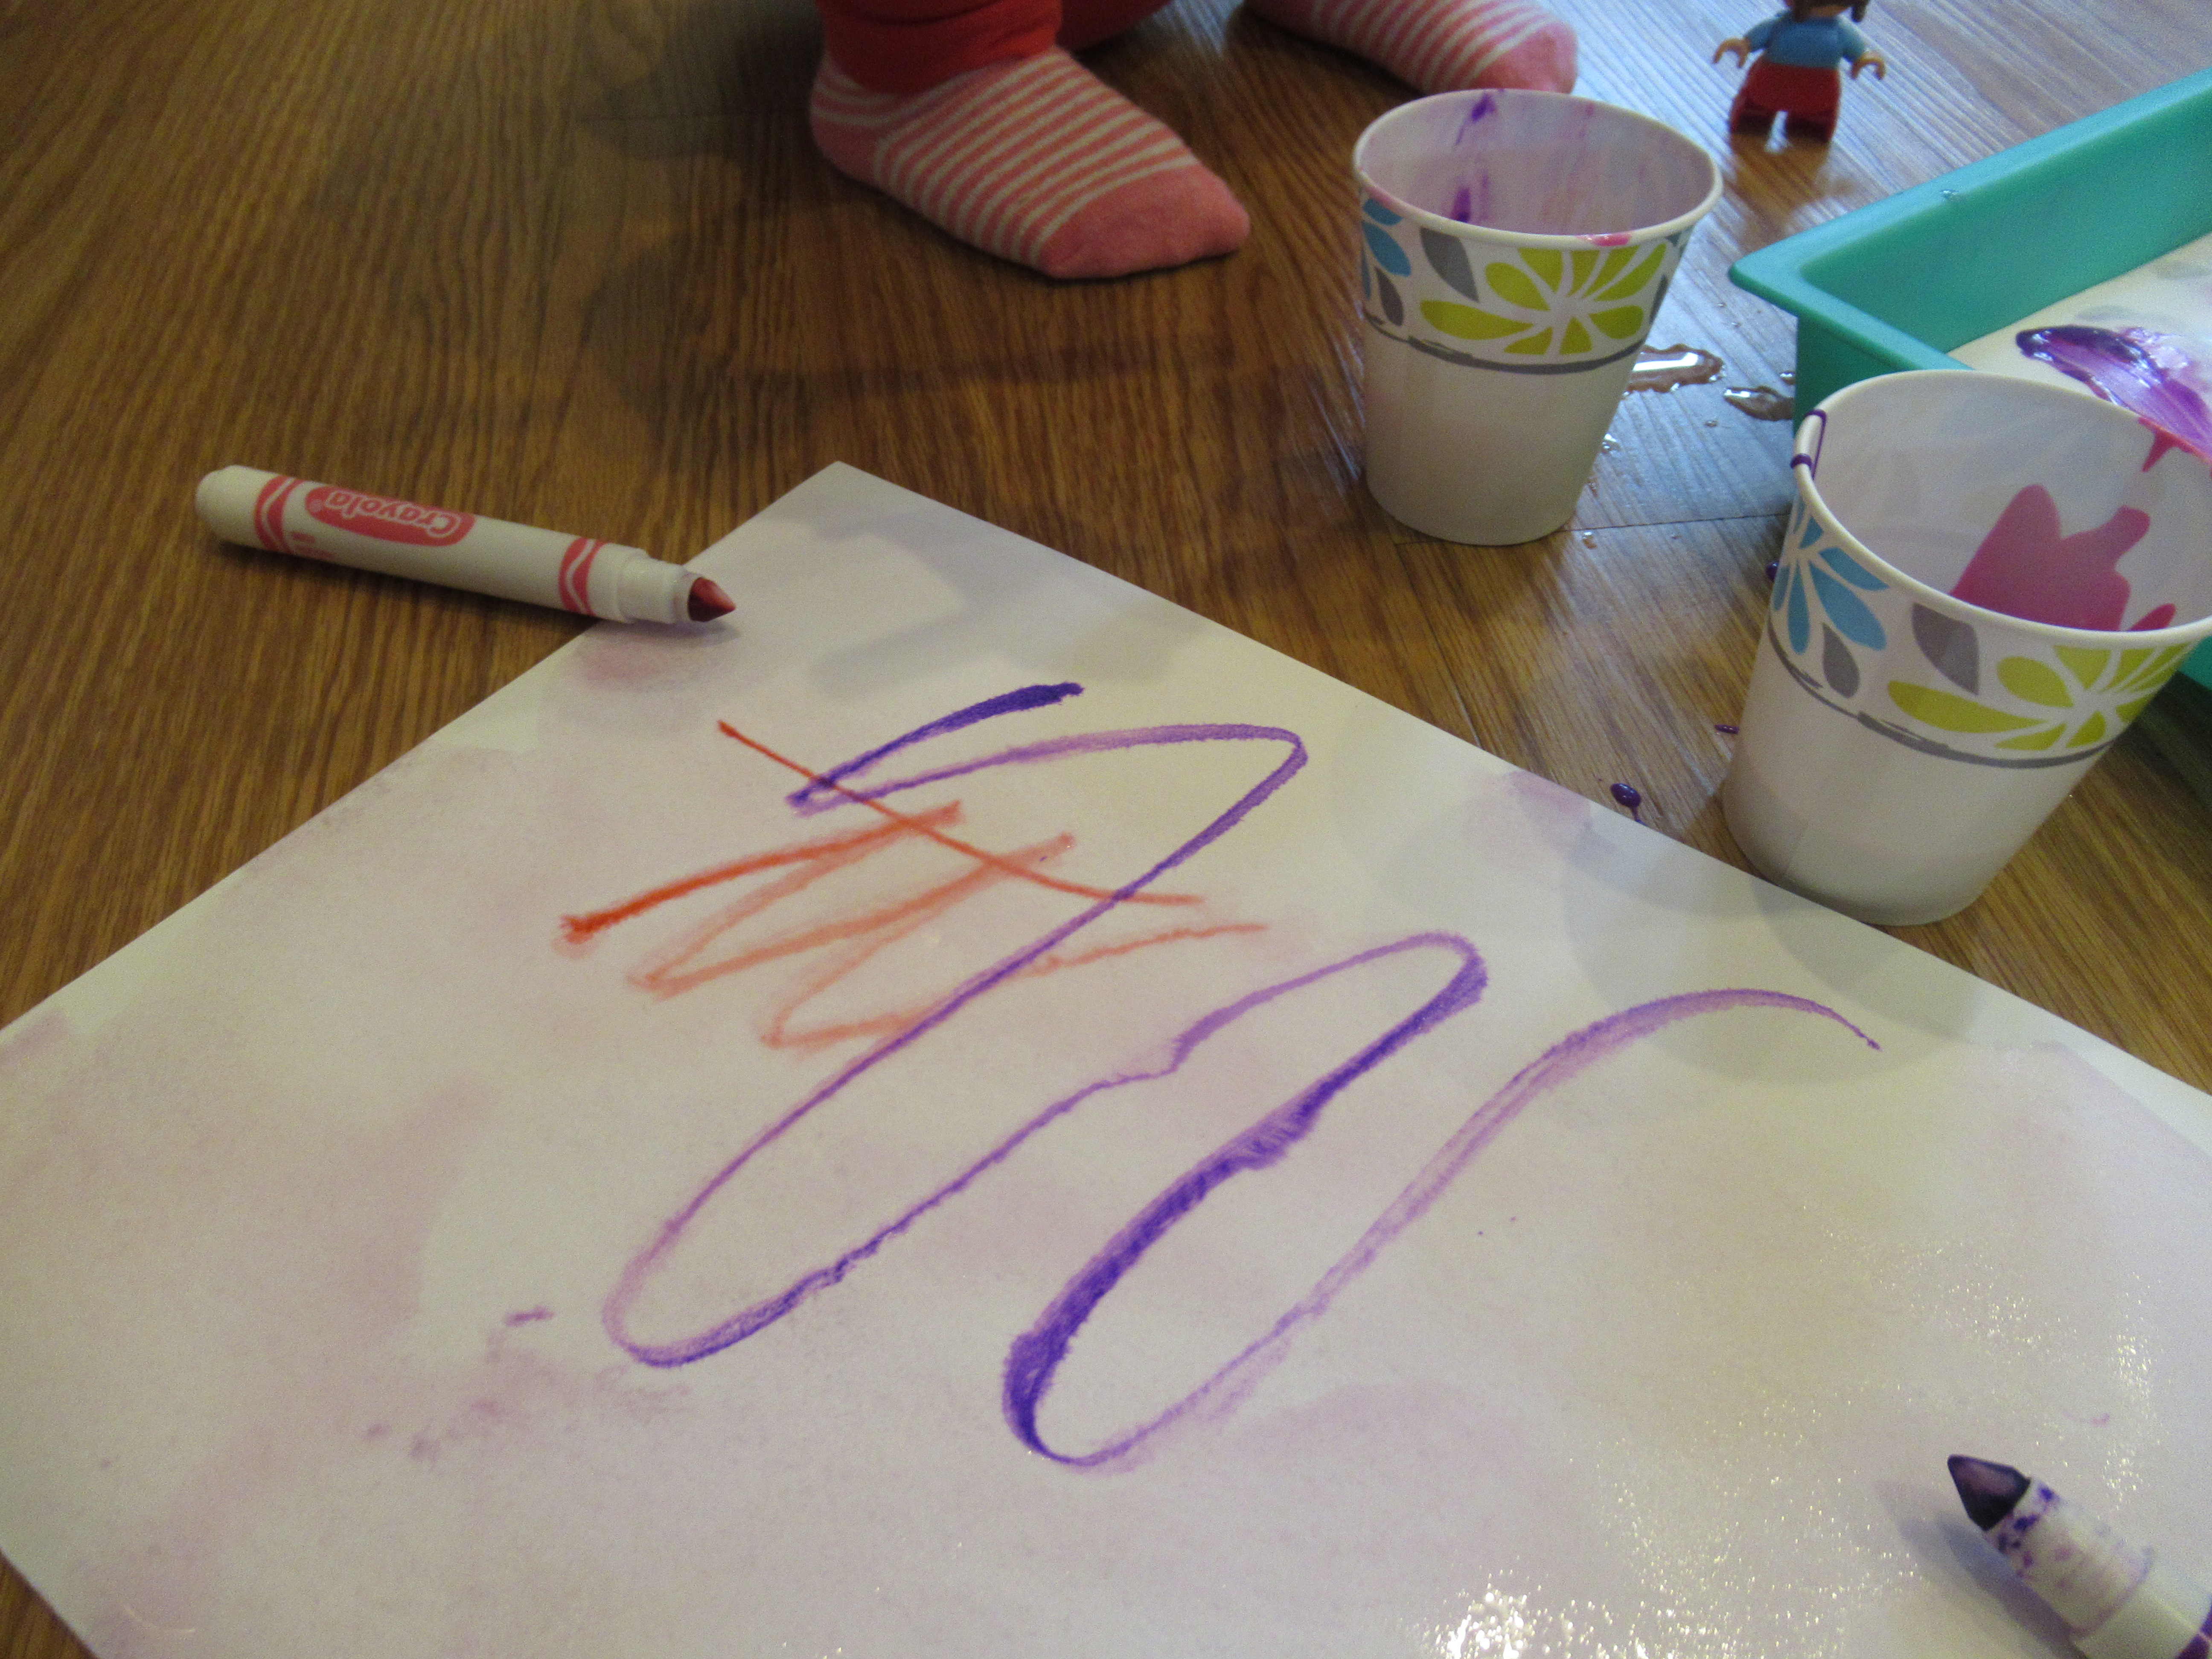
I wondered aloud if we could achieve a similar look with markers, and then “painted” water over a second sheet of paper. Veronika tested it out, and while the effect was neat, I only recommend this with markers that are near the end of their life, as it quickly wears them out.

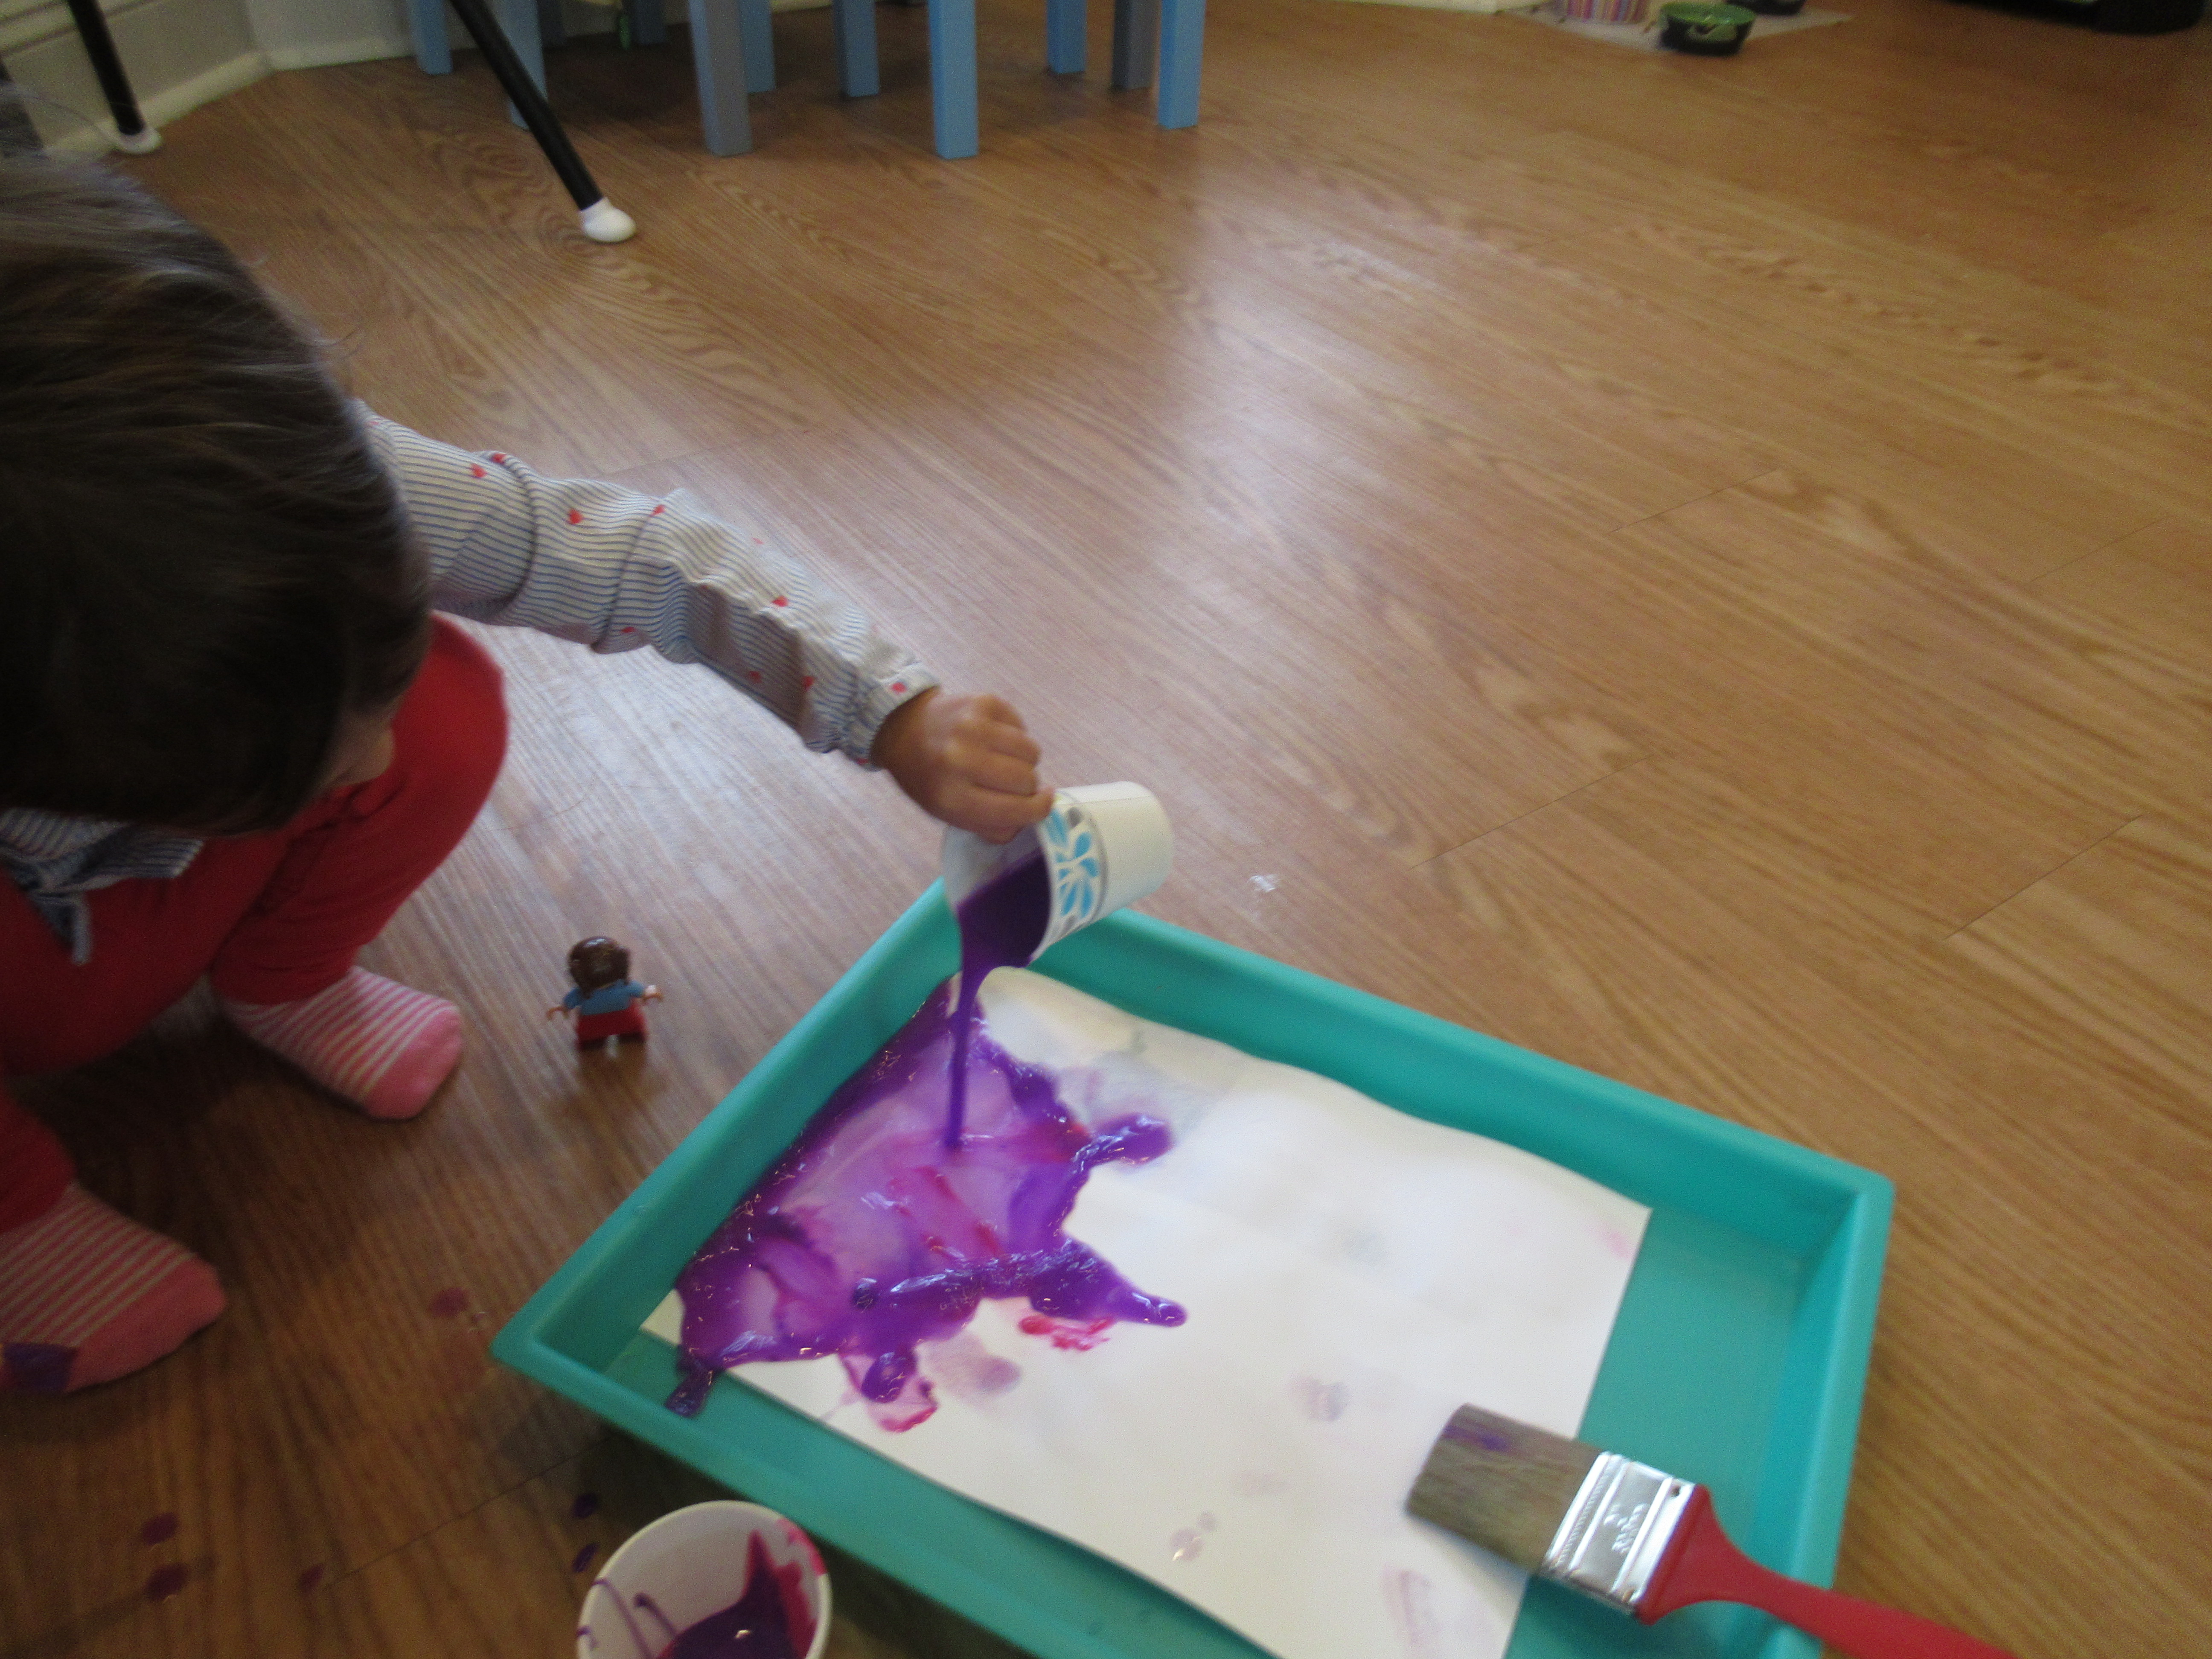
Veronika now became inventive with the project. First, she poured the cup of water I’d used into the cup of paint, and tested how this mixture looked on the paper.

Then she poured the whole watery mix over the paper; it was a good thing the paper was thick! She made swirls through the goopy mess with her paintbrush, making deep lines.

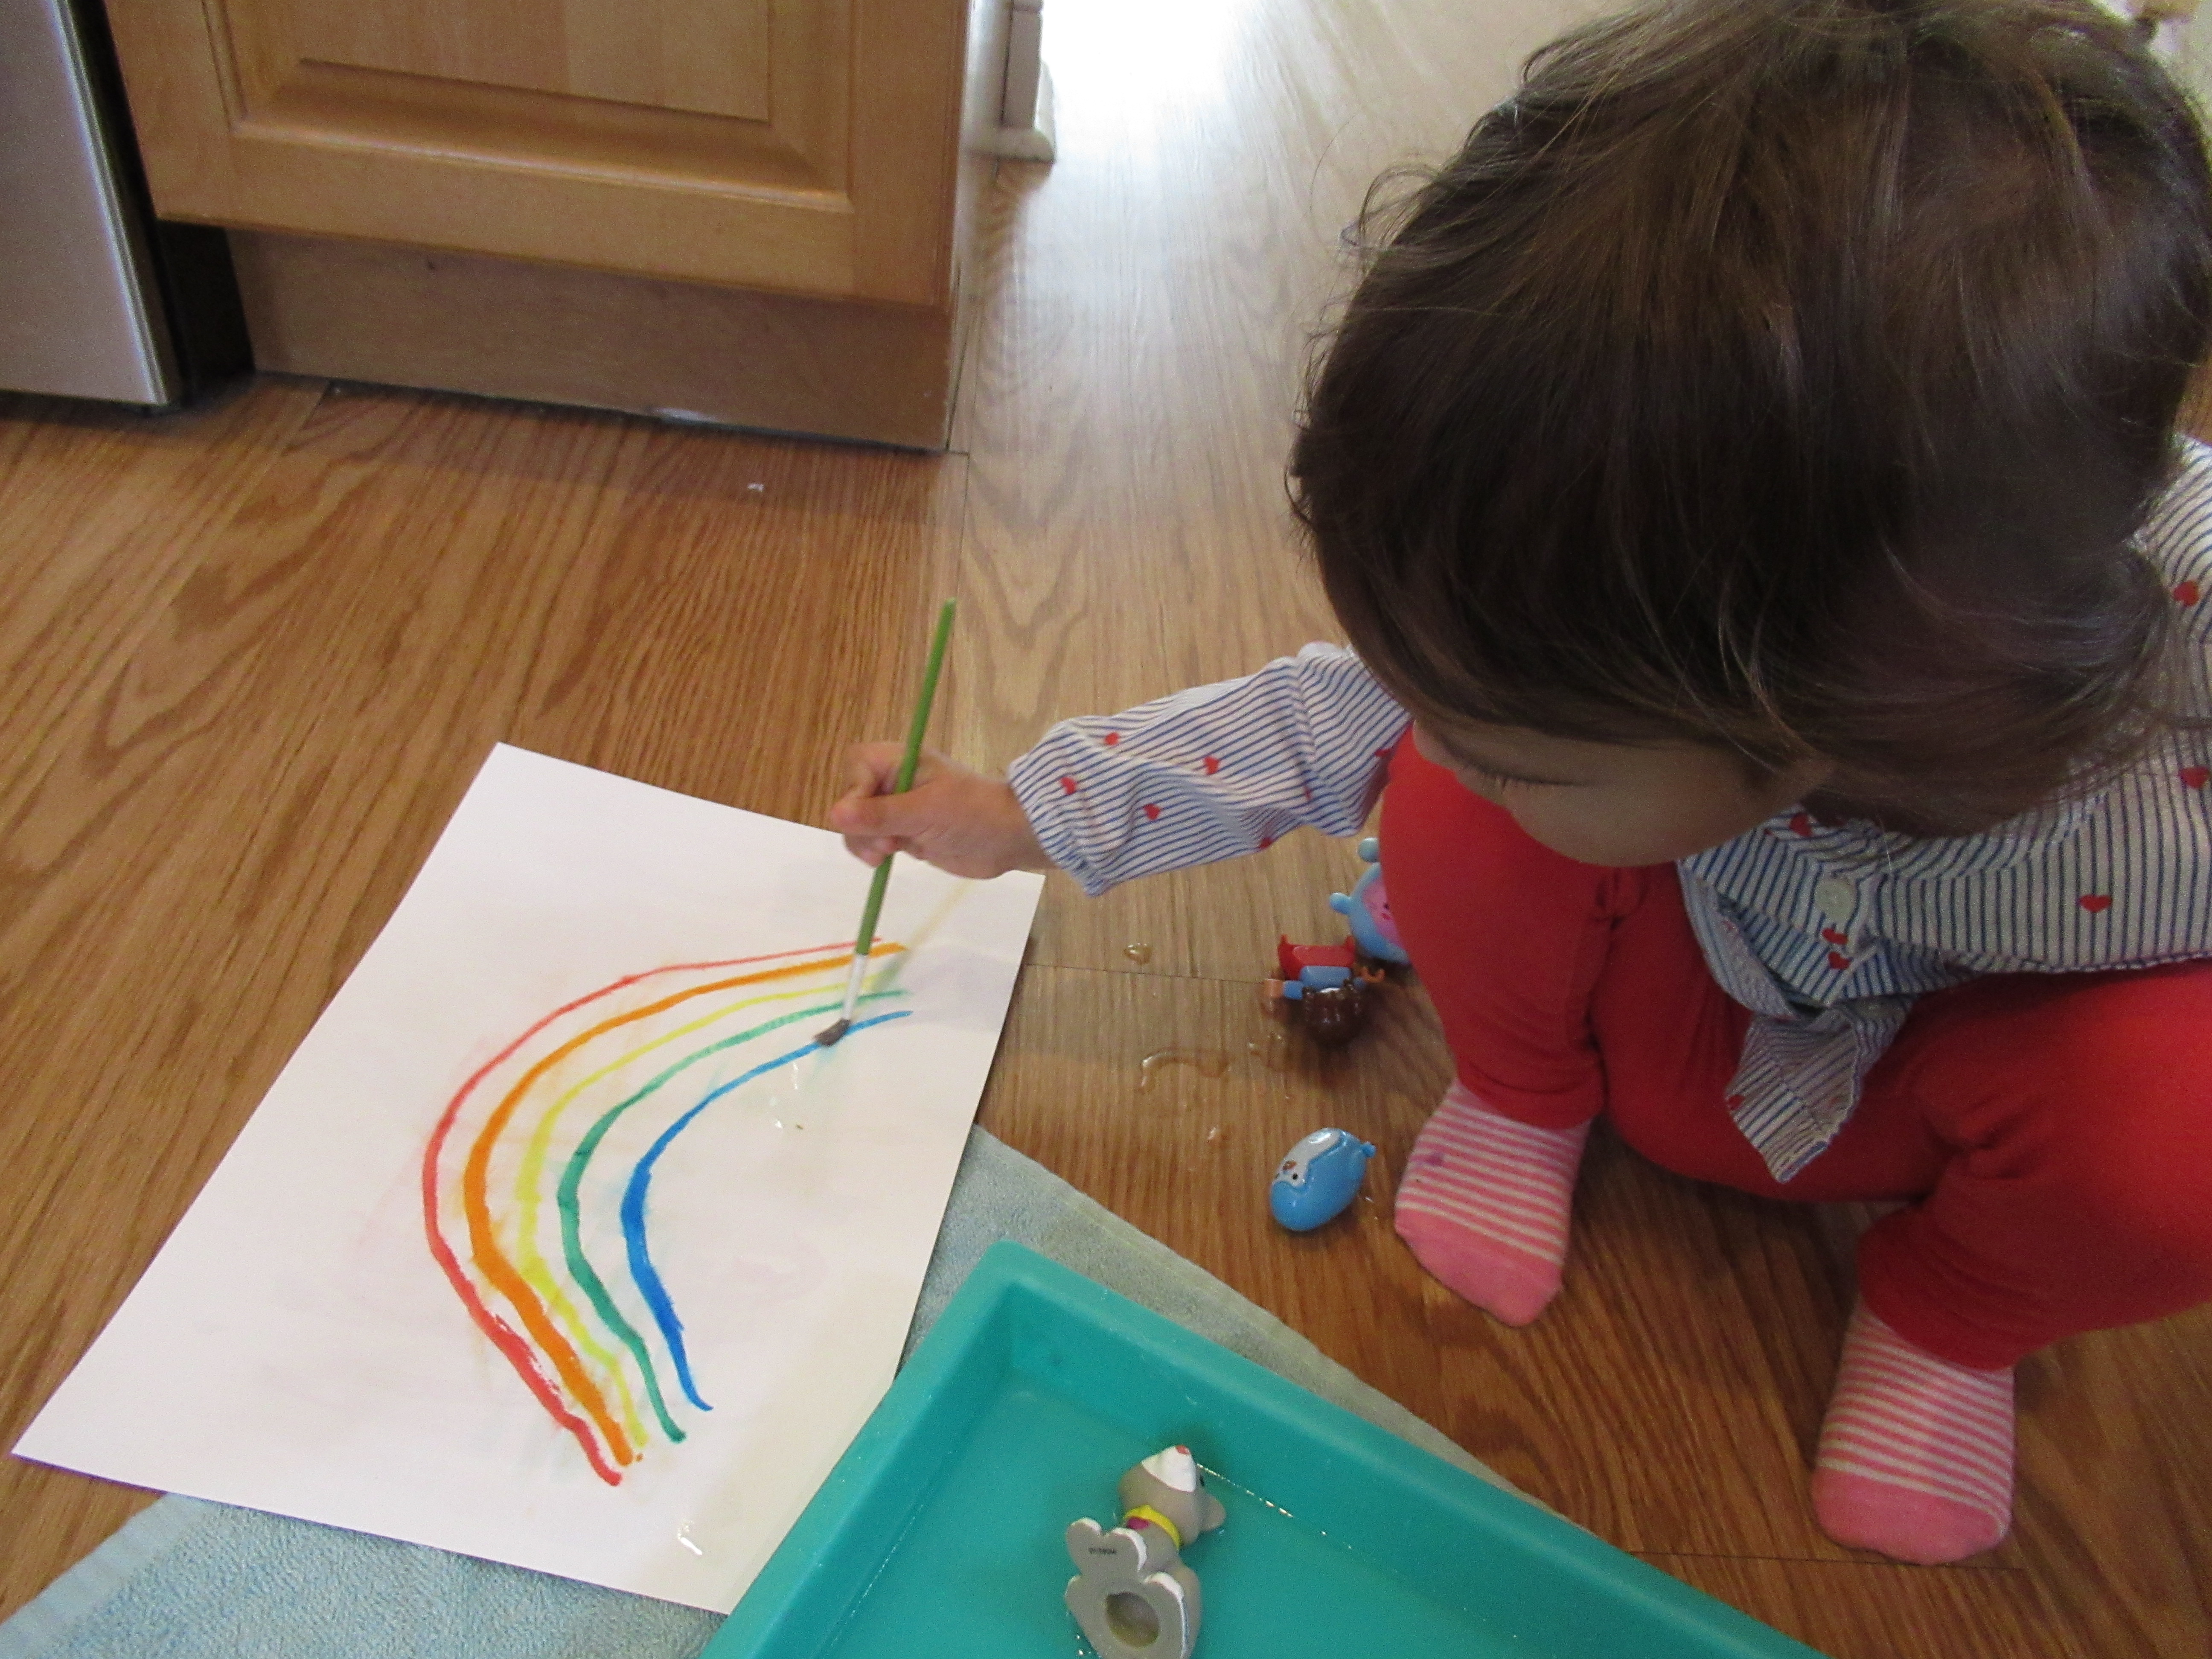
As a side note, this watery method is great for kids who love to paint rainbows, since the ethereal quality captures the fuzziness of a rainbow on a true rainy day. So for our final sheet of wet paper, I drew a rainbow with markers, and then she “painted” still more water on top.

Rainbow Crayons

In the past, I’ve recycled bits of old crayons into interesting shapes, but never before have we made one giant recycled crayon! This project involves a lot of adult prep, but the resulting rainbow crayon is a delight.

To start, I removed the wrappers from the few crayons remaining from our once-giant box. It helps to soak the crayons briefly in water, after which the wrappers slip right off.

Next, you’ll need an empty tin can (I used an olive can), cleaned and dried. Working with one color family at a time, break the crayons into smaller pieces and place in the tin can. Place the tin can in a saucepan, and add boiling water around it. The wax will begin to melt almost immediately! Pour into a plastic container (empty play dough canisters were perfect!) and let set.

As the red layer set, it was time to melt the orange crayons and so on until I’d worked my way through the rainbow. I didn’t always let the old layer set long enough, which meant the yellow, green and purple layers weren’t as easy to see. Next time, I would be a bit more patient!

Still, the end result was a beautifully-layered crayon. Snip off the plastic container and hand over to your waiting toddler.

Veronika loved that she could change color depending just on how she held it. “This way is red…” she said.

“And this way is blue!” I also showed her how she could rub the crayon along on its side, showing multiple colors at once, or make big circles with it.

“The crayon is so big!” she marveled. This is the perfect crayon for toddler hands and sure to be a delight.

Cheesy Hash-Brown Cups

Veronika has officially moved up from Hello magazine (the Highlights edition for tots aged 0 to 2) to the company’s High 5 magazine, aimed at 2 to 5 year olds. And that meant she was ready for her first recipe side-by-side with me!

To start, I did a little grown-up prep and chopped 1/4 cup green onions and 1/4 cup red bell pepper. Set aside.

Meanwhile, thaw 1 (16-ounce) package shredded hash browns. Drain in a colander and transfer to a large bowl.

Time for Veronika to join in! She helped stir in the green onions and bell pepper, 3/4 cup shredded non-dairy cheddar, 3/4 cup shredded non-dairy Parmesan, and 1/2 teaspoon salt.

Next, she lined muffin cups with cupcake liners, proudly depositing each one!

I helped her spoon some of the hash brown mixture into each cup, tamping each one down as needed (You can use your fingers or the back of a spoon for this step).

Finally, together we drizzled each portion with 1 tablespoon non-dairy creamer; the slightly nutty flavor of almond-based creamer was nice with the rest of the flavors.

Bake at 350 degrees F for 1 hour, then let cool slightly before serving. These were fantastic as part of a breakfast-for-dinner night, including vegan bacon and breakfast burritos!

Playing with Tees, Three Ways

Brightly-colored golf tees are a fantastic item to repurpose as toys for toddlers. To wit, here are three ways Veronika has played with them lately!

First, we used a batch of homemade play dough and I set out a tray of various items that could all poke into the dough: tees, pipe cleaners, and cut pieces of straws. This activity was great for honing fine motor skills, and it was interesting to see her discover how much easier it was to poke in the sturdy tees than the bendy pipe cleaners. “It got curly!” she said with a bit of disappointment, of the latter.

She marveled at the way a tee, on the other hand, could pass straight through a ball of play dough, from one side to the other.

After decorating some blobs of playdough, the upright tees looked like birthday candles. Thinking quickly, I pulled out a muffin tin and we made little cupcakes, dotted with candles for a stuffed animal’s party.

The next day, we pulled out the play dough again, but this time I flattened it into a base and challenged her to hammer in the tees with her toy hammer. She wasn’t as into it as I hoped, but she did like poking the tees into the second alternative I offered for a base: a few blocks of Styrofoam (the kind you can purchase for floral arrangements).

Now, the tees were standing at attention and I had a final challenge for her: To balance a marble on the cup of each one!

This took delicate fingerwork, but not only did Veronika excel at it, she absolutely loved it!

Even more fun was lining up a few marbles, and then flicking them off. She quite enjoyed the noise as the marbles plinked down.

From here, I was thrilled to see her come up with her own ways to play. She could squish a marble into the playdough, and then “hammer” it in further with a tee.

Needless to say, tees are a great way to keep a toddler busy!

Follow the (Toddler) Leader

The last time Veronika and I played Follow the Leader, she was just learning to take steps on her own, and also just learning to copycat directions. When we needed some quick movement play this morning, we did an update on the game, basically like Simon Says, except with no tricks about when to follow the directions or not. Even better, Veronika then had her turn to be leader, and toddlers sure do love being in charge!

First, we just tested out some basic direction-following. If I touched my toes, could she touch her toes?

Same thing for reaching up high to the sky!

Next she followed the leader as I spun a scarf and twirled around.

And again for pretending to run in place!

Time for Veronika to be the leader! I loved watching the clever moves she came up with, including putting the scarf between our knees and more. She was clearly so proud that mommy had to do whatever she said for a change!

Curried Lentil-Stuffed Green Peppers

Lentil Stuffed Peppers (3)

Any meal where you can eat the bowl is exciting for kids. These hearty stuffed bell peppers ensure that the “bowl” will be healthy, too, down to the last bite!

Ingredients:

  • 1 cup brown rice
  • 2 and 1/4 cups water
  • 2 medium carrots, chopped
  • 1/2 cup green lentils
  • 1 vegetable bouillon cube
  • 1/4 teaspoon curry powder
  • 1 tablespoon olive oil
  • 2 cups marinara sauce
  • 4 large green bell peppers
  • 1/2 cup shredded non-dairy cheese
  1. To start, combine the rice, water, carrots, lentil, bouillon, curry powder, and olive oil in a saucepan. Bring to a boil, then cover, reduce heat, and simmer for about 20 minutes, or until the liquid is absorbed. Set aside.
  2. Meanwhile, spoon 1/3 cup sauce into the bottom of an 8-inch baking dish; set aside.
  3. Remove the stems, seeds, and membranes from the bell peppers and place in the sauce. Divide the lentil mixture evenly among the bell peppers, then sprinkle evenly with the cheese cheese before pouring the remaining sauce on top.
  4. Bake at 350 degrees F for 40 minutes.

Lentil Stuffed Peppers (4)

Kazoo

We’ve been having fun with super-simple homemade instruments lately, and this one is a riff on an oldie but goodie.

To make a “kazoo” that sounds nearly like the real thing, simply use a hole punch to make a hole down the side of an empty toilet paper tube, as far as the punch will reach.

Apply glue on the opposite rim of the tube, and place on a square of wax paper. Let dry completely. Once the glue dried, I invited Veronika to decorate the kazoo! She added purple marker and some stickers before declaring it complete.

Now, I showed her how this little creation could make music. Hum any favorite tune into the tube, as you would with a regular kazoo, and the vibrations against the wax paper will make a fantastic kazoo-like sound.

Veronika couldn’t quite master the art of humming into the kazoo, but certainly loved singing down into it, or listening to my hum! This was a great way to add to our musical play.

Animal Sandwiches, 2 Ways

Veronika recently loved helping make her own lunch so we tested out a few other fun ways to involve her with sandwich prep! For the first version, we made butterflies. Cut slices of bread in half so they form two triangles, then turn the points together to make them look like outstretched butterfly wings.

From here, the toppings are really entirely up to your child! We tried two versions: a savory and a sweet. For savory, I spread the “wings” with non-dairy cream cheese, and Veronika added slices of pickle. She ended up adoring the pickle and eating almost all of it straight off the wings, though!

For the sweet version, I spread the bread with peanut butter instead. This time she had raisins and banana slices for decorating, and even helped slice the banana with a butter knife.

This was a great chance for snacking, tasting, combining new tastes, plus squeezing in science since we could talk about the symmetry of the butterflies as we decorated and enjoyed.

A few days later, we turned to bigger animals for our sandwich play. First we used an assortment of cookie cutters to make animal shapes from slices of whole wheat bread. Veronika chose a cat, turkey, and owl.

She then helped spread non-dairy cream cheese on the animals, which was white “fur” on the cat, white “feathers” on the owl, etc., and a great way to talk about animals’ different coverings.

You can then add features like eyes or beaks with raisins and mini chocolate chips!

To be honest, Veronika never dined on these sandwiches, since it was more about sensory play, but she loved the experience!

Yarn-Wrapped Vase

This quick toddler-friendly craft makes a beautiful vase to keep around the house, or would also be a nice gift for Mother’s Day.

To start, you’ll need an empty plastic bottle. (Preschoolers or older kids could alternatively use a glass bottle). Because the bottle was already a bit sticky from where I had peeled off the label, our first strand of yarn adhered nicely. I added a piece of tape just for extra security, then showed Veronika how to begin twisting the yarn around the bottle.

We have a great skein of yarn that changes colors every few inches, so she was able to make a multi-colored vase with no effort at all! If you have single colors of yarn, simply snip off strands and knot them together every time you switch colors.

Veronika’s little toddler hands grew tired when the bottle was about this full…

…so I filled in the gaps with additional yarn. When the bottle is covered, simply tuck the final thread under another strand to hold it tight. I then made a second version on a small glass jar, which meant we could have a neat multi-height arrangement of flowers on our Mother’s Day table. All the vases need now is to be filled with special flowers to make any gift recipient smile.

Make Homemade Scented Play Dough

I love this play dough recipe because it come together quickly, and because even a toddler can help out with some of the steps. That means double the play: half the fun is in making it, and more fun is to follow once the play dough is complete.

The first part of the recipe is definitely a grown-up step, though. In a saucepan, combine the following:

1 cup water

1 cup flour

1/2 cup salt

1 tablespoon canola oil

1 tablespoon cream of tartar

Cook over medium heat for about 5 minutes, stirring constantly. It will begin to stick together and pull away form the sides of the pan, and that’s when you know it’s ready. Knead a few times as the play dough cools down, adding a little extra flour as needed.

Once the play dough was cool enough for Veronika to handle, I divided it into two portions and set them down on wax paper in front of her. Now you can customize it, in terms of both scent and color! We made one portion that had a few drops of vanilla extract and red food coloring…

…and a second version that had almond extract and yellow food coloring. I was delighted to find that the recipe is incredibly forgiving, too. I accidentally spilled out way more almond extract than needed, and worried the dough would become sticky and unworkable. But with a little kneading, it was still just fine!

Veronika was involved in all these steps, first smelling the extracts, and then picking the colors. Then I invited her to get her hands right in there. “I’m getting red!” she said with delight, peeking down at her hands.

We’d already had so much fun, but now playtime could begin! Veronika quickly brought of lots of plastic toys, and delighted in seeing their footprints.

We decorated a play dough snowman, made play dough tea party cookies, and more.

You can store the play dough in an air-tight plastic bag so it doesn’t dry out between uses. That said, no sooner had I packed it away than Veronika was asking me to take it out again!