Hot Air Balloon Muffins

Balloon Muffins (7)

Travis has had fun exploring different elements of flight lately, so we brought the theme to snacktime today! Okay, so our muffins didn’t actually fly, but now that we’ve made the recipe, I’d be curious what happens if you fill the balloons with helium!

First we made muffins from a mix (the gluten-free and vegan muffin mix from King Arthur Flour). Divide the batter evenly among muffin liners – since the liners were to be our hot air balloon “baskets,” I chose some with a fun print on them.

Balloon Muffins (1)

The sous-chef needed to lick the spatula, of course.

Balloon Muffins (2)

Bake according to package directions and let cool.

Insert 4 wooden skewers into each muffin.

Balloon Muffins (3)

Blow up balloons and tape onto the skewers with washi tape.

Balloon Muffins (5)

Let snacktime soar!

Balloon Muffins (6)

Needless to say, our balloons were not aloft for long, but Travis was wild about this project!

Balloon Muffins (8)

Fabric Parachutes

Fabric Parachute (9).JPG

It was on a Memorial Day a few years back that Travis first saw parachuters and he’s been obsessed ever since. Here’s a cute craft you can put together to take flight right at home!

Trace around a large dinner plate with felt-tipped markers on fabric; we had lightweight fabric swatches from the craft store that were perfect, and I let Travis choose his favorite pattern for the parachute.

Fabric Parachute (1)

After he traced, cutting out the circle out was a mommy step, since fabric is still tough for my preschooler’s fingers.

Fabric Parachute (2)

Note: Travis thought the fabric markers were so neat he wanted to color on the scraps after we cut out the circle!

Fabric Parachute (4)

Mark 8 dots with pen evenly spaced around the parachute. Cut pieces of thread that are about 12 inches long and and sew these to each of the 8 dots.

Fabric Parachute (5)

I let Travis have a turn with the needle and thread which made him feel so important!

Fabric Parachute (6)

Stretch the threads to a wooden bobbin and secure with masking tape. Bright green tape added a fun pop of color.

Fabric Parachute (7)

Now it’s time to launch!

Fabric Parachute (8)

The higher you stand, the better the parachute soars (more time to catch the wind). First I had Travis try climbing on top of our step ladder. It worked great, but was extremely short-lived.

Fabric Parachute (10)

So next we headed to the playground, and launched from the highest platform!

Fabric Parachute (11)

Fun with Flight Kiwi Crate

Kiwi Flight (12)

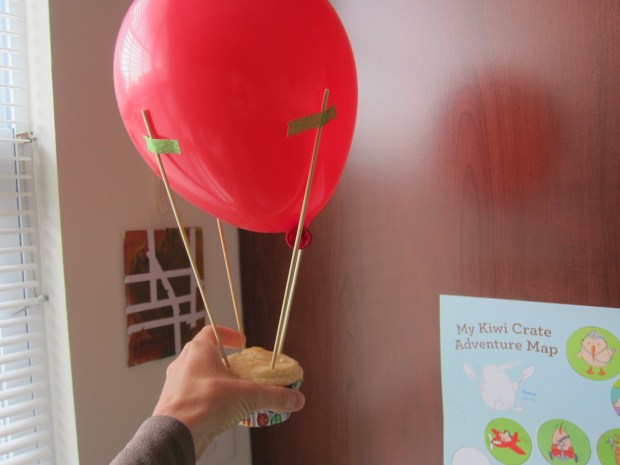
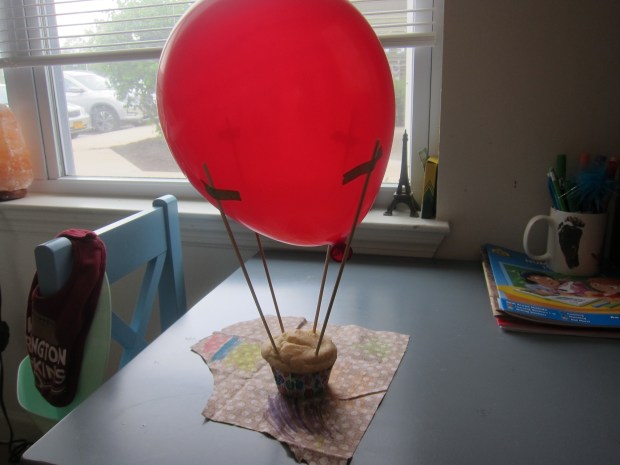
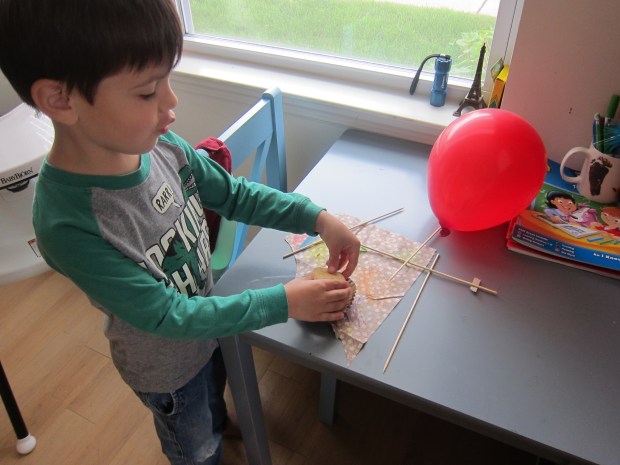
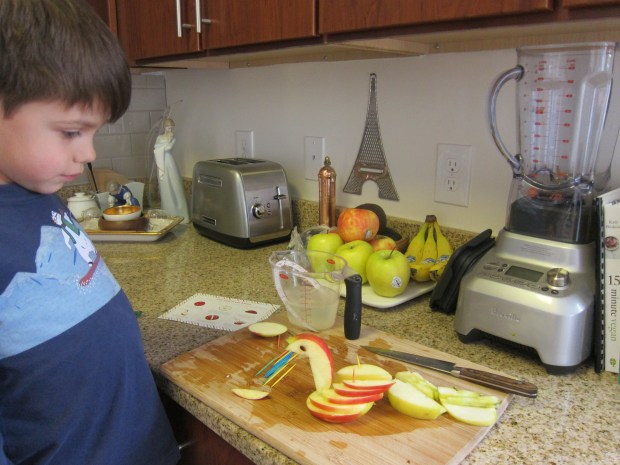
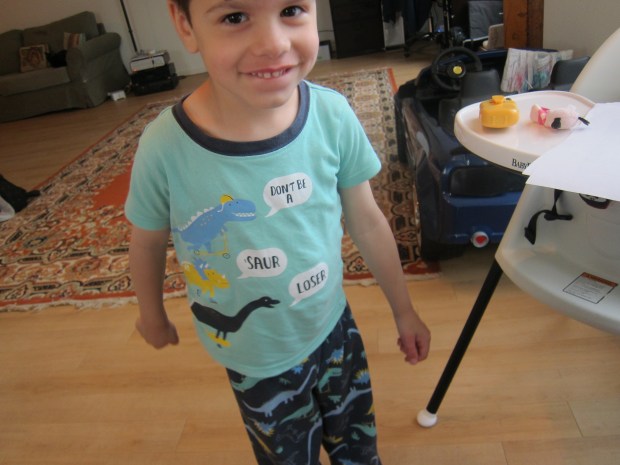
Travis’s latest from Kiwi Co was the Fun with Flight Crate, featuring projects that delved into the multitude of ways humans have devised to fly. I will start by saying that this one was frustrating for a five year old. The projects weren’t hard to put together, but they didn’t stay together that well. It led to frustration and disappointment, so do be prepared if your children are also on the young side.

First up, he got to Build a Rocket Launcher. The mechanics involved folding a cardboard launcher base and inserting it onto wooden legs (the base clicks into place).

Kiwi Flight (4)

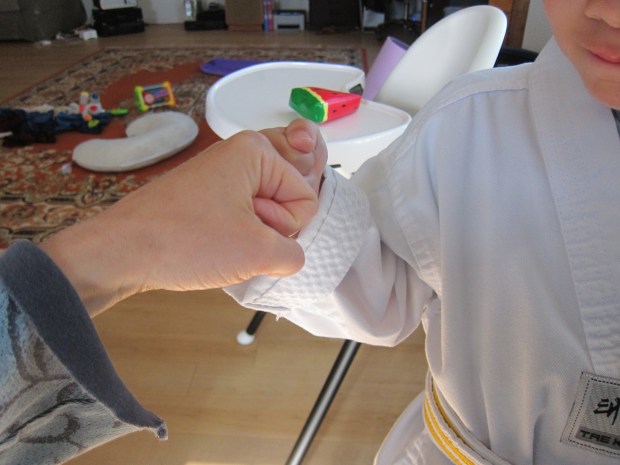
Travis helped push a dowel through, slide elastics onto the dowel, and insert a foam tip into the launcher tube.

Kiwi Flight (6)

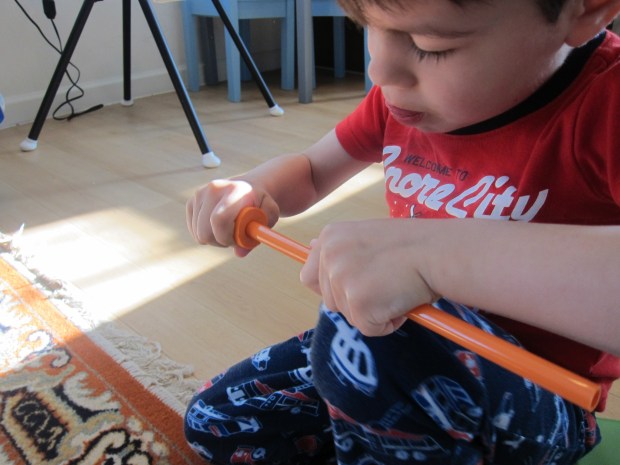
This tube then attached to the provided air pump and hose. Whew! Confused yet?

Kiwi Flight (7)

Note: This pump did not stay attached to the launching tube well at all, which was vexing for both five-year-olds and grown-ups! I’m not sure if this was a flaw in Kiwi’s design, or an error on our part.

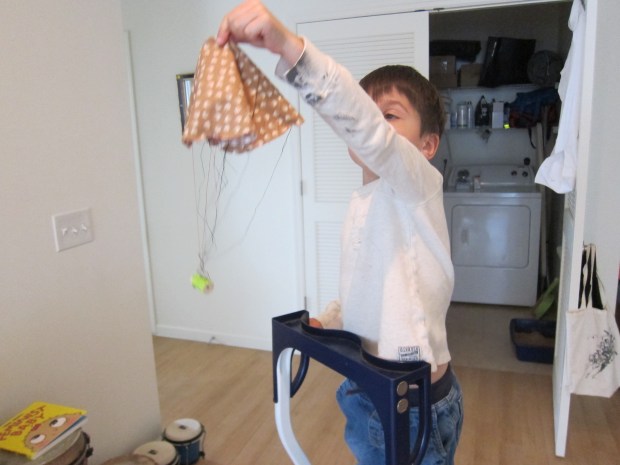
But now we needed to Build and Launch Rockets. Travis accordion-folded the provided tail fins.

Kiwi Flight (9)

This fin is supposed to attach to the “rockets” (wide straws) with stickers, but the stickers were not very sticky and each rocket really only got one or two trips before it all starts to fall apart.

Kiwi Flight (11)

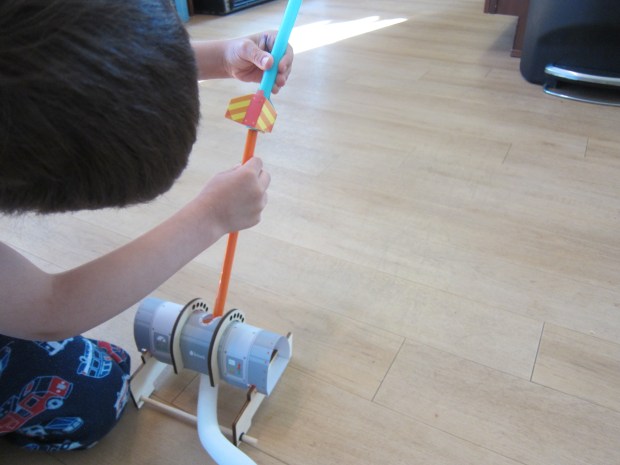
Still, there was a moment of pure joy. These things flew high, as you can see in a quick video.

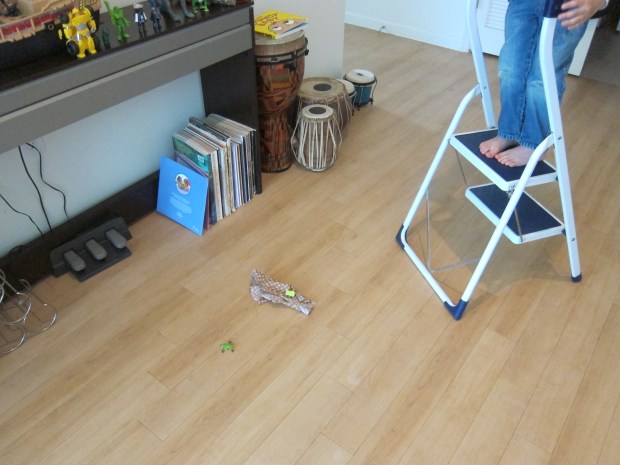
Alas, our rockets fell apart before we had time to play around with experiments, like adjusting the angle of our launching tube.

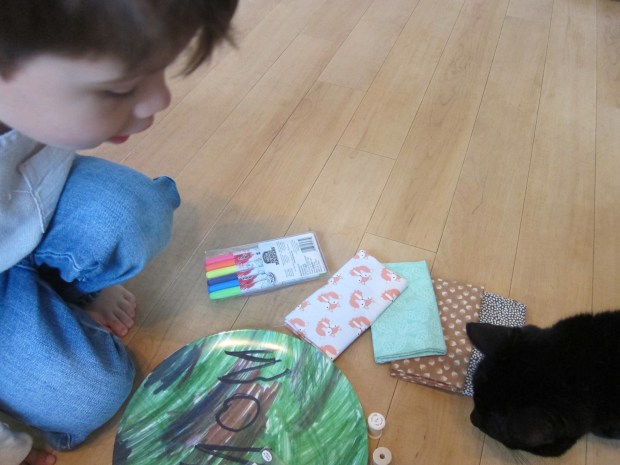
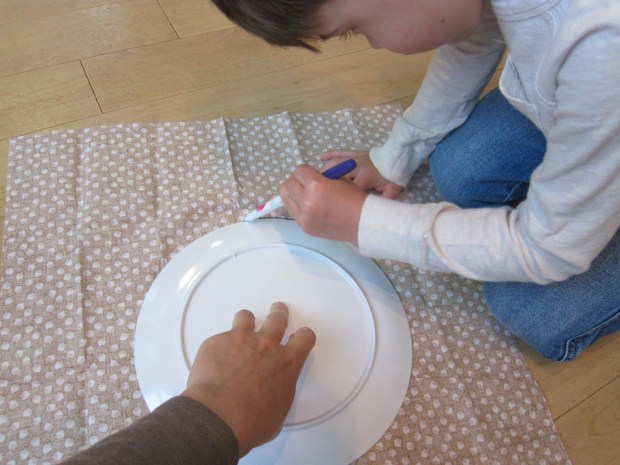
Next up it was time to Fly a Kite. Travis was so proud coloring his in, selecting which color should go where.

Kiwi Flight (2)

I colored the second template. Fold these along the dotted lines, until the two dotted line parts are touching (hopefully this visual helps).

Kiwi Flight (27)

We secured with the provided clear stickers in our kit.

Kiwi Flight (13)

Use clear stickers to add a straw along the top, and then attach one of the provided ribbon tails with more clear stickers.

Kiwi Flight (14)

Finally, thread the provided string through the hole in the bottom of the kite.

Kiwi Flight (15)

It turns out, there’s no need for wind with this kite. In fact, although it was beautiful when we took it outside on a windy day, the kite didn’t fare so well, and was quickly buffeted and tossed about.

Kiwi Flight (17)

Inside, though, we could do more precise experiments. First, simply run with it! A faster run = a higher kite, but this was tough for my little guy. The kite flies straight because the tail weights it down. We played around by varying the length of the tail; it was more wobbly if we flew it with a shorter tail, and did spins all around if we took the tail off entirely.

Kiwi Flight (16)

There were four additional ways to experiment with flight in the Explore magazine. To make a “helicopter,” we cut a rectangle from paper then cut a slit to the middle.

Kiwi Flight (20)

Cut about an inch in toward the center in the top portion, on either side; fold in and secure with a paper clip. Fold down the two pieces in the other half of the paper, in opposite directions.

Kiwi Flight (21)

Now toss in the air as high as you can; it whirls like a helicopter rotor!

To demonstrate the lift of an airplane wing, all you need to do is cut a long rectangle and place it against your lower lip. Blow and watch the end lift up…

Kiwi Flight (26)

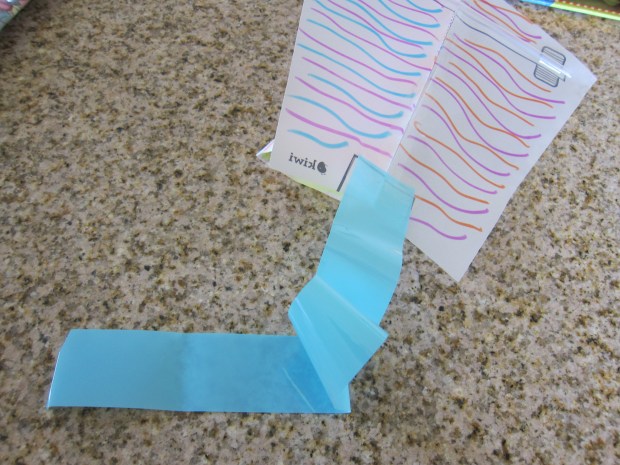
Next up: a flying straw! Cut two rectangles, one long and one short. Tape these into circles, and tape to either end of a straw.

Kiwi Flight (23)

Hold the straw with the small circle in the front and launch.

Kiwi Flight (22)

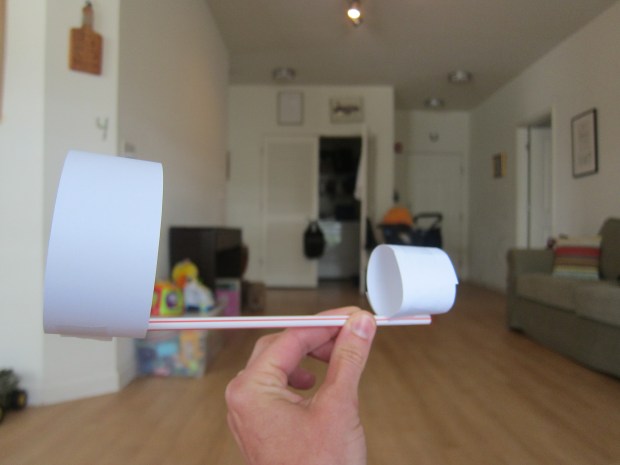
The circles catch the wind and create lift. For a fun comparison, we threw a plain old straw next to it, which immediately sinks to the ground.

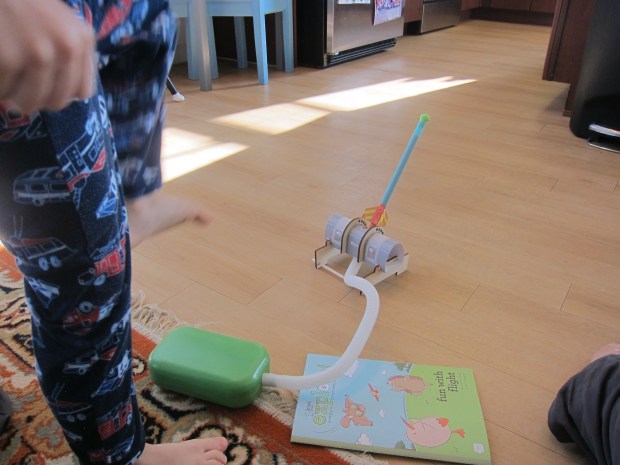
Travis’s favorite by far was the balloon “rocket.” Cut a piece of string that can stretch between two walls, and tape on securely. Thread a straw onto the string.

Kiwi Flight (29)

Blow up a balloon but don’t knot it! Travis held the balloon tightly closed while I taped it to our straw securely. Release and watch the “rocket” zoom along the string.

Kiwi Flight (30)

This one needed quite a few repeats for my boy!

Finally, there was a tear-out paper airplane.

Kiwi Flight (24)

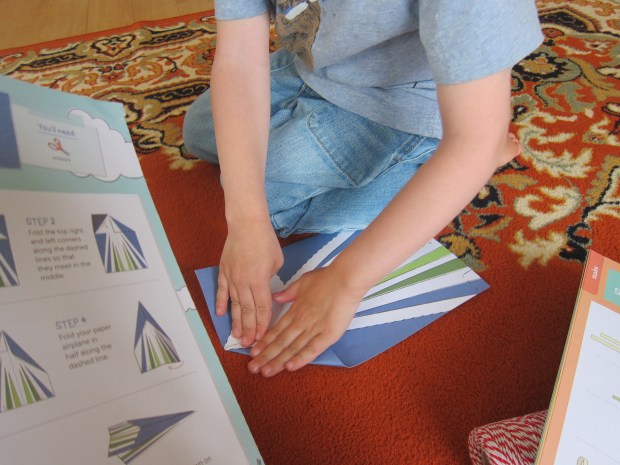
Because Kiwi thinks of everything, there are flaps in the back of the plane that demonstrate how a real pilot uses flaps to control lift. Fold these down and… Boink! the paper airplane nose dives.

Kiwi Flight (25)

Fold them up, and it flies higher and longer – wow!

Finally, we read two suggested books: How to Make a Plane by Martin Sodomka, and Flight School by Lita Judge.

In sum, there was great stuff in this kit, both artistic and scientific, but the kite and rockets didn’t hold up well after only a few flights.

Be a Food Historian

Food Historian (8)

Of all the lessons that have accompanied Travis’s Raddish Kids recipes so far, this one was the least accessible to a preschooler. I did my best to adapt it for Travis and it turned out to be sort of his first social studies project!

First, I set out some of the Thai ingredients we had used in our recipes and grocery store hunt, and invited Travis to test them out with all his senses. He was almost scared by the smell of little bird chiles!

Food Historian (2)

And incidentally loves soy sauce plain. Invite your child to taste, smell, and touch if appropriate, and add items like lemongrass, sugar, lime juice, or ginger.

Food Historian (3)

Big kids can go in depth here into the history of Thai food and learn that being a food historian is a real job; however, the suggested links from Raddish were heavy on text rather than video.

Instead, I showed Travis images of a few other iconic food/country pairs, including:

  • Tacos & Mexico
  • Baguettes & France
  • Sushi & Japan
  • Pizza & Italy

Food Historian (4)

I then asked him which he wanted to explore more in-depth. He’s been very into Japan lately (ninjas, in particular), so chose that pairing. Again, there were many suggested links to web resources for big kids, but these were text-heavy and not of interest to my preschooler.
Instead, we located Japan on a world map. We then thought of a few things he knew about the country and printed out pictures of each.

Food Historian (6)

He helped write the word ‘Japan’ across the top, and we glued down the pictures.

Food Historian (7)

Voila! His first social studies project. I was proud he stuck with me for this lesson, which ultimately ended up being quite cute.

Food Historian (9)


Purr-fect Pancakes

Purr Pancakes (3)

These kitty-faced pancakes are the purr-fect way to kick off Memorial Day weekend (or any leisurely morning) to set the tone for a lazy summer ahead. After all, no one nails the art of napping quite like a cat. In sum, this fun twist on pancakes had Travis grinning.

Prepare a batch of your favorite pancakes – or  heck, just use a mix!

Purr Pancakes (1)

We spread our pancakes with about 1 tablespoon maple syrup to help our fruit faces “glue” on.

Purr Pancakes (2)

Add ears, noses, mouths, eyes, and don’t forget the whiskers! Ideally we would have used blueberries for the eyes, but a certain sous-chef ate them all up.

Purr Pancakes (4)

Please share your animal face pancakes in the comments!


Popsicle Sticks Bow and Arrow

Bow and Arrow (9)

When your son requests a bow and arrow at 6 am on a Saturday, you pray to the craft gods that you have all the materials in your craft bin. And when in fact you do, it feels like a little miracle, especially when that includes wooden bobbins that I’d purchased only the day before for a different craft, but had never owned before. Clearly it was meant to be!

So here is the quite-complicated bow and arrow we put together. For my preschooler, it mostly meant watching mommy since it involves lots of hot glue. If your child is 8 year old and up, they can get more hands on!

First, glue together 6 jumbo craft sticks in an arc, securing at each meeting point with hot glue.

Bow and Arrow (1)

Repeat with 6 additional craft sticks for the other side of the bow. It’s very important that you line these up exactly right, or your two sides won’t glue together properly.

Bow and Arrow (2)

Although not necessary, we added reenforcements and embellishments with decorative craft sticks, making V and T shapes. Hot glue these down.

Bow and Arrow (3)

Add wooden bobbins at each of the craft stick intersections, gluing the right side of the bow to the tops of the bobbins and the left side of the bow to the bottom of the bobbins.

Bow and Arrow (4)

Ideally, we would have used a very stretchy elastic for the bow string. Since I didn’t have one that was large enough (the craft bin gods weren’t perfect!) we tied on two taut pieces of twine instead. This wasn’t ideal, but it worked in a pinch. Add duct tape around the center for a smoother arrow launch.

Bow and Arrow (5)

To prepare the arrows, insert two straws together and tape where they meet.

Bow and Arrow (8)

Hot glue a pom pom to one end and cut the other end into a V so it can notch onto your bow string. Again, what I had on hand (bendy straws) wasn’t ideal. Next time we’ll use thicker straight straws, which will make much sturdier arrows.

Bow and Arrow (6)

But my little knight/samurai/warrior now had a bow, and that was all that mattered!

Bow and Arrow (10)

We might not have had perfect launches, but we did have imaginative fun!

Bow and Arrow (11)

Be a Thoughtful Traveler

Thoughtful Travel (3)

The lesson that accompanied Travis’s Mango Sticky Rice from Raddish Kids was all about etiquette while traveling abroad – big stuff for a small four-year-old! I made it accessible with more of a role-play game and I liked giving him this intro to different customs.

First, I walked up to Travis and gave him a fist bump. Well, this got a look of surprise, not normally how mommy greets him!

Thoughtful Travel (2)

Do something similar to your child, whether a wave, a hug, a high five, or anything out of the norm. I explained that people around the world greet each other differently, and we were headed on a “trip” to find out more!

We checked out a good infographic with different greetings, and cut up cards with each country’s name on it.

Thoughtful Travel (1)

I asked him which one he liked best (everything from touching an elder’s feet in India to shaking fists in Niger), and he chose the Maori hongi greeting. To New Zealand we go!

That meant racing to his room to spot New Zealand on the map. “We have to fly far!” he exclaimed. For role-play fun, pack a bag. Travis decided he needed a comic book and a bathing suit.

Thoughtful Travel (4)

Off to the plane! The country name card became our plane ticket, which he loved hole punching.

Thoughtful Travel (5)

We mimed getting into our seats and flying.

Thoughtful Travel (7)

I could get used to this travel without the hassle! In no time we were in “New Zealand”, and now we could do the hongi.

Thoughtful Travel (8)

We also tested out a high five, a traditional Thai wai, and more, each time first pinpointing the country on his map, and then boarding our airplane.

Thoughtful Travel (6)

There’s a lot in this lesson that we didn’t do. For extension with older children, ask lots of questions about what it will be like upon reaching their destination. Reflect on what it means to be “thoughtful” in another country. Have your child pick a country and learn the traditional greeting, then design a way to teach their peers about it, whether through a travel brochure, song, dramatization, or other medium. You could even play World Greeting Charades!

Carved Fruit Swan

Thai Fruit (6).JPG

As a fun bonus to compliment his Taste of Thai recipes, Travis learned to make a fruit sculpture today, a popular activity with a rich history in Thailand!

To start, juice one lemon.

Thai Fruit

Add the lemon juice to a measuring cup and fill with water to equal 1 cup. This will prevent your apple slices from browning as you work – be sure to dip each slice in the mixture before adding to the “swan”.

Cut an apple into three pieces vertically, so you have two rounded sides and the core.

Make two slits in the core piece to resemble the shape of a swan’s neck, as shown; discard the rest of the core, but save two seeds for the eyes!

Thai Fruit (2)

Now cut the round edge from one side piece, so it sits flat.

Thai Fruit (3)

Add the swan neck, securing with a toothpick. The toothpicks were Travis’s favorite part, and when our actual sculpting was complete, he loved adding a few more toothpicks just for fun!

Thai Fruit (4)

Thinly slice the remaining side piece of apple. Start adding to the base of the swan, using the largest pieces first and ending with the smallest.

Thai Fruit (5)

This was not only a great craft, but a fantastic snack as well. There was something about tearing apart a sculpture before eating that greatly appealed to Travis, too – go figure!

Thai Fruit (7)

Coral Reef Diorama

Coral Reef (12).JPG

Today, Travis and I did an activity in conjunction with our Taste of Thai recipes to help him learn about the coral reefs of Thailand.

There was a lot in this lesson that was new for Travis, including guided imagery, but first I had to set the stage! I asked him if he knew what a scuba diver was and he correctly answered someone who dives underwater (thanks Fireman Sam!).

Coral Reef (1)

I showed him an included picture with scuba gear and then we mimed climbing in to all this equipment. Shimmy shimmy into your wet suit! This part was silly and fun.

Coral Reef (2)

Next up was our imaginary trip: a guided imagery about scuba diving in a coral reef. I knew this would be a bit of a challenge for my four-year-old, so instead of asking him to sit quietly with eyes closed, I had him paint a box blue for our upcoming diorama while I read the scenario. This allowed his hands to keep busy as he listened, and he liked the process!

Coral Reef (3)

For a simple, little-kid diorama, we made a version using play dough blobs as the base onto which we could add shells, fish stickers, and fake coral.

Coral Reef (5)

To make the coral, thread beads onto pipe cleaners – great for fine motor skills!

Coral Reef (6)

While we worked, I played Raddish’s suggested video in the background so he could see real examples.

Travis’s favorite part was using play dough to make the body for snails and hermit crabs who could live in our shells from the craft store!

Coral Reef (8)

He was so proud when he thought one of his shell creations looked like a narwhal.

Coral Reef (10)

Meanwhile, I made a few more tropical examples for him to see.

Coral Reef (7)

Bigger kids can delve a lot further into this homeschool lesson. Raddish also provided a list of discussion questions about the coral reef and links to further reading about what they are and how to protect them.

Coral Reef (9)

But for my preschooler, this simplified lesson was good fun!

Coral Reef (11)

Adventure Pouch

Adventure Pouch (7)

Travis has a few new animal figure toys that need to come along on all his adventures (of course). We needed a safe way to transport them and this adventure pouch craft from Highlights magazine fit the bill perfectly!

First, trace a pouch shape onto felt. I had Travis take the first try at it and just enlarged his version slightly since his original oval was a touch too small.

Adventure Pouch (1)

Cut out, and trace the same shape onto a second sheet of felt so your pouch as two sides. Cut out.

Use hot glue to attach the two felt pieces together, leaving the top open.

Adventure Pouch (2)

To decorate, Highlights suggested cutting additional shapes from other colors of felt and gluing them on. Since felt is tough for Travis to get through with scissors, we used neat ocean felt stickers, instead.

Adventure Pouch (3)

Punch holes at the top of the pouch, and lace yarn or twine through the holes. Knot to secure, and pull up on the strings to seal it shut.

Adventure Pouch (4)

Travis loved putting his animal friends in and out of the pouch, their new home! This pouch would also work great for collecting treasures on a nature walk.

Adventure Pouch (6)

What will your child do with the adventure pouch? Please share in the comments!

Adventure Pouch (5)