Snow Paint

Snow Paint (6).JPG

This homemade paint is deliciously goopy, and as thick as snow after a blizzard, but it won’t melt away!

Place a can of foaming shaving cream and a bottle of glue in the fridge for 1 hour to chill.

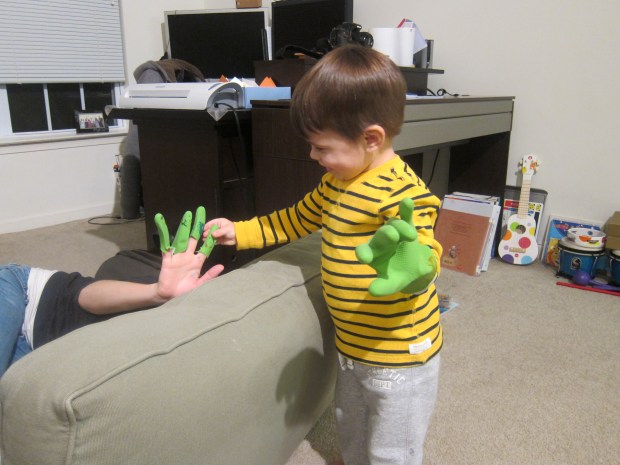
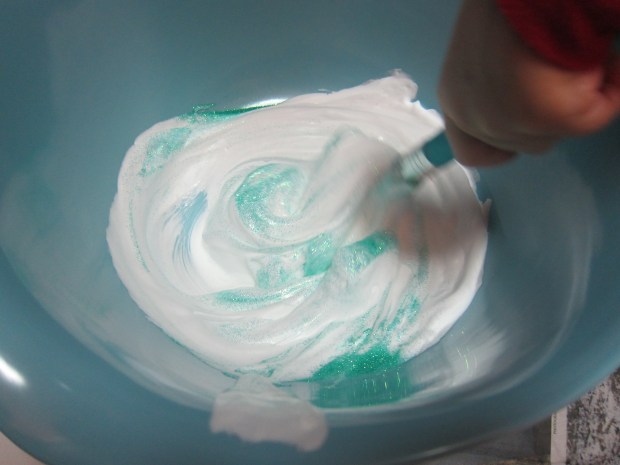
Combine 3/4 cup shaving cream and 1/2 cup glue in a large bowl, mixing well. Travis was instantly enthralled with the texture.

snow-paint-1

Next we added heaps of icy blue sparkles because of course we needed sparkly snow!

snow-paint-2

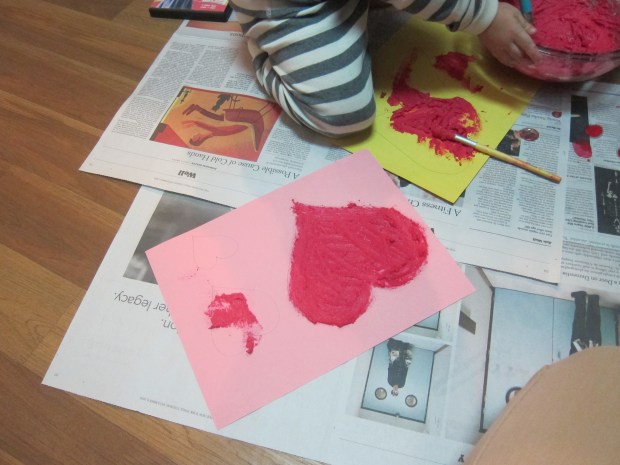
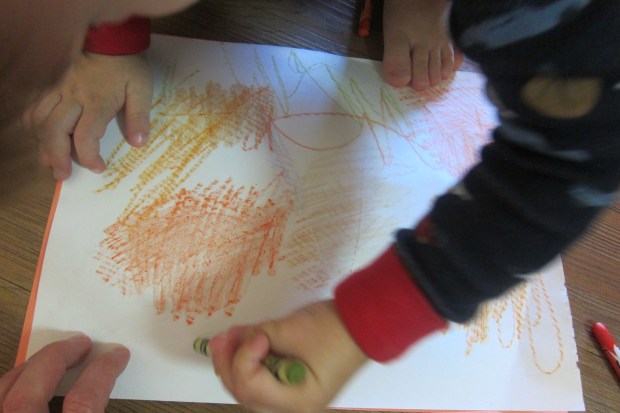
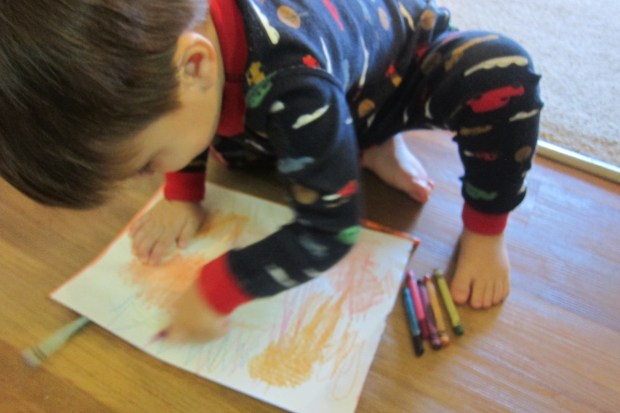
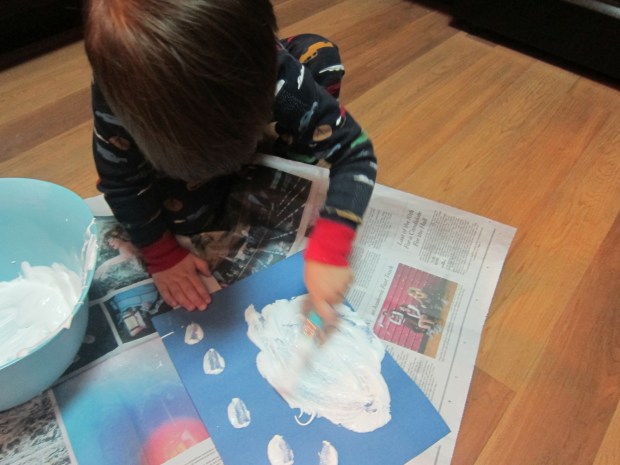
Then it was time to paint a winter scene! With Travis so young, his was very abstract, but as he worked he told me he was painting first a horse, then an elephant, and so on. I loved the imagination at work.

snow-paint-4

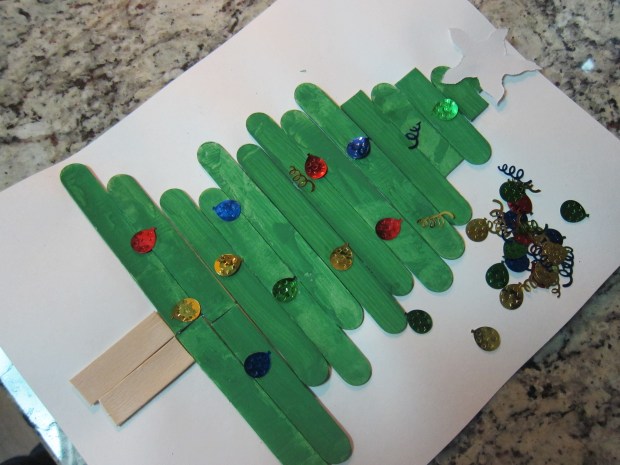
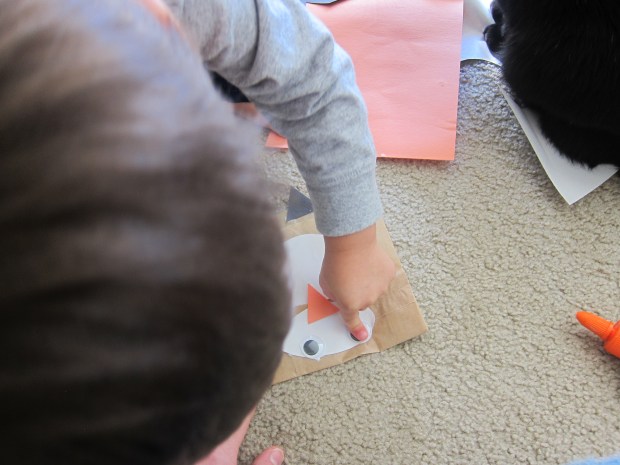
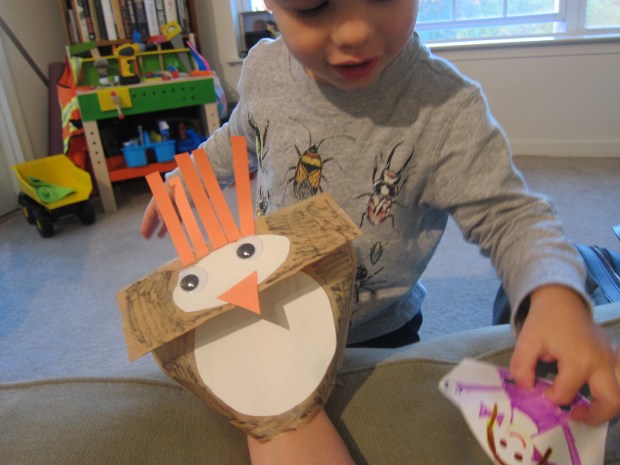
Meanwhile, I painted a proper snowman, so Travis could enjoy the final result. He helped me press down cardboard cutouts of buttons and a hat – they will stick right to your gluey paint mixture as it dries.

snow-paint-7

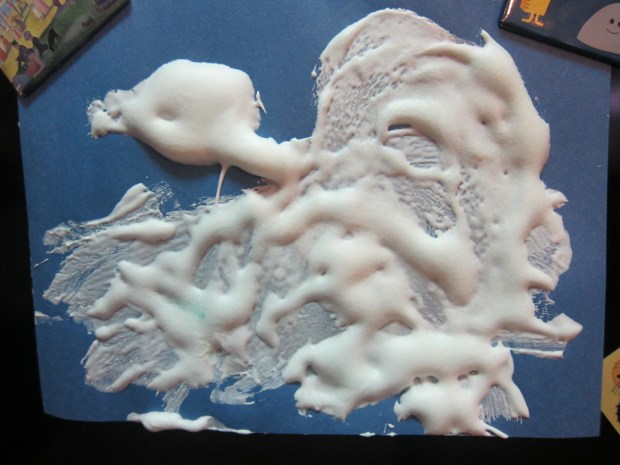
We also added extra blue sparkles as the finishing touch.

Puffy Paint Hearts

puffy-paint-hearts-5

Say ‘I love you’ with this fun make-it-yourself paint. Children will love the puffy paint mixture, and a special adult will love receiving the final product, either as a card or stand-alone gift this holiday season!

To make our puffy paint, we combined the following:

1/2 cup flour

1/2 cup salt

1/4 cup water

1/4 cup tempera paint

Travis had so much fun mixing the gloppy paint together that it took a while before I could direct his attention to the rest of the craft!

puffy-paint-hearts-2

I outlined several hearts on paper with pencil for him, and let him fill in the shapes with his puffy paint.

puffy-paint-hearts-4

I also filled in one heart myself as an example, so he had a sense of what his final craft could look like, but don’t expect a toddler to get the heart exactly right!

puffy-paint-hearts-3


Penguin Cup Cozy

penguin-cozy-3

What could be cozier in the winter than a warming cup of hot cocoa? This adorable craft came to us care of High Five magazine. Travis was fascinated by the sock, and could help with the gluing portion of the craft, but I put the rest of the cozy together. Preschoolers can make the whole “penguin” themselves, though!

To start, cut the feet from a pair of black tube socks; discard or save for another use (like puppets!).

penguin-cozy-1

Slide the tube of the sock over a cup that can hold hot beverages. Cut white felt into the shape of a penguin’s face and a small triangle from orange felt for the beak. Glue to the sock.

penguin-cozy-2

You can either glue on googly eyes or draw on eyes with black marker.

Here’s our penguin doing an excellent job of keeping hot cocoa warm and cozy!

penguin-cozy-4

And here is Travis having his first-ever cup of hot cocoa. Needless to say, the project was a hit!

penguin-cozy-5

Instead of keeping the cozy for your child, it’s also a great do-it-yourself project that kids can make as a gift. If gifting, don’t forget to decorate a card with crayons for your recipient, then tuck inside the cup with the cozy on the outside!

Popsicle Stick Christmas Tree

popsicle-tree-4

Why stop at one Christmas tree when you and your child can craft together this adorable second? Travis was so excited when he realized what shape we were making with our popsicle sticks.

First, you’ll need to get good and messy with green paint. Paint as many popsicle sticks as you need to make a tree shape – be prepared for green fingers so you can paint all the way to the edges! Once the popsicle sticks dry, cut a few into smaller pieces so your tree can taper at the top. Leave two sticks unpainted to serve as the trunk.

popsicle-tree-1

Have your child help you arrange your “tree” on poster board, then glue each “branch” down, starting from the bottom up. Travis loved seeing the tree take shape as he worked!

popsicle-tree-2

Then it was time to decorate! Party confetti from the grocery store worked perfectly as ornaments and tinsel, but use any sparkly crafty items you have at home that can be glued on.

popsicle-tree-3

For the star on the top, we traced a star-shaped cookie cutter on construction paper, then cut out and glued on. A very cute and festive project.

Fingerprint Heart


fingerprint-heart-3

This project is an adorable one to do with family or friends over the holidays – if you can wrangle all the kids together!

Ahead of time, trace the outline of a heart on poster board, and then make dashes below the heart, one for each child who will be helping with the craft.

fingerprint-heart-1

Bring stamp pads in multiple colors; each child gets to choose a different color. Dip little fingers or thumbs in the ink and fill in the heart with fingerprints, making sure to leave one on a dash labeled with their name, so everyone knows who was who!

fingerprint-heart-2

Travis and I gave the project a test run at home before bringing to Thanksgiving to share with cousins.

Admittedly, group crafts aren’t always picture perfect. There may or may not have been some fighting over who got which color, and some attempts to dip whole hands in the ink pad instead of just a finger… but overall it was a cute diversion for the kiddos! You can even frame the project once complete, to gift to grandparents or other relatives for the holidays.

What group crafts have you enjoyed with family this time of year? Please share in the comments!

Puppet Fun!

puppets-10

There are dozens of ways to make puppets at home, many requiring only simple items you likely already have on hand. To wit, below are three kinds of puppets that we tried out this past week. Don’t forget to have a puppet show at the end!

Perhaps the easiest puppets ever, snip the fingers from rubber gloves, and let your child decorate with markers. Travis told me this was a girl and her smile!

puppets-4

I added animal faces to a few of the other fingers to spark his imaginative play. He was equally delighted by the glove that I left intact, which became a puppet and toy all of its own, no decoration required!

Next, we made “walking finger puppets.” Draw the head and torso of people or animals on poster board, then cut two slits near the bottom big enough for your child’s fingers to fit through.

puppets-7

The fingers become the “legs” to walk about. Travis was initially hesitant at this new idea, but once he got the hang of it, he loved walking his puppets everywhere.

puppets-11

Finally, we made a paper bag penguin puppet (how’s that for alliteration!). I mostly put the craft together myself, but Travis and I discussed the shapes as I cut them out: white ovals for body and face, an orange triangle for the beak, orange rectangle strips for the hair, and two black triangles for the feet.

puppets-13

Next, he helped glue on two googly eyes. Once the glue dried, we colored over the brown bag with black marker.

puppets-14

Although he was least interested in the preparation of this puppet, it was far and away his favorite to play with. He loved “talking” with the penguin while it was on my hand, telling it stories and asking for more.

puppets-17

I’d love to hear about any other easy puppets you’ve made at home in the comments!

Water Art

wet-art-7

Need to add a dose of novelty to your child’s art projects? Simply add water and stir to see new results!

First, Travis and I tested out water on chalk. Have your toddler dip chalk into water before scribbling on dark-colored construction paper. Travis was very interested in the way the chalk darkened when wet…

wet-art-1

…although not as interested in the result on paper, which, admittedly, dried quickly.

wet-art-2

Next we added salt to our water, resulting in a cloudy mixture that Travis loved. Scribble with crayons on dark construction paper, and then use a paintbrush to apply the salt water solution over the paper – don’t let it get too soggy!

wet-art-3

The crayon will show through because the wax resists the water, and the paper will become somewhat sparkly where the salt is left behind after it dries… although the result was not as sparkly as I hoped it would be.

Finally, we made a paper bag “batik”. Travis loved dunking a brown paper bag in his bowl of water (cut the bag open so it can dry flat), and then crumpling it and squeezing out the excess water. This step was easily his favorite part of our entire water-arts endeavor.

wet-art-5

Once the bag dries, color with crayons any way you like.

wet-art-8

What other art projects have you and your toddler added water to? Please share in the comments!


Leaf Glitter

leaf-glitter-3

Turn autumn leaves into a masterpiece with this simple but delightful project!

Half the fun, of course, was just heading outside to select our leaves. With a warm and dry fall so far, the color wasn’t as vibrant as I hoped, but I set Travis the task of finding leaves in all the possible colors – greens, reds, oranges, yellows, and browns – and we came away with a better collection than I expected. Travis loved the adventure in the park!

leaf-glitter-4

We let the leaves dry at home for a couple of days, and then it was time to turn them into “glitter”! What toddler can resist ripping leaves into tiny pieces?

leaf-glitter-5

Exercise those little hand muscles and let your child squeeze glue all over a piece of construction paper. You can sprinkle on the leaf glitter almost like confetti, pressing down to adhere.

leaf-glitter-2

We shook our creation off a few times to figure out which leaves weren’t stuck yet, and then added more glue as needed.


Autumn Painting

apple-prints-4

Prints are a great way to keep painting projects fresh and different for toddlers. At any time of year, items around the house (like toilet paper tubes and Duplo blocks!) make for fun print painting. Two very autumnal items lend themselves perfectly to this idea.

First, Travis and I tried apple prints. Cut an apple in half and remove the seeds, lightly drying the inside of the apple with a paper towel. This is also a great way to take about the fruit with your toddler, since the inside looks so different from the outside!

apple-prints-1

Dip the cut apple halves in paint and press onto paper for a neat, almost heart-shaped effect.

apple-prints-3

Next we tried corn rolling, using ears of beautiful dried corn from the farmers’ market. Travis loved the corn, carrying it all around the house, so I was surprised that when the time came to paint, he wasn’t interested.

corn-rolling-2

Aside from one brief roll, he had a very toddler moment wanting to dip his whole hand into the blue paint. So… you win some you lose some! On the other hand, he loved looking at the example I finished, proudly telling anyone who saw it that we made it with corn.

corn-rolling-4

What other fall items have you made prints with? Please share in the comments!

Leaf Rubbing

leaf-rubbing-2

It’s Columbus Day weekend, and the perfect time of year for fall-inspired art. We took Travis on his first hike over the weekend, and returned with a few treasures for a craft at home.

Choose a variety of leaves, preferably in different shapes and sizes, and tape down to a sheet of construction paper (the bumpy veins should be facing up).

Cover with a second sheet of paper, then show your toddler how to rub crayons over the leaves to reveal the bumpy veins and stems underneath.

leaf-rubbing-1

Travis needed a bit of help, since his crayon squiggles weren’t always precise enough to reveal the leaves, but he loved the magic of it, lifting up the top piece of paper to check on the leaves underneath a few times. He was very excited every time our crayons “discovered” a new leaf.

leaf-rubbing-4

Make sure to hang in a prominent place on the fridge for the rest of the fall!

Update: The first time we played this game, Travis had a hard time getting the knack of holding a crayon sideways. Try it again in a few month’s time, and your little one might be better able to reveal the shape of the leaves!

leaf-rubbing-alt