Leaf Glitter

leaf-glitter-3

Turn autumn leaves into a masterpiece with this simple but delightful project!

Half the fun, of course, was just heading outside to select our leaves. With a warm and dry fall so far, the color wasn’t as vibrant as I hoped, but I set Travis the task of finding leaves in all the possible colors – greens, reds, oranges, yellows, and browns – and we came away with a better collection than I expected. Travis loved the adventure in the park!

leaf-glitter-4

We let the leaves dry at home for a couple of days, and then it was time to turn them into “glitter”! What toddler can resist ripping leaves into tiny pieces?

leaf-glitter-5

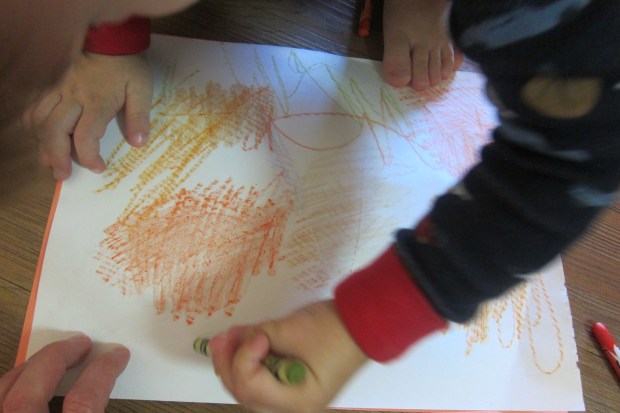
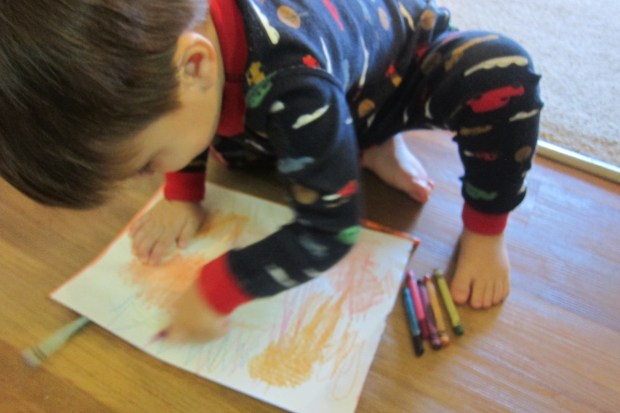
Exercise those little hand muscles and let your child squeeze glue all over a piece of construction paper. You can sprinkle on the leaf glitter almost like confetti, pressing down to adhere.

leaf-glitter-2

We shook our creation off a few times to figure out which leaves weren’t stuck yet, and then added more glue as needed.


Autumn Painting

apple-prints-4

Prints are a great way to keep painting projects fresh and different for toddlers. At any time of year, items around the house (like toilet paper tubes and Duplo blocks!) make for fun print painting. Two very autumnal items lend themselves perfectly to this idea.

First, Travis and I tried apple prints. Cut an apple in half and remove the seeds, lightly drying the inside of the apple with a paper towel. This is also a great way to take about the fruit with your toddler, since the inside looks so different from the outside!

apple-prints-1

Dip the cut apple halves in paint and press onto paper for a neat, almost heart-shaped effect.

apple-prints-3

Next we tried corn rolling, using ears of beautiful dried corn from the farmers’ market. Travis loved the corn, carrying it all around the house, so I was surprised that when the time came to paint, he wasn’t interested.

corn-rolling-2

Aside from one brief roll, he had a very toddler moment wanting to dip his whole hand into the blue paint. So… you win some you lose some! On the other hand, he loved looking at the example I finished, proudly telling anyone who saw it that we made it with corn.

corn-rolling-4

What other fall items have you made prints with? Please share in the comments!

No-Bake Pumpkin Cookies

pumpkin-cookies-3

October is the perfect time to make this no-bake treat, whether you use canned pumpkin or mashed fresh sugar pumpkin. Because there’s no oven involved, even toddlers can put the whole recipe together! Older kids can help with the measuring, too.

Ingredients:

  • 1 cup quick oats
  • 1/4 cup sugar
  • 1/4 cup raisins
  • 1/2 teaspoon ground cinnamon
  • 1/2 teaspoon ground ginger
  • 1/2 cup canned pumpkin
  • 1 teaspoon vanilla extract
  1. In a bowl, combine the oats, sugar, raisins, cinnamon, and ginger.
  2. Add the pumpkin and vanilla, stirring until the mixture is moist.
  3. Using your hands, divide the batter into 15 to 20 portions, rolling each into a small ball.
  4. You can transfer to the fridge to chill for a few hours, or eat right away if the kids can’t wait!

pumpkin-cookies-2

Harvest Bowling


Harvest Bowling (1).JPG

Gourds aren’t just for decoration… Help develop your toddler’s coordination with this adorable take on bowling!

Set up a variety of gourds at the end of a masking tape “alley.” Look for ones that are shaped similar to bowling pins, wide on the bottom and tapering on top.

harvest-bowling-2

Use a small sugar pumpkin as the bowling ball. Adults can give the pumpkin a roll all the way from the end of the alley.

harvest-bowling-3

Kids will likely have to roll from very close, but that won’t dampen their excitement when all the “pins” fall over.

harvest-bowling-4

Strike!

Leaf Rubbing

leaf-rubbing-2

It’s Columbus Day weekend, and the perfect time of year for fall-inspired art. We took Travis on his first hike over the weekend, and returned with a few treasures for a craft at home.

Choose a variety of leaves, preferably in different shapes and sizes, and tape down to a sheet of construction paper (the bumpy veins should be facing up).

Cover with a second sheet of paper, then show your toddler how to rub crayons over the leaves to reveal the bumpy veins and stems underneath.

leaf-rubbing-1

Travis needed a bit of help, since his crayon squiggles weren’t always precise enough to reveal the leaves, but he loved the magic of it, lifting up the top piece of paper to check on the leaves underneath a few times. He was very excited every time our crayons “discovered” a new leaf.

leaf-rubbing-4

Make sure to hang in a prominent place on the fridge for the rest of the fall!

Update: The first time we played this game, Travis had a hard time getting the knack of holding a crayon sideways. Try it again in a few month’s time, and your little one might be better able to reveal the shape of the leaves!

leaf-rubbing-alt