Chocolate Empanadas

Empanada (8).JPG

Just in time for Cinco de Mayo, here’s a messy flour-filled project that will have your little chef loving time in the kitchen!

Ingredients:

For the dough:

  • 2 and 1/4 cups flour
  • 1/2 teaspoon salt
  • 1 tablespoon cocoa powder
  • 8 tablespoons Earth Balance butter
  • 1 Ener-G egg
  • 1/2 cup milk

For the filling:

  • Chocolate-hazelnut butter, warmed*
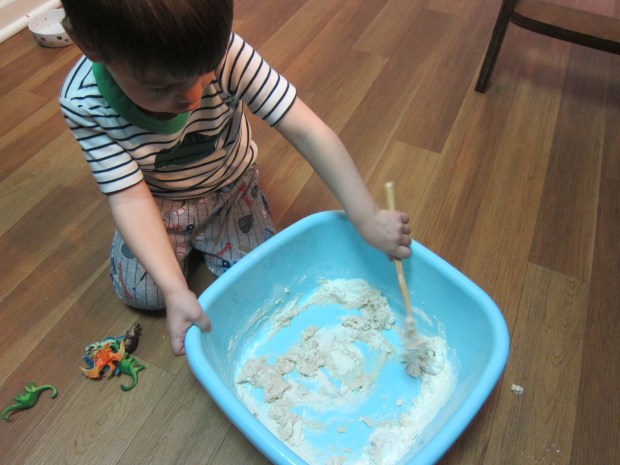
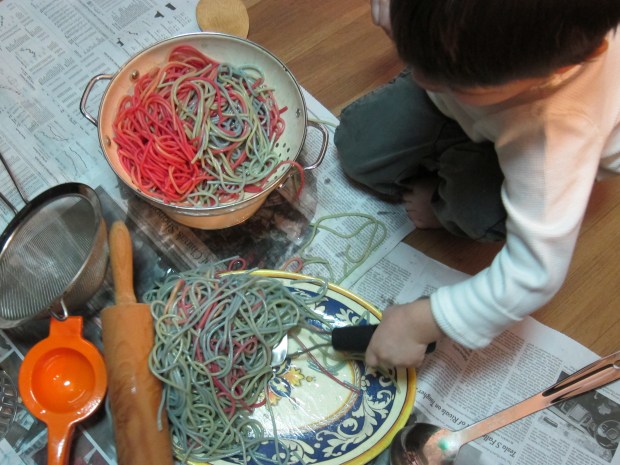
  1. To prepare the dough, combine the flour, salt, and cocoa powder in a large bowl.Empanada (1)
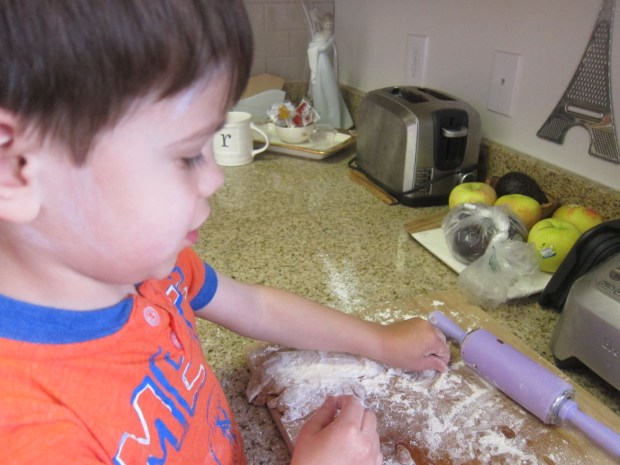
  2. Add the butter in small pieces, and mix into the four mixture with your fingers until it looks like cornmeal. I was so proud of my son for getting his hands right in there!Empanada (2)
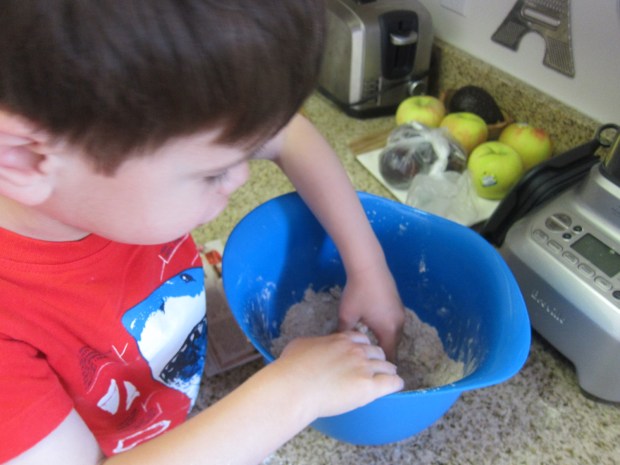
  3. Add the Ener-G egg and milk, stirring until a soft dough forms. Wrap in plastic wrap and chill for 1 hour.
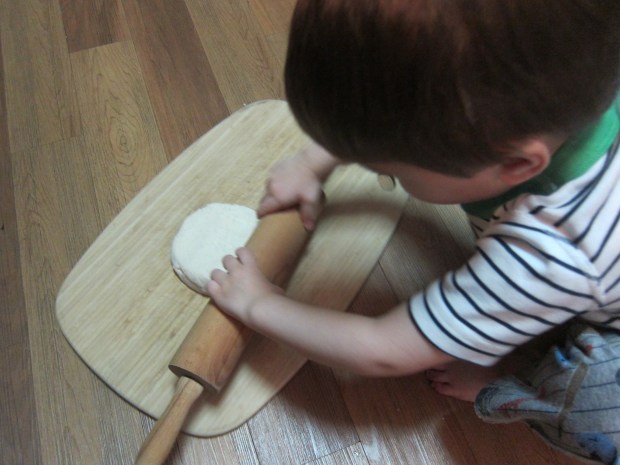
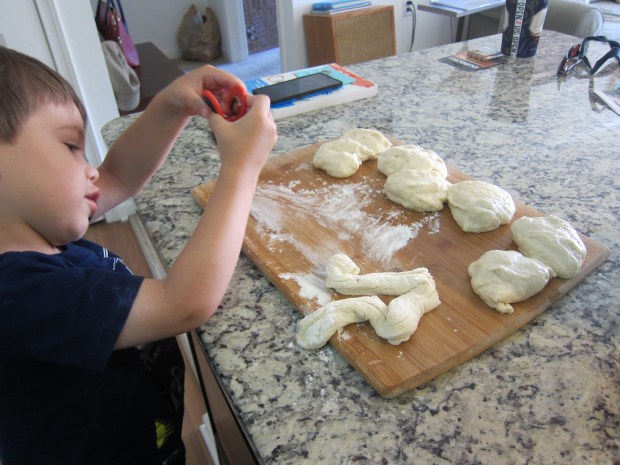
  4. Divide the dough into 16 portions, and roll into balls.Empanada (3)
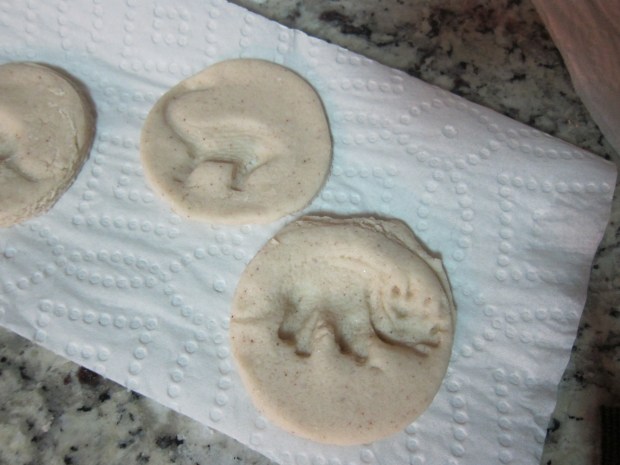
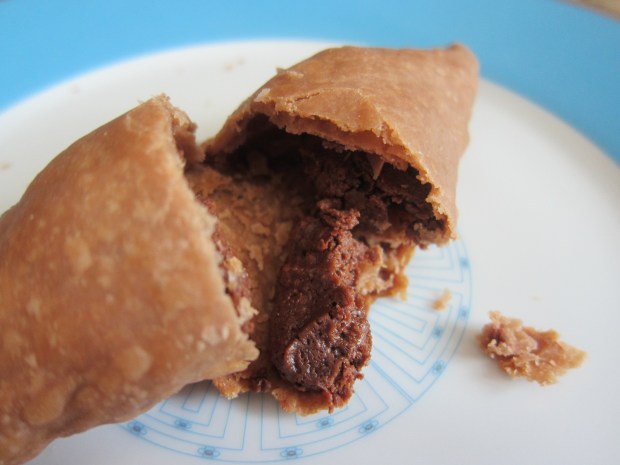
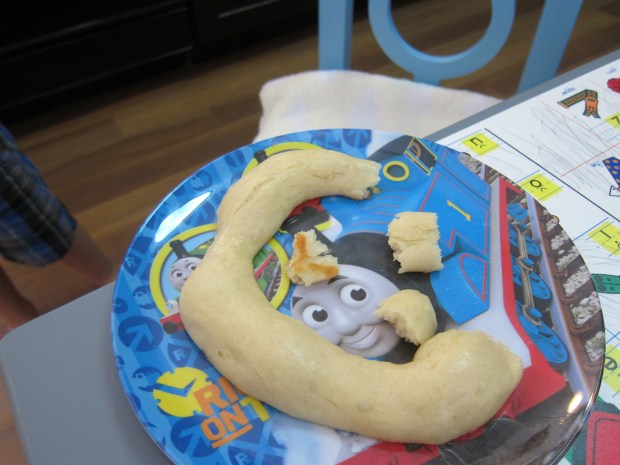
  5. Working with one portion at a time (cover the remaining dough with plastic wrap), roll out into a 6-inch circle. Spoon about 1 tablespoon of the chocolate hazelnut butter into the center. Rub water gently around the edges of the dough with water and fold in half, pressing to seal. Transfer to a baking sheet lined with parchment paper, and repeat with the remaining dough. Here’s my son having a blast with his play portion as I worked!Empanada (4)
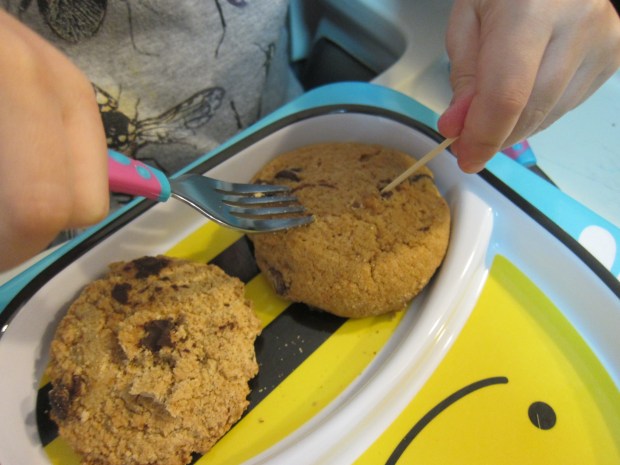
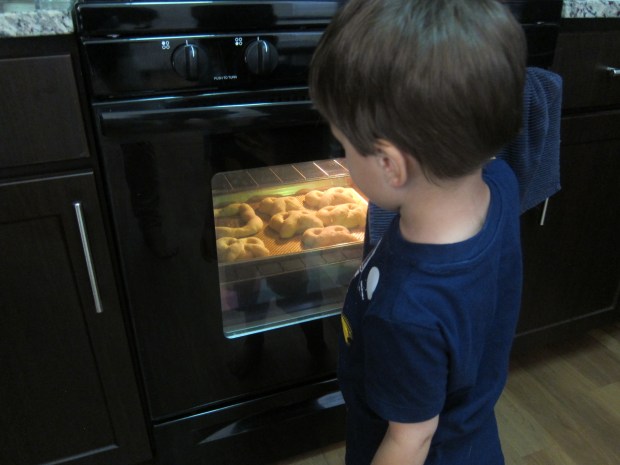
  6. Use a fork to crimp the edges of the empanadas, then bake at 400 degrees F for 20 minutes.Empanada (5)

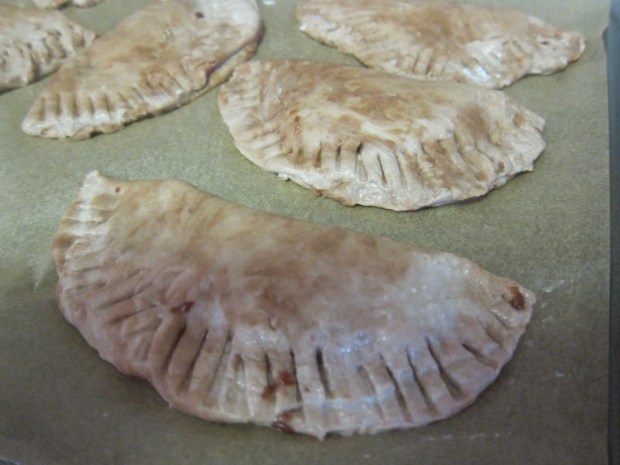
These are best served warm!

Empanada (9)

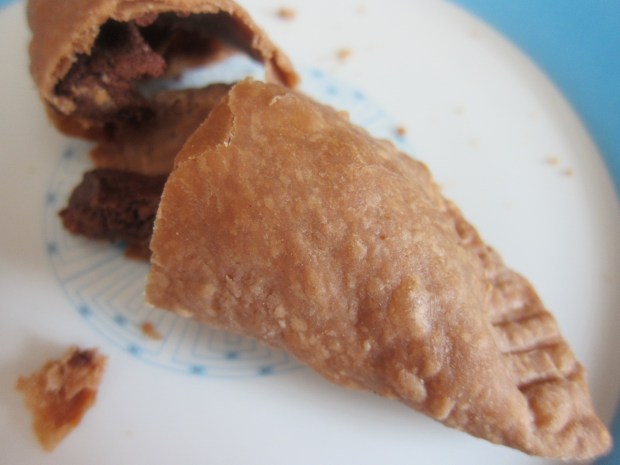
*For the best results, order a vegan Nutella from a retailer like Vegan Essentials. I didn’t have time for an online order, but chocolate hazelnut spread from Justin’s peanut butter company (widely available) worked in a pinch.

Yummy Soft Pretzels

Soft Pretzel (10)

Soft pretzels are a summer staple – at baseball games, ocean boardwalks, city parks, you name it. But nothing beats pretzels baked fresh at home! Kids can get hands-on and messy with this delicious version.

To start, dissolve 1 packet dry yeast in 1 cup warm water; let stand for 5 minutes – you’ll get to see the yeast bloom, like tiny little fireworks in a bowl. Super exciting!

Meanwhile, combine 2 and 1/2 cups flour, 1 teaspoon sugar, and 1/2 teaspoon salt in a large bowl. Add the yeast mixture and stir until you have a soft dough.

Soft Pretzel (1)

Using floured hands, knead the dough for about 5 minutes. This step was fun but too messy to photograph!

Place the dough in a large bowl, cover with plastic wrap and let rise for 30 minutes.

Soft Pretzel (2)

Next up came some fun math – we needed to divide our dough into 8 portions, which meant slicing in half, then each of those in half again, then each of those in half again! Travis loved pretended we were Peg + Cat for this step, and cut to use the pizza cutter under close supervision.

Soft Pretzel (3)

Flour your hands again and roll each portion into a long rope. From here, you can have as much fun as you want.

Soft Pretzel (4)

Shape the dough into traditional twists, letters of the alphabet, or whatever else your kids want. Travis requested a square!

Soft Pretzel (5)

Dip the pretzels quickly in a bowl of water, then transfer to a buttered baking sheet (we used Earth Balance). Let rise for 10 minutes.

Bake the pretzels at 450 degrees F for 10 minutes. Peek-a-boo, little pretzels!

Soft Pretzel (6)

Brush the tops with a little more Earth Balance and serve – they are best served warm, we think! If you prefer, you can also sprinkle some of the pretzels with salt, and others with a mix or cinnamon and sugar, but Travis requested his plain.

Soft Pretzel (9)

Jell-o Building Blocks

Jello block (5)

Take your building block play to the next level. How? With edible building blocks of course!

Kids can help with the first step of the easy preparation – sprinkle one gelatin-free jel dessert (we use Simply Delish) over 1/3 cup water in a saucepan. If you want your blocks to be extra firm, add an additional packet of unflavored jel (such as Lieber’s) – we didn’t have any on hand, so skipped that step!

Jello block (1)

Adults, heat the mixture over low heat for about 3 minutes, until the powder dissolves.

Jello block (2)

Pour into the compartments of an ice cube tray and transfer to the fridge until completely set.

Jello block (3)
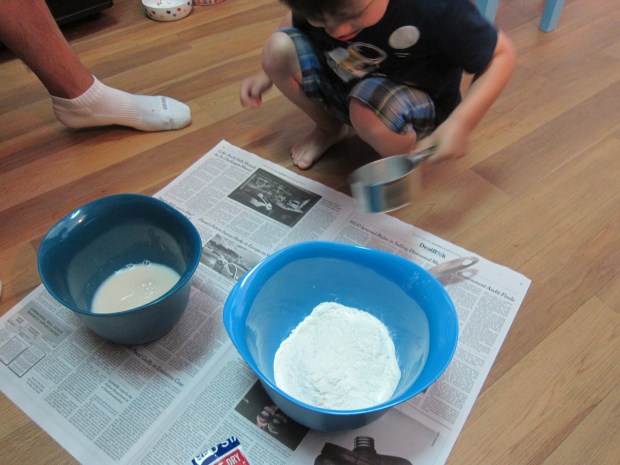
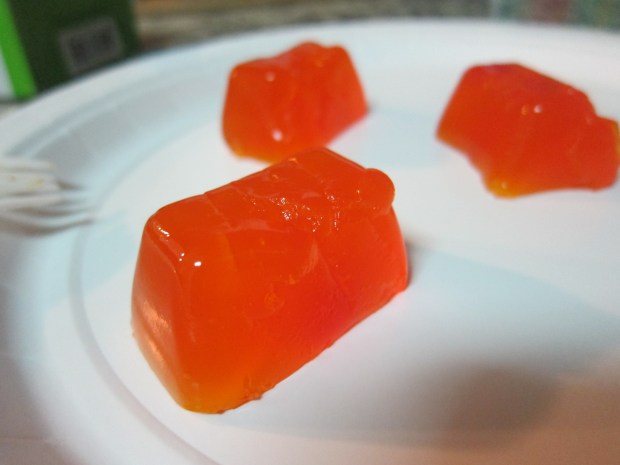
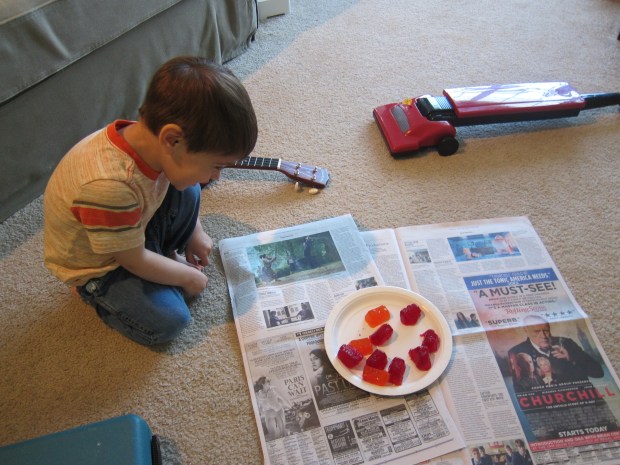
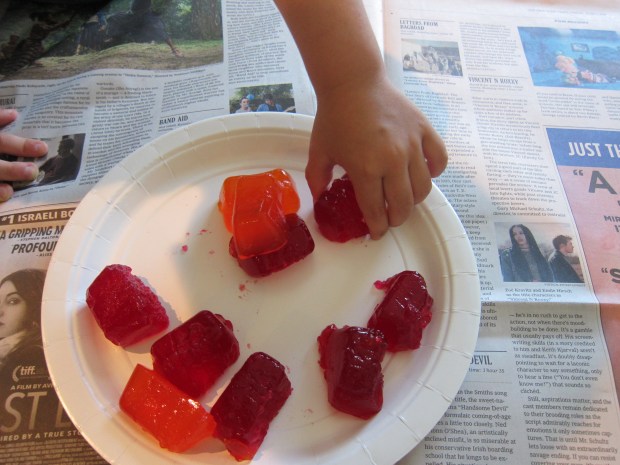
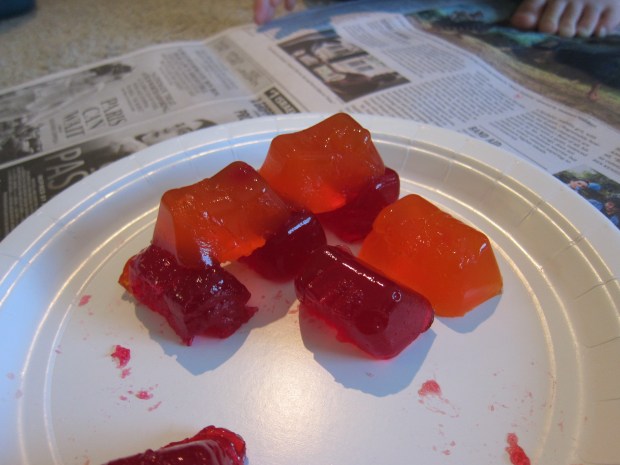
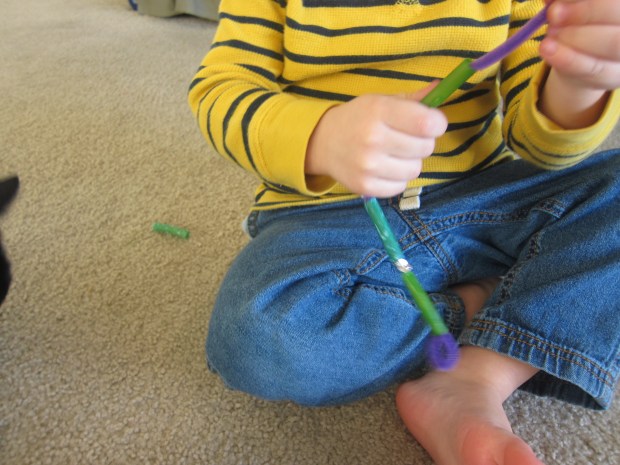
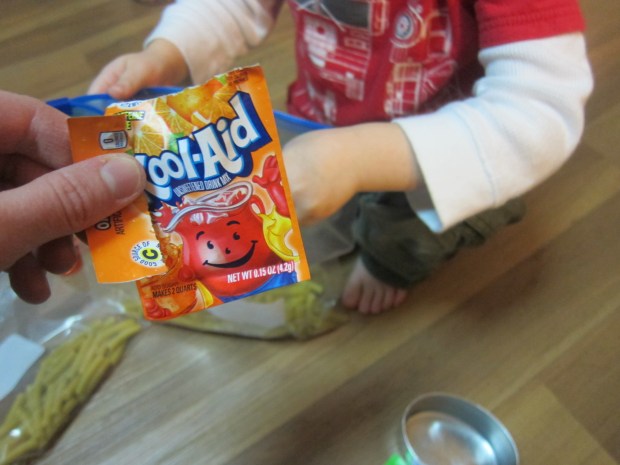
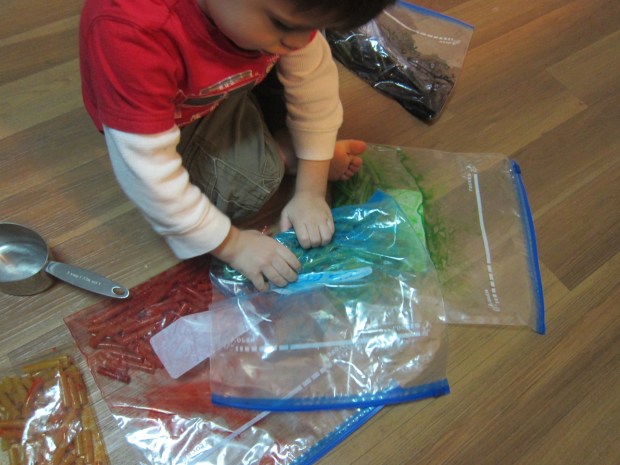
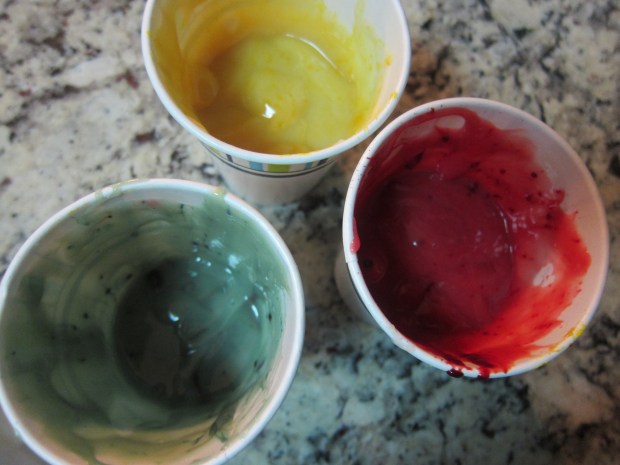
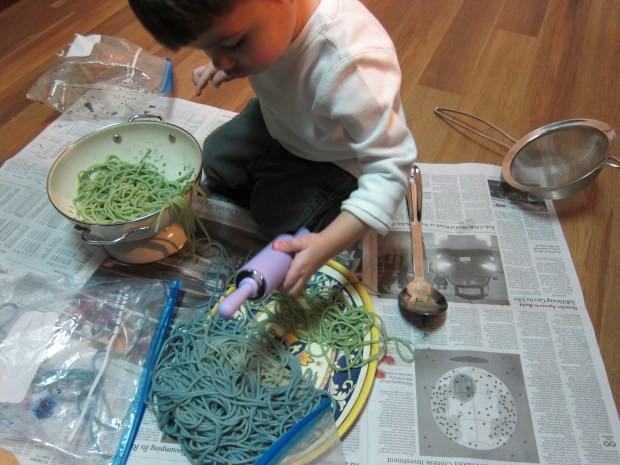
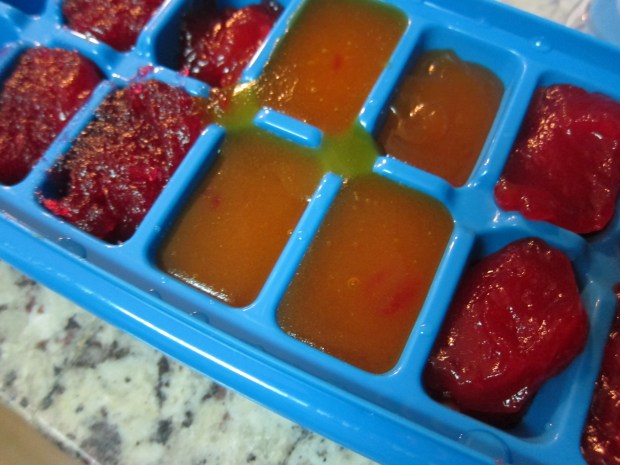
For the most fun, try a variety of colors! We were limited to orange and red, since those were the only flavors available at the store. For some reason, our orange came out very smooth, but our strawberry and raspberry flavors were a bit lumpy!

When the blocks had set, I surprised Travis with a plateful. Wow! Wibby wobbly building blocks.

Jello block (4)

We loved seeing how they felt…

Jello block (6)

And trying to stack them, with varying degrees of success.

Jello block (7)

And of course if you get tempted during your play, there is no problem with trying a bite!

Jello block (8)

A great variation on block play!

Salt Dough Dinosaur Fossils

Salt Dough Fossil (4)

Ok, this is our last dinosaur project for a while, I promise! But I’ve become a big fan of salt dough lately, and Travis never tires of mixing flour and water, so we gave this project a quick go!

In a bowl or basin, have your child combine the following:

1 cup flour

1/2 cup salt

1/2 cup water

Mix with your hands, and add more flour if it seems too sticky. Show your child how to knead the dough – a neat little lesson if you ever intend to bake bread with them later on!

Salt Dough Fossil (1)

Then it was time to roll our dough out. We rolled ours a bit too thin – aim for 1/2-inch thick for the best dinosaur imprints.

Salt Dough Fossil (2)

Cut circles from the dough with a cookie cutter, and then press toy plastic dinosaurs into the dough to leave an imprint. Travis loved using the cookie cutter to make circles within circles, while I set aside our finished “fossil” imprints.

Salt Dough Fossil (3)

We let our fossils air-dry this time around, although you can speed up the process in the oven.

Salt Dough Fossil (6)

Now your budding archaeologist can dig up dino fossils any time he or she likes!

Chocolate Chip Cookie Fossil Dig!

Chocolate Chip Dig (1)

Digging for dinosaurs might be fun… but digging for chocolate? Even better!

We had some purely indulgent fun with this game, having talked a lot this week about digging for fossils and archaeology. I presented Travis with two chocolate chip cookies (one thin, one thick, for nice variation) and invited him to excavate the chocolate chips.

Chocolate Chip Dig (6)

Possible tools include toothpicks, forks, or toddler-safe knives.

The fork turned out to be the fast favorite.

Chocolate Chip Dig (4)

Although hands were a close second place!

Chocolate Chip Dig (3)

Did we eat our discoveries? But of course.

Chocolate Chip Dig (5)

Pasta & Beads Bracelets

pasta-bracelets-12

Using that big batch of Kool-Aid dyed pasta we made, Travis helped put together beautiful food art jewelry over the weekend!

When our batch of pasta was first dry, he simply loved stirring through it with his hands, so I let him have fun that way for some time before even introducing the notion of bracelet making.

pasta-bracelets-3

When the novelty wore off, I asked if he wanted to thread the pasta onto pipe cleaners. I made a small loop on one end of each pipe cleaner so the pasta wouldn’t slip off.

pasta-bracelets-2

To my surprise, he was very deliberate about choosing which items to use. Our blue pasta came out a little funny (the Kool-Aid powder sort of clumped together), but that turned out to be Travis’s favorite, so he wanted to make an all-blue bracelet!

pasta-bracelets-5

He loved threading the pasta so much that he wasn’t that interested in the beads I had laid out until the very end; your jewelry maker can alternate pasta and beads as much as they like!

pasta-bracelets-11

When the bracelets are done, simply twist the end of the pipe cleaner around the loop you created to start (you can tuck the pokey bit inside a ziti tube to avoid any metal pricks for the wearer).

pasta-bracelets-9

Travis also made up his very own creation – a “headband”!

pasta-bracelets-10

Overall, this kept us busy for quite some time – a great weekend family project.

pasta-bracelets-8


Kool-Aid Dyed Pasta

kool-aid-pasta-4

We don’t drink the stuff, but I did purchase little packets of Kool-Aid powder to make this vibrantly hued pasta. The dyed pasta is fun all on its own for sensory play, but for even more games featuring our creation, stay tuned for blog posts in the coming days!

Kids will love helping mix up the dye. First, pour about 1 cup of ziti into each of 5 zip-top plastic bags (or more, depending how many colors you want to make, but I find that one box of pasta divides nicely into 5 portions).

kool-aid-pasta-1

Next, Travis helped sprinkle a powder packet over the pasta in each bag. We used one each of red, orange, green, blue, and purple.

kool-aid-pasta-2

The next step (just for grown-ups!) is to add 1 tablespoon of rubbing alcohol to each bag. Now seal and smoosh it all about with your hands to coat the pasta evenly.

kool-aid-pasta-3

Let the mixture sit for at least 20 minutes, before transferring to a pan to dry overnight. To contain any mess, make little packets of aluminum foil for each separate color.

100-happy-48

When the pasta dries, it makes for great sensory play just to mess about with in a bin. Or you could use it for a sorting game by color! As mentioned, stay tuned for future posts with even more ideas.

Pudding Paint

pudding-paint-2

Travis has surprised me recently, more into messy, hands-on activities than educational ones, but I’m more than happy to indulge him. What could be a better, more rewarding mess for tots than pudding paint? When you’re done playing, you’ll have a portion left over for a tasty snack!

I made vanilla pudding from European Gourmet Organic’s mix. It was easy to whip up in the evening, and then I let it chill overnight.

When we were ready to play, Travis helped me divide the pudding into 4 containers – 3 to color and 1 to set aside for snack time! He was practically shaking with excitement when I asked him to help me add food coloring – we used the yellow, red, and green from Color Kitchen.

pudding-paint-1

To my surprise, he was way more into just playing with the pudding than painting with it, even though I laid down paintbrushes and paper.

pudding-paint-3

Instead, he loved pouring the pudding from one cup to the other and seeing what colors he made, scooping it out with a teaspoon, and stirring it.

pudding-paint-5

Inevitably, he also dipped his fingers in!

pudding-paint-6

When this led to clean-up in the bath, we decided why not… and brought in the remainder of the pudding paint to paint the tub. It was easy to rinse off with water and a quick wipe after!

Finally, it was time to enjoy the final pudding portion as a snack, resulting in huge smiles. A great activity all around. If we do it again, I’ll be curious to see if he’s more into the painting itself!

pudding-paint-4

What does your child like to do with pudding paint? Please share in the comments!

Spaghetti Fun

spaghetti-fun-8

We haven’t played with cooked spaghetti in quite some time – so I was curious to see if Travis would interact differently with the game this time around. Low and behold, things were very dissimilar.

Unlike last time, now Travis was old enough to help with set up, too. First, I cooked a full box of spaghetti, and divided it into three bags. Travis helped me add food coloring to each bag, and loved squishing the bags until the color was dispersed.

spaghetti-fun-2

I set up an area on the floor with colanders, trays, and kitchen utensils, and let Travis have at it. Surprisingly, he didn’t want to touch the spaghetti this time around, always using either a utensil or asking me to help pick it up. But that didn’t deter him from experimenting with stirring:

spaghetti-fun-6

rolling pins:

spaghetti-fun-3

and mashing with a mallet. His favorite was to squeeze a portion of the spaghetti in an orange juicer and make “pies,” and he had fun telling me which colors to add to each pie e.g. “Red and green for this one!”

spaghetti-fun-5

I thought maybe the spaghetti was too sticky for his hands since I didn’t coat it with any oil, so he helped me drizzle on a little canola oil. Even then he didn’t want to touch the stuff. Oh well, it still made for great exploration!

spaghetti-fun-7

Overall, the game was very different from his play at 20 months old, when he just used his hands to transfer spaghetti back and forth. This time we talked a lot about the colors, and used our imaginations for a fun spaghetti bake shop.

spaghetti-fun-4

Dough Ornaments

dough-ornaments-9

We decorated the tree early this year, and to get further into the holiday spirit, decided to make homemade ornaments of our own! Adding spices to the dough makes your whole house smell like Christmas. With holiday music playing in the background, it was the perfect project to kick off the festivities.

In a large bowl, have your child help you combine:

1 and 1/2 cups flour

3/4 cup cinnamon and nutmeg

1 cup salt

1 cup water

If the dough is too sticky, add a bit more flour once you turn out onto a surface to knead it together. Travis adored mixing the dough, and couldn’t wait to get his hands messy when I showed him how to knead.

dough-ornaments-1

We then rolled the dough to about 1/4-inch thick, another step Travis loved since I finally have a child-sized rolling pin for him.

dough-ornaments-2

We used gingerbread men cookie cutters, but any holiday shape – or even just circles – would work great for this project.

dough-ornaments-3

Using a straw, punch a hole near the top of each ornament so you’ll be able to hang it after baking.

dough-ornaments-5

Transfer your ornaments to a baking sheet and bake at 350 degrees F for 30 minutes.

dough-ornaments-6

Once the ornaments cool completely, thread ribbon through the holes and adorn your tree!

dough-ornaments-7