Dinosaur Crate

Koala dino (3)

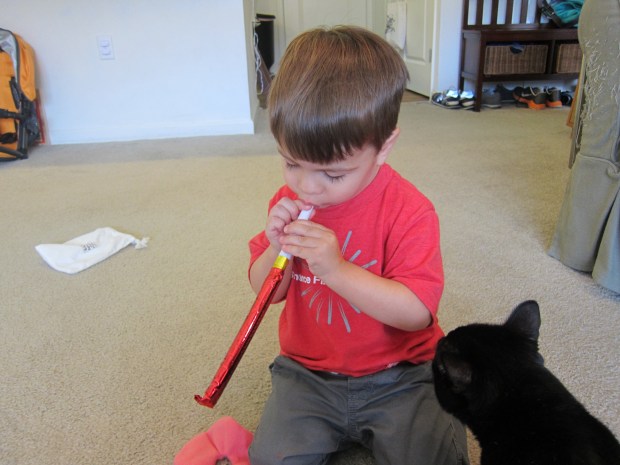
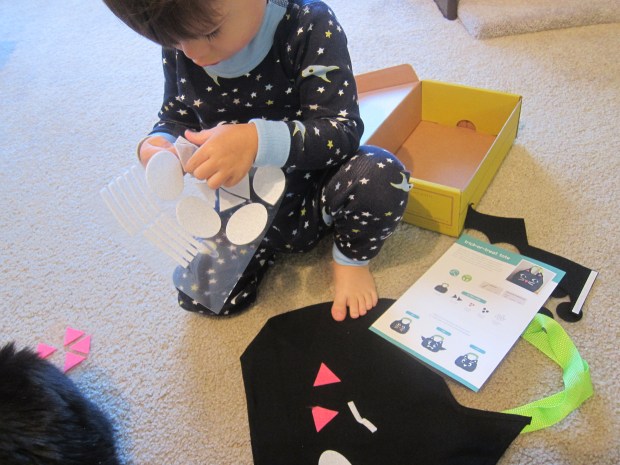
With the arrival of our latest Koala Crate, I’m struck yet again by the ways in which Travis’s brain has changed since we started this subscription. He was so eager to get started on the first project in our box that I had to let him dive in before I’d even seen the theme and instructions!

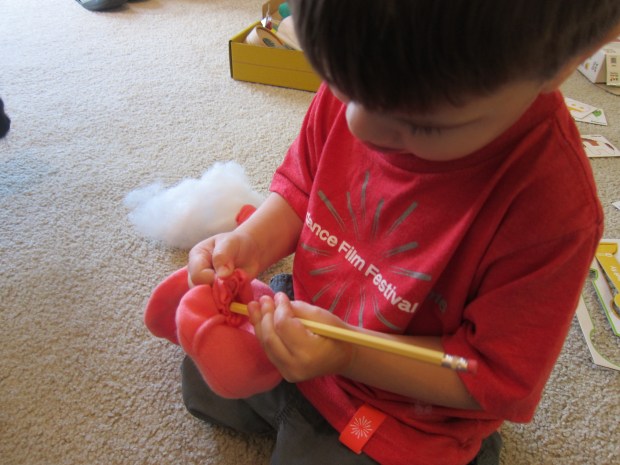
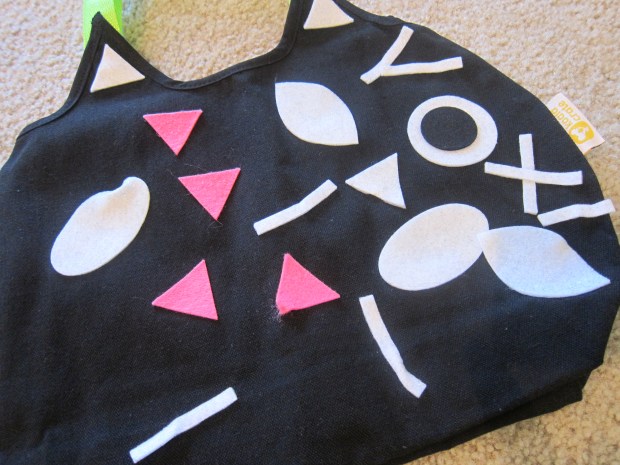
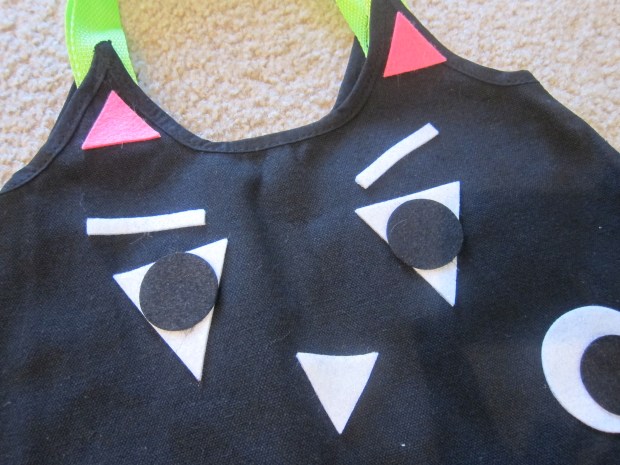
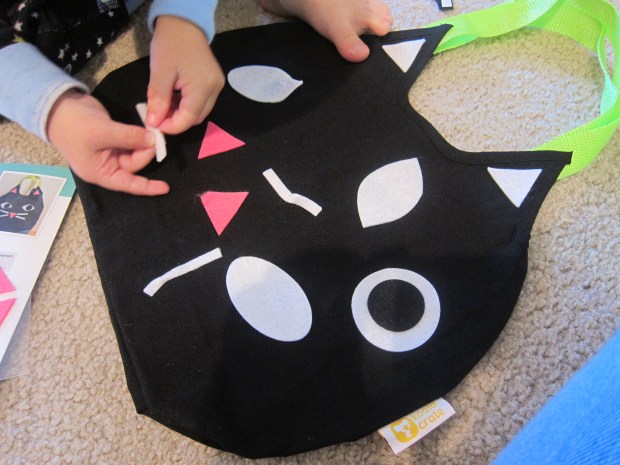
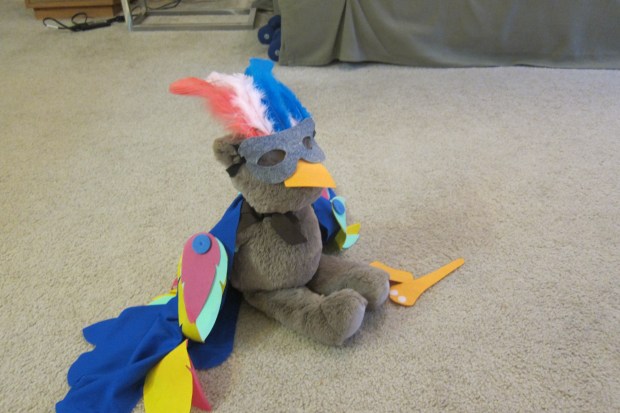
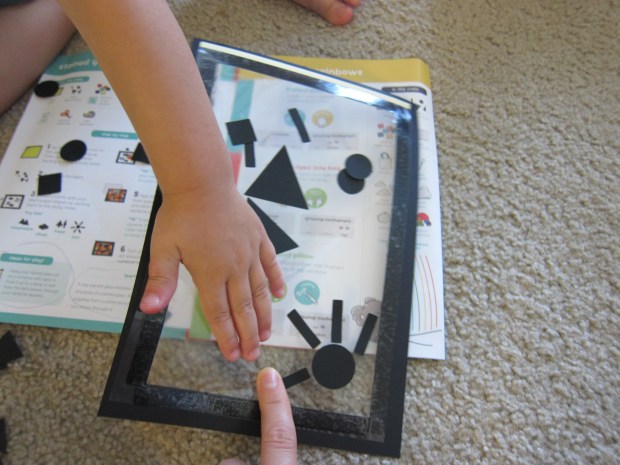
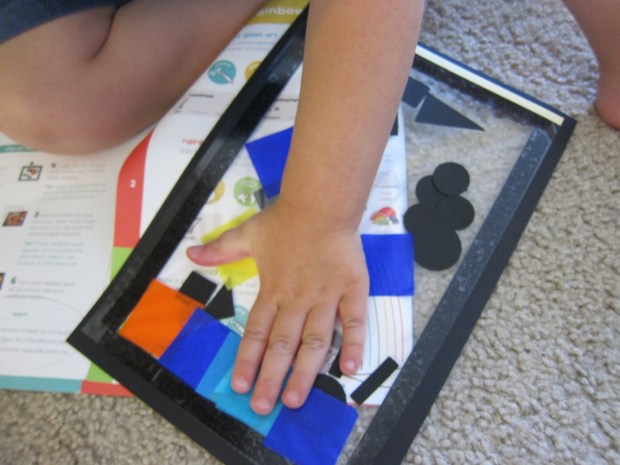
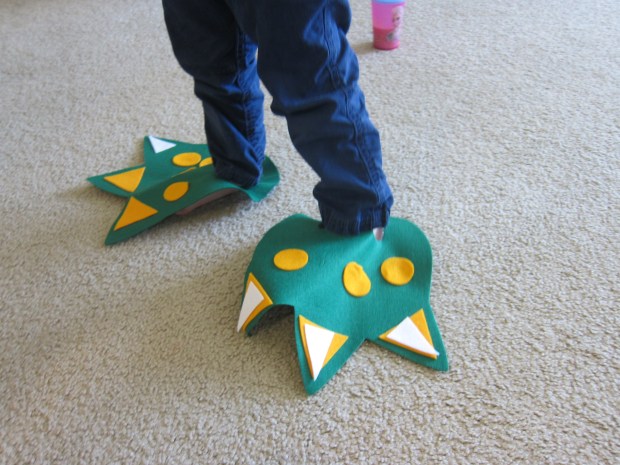
Luckily, I could catch up quickly as he peeled off the stickers for the first craft – Dinosaur Dress-Up! Apply the felt stickers to the provided visor and dino feet to make your fearsome T-rex.

Koala dino (2)

You can talk about shapes (triangles, circles) as your child works, as well as what elements of the dinosaur they represent, like teeth, spots, or claws.

Koala dino (1)

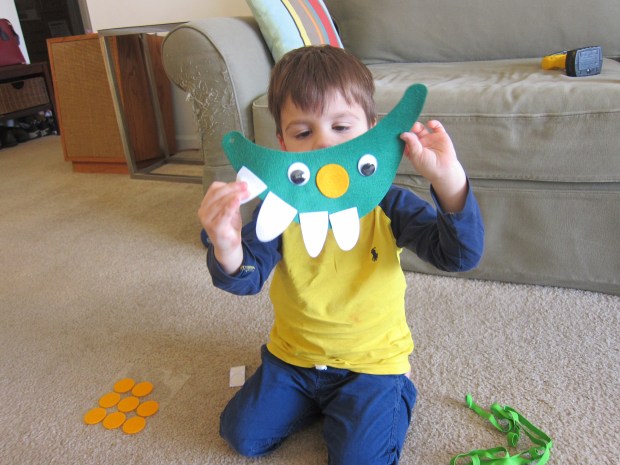
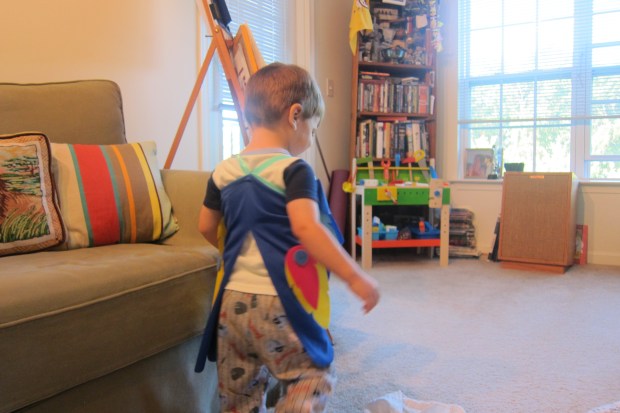
Travis had the eyes stuck on the visor in the right spot before I even had a chance to ask him where he thought they should go!

Koala dino (4)

Rar!

Koala dino (5)

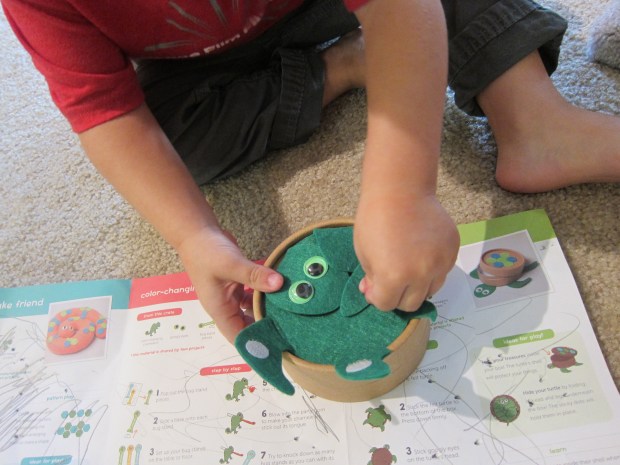
No sooner had he paraded around in the costume for a bit than he wanted to see what was next, so I pulled out the materials for Clay Fossils. This craft required first matching up puffy bone stickers to a template, great practice for getting stickers precisely in the right spot.

Koala dino (6)

He was so proud of his work, and then thrilled when I showed him the imprint of a dinosaur skeleton that was left behind when we pressed the provided air-dry clay on top.

Koala dino (8)

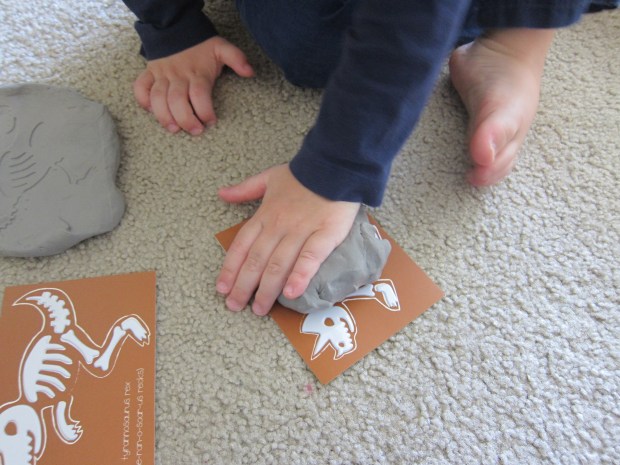
We had fun talking about what fossils are and the clues they leave behind, i.e. a dinosaur with short arm bones likely walked on only two feet, versus one whose arms and legs were the same length.

Koala dino (10)

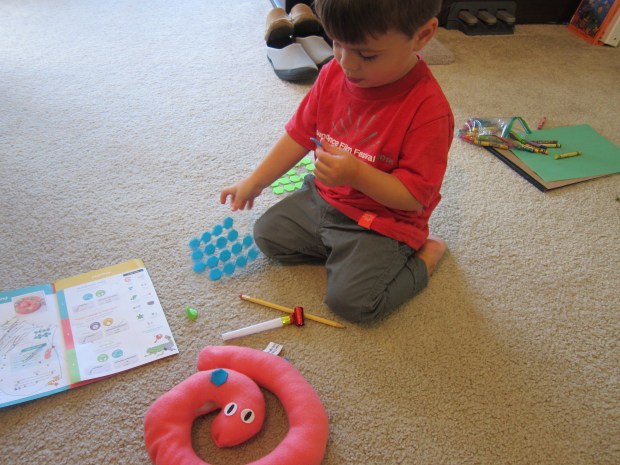
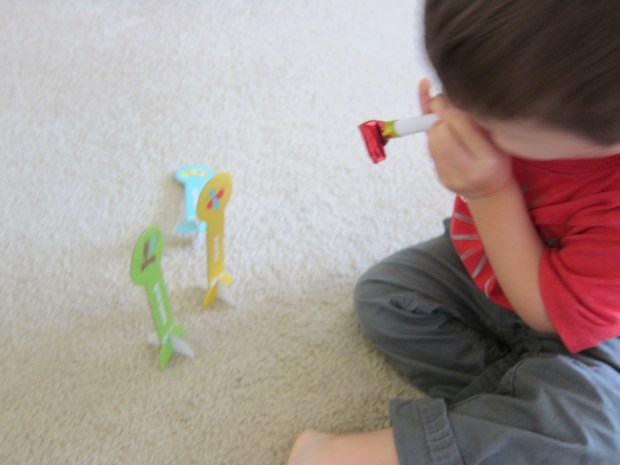
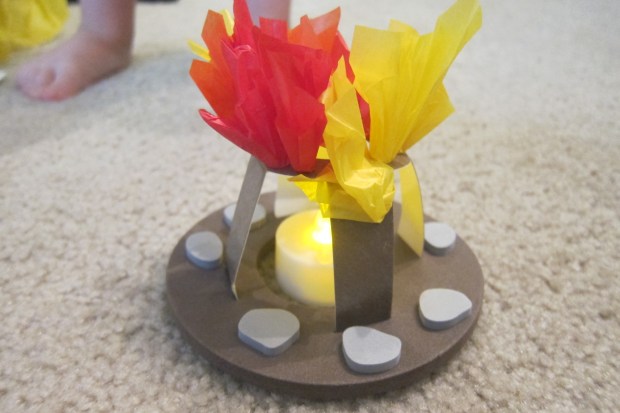
And then like a whirlwind he was already moving on to project three, the Dino Match Game, with two provided game boards, a spinner, and pop-out tokens to match up with the proper dinosaur footprint.

Koala dino (12)

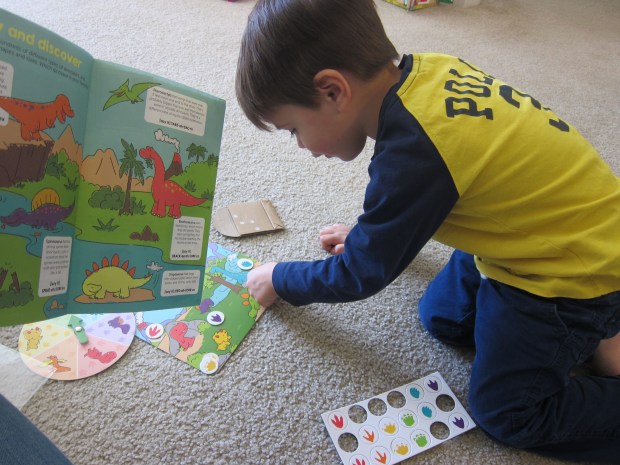
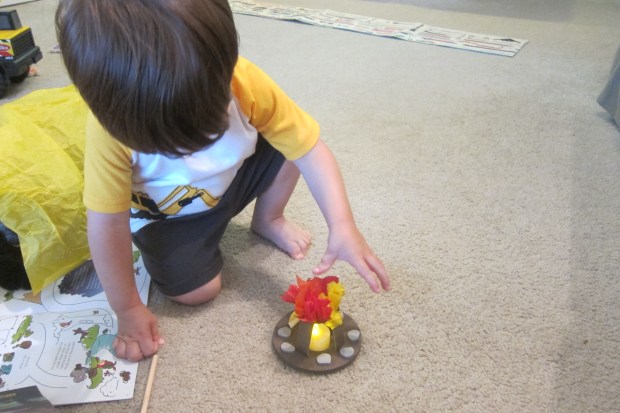
Travis loved playing several rounds in a row.

Koala dino (13)

He wanted to know the names of all the dinosaurs on the card, so luckily our included Imagine magazine had a helpful name and pronunciation guide. This mama had never heard of the Spinosaurus before!

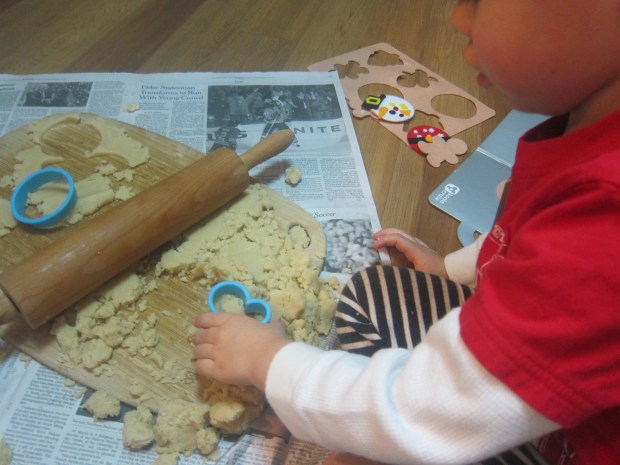
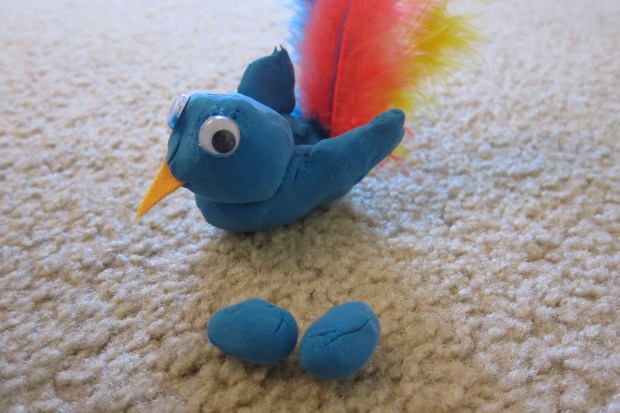
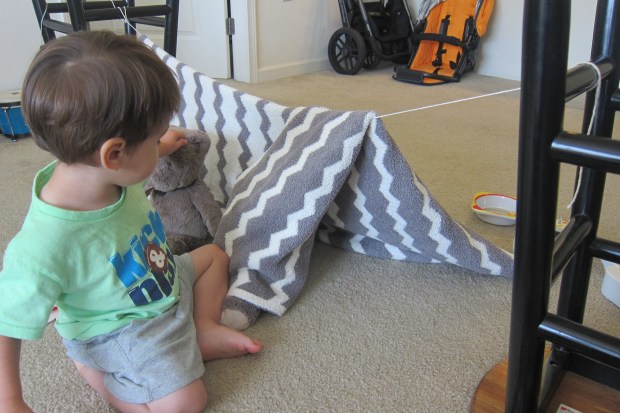
We continued the fun with at-home crafts like Dino Eggs, and pulled out some of our favorite Usborne dino books like The Big Book of Big Dinosaurs, Lift the Flap Dinosaurs, I’m a Dirty Dinosaur, and Dinosaur Activity Book.

As always, you can replicate much of this crate with materials from your local craft store, though you’ll need to pull out your artistic skills to draw those game boards!

Feelings Crate

koala feelings (5)

Our latest set of activities from Koala Crate was all about friendship and feelings… Parts of this crate were a bit advanced for a two and a half year old, but talking about feelings and emotions is something we always aim to do, and it was nice to have new props!

As with all Koala Crates, you could mostly put these together with craft store items, although the dry erase mirror might be difficult to replicate. Read on…

The biggest hit by far were the felt Funny Face Puppets. Travis loved applying the felt shapes to the provided felt circles, telling me what his creation was feeling (I was especially impressed when he made a “sleepy” one) and designing them to look like relatives.

koala feelings (6)

On an intellectual level, he really knew where eyes and noses and other features should go in relation to each other, a nice leap forward.

koala feelings (2)

Older kids may be interested in assembling their faces as a game, using the provided spinner to apply facial features one at a time, but Travis didn’t quite get that concept.

The Friendship Bracelet project was a bit of a dud (although I thought the provided water-filled paintbrush was neat). We threaded the wooden beads onto a dowel to paint, but Travis was more into mixing the colors than painting the beads.

koala feelings (7)

Once dry, I put together the bracelets for him… and then did love that he chose to give one half of the pair to his daddy! Still, this project was a nice way to talk about the importance of sharing with friends.

koala feelings (9)

The Feelings Poster was super cute, but Travis preferred just to doodle with the dry erase marker rather than specifically draw emotions on it.

koala feelings (10)

We then used this crate as a nice jumping-off point to act out our emotions. First we assigned actions to each emotion – stomping for angry, jumping for surprised, dancing for happy etc. Then we played “musical emotions”! I would start a song, and Travis would act out the emotion he felt fit the song best. A great way to build EQ!

koala feelings (16)

We ended by putting together a suggested craft in the kit – a “Feelings Friend” that Travis can take with him or use to help express his emotions. Punch a hole in a cardboard tube, then use scissors to make that hole the size of a quarter.

koala feelings (12)

Slip in a piece of paper, and trace a circle through the opening. Repeat all around the paper. Remove the paper from the tube to draw different emotions on each circle, then slide back into the tube.

koala feelings (14)

Now your toddler can spin the faces around!

koala feelings (15)

We’ll likely return to all these items once Travis is older, and his emotional vocabulary develops. Thanks Koala Crate!

Christmas Cookie Crate

koala-xmas-6

We received this delightful holiday kit from Koala Crate, featuring both pretend and real Christmas cookies. The craft would be easy to put together yourself, simply by purchasing felt and stickers! I love that we not only engaged Travis’ imagination with the make-believe cookies, but then got to whip up real Christmas cheer with the included recipe.

First, we played with the felt cookie set. Travis thought the cookie cutters were very neat, since the pre-cut felt let him pop the trees and gingerbread people right out.

koala-xmas-2

The stickers for decorating were a big hit, and although we didn’t decorate the suggested Santa, snowman, and gingerbread people as depicted, we certainly had fun creatively applying the decorations!

koala-xmas-4

Then it was time to really bake! This recipe is super kid-friendly; tots can help measure, pour, or mix ingredients, as well as help to roll the dough and use cookie cutters.

For the sugar cookies, you’ll need:

1 cup Earth Balance butter

1 cup sugar

1 Ener-G egg

1 tablespoon vanilla extract

2 tablespoons baking powder

3 cups flour

  1. Cream together the butter and sugar in a large bowl. Mix in the vanilla and Ener-G egg.
  2. Combine the flour and baking powder in a separate bowl, then add to the wet ingredients. Once a dough forms, finishing kneading the dough with wet hands.
  3. Divide the dough into portions (we worked with one quarter at a time) and roll out to 1/4-inch thick on a lightly floured surface.
  4. Use round cookie cutters (or holiday ones!) to make shapes, and place on a cookie sheet. Bake at 350 degrees F for 10 to 12 minutes.
  5. Cool the cookies briefly on the baking sheet, then transfer to a wire rack.

koala-xmas-8

Travis did take a quick turn with the rolling pin, but then he loved crumbling the dough and pressing cookie cutters into his mess, so we lost some of our dough to toddler madness!

koala-xmas-9

Luckily, we still managed to bake enough cookies to decorate.

koala-xmas-10

For the icing, you’ll need:

1 cup powdered sugar

2 tablespoons non-dairy milk

3 tablespoons brown rice syrup

Food coloring

  1. Mix together the powdered sugar and milk. Add the brown rice syrup – your frosting should be thick.
  2. Divide into zip-top plastic bags, and add a sprinkle of food coloring to each bag, kneading to incorporate. Snip a small hole in one corner of each bag and squeeze onto the cookies.

Travis loved this part – be prepared to get messy!

koala-xmas-13

For a final dose of fun, we added colored sprinkles to some of our cookies, and crushed candy canes to others.

koala-xmas-14

In sum, a crate-ful of holiday cheer!

koala-xmas-15

Reptile Crate

koala-reptile-5

This month’s theme from Koala Crate was reptiles, and it was by far our favorite crate in a long time! The projects and games were quite varied, and helped to inspire creative play and learning.

As always, you can replicate many of the crafts below with items from a craft store. the exception being the color-changing chameleon… see details below.

First, we made our stuffed snake. The craftiest item in the crate, this involved stuffing fluffy roving into a felt snake. Your child will definitely need help – even I had trouble stuffing the very center of the snake! – but Travis loved the fluffy filling, and was a big helper pushing it as far as we could with a pencil.

koala-reptile-2

As you decorate the snake with the provided hexagon stickers, you can discuss how all reptiles have scales, or talk about shapes and patterns. Travis sort of lost interest though, and preferred to pretend the stickers were band-aids on his fingers. #toddler

koala-reptile-3

But then came the real fun: the snake comes with slits to insert a party blower “tongue.” Travis was so proud that he could use the party blower all by himself.

koala-repitle-1

We used the blower for the next crate activity as well: a chameleon and three “bugs” for him to catch with his long tongue. Take turns with your child and see who can knock down all three bugs first. Sure to produce giggles!

koala-reptile-7

Even cooler, the chameleon changed colors when exposed to heat. Travis was at first astonished and then delighted at the effect when he held the green animal in his hands.

koala-reptile-10

Finally, we assembled our turtle box, adhering a felt turtle body to a cardboard base, and covering with the lid with more hexagon stickers. Attach Velcro points to the turtle’s limbs and head, and he can fold under to “hide” just like turtles do in their shells!

koala-reptile-9

A really cute way to introduce this element of the animal. Travis loved hiding treasures inside the turtle’s shell.

koala-reptile-8

We continued the reptile play with charades: chomping like a crocodile, slithering like a snake, and “hiding” like a chameleon, to name a few. Travis’s favorite was the slithering!

koala-reptile-14

To make one more fun snake, I had Travis practice threading, adding large beads to a pipe cleaner (bent slightly at the end to keep the beads on). It was by far his best threading yet.

koala-reptile-11

Once the pipe cleaner is full, bend up the other tip and add stickers for eyes, then slither your snake all over the house!

koala-reptile-16

Overall, great fun, a nice dose of science, and adorable crafts that we’ll be able to use again and again. Thanks Koala Crate!

Koala reptile (15).JPG

Halloween Tote

koala halloween (4).JPG

Instead of purchasing a bag for all the upcoming Halloween loot, engage your child’s creativity and have them decorate their own tote! We got ours care of Koala Crate, but you can easily buy a blank canvas bag and cut shapes from felt to adhere.

Although our kit came with suggestions for animal faces, Travis had other plans. He dove right in, telling me which shape he was holding and assembling into an ever-intricate design.

koala-halloween-1

He had so much fun that I simply sat back and let him decorate. On the reverse side, I added a face with the leftover stickers, something sort of resembling an owl!

koala-halloween-3

It will be Travis’ first Halloween going door-to-door, so I hope this tote helps create special memories.

koala-halloween-2

Bird Crate


koala-bird-8

Although the crafts were cute, I confess that Travis and I weren’t as interested in this month’s Koala Crate with a bird theme – mainly because he does not like dressing up in costume, and two of the projects involved items for your child to wear.

The most fun by far was sculpting a little clay bird. As always, you could put together these crafts with supplies from a craft store, but we used the blue clay provided by Koala to shape a little bird body, head, and wings. Travis loved rolling the clay, even though I neatened things up a bit to make the final product like avian.

koala-bird-2

His favorite part was sticking in a few tail feathers! We had to wait overnight for the bird to dry, but then it was fun to fly around. Leave some extra clay for little “eggs” to put in a nest.

koala-bird-3

The next project involved looping fabric feathers over buttons on a piece of blue fabric, to make wings. The buttons are great practice for little fingers, so even though Travis needed my help, I consider it a fine motor success.

koala-bird-4

He only tried on the wings once, but wasn’t a fan of the elastic loops over wrists and shoulders…


koala-bird-5

…so we made it more of a wrap, which he enjoyed briefly.

koala-bird-6

The mask was almost entirely done by me, after Travis attached feathers to a sticky strip along the top of the felt mask.

koala-bird-10

It very cutely came with interchangeable beaks – a kiwi, a duck, and a cardinal – attachable by velcro, so your child can learn about different birds. Since Travis didn’t want to wear the mask, Teddy was our model!

koala-bird-13

Discomfort in the costume aside, Travis had fun with the materials, and loved pretending to be a bird once the crafts were assembled, including “soaring” like an eagle, “pecking” like a woodpecker, and other fun variations.

We tried out one final craft suggestion, of a “hatching” baby chick on a clothespin. Draw two halves of an egg and a baby bird’s head on paper, and have your child color them in.

koala-bird-14

Cut out (either adults, or preschoolers with safety scissors) and attach the chick to the back of a clothespin and the egg halves to the front. Then pinch the clothespin open and closed to watch your chick “hatch”!

koala-bird-16


Camping Crate

Koala Camping (2)

We’ve received our second Koala Crate, this time with a camping theme! I was a little disappointed that I had to put together all three crafts by myself this month, but as stated in my Rainbow Crate post, this is mainly because the crates are marketed to ages 3 and up, and Travis sometimes doesn’t have the fine motor skills needed at age 2. That said, the camping theme was a delight, and a great way to introduce new materials, learn new concepts and vocab, and engage in imaginative play with our creations!

If not a Koala subscriber, try these projects using felt shapes, colored tissue paper squares, brown construction paper (for the tripod), glue, and a dowel from a craft store.

The first step was to put together our “campfire” on the sticky tripod provided. Travis did help a little with the neat dowel-method of sticking on tissue paper squares:

Koala Camping (1)

Mostly, though, he watched as I assembled the creation, telling me which color “fire” to add next. Once done, he was thrilled with the tea light provided, giving our campfire a real glow!

Koala Camping (3)

Next I showed him the very cool pretend food, various felt shapes meant to be s’mores and (veggie) dogs roasted over our flames.

Koala Camping (5)

He loved the idea of holding the felt shapes over the campfire, and asked to repeat the game throughout the day.

Koala Camping (8)

For the backpack craft, Travis quickly identified that we were making a bear. I put on all the stickers – too precise a task for his little hands – but he loved watching the bear take shape as I worked. Once complete, I put the backpack on him and he exclaimed, “Bye Mama, I’m going to school!” so proudly.

Koala Camping (6)

And then of course we needed to erect a camping tent! Since I only have stools, not chairs, our tent was quite low…. but Teddy and Bunny fit inside:

Koala Camping (9)

Travis latched right on to the idea of showing the stuffed animals how to cook his new food over the campfire.

Koala Camping (11)

Then he grabbed his guitar, so I told him we should sing campfire songs. “What other campfire songs do we know?” he asked. I rooted around for some old favorites from my childhood and taught him a few new tunes. What fun!

Koala Camping (10)

Overall, this crate was great for introducing new concepts and sparking creativity, but not an art project for a 2 year old. I look forward to more crafting with next month’s kit!

Rainbow Crate

koala rainbow (8)

Please forgive the long post, but we’ve received our first Koala Crate, and the projects inside were fantastic! A year’s subscription to the crate was my gift to Travis for his second birthday, and I’m so excited to delve into a year of crafting and exploring with him.

This month’s theme was rainbows, and the crafts inside ranged from super-simple to a bit more involved. Travis needed my help with all three, since technically the crates are marketed to age 3 and up… but he understood the concepts and fun behind them!

You could easily pick up the materials needed at a craft store for a DIY version of all the following crafts.

First up was a cute rainbow cloud pillow, adding half-circle stickers to a felt cut-out of a cloud. I directed Travis to put the stickers on in rainbow order, and he surprised me knowing what should come next!

koala rainbow (2)

Not all of his stickers ended up in the “right” spot, though I hesitate to use the term. I corrected the ones towards the back, just so he could see that we were producing an arced rainbow. By the time we got to blue and purple, I left them where he placed them, slightly askew – it was his project after all!

koala rainbow (4)

He was fascinated by fluffy roving (filling) for the pillow and called it a cloud – how appropriate!

koala rainbow (5)

He very eagerly helped me stuff the roving in, and once our rainbow pillow was sealed shut, it needed a big soft hug

koala rainbow (7)

Craft #2 was a rainbow-dyed tote bag. If you have no Koala Crate, buy any small canvas tote bag, and do the steps below using tissue paper and rubbing alcohol, rather than plain water. Q-tips will work in place of a water dropper.

Travis loved helping get the bag wet under the faucet, but was slightly frustrated as we laid down the tissue paper squares, since the wet squares stuck to his fingers. I covered the remainder of the bag, and then introduced him to the water dropper!

Koala rainbow tote (1)

This was a great challenge for little fingers. Although I needed to drip enough water over the squares to make an effect, Travis got in excellent practice making droplets onto a paper plate.

Koala rainbow tote (3)

We left the bag to dry overnight, and then removed the dried tissue, revealing our colors. Travis didn’t quite grasp that it was our water droplets that had done the work, but we had fun talking about the colors – which were bright (blue!), which were very hard to see (yellow!) – and adding cloud stickers as the finishing touch.

Koala rainbow tote z

The perfect size tote for a toddler to carry his toys to the car!

Koala rainbow tote c

Finally, craft #3 was a “stained glass” window. Use clear contact paper, construction paper shapes, and tissue squares, if you’re not a Koala member.

koala rainbow stained (2)

The shapes provided were fun to punch out and add to the sticky “window frame.” I made a sun, and Travis joined a bunch of circles together and told me he’d made a cloud.

Once our black shapes were in place, we stuck on the remainder of our tissue squares – great fun!

koala rainbow stained (3)

Best of all was setting the “stained glass” up in our window, beautiful with light filtering through.

koala rainbow stained (7)

To finish our rainbow exploration, we made rainbows at home with two easy tools. A CD in a ray of sunlight produces a great rainbow against a wall.

Koala rainbows alt (1)

A prism takes a bit more work, to find the perfect angle, but Travis had so much fun waving it in sunlight until he spotted a rainbow.

Koala rainbows alt (2)

“I see it, I see it!” he would exclaim, and delighted in touching the colors on carpet and wall.

Koala rainbows alt (5)

Stayed tuned for more Koala Crate adventures!

koala rainbow stained (5)