Snow Storm in a Jar

Snowstorm Jar (4)

We’re always up for a glittery and bubbly project, and this one seemed well worth a try; I’ve seen this one popping up (pun intended!) all over the internet lately. The secret to creating a blizzard inside is a simple little Alka-Seltzer tablet.

First, we needed to mix together 1/4 cup water with enough white paint to make a nice, saturated color. Pour this mixture into the bottom of a glass jar.

Snowstorm Jar (1)

Fill the jar with 1 cup baby oil – the oil will sit on top of the water, which is precisely what makes this experiment work, the fact that water and oil won’t mix.

Snowstorm Jar (2)

Next we added glitter. Ideally, we would have used white glitter to be snowflakes, but our storm had blue glitter. Travis dumped in a whole lot more than I intended before I could stop him, oh well!

Snowstorm Jar (3)

To make the storm happen, simply drop in an Alka-Seltzer tablet. The tablet will create pressure upwards, which makes the water rise, but then the oil pushes it back down again. The carbon dioxide generated by the tablet and the water also keeps things nice and bubbly.

Snowstorm Jar (6)

And your child gets to watch beautiful snowflakes and snowdrifts while learning that little bit of science!

Snowstorm Jar (5)

A moving project like this demanded a quick video, so enjoy!


Hot Chocolate Science

Hot Chocolate (7)

Well now here’s a tasty way to bring some science into your winter afternoon. Or to add a sweet twist to your science. Whichever way you spin it to your kids, who can possibly protest a science experiment that ends a cup of hot chocolate?

I started out by posing a hypothetical to Travis. If we made him hot cocoa for a snack, which would dissolve fastest: cocoa in a cup of cold water, one of medium (room temperature) water, or one with hot water. He picked hot (great!), so I guessed cold to play devil’s advocate. Now it was time to test our hypotheses.

Set out three heat-proof cups and fill each with 6 ounces of water.

Hot Chocolate (2)

Travis proudly helped fill the first two cups. Use caution when pouring the hot water, a step best left to grownups.

Hot Chocolate (1)

We then added 1 tablespoon of hot cocoa mix to each cup, one at a time, starting with the cold water. We tried to be scientific by timing our results with a handy stopwatch, although I confess our scientific method was spotty.

Hot Chocolate (4)

The chocolate in the cold water didn’t go anywhere, remaining powdery and clumpy even after lots of stirring. Truth be told, we have no idea how long it would have taken to dissolve, but far past our attention span on the stopwatch.

Hot Chocolate (5)

The hot water dissolved the cocoa in 10 seconds flat – a neat comparison that grabbed Travis’s attention.

Hot Chocolate (6)

Results for our medium water were a little fuzzy because it was probably hotter than it should have been. I had hoped to have water exactly at room temperature, but it was warm from sitting in the tea kettle. So that only took about 16 seconds to dissolve.

Hot Chocolate (8)

Either way, Travis got to enjoy a cup of cocoa at the end (from the hot cup, of course), and picked up a little science about how heat breaks apart molecules along the way.

Arctic Animal Experiment

Arctic Animal (4)

Following up on fun and icy magnetic play, we wanted another way to play with ice indoors. Recent reading about arctic animals such as penguins and seals was the perfect launching off point. I posed the question to Travis: How do arctic animals stay warm in icy water? The answer of course lies in their blubber, the thick layer of fat under their skin. To illustrate this for your child, get messy with this silly experiment!

First, give your child a bowl of water with ice cubes, and encourage them to plunge their hand in – if they dare! Travis cautiously dipped a finger. Brr!

Arctic Animal (1)

I promised him we could keep his hand warm in the icy water with a few simple steps. First add a latex glove. This layer alone won’t do the trick, of course, but we tested just to be sure.

Arctic Animal (2)

Next, dip your child’s glove-covered hand in a big vat of vegetable shortening (if you’re looking for a vegan and organic option, try Spectrum Organics). It will make a huge mess as you get your child’s hand covered front and back in the shortening (let alone take pics in the process!) but we mostly managed. Next time I would wrap the shortening-covered hand in plastic wrap to seal in all the mess.

Arctic Animal (3)

Now it was time to dip in. To be honest, Travis was significantly less impressed than I was, but he did notice that the fat-sealed hand didn’t flinch away from the cold ice cubes. I took a turn after, just to feel the difference.

Yup, here’s mama, just hanging out with her hand in icy water.

Arctic Animal (5)

Truly, you could keep your hand immersed this way for quite some time and not be bothered by the cold. If I’m ever crazy enough to do a polar bear swim, I’ll be layering up in shortening first.

Science… Meets Art

Science Meets Art (3)

This project (from our latest High Five issue) exemplifies the STEAM acronym: a little bit of scientific discovery paired with a nifty art creation at the end. You can do both components of the project, or just the science part, or just the art part… but I recommend the whole thing because we enjoyed it from start to finish!

First up, use some science (the S part of STEAM) to make at-home paints. Fill 6 large muffin cups with 1/4 cup baking soda each.

Science Meets Art (1)

Next, add about 15 drops of food coloring to each muffin cup. We only had powdered food coloring at home (from Color Kitchen), so sprinkled about a 1/2 packet of powder per compartment.

Science Meets Art (2)

Now you’re going to quickly pour vinegar into each muffin cup, and watch the colorful explosion!

Science Meets Art (4)

Of course this is similar to many baking soda and vinegar projects we’ve done in the past, talking about how the gas created when the two substances touch makes all that foam and bubbles. But this time, we were left with a new product… paint!

Science Meets Art (5)

Now it was time to use the paint for the A part of STEAM. We painted white coffee filters, and Travis had a blast, mixing colors and stirring each paint very carefully – a petit artiste!

Science Meets Art (7)

Set the filters aside to dry; these are going to be your flower blossoms.

Science Meets Art (8)

As a small gripe, you’re going to have undissolved baking soda left in each paint mixture, which leaves the coffee filters a bit grainy after they dry. I found it helpful to rub off the excess baking soda over the trash can before Travis and I moved on to the final steps of the project.

Meanwhile, make the flower stems by painting jumbo craft sticks green. The only green paint we had in the house was a dot marker, but this worked in a pinch. Let dry.

Science Meets Art (9)

To finish the flowers, wrap each painted filter around a medium-sized Styrofoam ball. Poke one of the green “stems” up through the filter and into the Styrofoam.

Science Meets Art (12)

Glue the tips of the filter together so the ball inside is no longer visible and voila – flowers!

Science Meets Art (11)

We set them in a vase, where we got to enjoy the fruits of our labor: beautiful flowers in the middle of a snowy winter.

Science Meets Art (13)

Thanks High Five!

Science Meets Art (6)

How to Make Pennies Turn Green

Pennies Green (7)

We’re on winter break and the science fun continues! With this easy experiment, you’ll create a simple chemical reaction – and help explain to your kids why the once copper-colored Statue of Liberty is now green!

The project was fun from start to finish because first we had to break into Travis’s piggy bank. This meant using a screwdriver (under careful adult supervision of course). We separated out the pennies from the rest of the coins, making it a quick lesson in currency denominations too.

Pennies Green (1)

Place your pennies in a bowl covered with a paper towel.

Pennies Green (2)

Pour white vinegar into the bowl, making sure the paper towel is completely saturated.

Pennies Green (4)

Now observe! We were surprised when the first penny had green spots after only a few hours.

Pennies Green (6)

The next morning, several of them were quite green!

Pennies Green (8)

I honestly have no idea why some of the pennies turned green and others did not, but here’s what’s happening: The metal copper and the acid in the vinegar react with oxygen, and form a new blue material, called malachite.

Make sure to observe under a magnifying glass, too!

Pennies Green (9).JPG


Dancing Raisins

Dancing Raisins (4)

Well, school’s out for winter break and we’re stuck indoors on a rainy day. What did we do? Science experiments of course!

Don’t be daunted when it comes to science and preschoolers. The goal is not to hammer home the scientific concepts, but rather to introduce tots to the strange, silly, and downright amazing things that happen when substances mix. I love this experiment because it epitomizes the fact. It couldn’t be simpler – all you need is club soda and raisins – but has easy-to-see, immediate, and delightful results.

First, fill a glass (or two) about 2/3 of the way with club soda.

Dancing Raisins (1)

Add about 4 raisins to each glass. Now watch what happens!

Dancing Raisins (2)

We immediately observed that the raisins sank to the bottom of the glass, but were very quickly covered in bubbles.

Dancing Raisins (3)

We only needed to wait a moment before we were rewarded…. with dancing raisins!

Dancing Raisins (5)

They swim up to the top, do a pirouette or two, and then sink back down. The best raisins did this over and over again. (Honestly, I’m not sure why some raisins were more “active” than others, but we definitely had some movers-and-shakers, and a few that just stayed inert).

I asked Travis why he thought the raisins were dancing, and he answered, “The bubbles!” He’s pretty much got it: the carbon-dioxide filled bubbles coat the raisins and rise to the top of the glass like all the bubbles in the water. Once they reach the top and pop, the raisin is released and sinks back down. For kids who can’t see molecules and atoms yet, it’s a neat visual of forces at work.

Of course Travis then needed to see what would happen if we dumped his entire snack pack of raisins into a glass. As you’d expect, the raisins mostly weighed one another down, but those on the top layer still danced for us!

Dancing Raisins (6)

Honestly, you’ll be entertained watching this experiment for quite some time; raisins are adorable dancers.

Dancing Raisins (7)

Note: We tried something similar with Halloween candy in October. What other foods can you make dance in a glass? Rice? Dried pasta? If you experiment further, please share in the comments!


Make a Leak-Proof Bag

Leak Proof (3)

This simple science experiment is sure to produce wide eyes and gasps in everyone from little kids to big grown-ups. Can you really pierce a hole in a bag filled with water, but not produce any leaks? Read on and find out!

First, gather a few sharp pencils, the sharper the better. We gave an extra honing to a few pencils, and set them aside.

Leak Proof (1)

Next, fill a large zip-top plastic bag half way with water, and seal tightly. We did the experiment over the sink just in case.

Leak Proof (2)

I stood Travis up on a stool and told him I could pierce the bag without causing a leak, only half believing it myself.

The pencils slid in surprisingly easily! Bam, three in, and not a drip in sight.

Leak Proof (5)

Travis loved it… and had even more fun pulling the pencils out and watching the fountain that erupts. We had to do the experiment three times it was so much fun.

Leak Proof (4)

Why does it work? It’s all thanks to the power of polymers, long chains of molecules that make up the plastic bag (in this case polyethylene). These molecules seal around the pencils once they are pushed through, preventing any leaks. Remember playing with silly putty as a kid? That’s another example of a polymer. So give your kids a tiny science lesson, and then simply have fun dazzling them. Bonus points if you do this over the floor instead of the sink!


Apple Experiment

Apple Experiment (7)

Wondering what to do with any leftover haul of apples from fall apple picking? This experiment introduces kids to several concepts, namely: oxidation (the apple turning brown); PH levels (a quick overview of acids and bases); and of course the fun of making a hypothesis and testing to see if it was correct!

To start, we needed to cut two apples into wedges. Travis insisted on being my helper for this step. Use a butter knife or other child-safe knife.

We then divided the apple slices among 5 cups.

Apple Experiment (1)

Now it was time to add our 5 solutions. Fill one cup each with the following:

Vinegar

Lemon juice

Non-dairy milk

Water

Baking soda solution

Note: for the baking soda, stir about three spoonfuls of baking soda into water and dissolve first, then pour over the apples.

Apple Experiment (3)

Travis instantly guessed that the vinegar would stop the apple from browning, and ran to share the news with his dad that we had to wait until morning! I loved that he understood a) that we were doing a scientific experiment and b) came up with his own hypothesis with no prompting.

In the morning, it was time to check on our solutions. We discovered that 4 of them had turned quite brown.

Apple Experiment (6)

As grown-ups will have guessed, it was the lemon juice that did the trick. Give your child a quick lesson on how the lemon is acidic, and prevents the enzymes in the apple from reacting with the oxygen in the air.

Apple Experiment (8)

Overall, I found this to be an easy and seasonable way to introduce a few scientific concepts.

Apple Experiment (9)


Magic Potion Spoons

IMG_0005.JPG

If you’re busy in the kitchen this holiday season, here’s a way to keep the little ones entertained and close by – bring a little magic into your kitchen! Travis was happy playing with this project for ages after the initial reveal.

Make sure you set up while kids are in another room. Place a few drops of food coloring on plastic spoons – I made one each of yellow, blue, red, and green (using the all natural food coloring from J.R. Watkins).

Magic Spoons (1)

Cover the colors with baking soda, then fill clear plastic cups with vinegar about half full, one for each color spoon. Be sure not to fill the cups too much, or you’re going to have an over-the-top explosion (we learned this lesson the hard way!).

Magic Spoons (2)

Then I invited Travis up to the counter, telling him I had magical spoons to stir. He eagerly reached for the first. The baking soda hit the vinegar and turned a gorgeous pink as it bubbled up and over the cup.

Magic Spoons (3)

Needless to say, he couldn’t wait to discover the next color, and on down the line until we had 4 colorful magical potions.

Magic Spoons (4)

That was just the beginning of the fun! Travis loved mixing and matching colors.

Magic Spoons (8)

One cup, oddly, had a high layer of foam after it settled, and Travis thought spooning and stirring this foam was great fun.

Magic Spoons (7)

After one cup tipped at the counter, we prudently moved the game to the floor, where Travis was like a mad scientist mixing and stirring for over half an hour.

Magic Spoons (9)

Although normally I let him in on the science behind our projects, this time I kept the food color secret a mystery. A little magic never hurts!

Magic Spoons (6)

Halloween Candy Experiments

Halloween Candy (4)

Well, the initial blood sugar rush of Halloween has subsided and sugar comas have set in, and we have lots of leftover candy. In our vegan household, I divide the candy into three piles: vegan candies to eat and enjoy; non-vegan candies to donate to our military overseas through Operation Gratitude; and non-vegan candies with which to do a little experimenting.

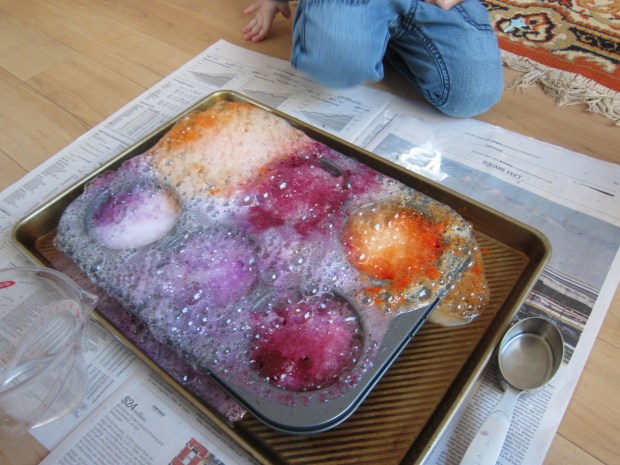
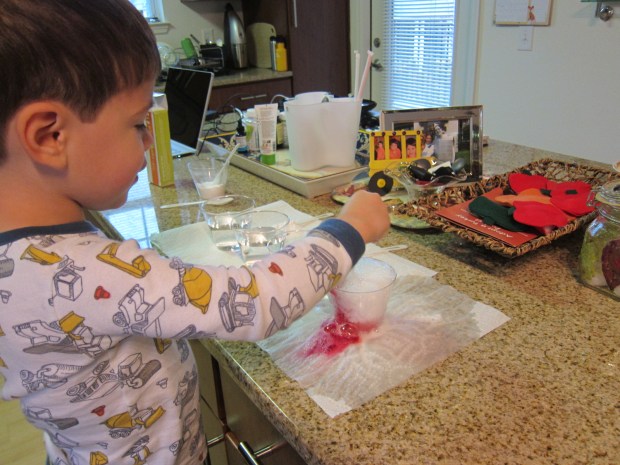
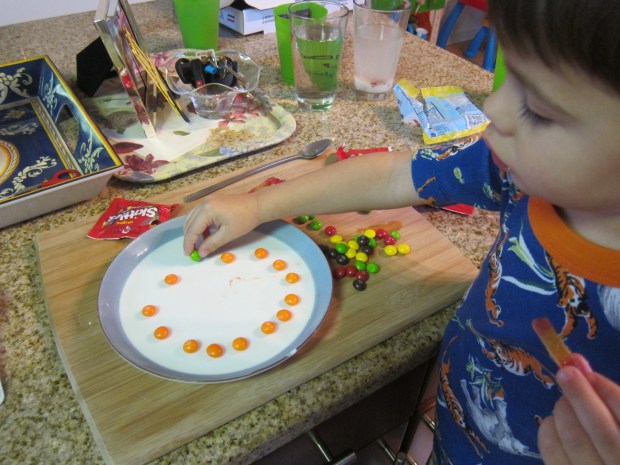
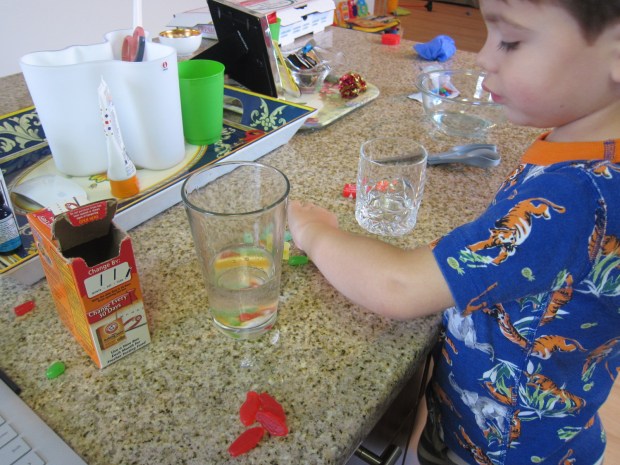
For the first experiment, make a “magical pumpkin” by stripping the color off any hard-shelled candy. Reeses Pieces are ideal, since you’ll have orange and brown galore, but we only had Skittles to work with. First, arrange the candies in the outline of a pumpkin on a plate. We nearly didn’t have enough orange for the outline, but by adding in a little brown and a green stem, we made it work.

Halloween Candy (2)

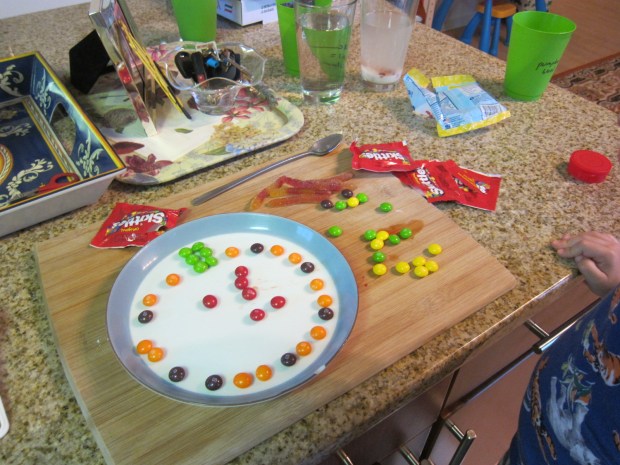
It was Travis’s idea to add red as the pumpkin’s “guts”!

Halloween Candy (3)

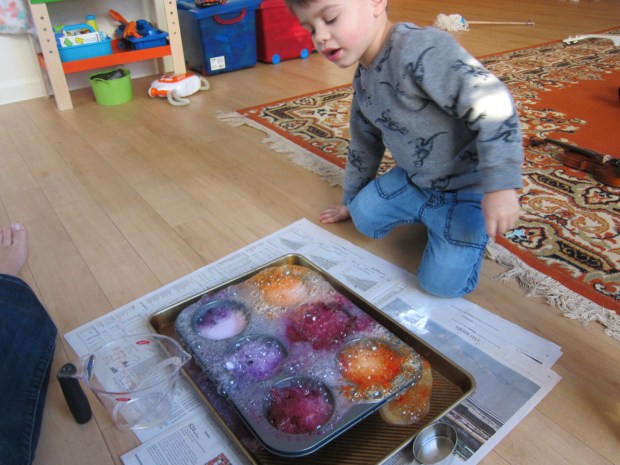
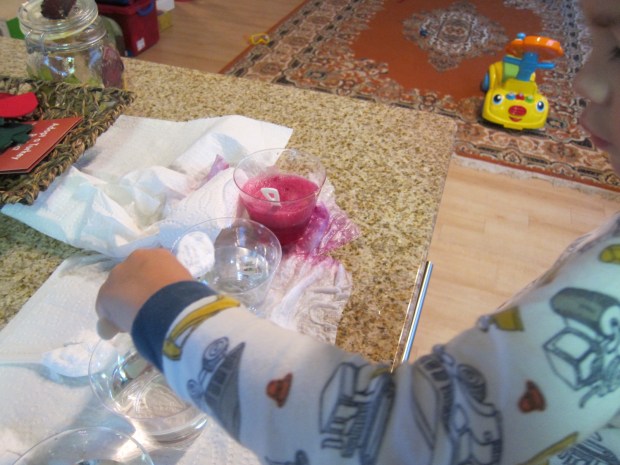
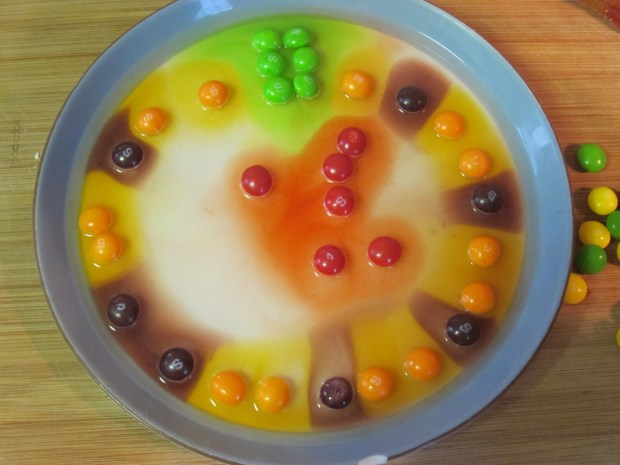
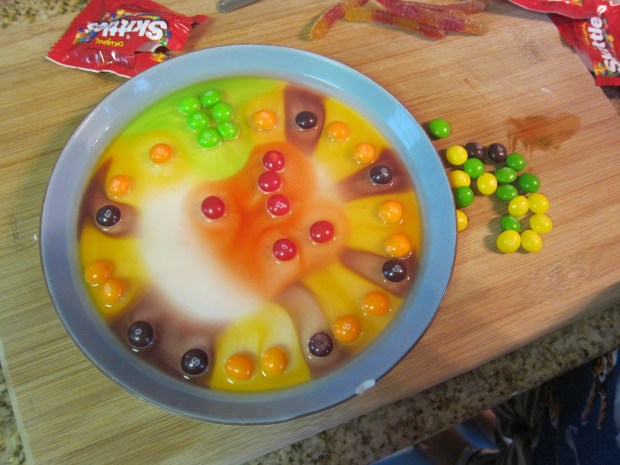
Once you’re outlined your pumpkin, fill the plate with a little hot water; the colors will bleed and fill in your pumpkin almost like watercolors. Sweet and neat!

Halloween Candy (5)
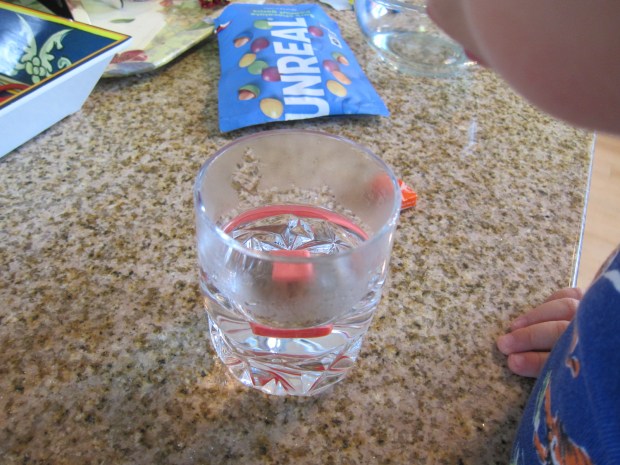
Travis wanted to stir the candies, which messed up the pumpkin shape, but allowed us to see the white candy left behind.

Halloween Candy (7)

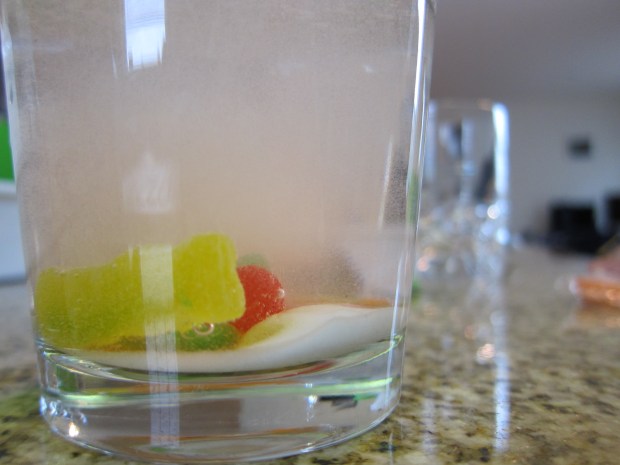
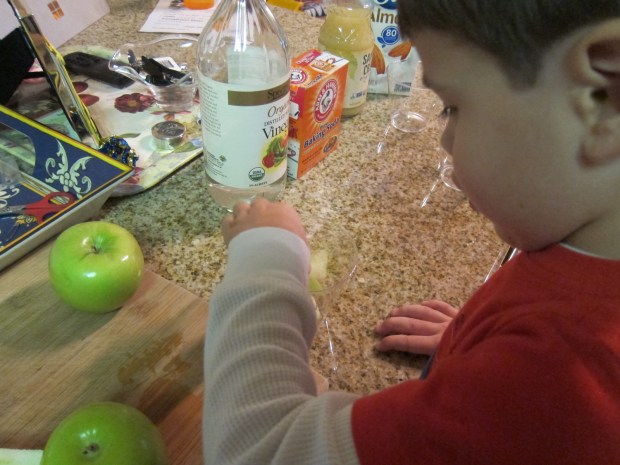
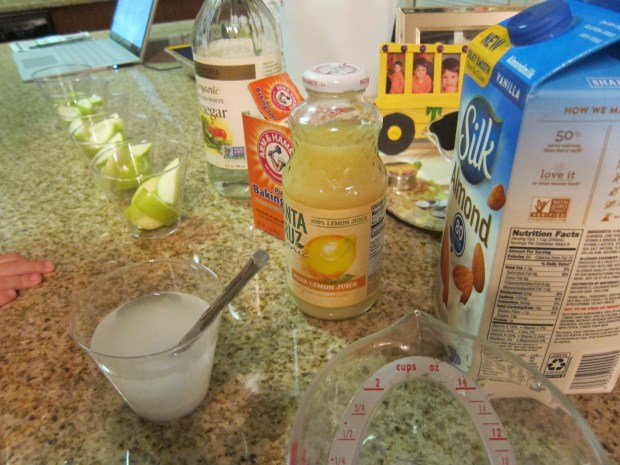
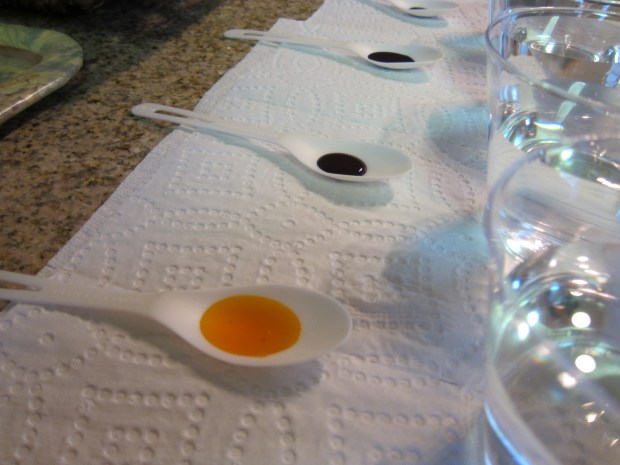
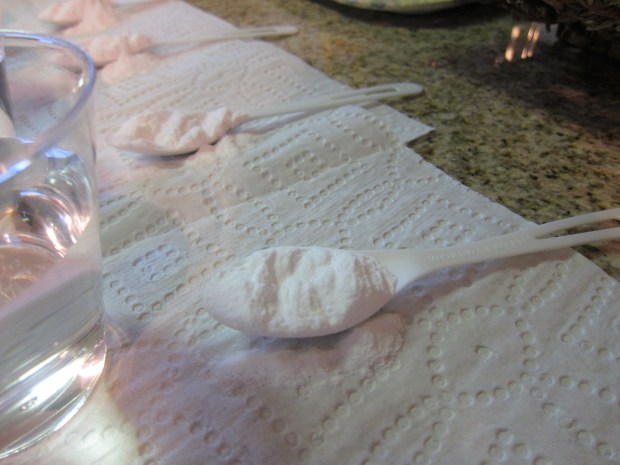
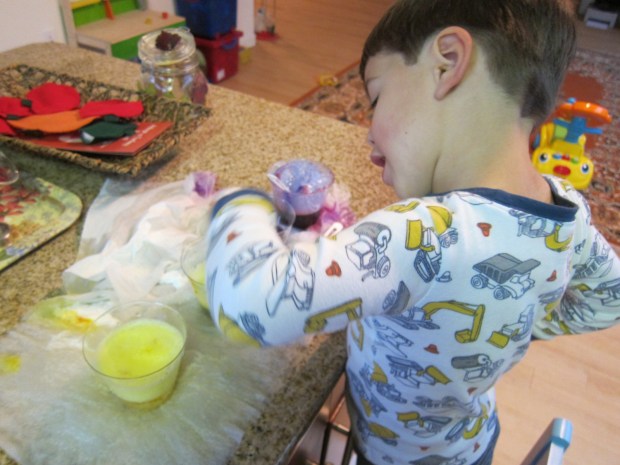
Next we tried to make gummy worms dance, following instructions we’d found online. Cut your gummy worms into small pieces, then fill a cup with 3 tablespoons baking soda and 1/2 cup water. Add the worms and let stand for 15 minutes.

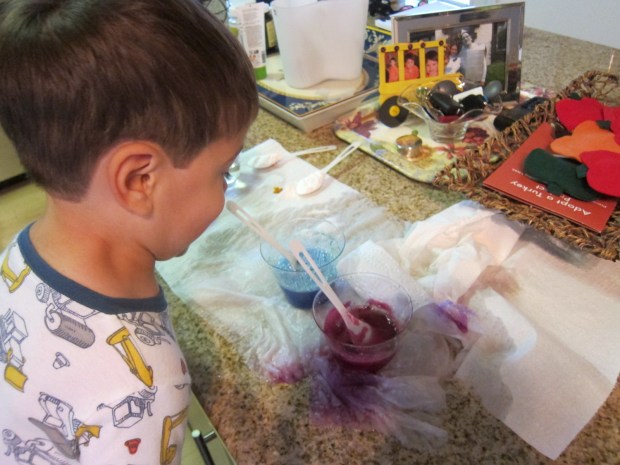
Transfer the worms to a second cup filled with vinegar. You’ll see bubbles appear, and then hopefully the worms will float up and wriggle.

Halloween Candy (8)

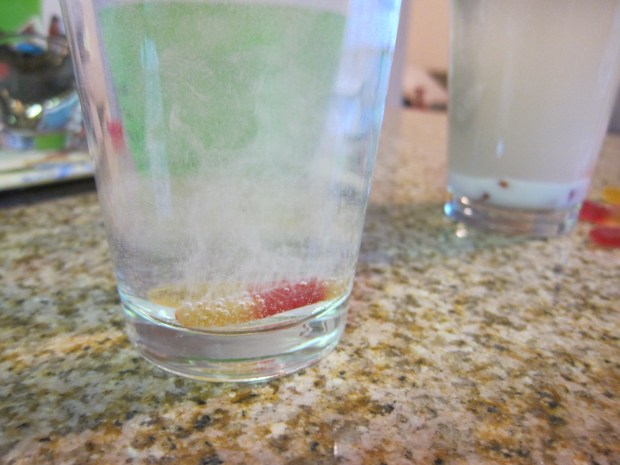
Unfortunately, ours did not rise up (perhaps because we used Surf Sweets brand?) – but that didn’t seem to matter. Travis loved the fizzing, and declared this his favorite of all our experiments.

Halloween Candy (10)

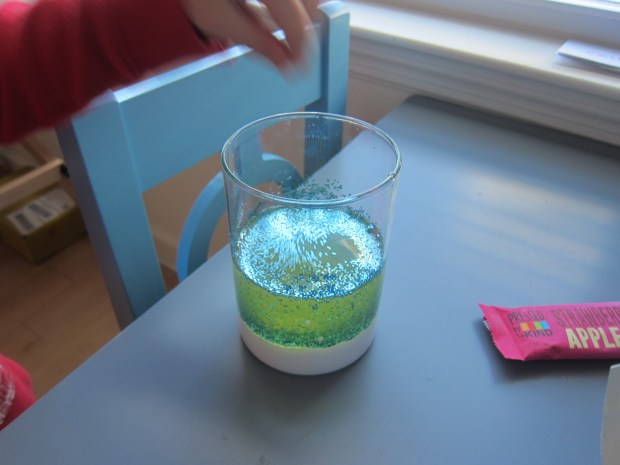
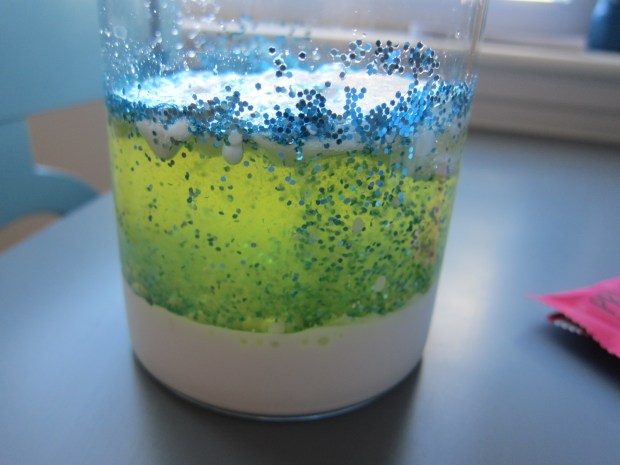
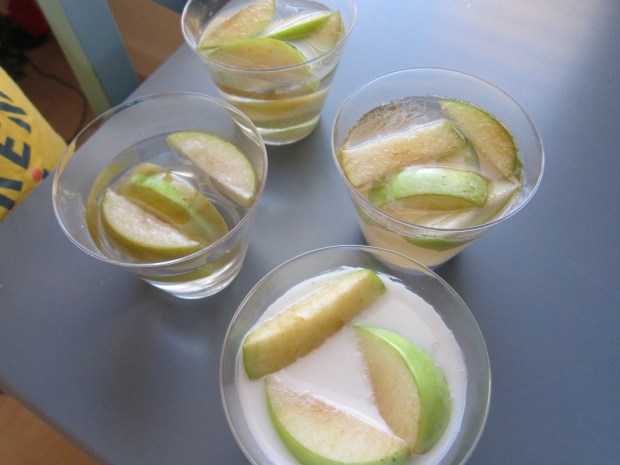
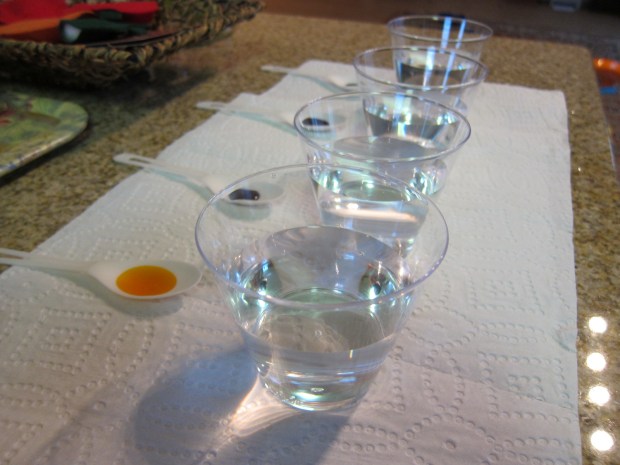
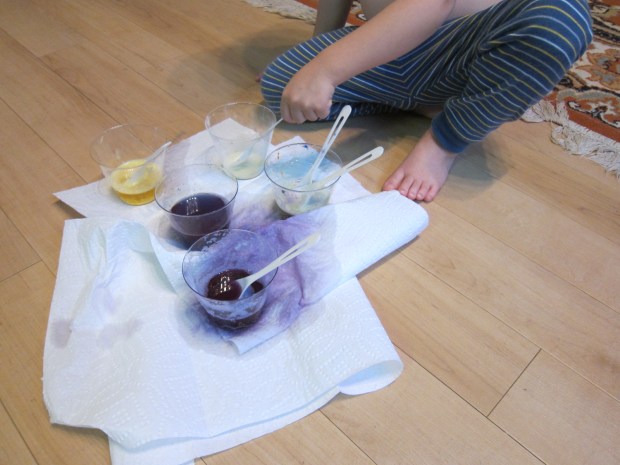
You can also test for any candy for acid with a similar method. Add candy to a cup of water and sprinkle with baking soda; if you notice bubbles, the candy has acid. Mike & Ike’s left our water still, but sour patch kids did the trick!

Halloween Candy (11)

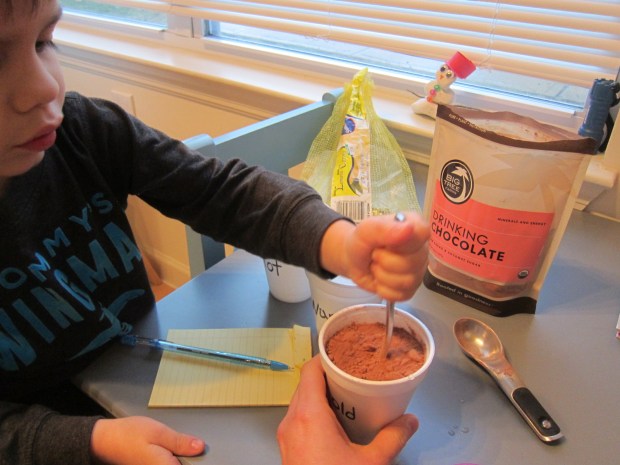
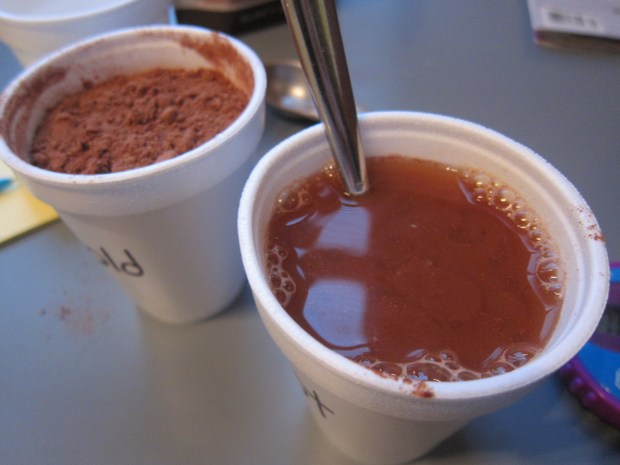
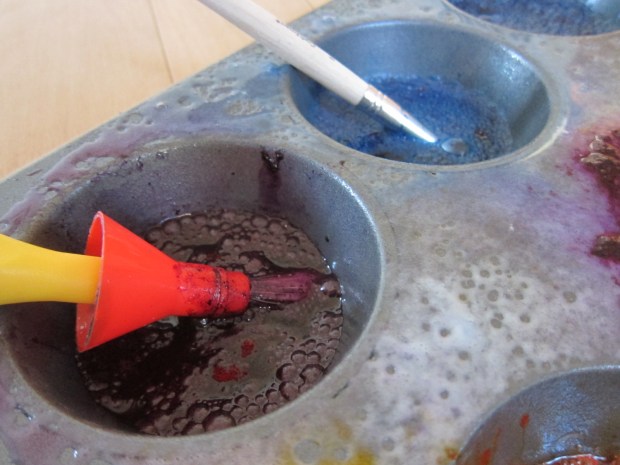
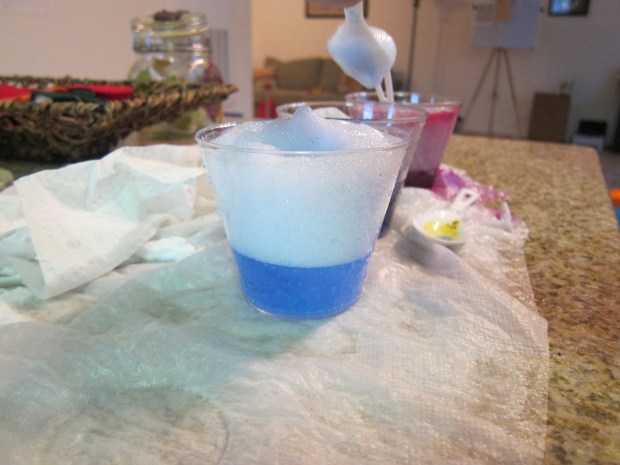
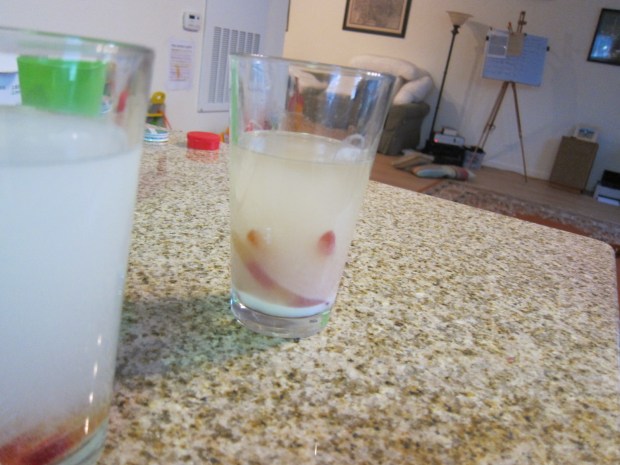
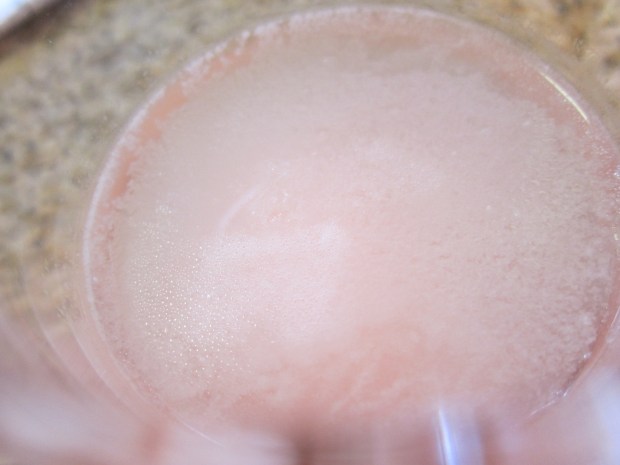
Finally, you can test your candies to see if they contain oil. Dissolve any candy (we used Starbursts) in hot water, and let stand for a few minutes.

Halloween Candy (13)

If there’s oil, you’ll soon see a shiny or waxy layer on top. Yup, Starbursts definitely had oil!

Halloween Candy (15)

Try this with Laffy Taffy, too, or any other chewy candy.

That was the end of our experimentation, and we finished with some more noshing, of course. Travis’s favorite vegan candies to eat by the way? The following make the top of his list:

Twizzlers

Swedish Fish

Surf Sweets gummy worms

Dum Dums

Unreal dark chocolate peanut gems

Glee gum blow pops

Hope your Halloween was equally sweet and full of treats!

Halloween Candy (12)