Birch Tree Tape Resist Picture

Birch Tree (8).JPG

We haven’t done tape resist art in a long time, so it seemed like the right moment to return to an old idea in a new form. A cold winter blast has me thinking of lovely winter birch trees, always my favorite, and tape resist is the perfect way to create these white tree trunks.

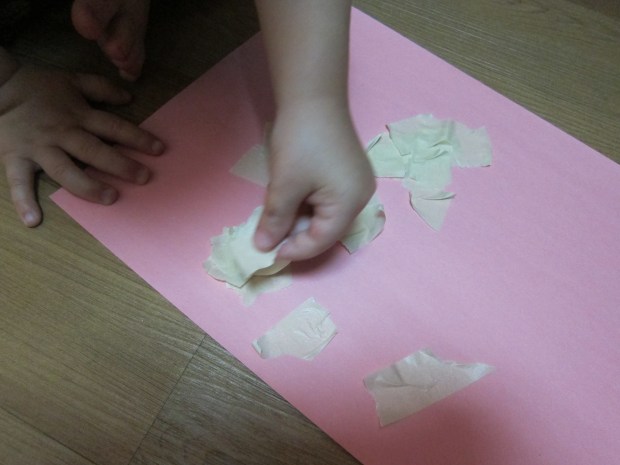
First, create the outline of trunks and branches on white paper by covering with tape. Any masking tape or patterned washi tape will work fine – you’re going to remove it at the end. Travis was surprised when we made our trees blue to start (but shh, don’t spoil the surprise for your child yet!).

Birch Tree (1)

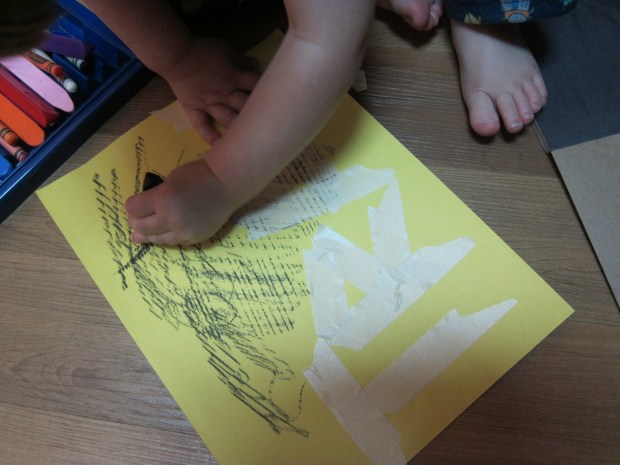
Next we painted over the tape and the rest of the paper for a blue sky background. We used tempera paint, but you’ll get a more wintery, softer feel if you use watercolors.

Birch Tree (2)

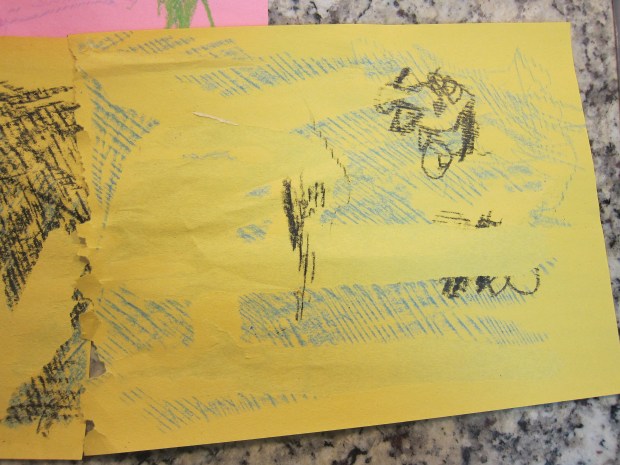
Let the paint dry, then it’s time to peel back the tape for the big surprise – white-trunked trees!

Birch Tree (3)

Travis was so excited to see our birches, and helped sketch on little black lines in the bark.

BIrch Tree (4)

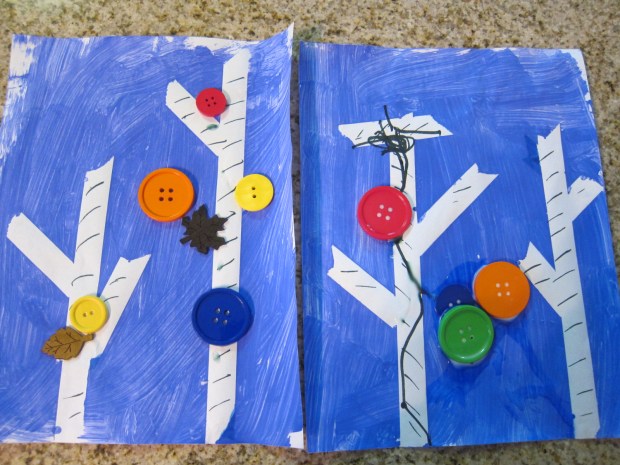
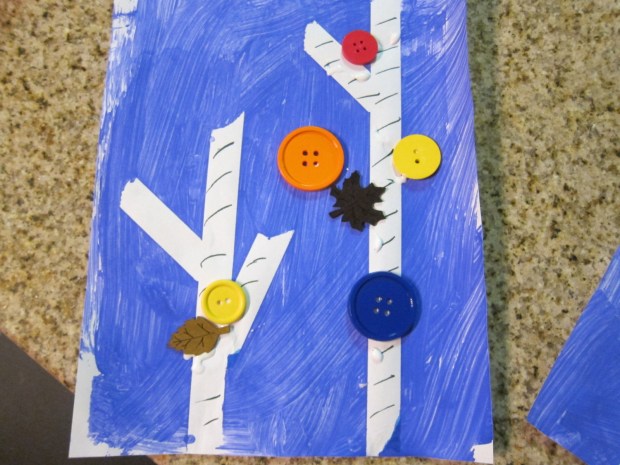
As the finishing touch, decorate your trees – we used buttons and little leaf cutouts.

BIrch Tree (6)

He told me the first picture was done, but then got more impish with the second, layering on big piles of glue and buttons… Love watching this kiddo’s creativity!

Birch Tree (7)

What’s Next?

x-week-16

Counting to ten by rote is one thing, but this game really gets tots thinking about the idea that numbers come in a sequential order. Thanks to Hands on As We Grow for the cute idea!

Make a tape road with masking tape on your floor, making lots of detours and turns. Wherever two pieces of tape intersect, add a number (I went as high as 12, since Travis is dabbling into numbers up to 20 now).

He couldn’t wait to start driving his toy cars along the road, but first I gave him a task. The car had to hunt for number 1 to begin with, and once that destination was reached, I asked him, “What’s next?”

x-week-17

He knew the answer was 2, but seemed so surprised and proud that he now had to find a way to drive to the next number, instead of following the road any which way. We continued all the way up to 12, and by the end Travis was joining in on every “what’s next?”

img_0036

Very simple but very educational and very enjoyable – a triple win!

Tape Pictures

Tape Pictures (4)

If your kid loves crayons, this is a neat way to vary the fun. In full honesty, Travis needed quite a lot of direction as we put the craft together, since the concept and method were new, but it still made for lots of fun, and filled a nice half hour of our morning.

To start, help your child tear masking tape into small pieces, and arrange however he or she would like on a piece of construction paper. Travis told me he was making “helicopters” and trucks,  piling his tape in big mounds, so I added a few extra pieces to space things out a little more.

Tape Pictures (1)

Likewise when it came time to color, Travis was making circles and blotches in small segments of the paper, so I showed him how to apply the color more evenly, including over the tape, for the best result.

Tape Pictures (2)

I made 2 versions of my own – one with his name and one with a helicopter – of course! – so he could fully appreciate the tape’s effect.

Tape Pictures (3)

Then it was time to peel the tape off! Travis loved this part, although it was quite difficult even for a grown-up to do without tearing the construction paper.

Tape Pictures (5)

Still, we ended up with very neat pictures to display on our fridge for a few days.

Tape Pictures (7)

Next time I would try the activity with markers and poster board for a sturdier final result.

Tape Pictures (8)