Snowy White Play Dough

Snowy White Play Dough (5)

I love making homemade play dough with a seasonal theme, and this snowy white version is perfect now that winter is near and snowy days are ahead! The secret to that pure white is to use cornstarch instead of regular flour.

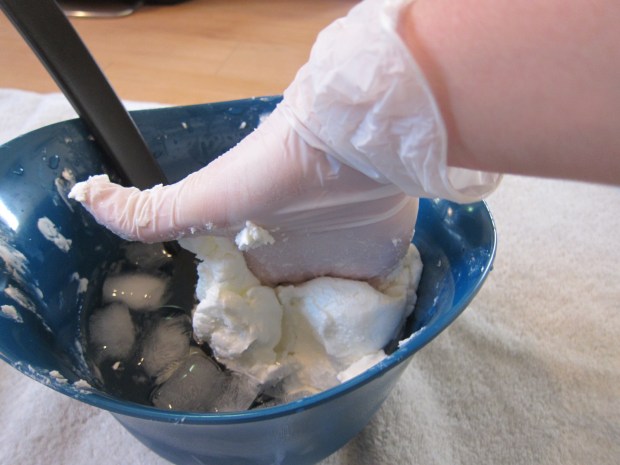
To make this silky-smooth play dough, combine the following in a bowl:

1 and 1/2 cups cornstarch

1/2 cup salt

1 tablespoon vegetable oil

1 tablespoon cream of tartar

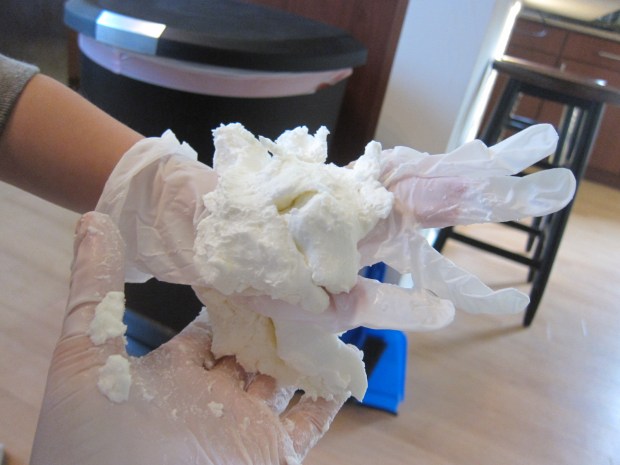
Add 1 cup boiling water and stir until combined. Let cool.

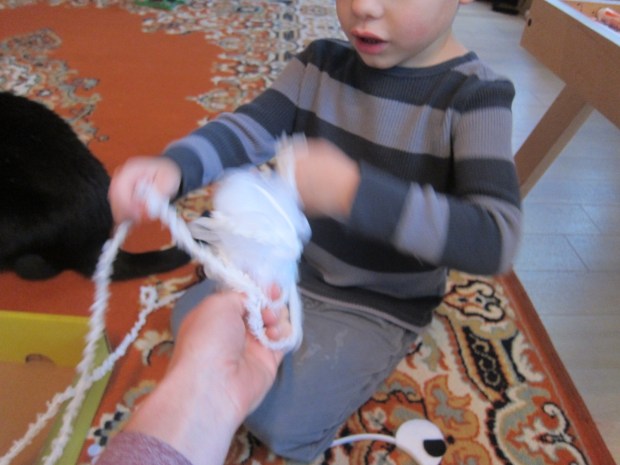
Place the dough on a craft tray and knead to the right consistency. You may need to sprinkle with a little extra cornstarch. We also then added a little bit of silver glitter, which made it sparkle just like fresh-fallen snow.

Snowy White Play Dough (2)

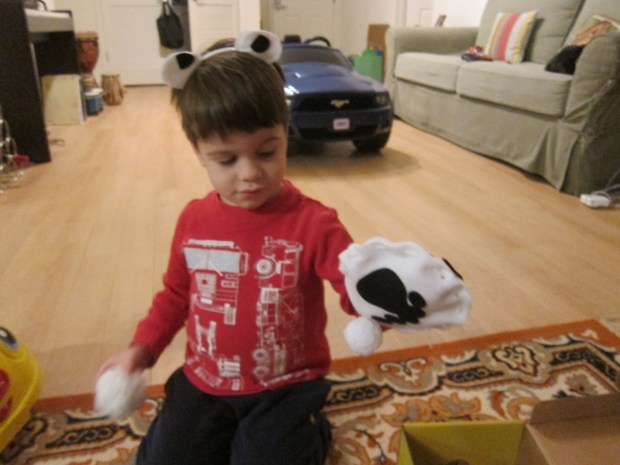
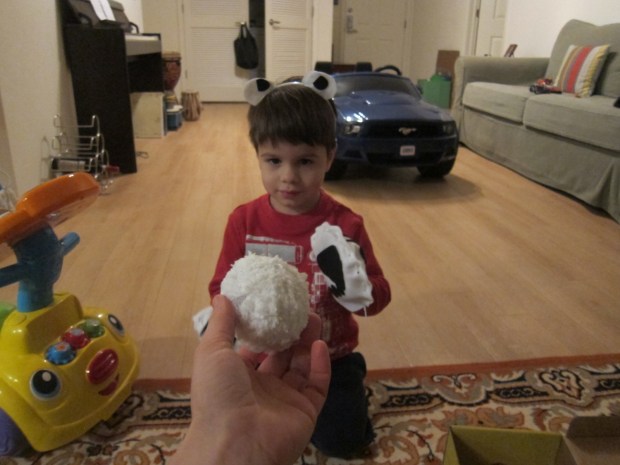
Now it was time to play! Veronika had so much fun with this snowy-themed dough. First we simply rolled out snowballs or snowmen. Red beads made fun decorations!

Snowy White Play Dough (9)

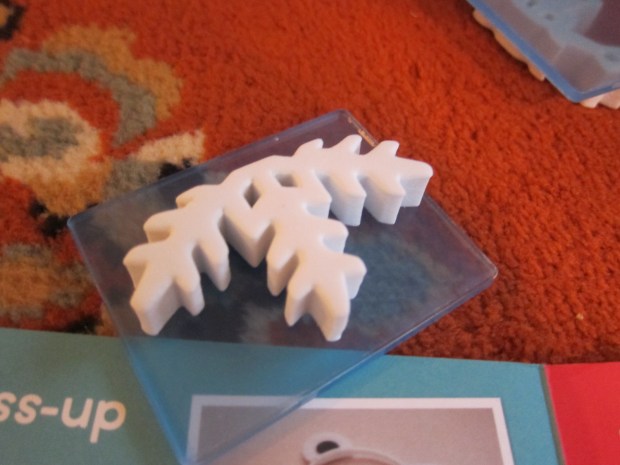
It was also great as pretend cookie dough, and I gave Veronika star- and snowman-shaped cookie cutters to keep with our seasonal theme.

Snowy White Play Dough (1)

Her favorite use for it, though, was pretending it was a layer of arctic ice (or, as she called it, the snowy beach). I pulled out a set of arctic animals who could romp through this wintry land.

Snowy White Play Dough (8)

“Seal is on the beach!” she would say with delight, or, “Orca is in the water!”

Snowy White Play Dough (12)

The play dough is also great for leaving animal “tracks” in the snow. She loved hopping along an arctic hare or stomping along the wolf and fox.

Snowy White Play Dough (14)

After spending some time with the play dough together, it was great for her solo play, too; I loved seeing her imagination and senses at work.

Snowy White Play Dough (11)

Arctic Animal Experiment

Arctic Animal (4)

Following up on fun and icy magnetic play, we wanted another way to play with ice indoors. Recent reading about arctic animals such as penguins and seals was the perfect launching off point. I posed the question to Travis: How do arctic animals stay warm in icy water? The answer of course lies in their blubber, the thick layer of fat under their skin. To illustrate this for your child, get messy with this silly experiment!

First, give your child a bowl of water with ice cubes, and encourage them to plunge their hand in – if they dare! Travis cautiously dipped a finger. Brr!

Arctic Animal (1)

I promised him we could keep his hand warm in the icy water with a few simple steps. First add a latex glove. This layer alone won’t do the trick, of course, but we tested just to be sure.

Arctic Animal (2)

Next, dip your child’s glove-covered hand in a big vat of vegetable shortening (if you’re looking for a vegan and organic option, try Spectrum Organics). It will make a huge mess as you get your child’s hand covered front and back in the shortening (let alone take pics in the process!) but we mostly managed. Next time I would wrap the shortening-covered hand in plastic wrap to seal in all the mess.

Arctic Animal (3)

Now it was time to dip in. To be honest, Travis was significantly less impressed than I was, but he did notice that the fat-sealed hand didn’t flinch away from the cold ice cubes. I took a turn after, just to feel the difference.

Yup, here’s mama, just hanging out with her hand in icy water.

Arctic Animal (5)

Truly, you could keep your hand immersed this way for quite some time and not be bothered by the cold. If I’m ever crazy enough to do a polar bear swim, I’ll be layering up in shortening first.

Arctic Crate

Koala arctic (12).JPG

Last winter we received a Snow Crate through our Koala Crate subscription, so it seemed sort of redundant to receive an Arcitc Crate this time around; I worried the crafts inside might not be novel enough. Luckily the projects were quite different. So even if learning about the Arctic in particular and snow in general had some overlap, we had plenty to keep us entertained. 

As always, you can copy the ideas below with materials from a craft store. First though…

…it was tough to get going on the crafts because Travis loved the materials themselves when we popped open the box. Fluffy ribbon that would later be used to make a “snowball” first had to be incorporated into music and movement play.

Koala arctic (4)

After that he decided it was “snow” and shoveled it up off our carpet. Koala Crate wins for sparking imagination with this one! 

Koala arctic (5)

Once he was ready, we started by putting together the Polar Bear Dress-Up costume, and I was impressed by his focus. He decided all by himself where the felt stickers should go to be the pads and claws on the paws.

Koala arctic (2)

Next he laced around a whole paw with the white string provided. I thought for sure he would tire of the task – polar bear paws are big! – but he insisted on finishing the whole paw himself. (I did lace up the second one for him).

Koala arctic (16)

The headband ears were simple: attach white felt stickers with black felt dots in the middle to a white headband, and you have polar bear ears. Lots of roaring ensued once he had the ears and paws on!

Koala arctic (8)

Next up was Snowball Toss, a craft that doubles as a sports game. We covered a Styrofoam ball with sticky Velcro stickers to make the “scratchy snowball.”

Koala arctic (11)

To make the “fluffy snowball,” we wound white fluffy yarn (mentioned earlier!) around a bath loofah. Now it was time to test out games of catch!

Koala arctic (9)

Travis was amazed when the scratchy snowball latched right onto a felt polar bear paw.

koala arctic (19)

The soft snowball took more dexterity. As you play, you can ask your little one questions about the differences between the two balls, and why one is easier to catch than the other.

koala arctic (18)

The final craft, Snowflake Stamps, was remarkably similar to a wrapping paper activity we enjoyed just before Christmas. Travis was super eager to see how the snowflake stamps worked, but he lost interest quickly.

Koala arctic (6)

As a minor gripe, the ink pads were smaller than the snowflake stamps, which frustrated him and led to his disinterest. He decided it was more fun to stamp ink pad squares directly onto the paper.

Koala arctic (13)

Still, we ended up with enough stamps to cover the provided blue paper, which can then be used to wrap gifts.

Koala arctic (14)

Perfect for winter holidays or upcoming winter birthdays!

Koala arctic (15)

In sum, I didn’t necessarily feel like Koala needed to send us a wintery themed crate just because it’s cold outside… but they did an admirable job of making this one quite different from last year’s Snow.