Back to School Week

Back to School (8)

180 days after COVID-19 upended everything, Travis walked back into a school building this week. Ahead of the first day, we brainstormed a list of goals for the first week. Then we added in a few fun activities (and eats!) each day to make the week feel truly special.

Goals:

  • To make a new friend
  • To make a fresh start/improvement
  • To start a new activity
  • To learn something new

Meanwhile, each day we tried to include something fun to eat, something to do, and something to make. Our week started on Tuesday, so here is how the four days went down.

Day 1

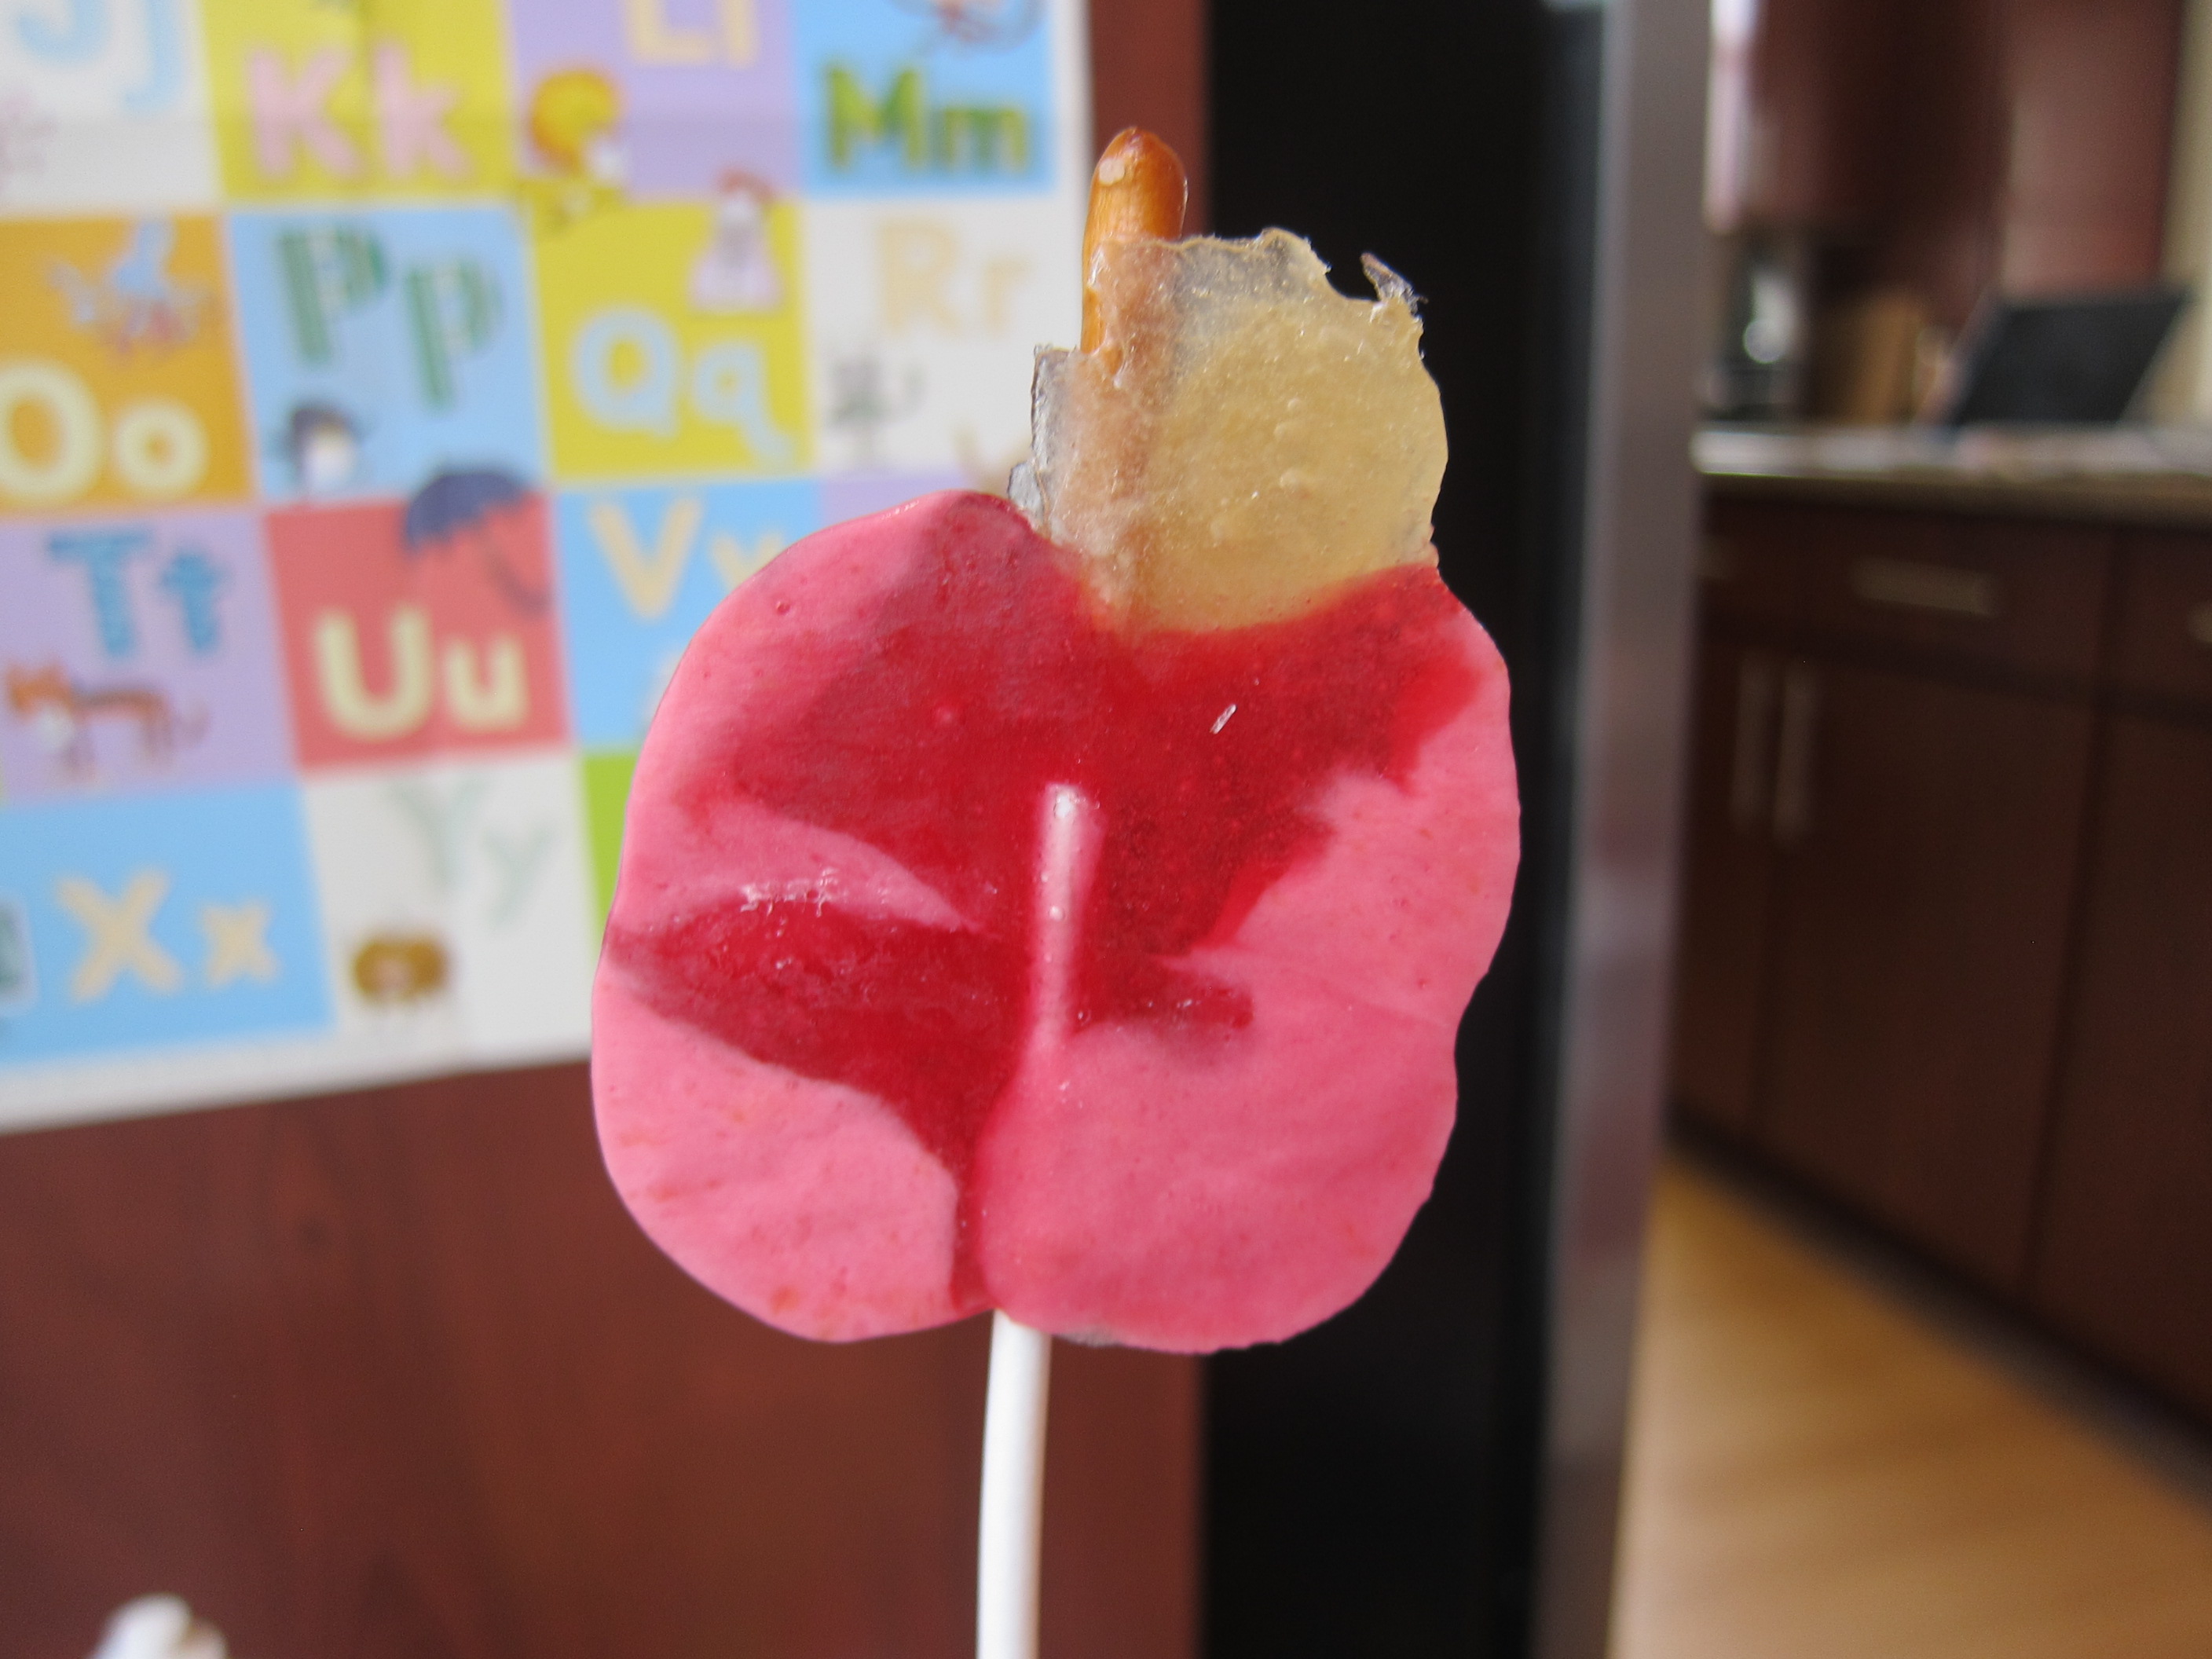
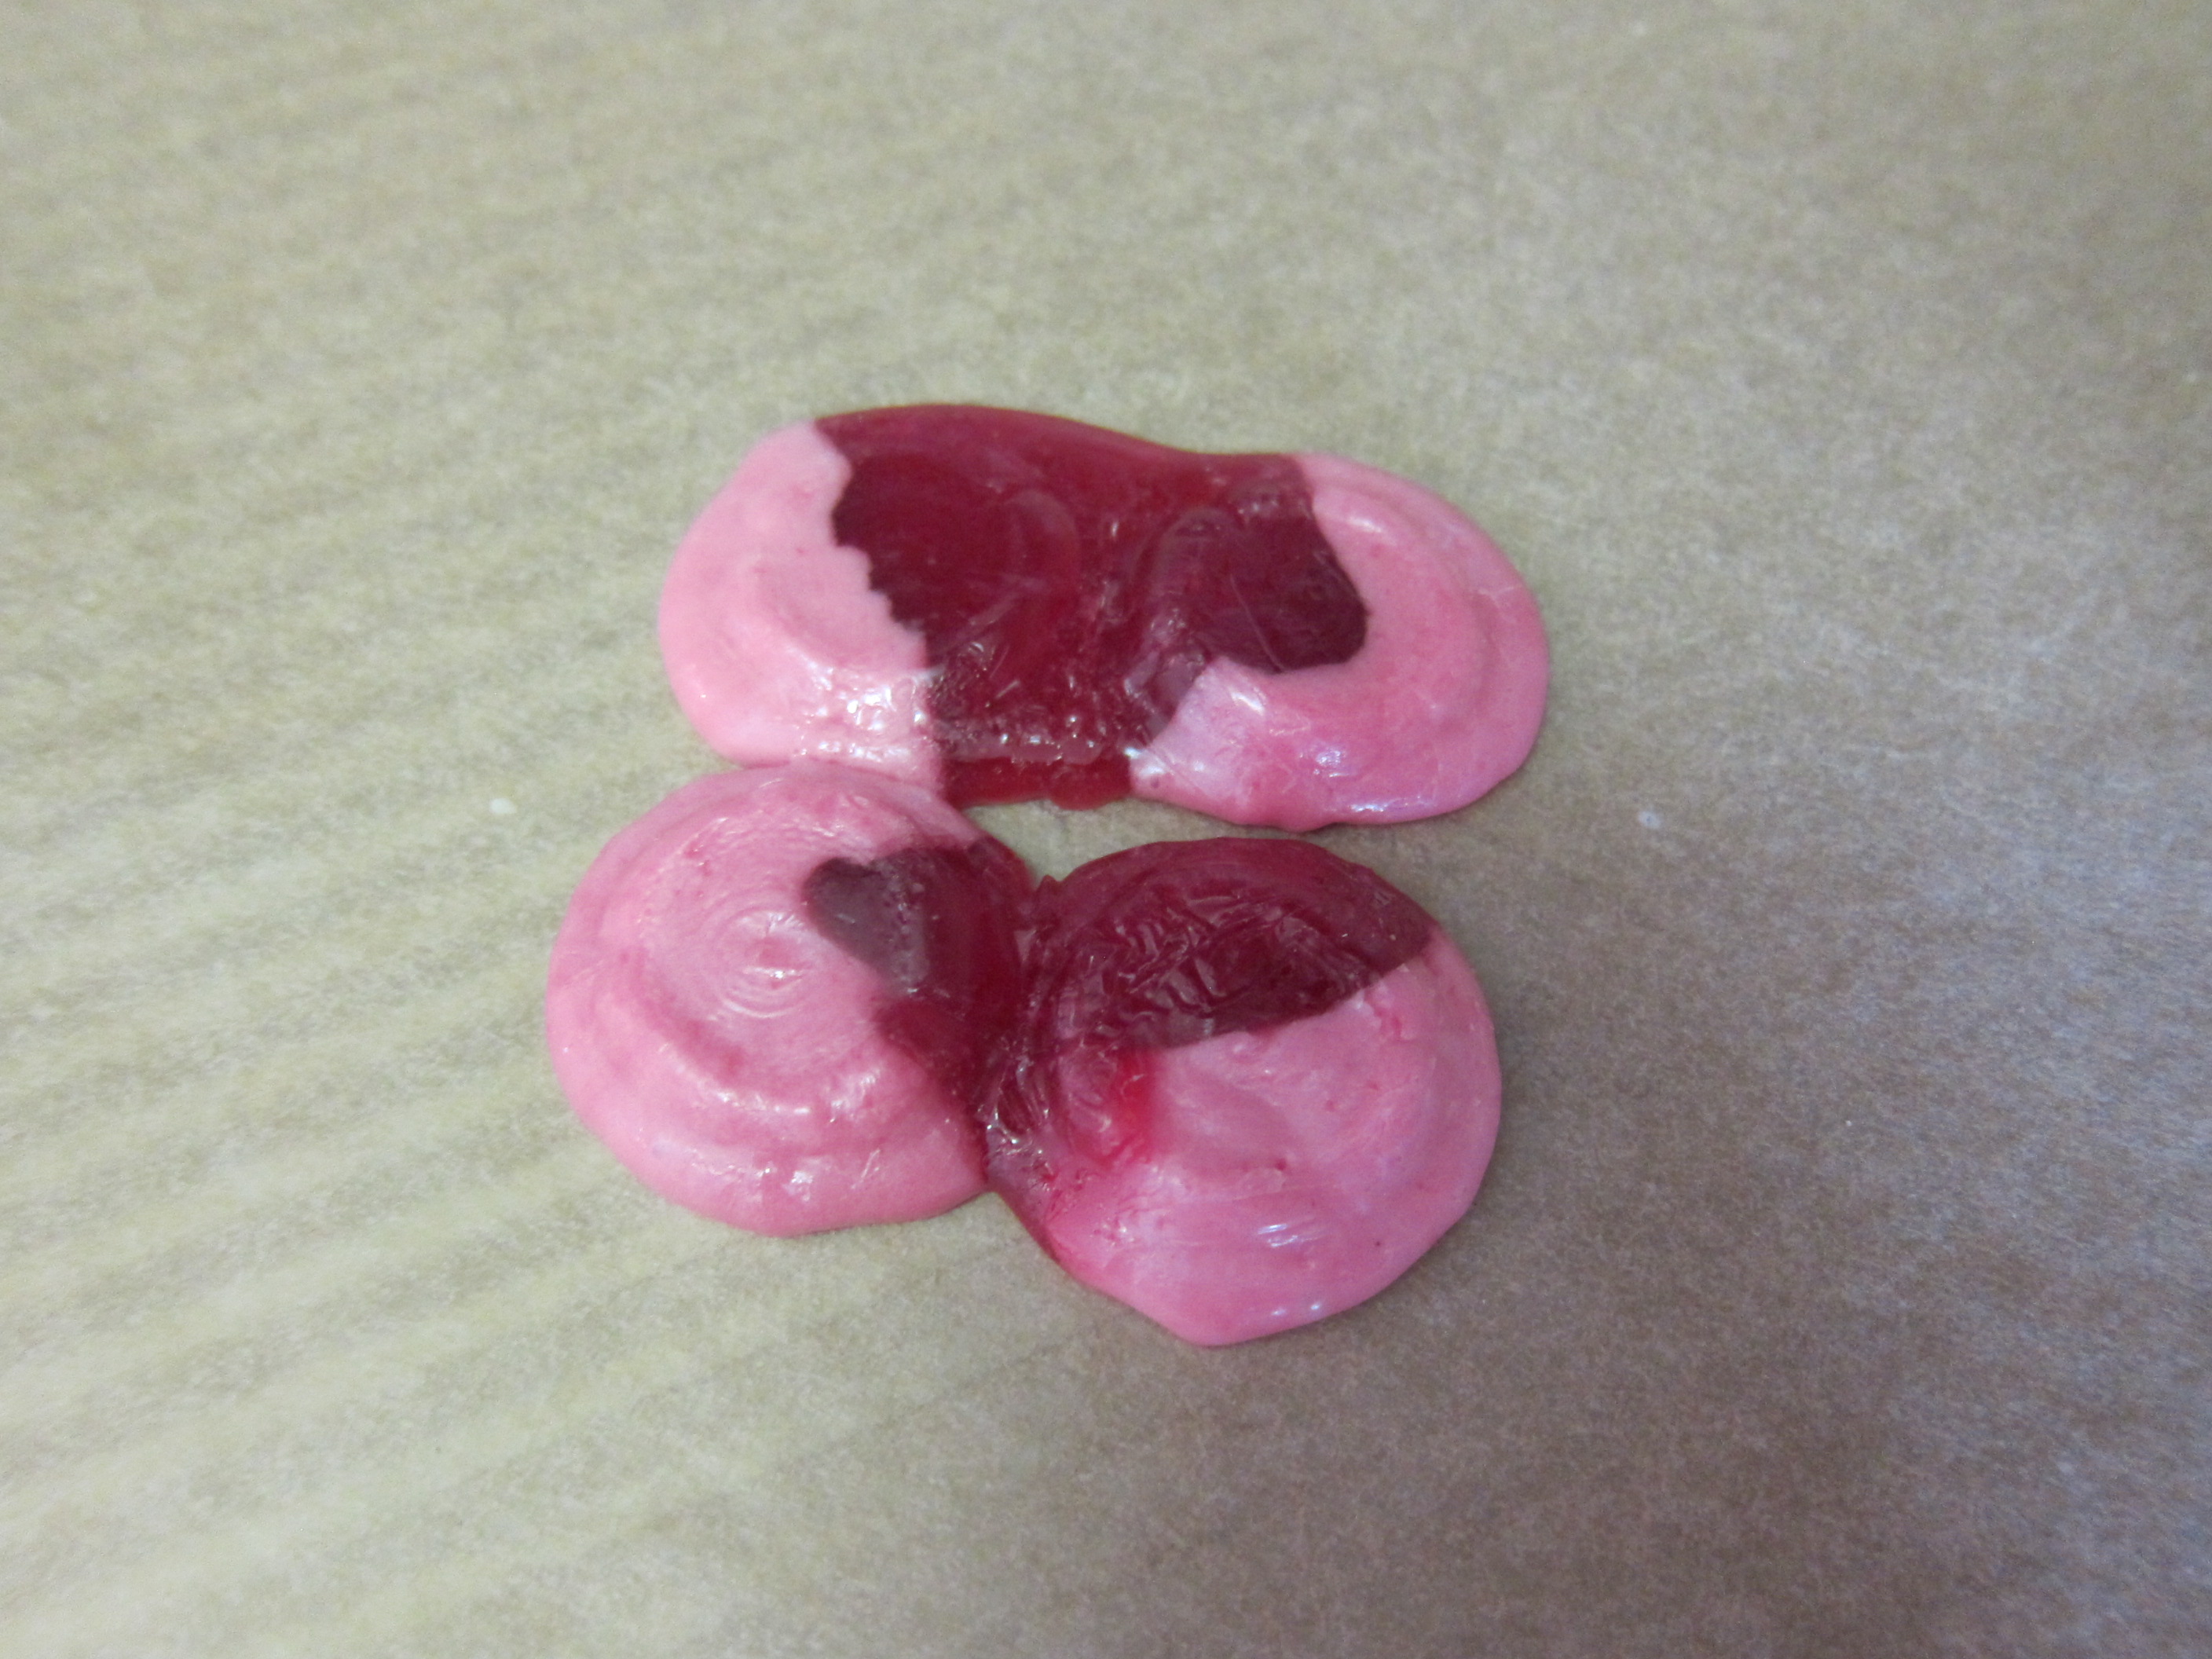
To eat: An A is for Apple Smoothie!

To do: Have a treasure hunt! I scattered school supplies (new pencils, new highlighters) as well as candy (Twizzlers) around the apartment, and Travis got to find them the moment he woke up. It made it feel almost like Christmas!

Back to School (1)

To make: A self-portrait! Travis drew a very small version of himself, which wasn’t exactly what I was imagining. But oh well, the idea is to see where your child is at with regards to art, here in September. It will be interesting to repeat this activity on the last day of school!

Back to School (4)

Day 2

To eat: Double-Pumpkin Muffins!

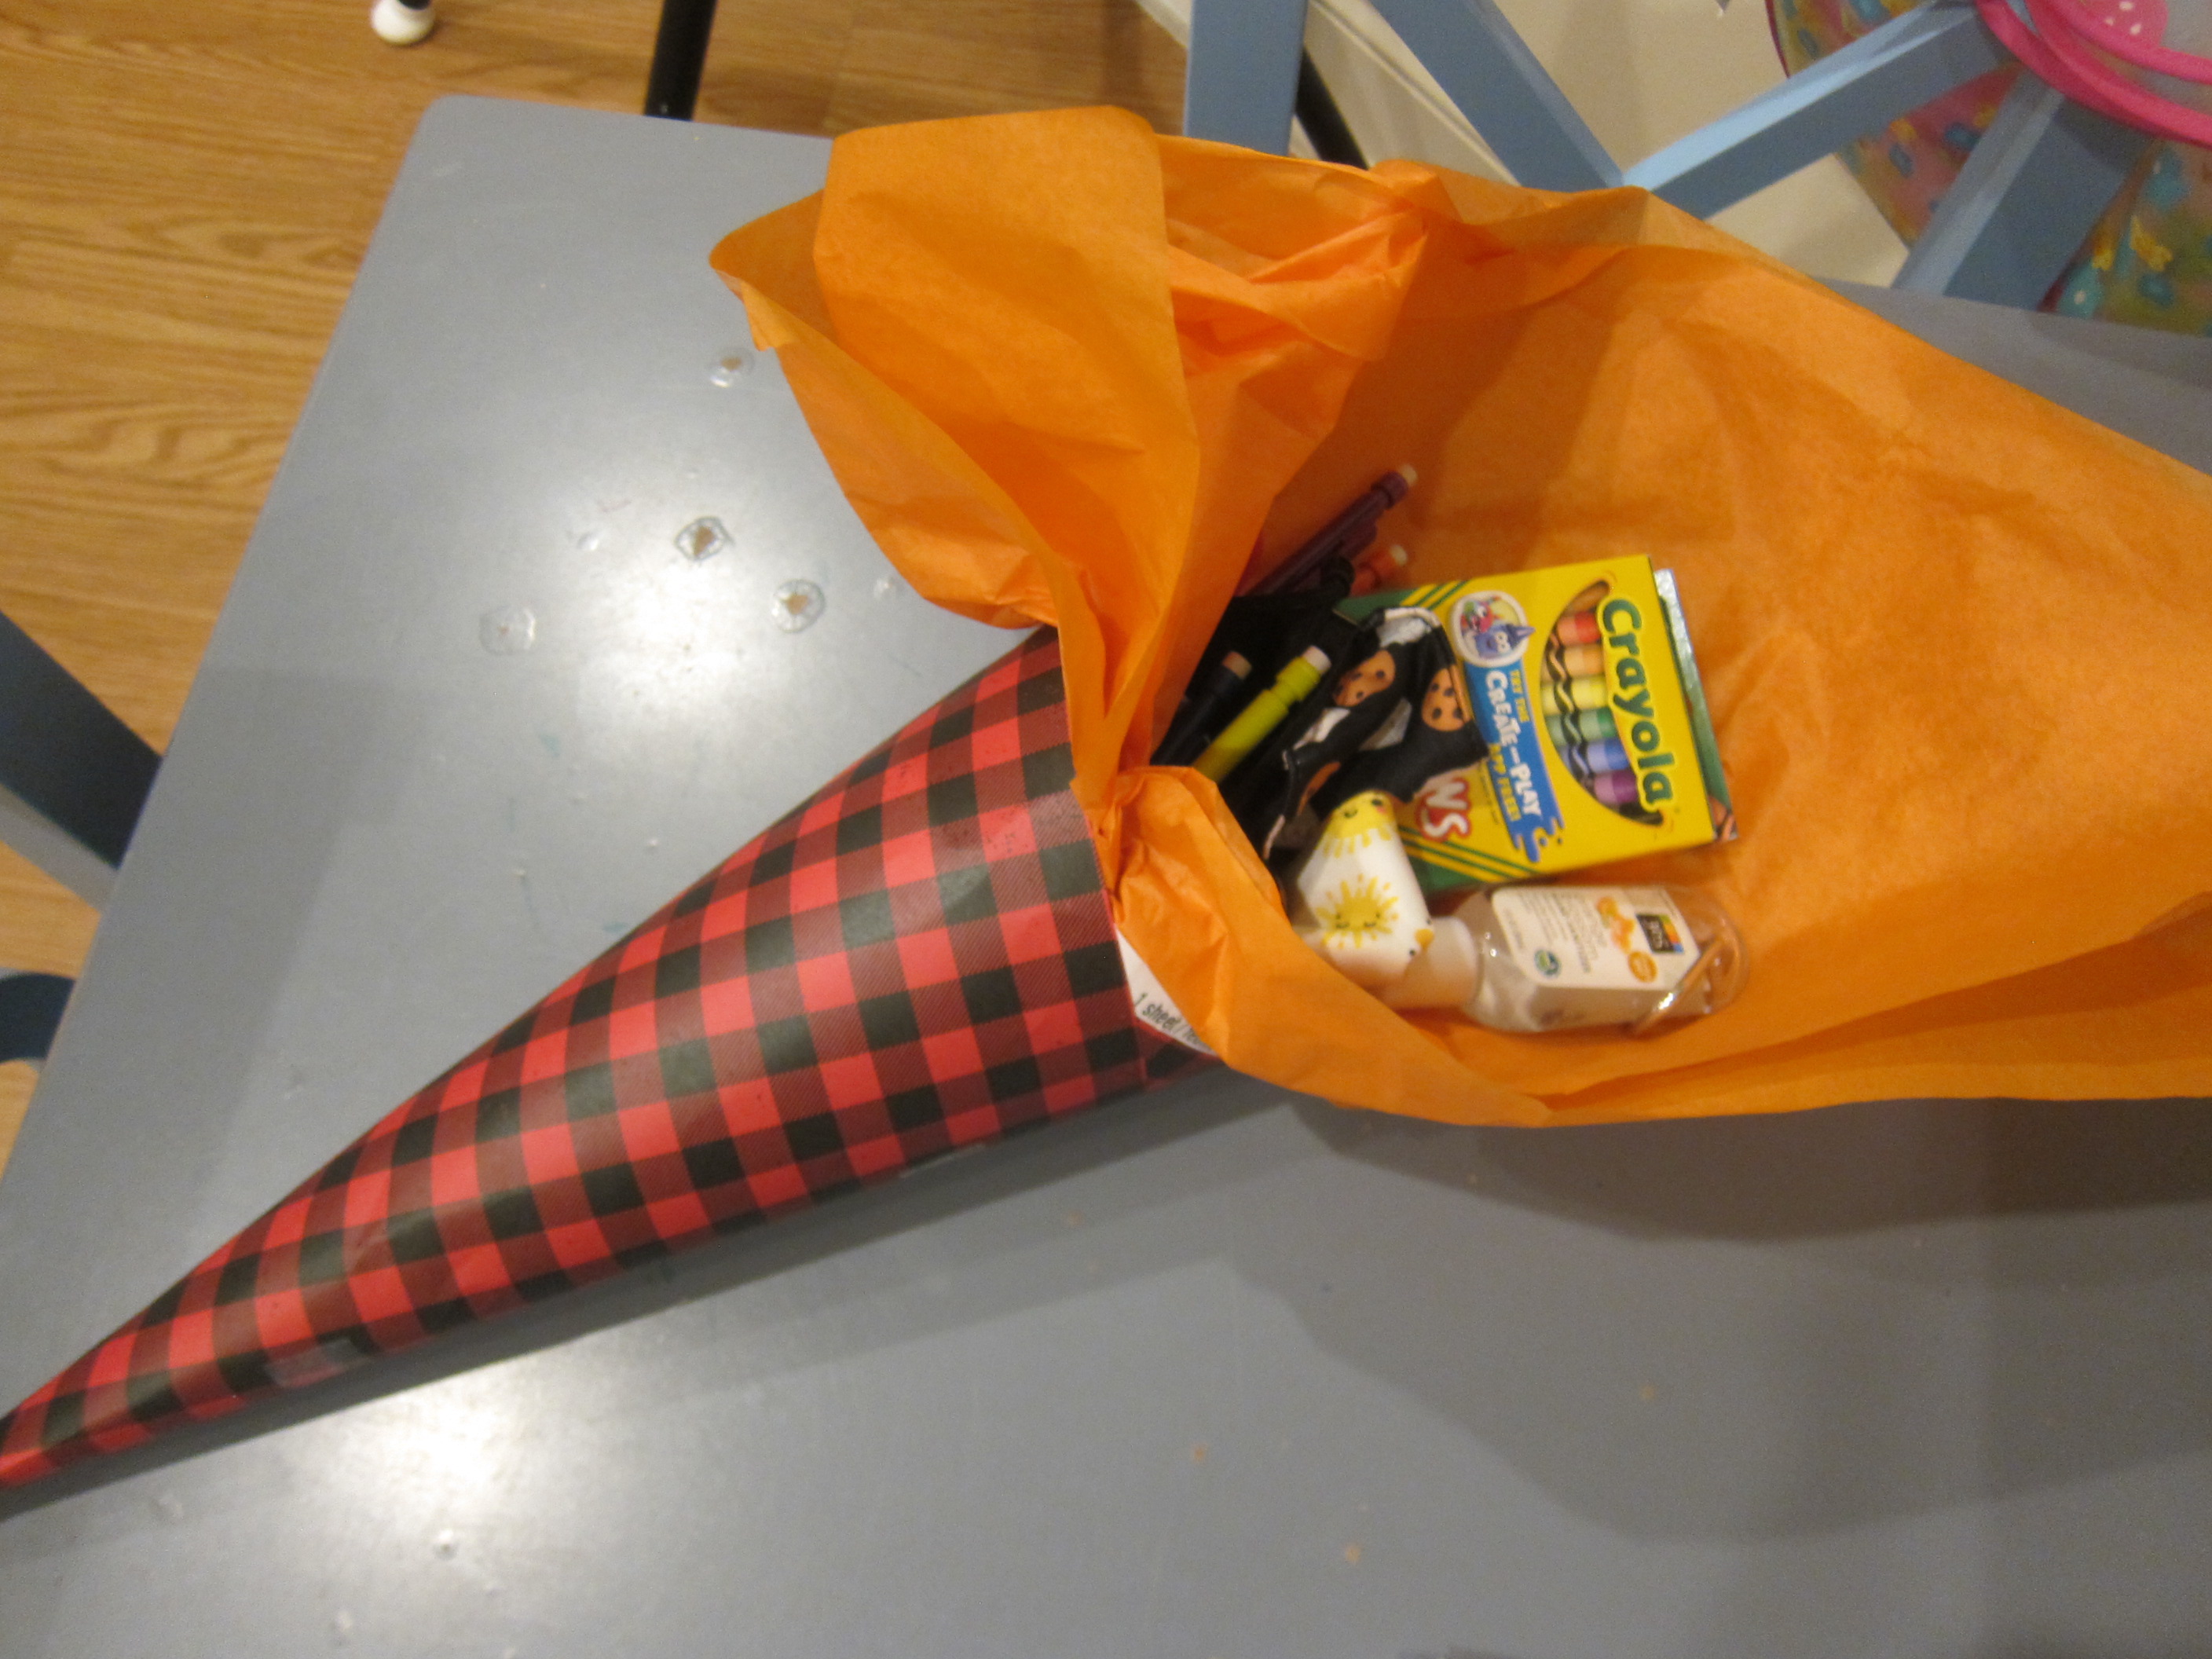
To do: Receive a schultute. I put together a simplified version of this German tradition by wrapping a piece of sturdy decorative paper into a cone. Tape shut and then trim the edge so the top rim is an even circle. Stuff with tissue paper, and then with school treats.

Back to School (9)

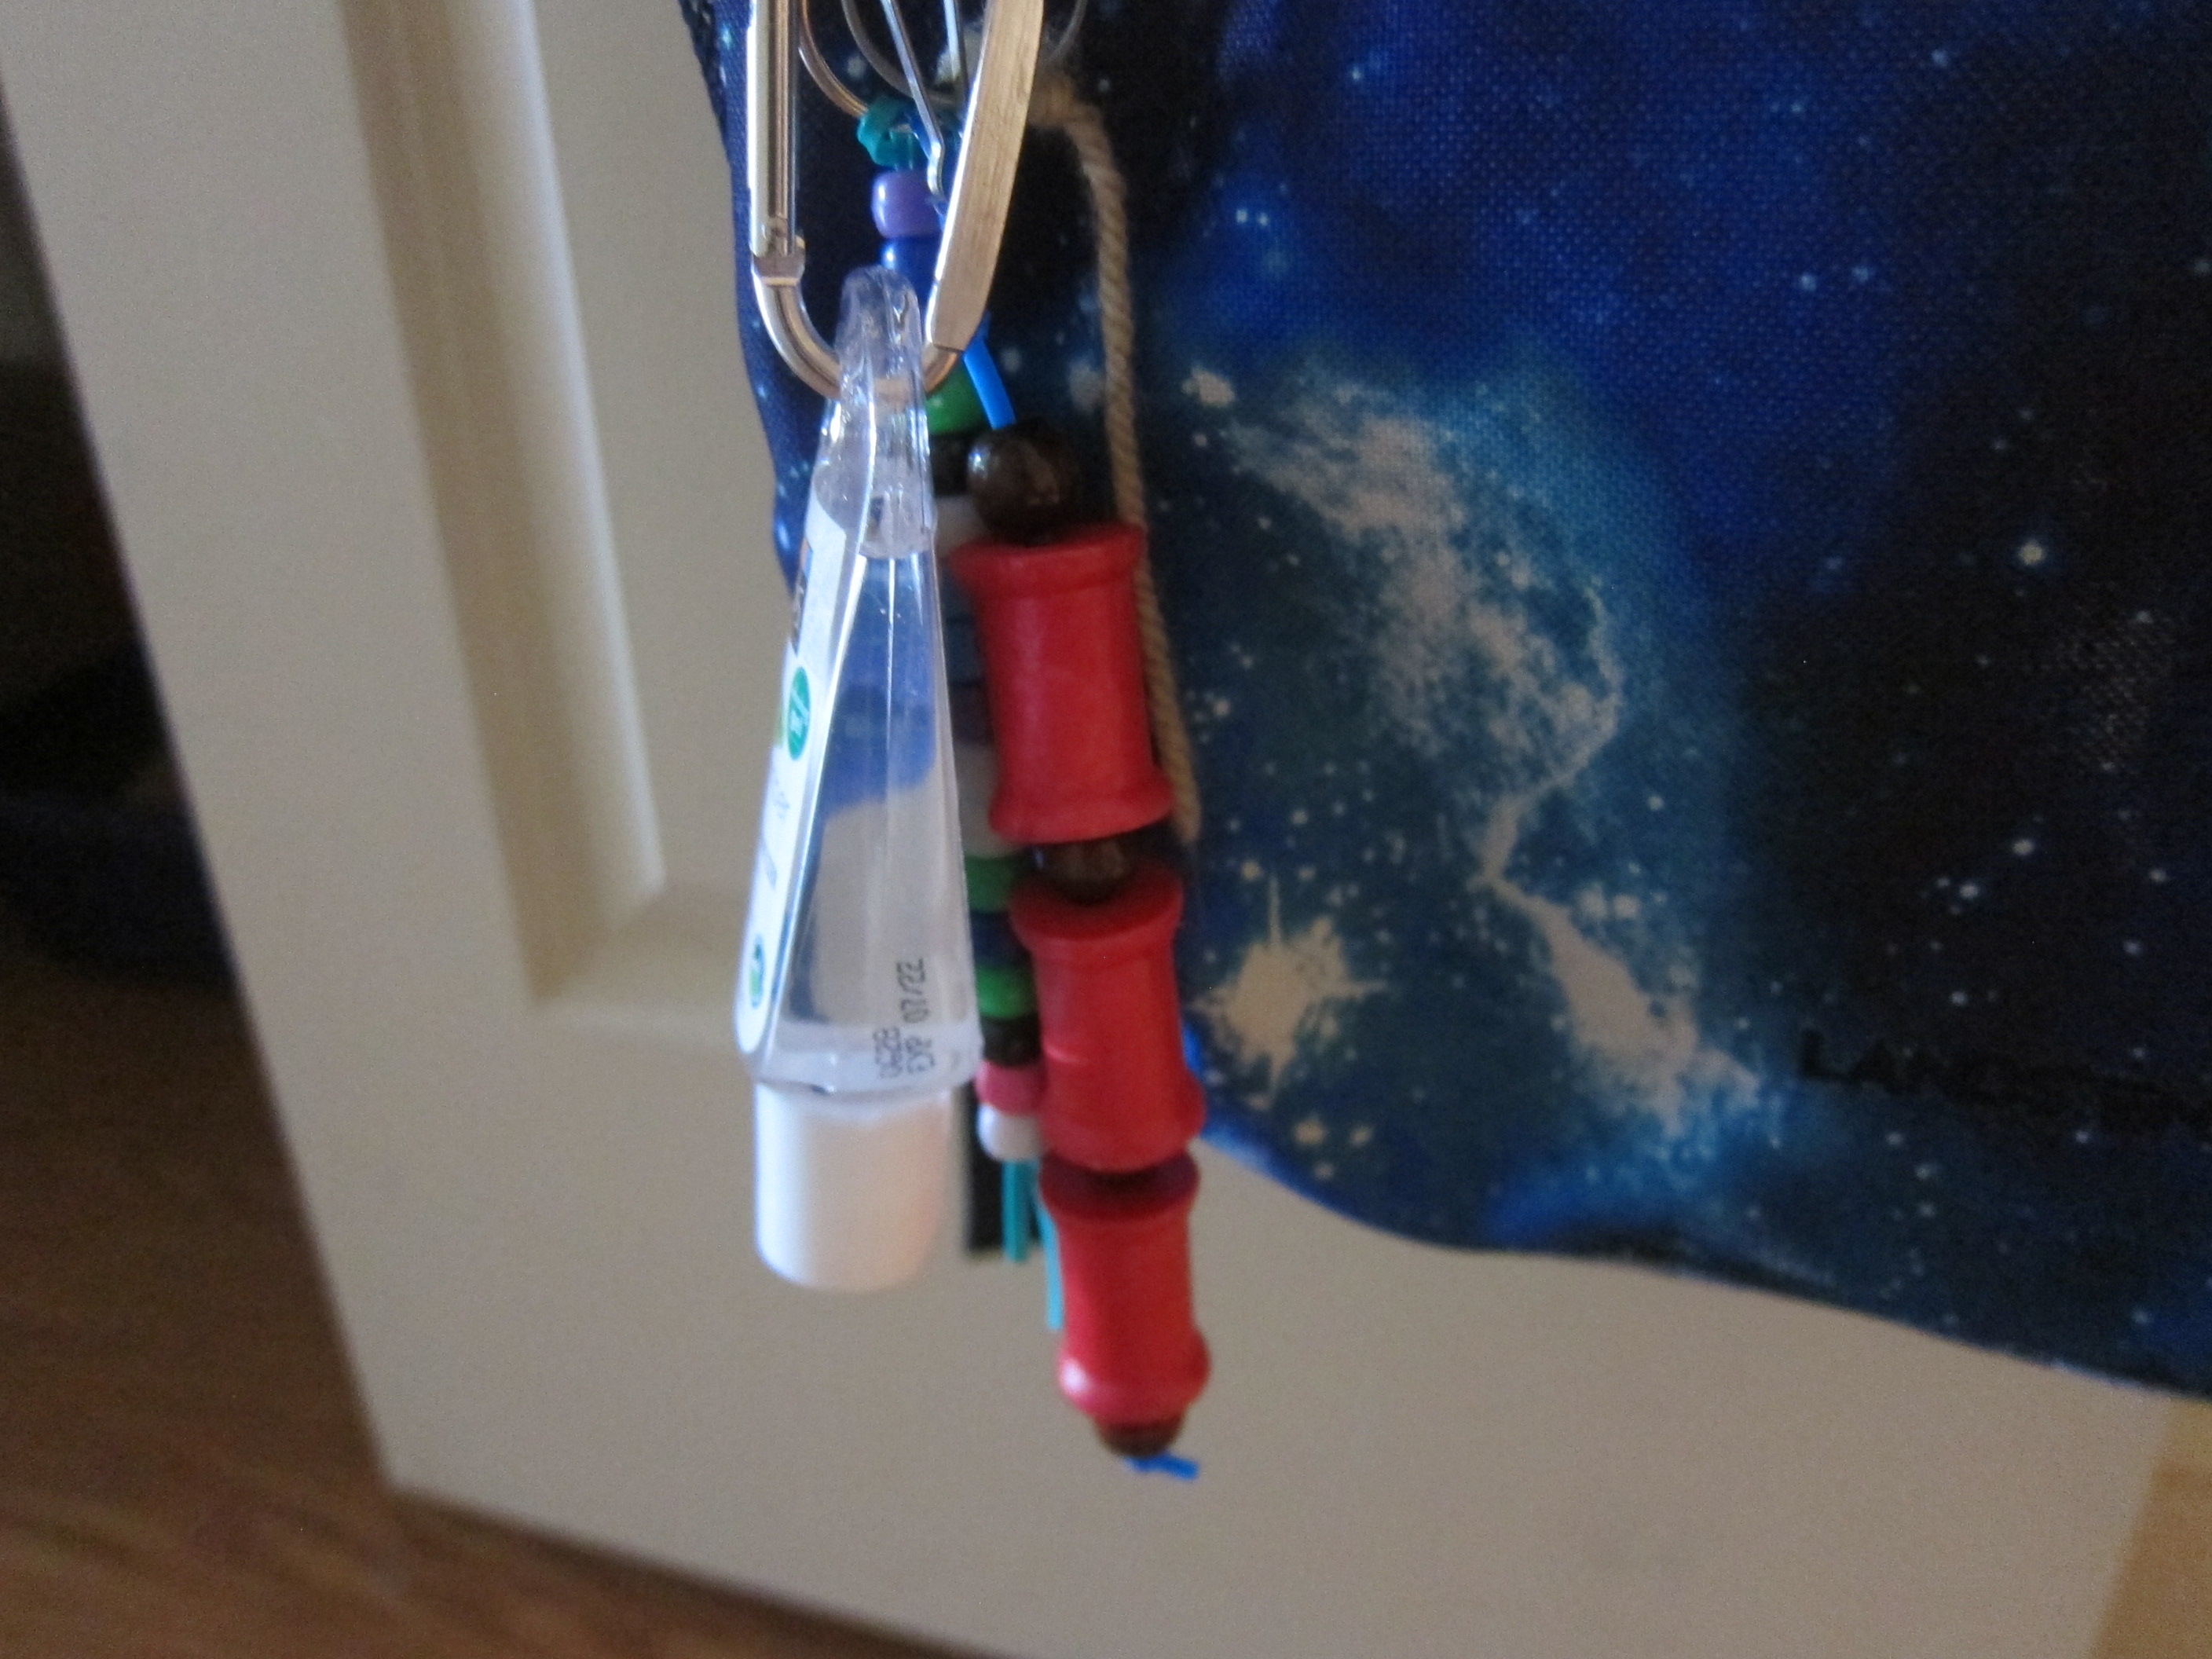
We included supplies he’ll need (crayons, pencils), COVID-era extras (his favorite mask, hand sanitizers), and treats – Twizzlers that is!

To make: Decorate a chalkboard with school-themed stickers. Write in your child’s new grade, and pose for pictures of course!

Back to School (6)

Day 3

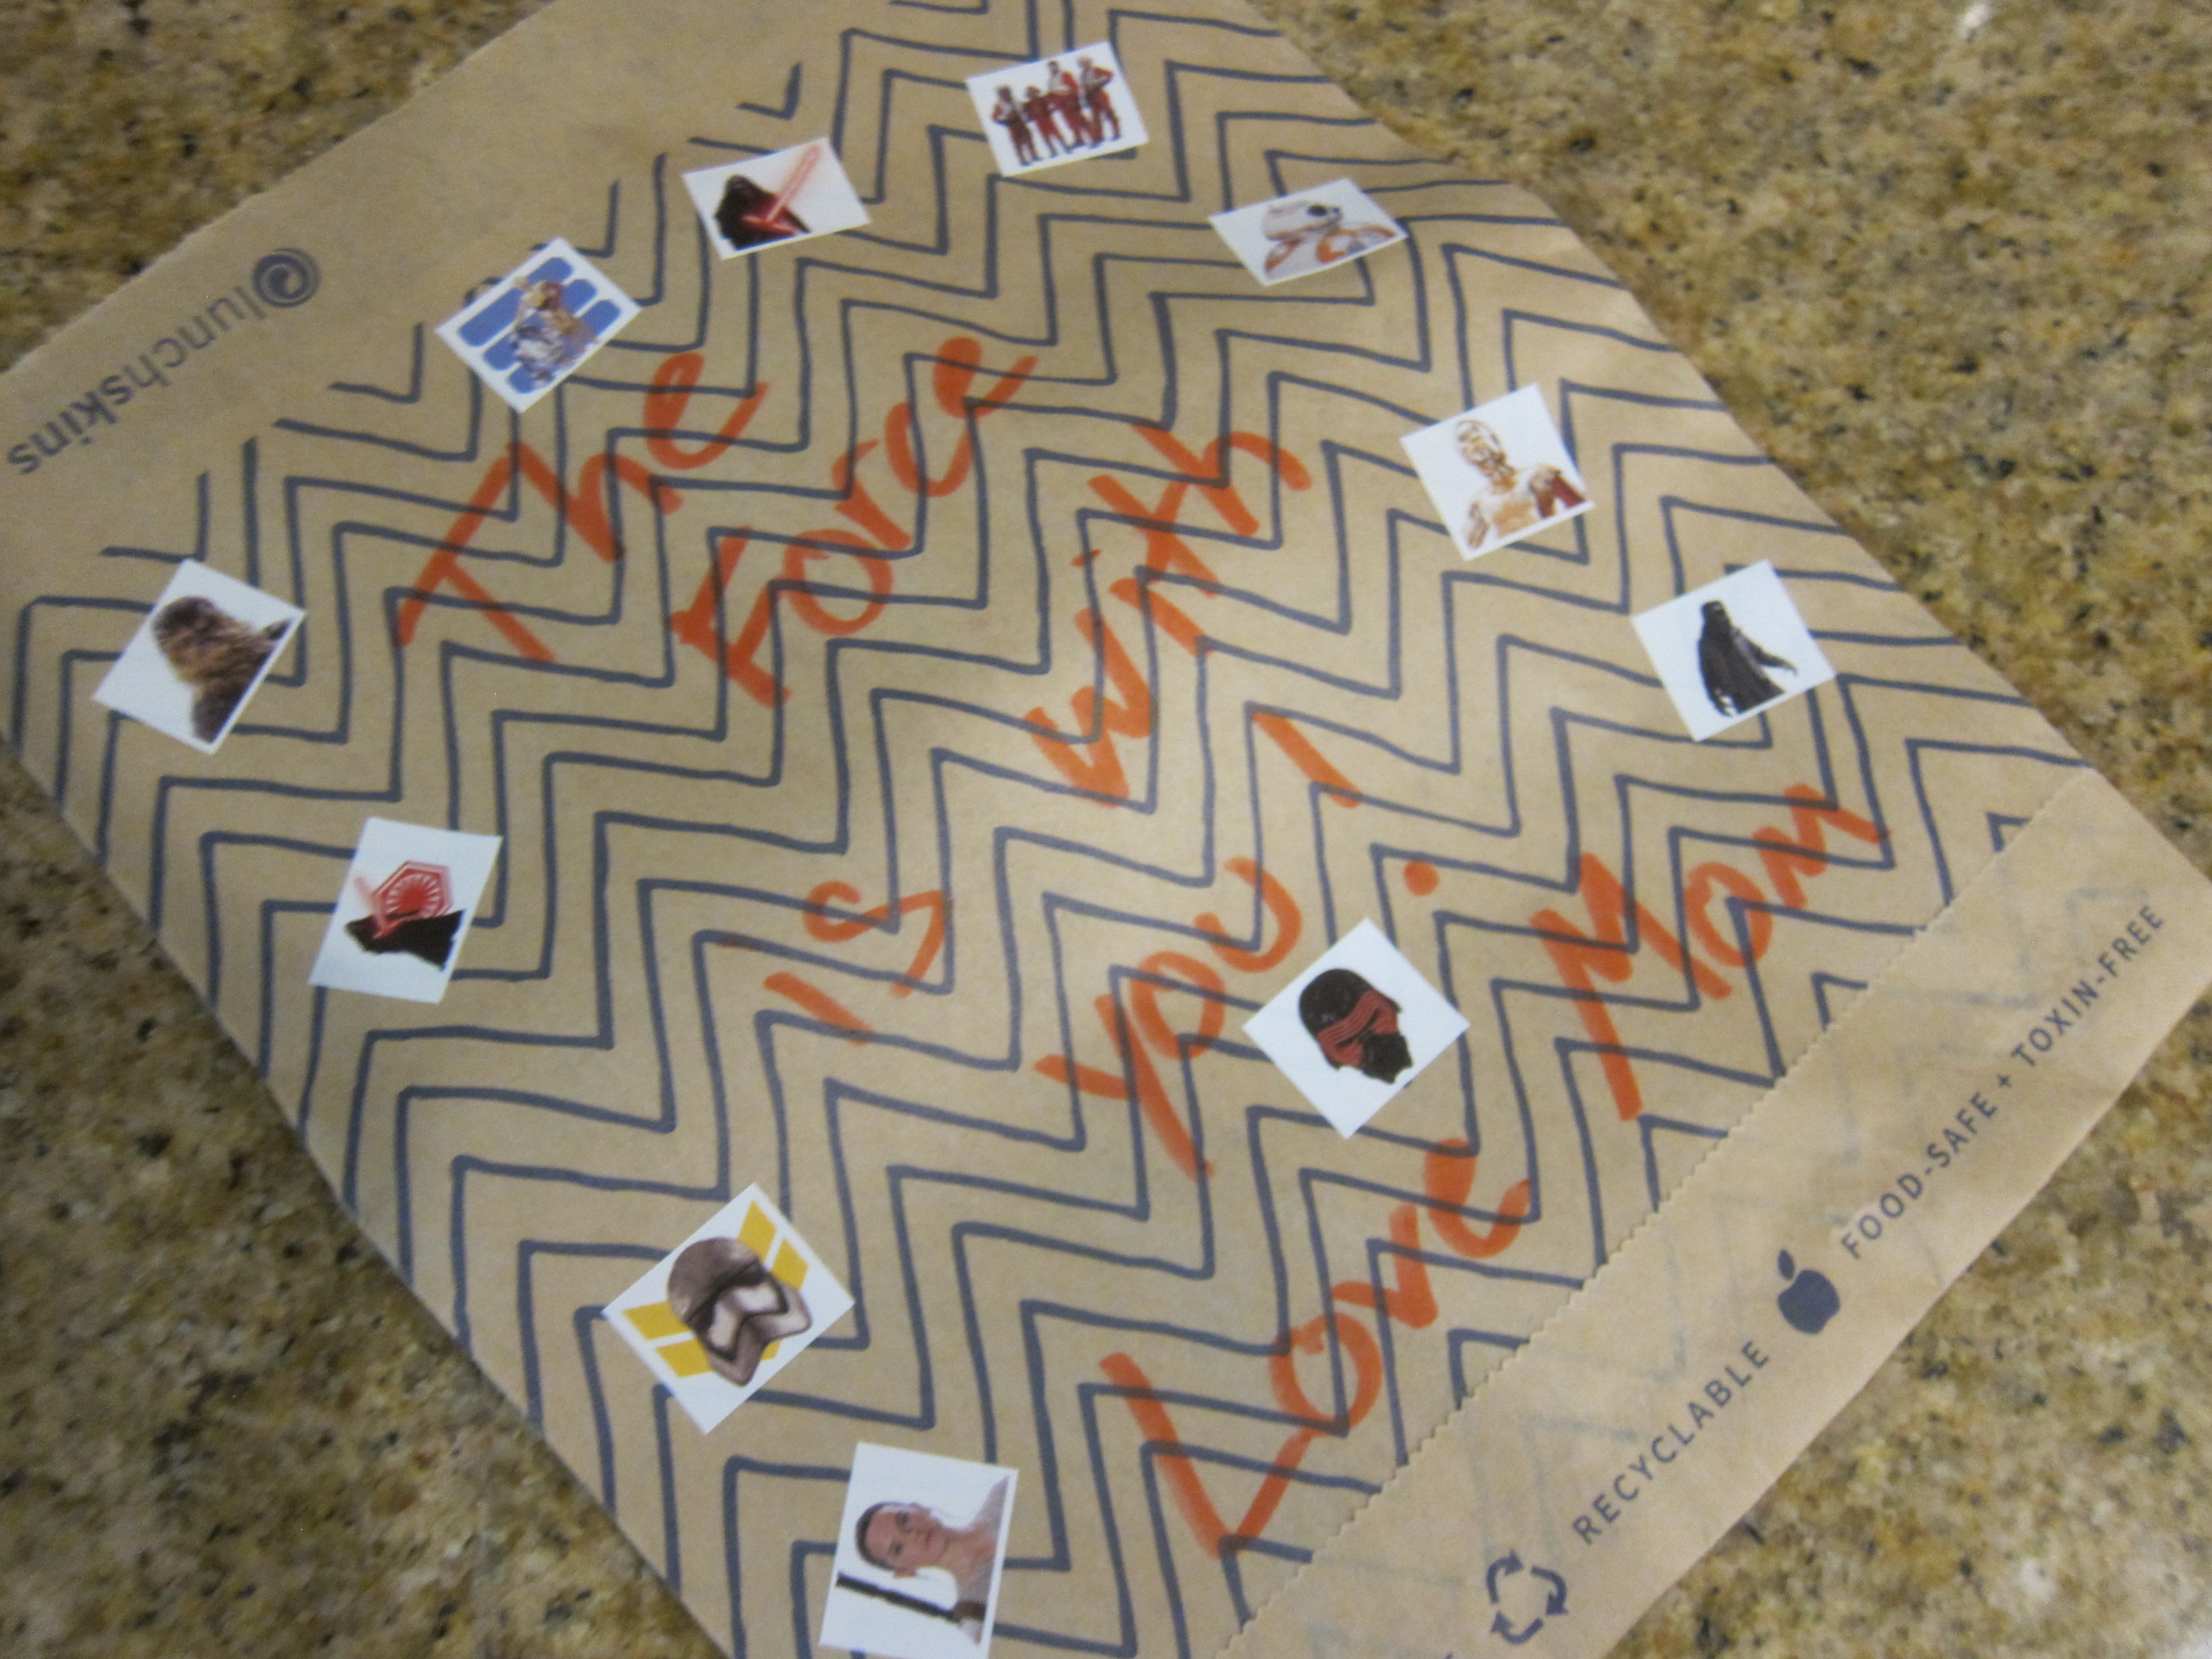
To eat: A special snack! Decorate your child’s snack bag with stickers from a favorite show or movie. Don’t forget to add a little note of encouragement.

Back to School (10)

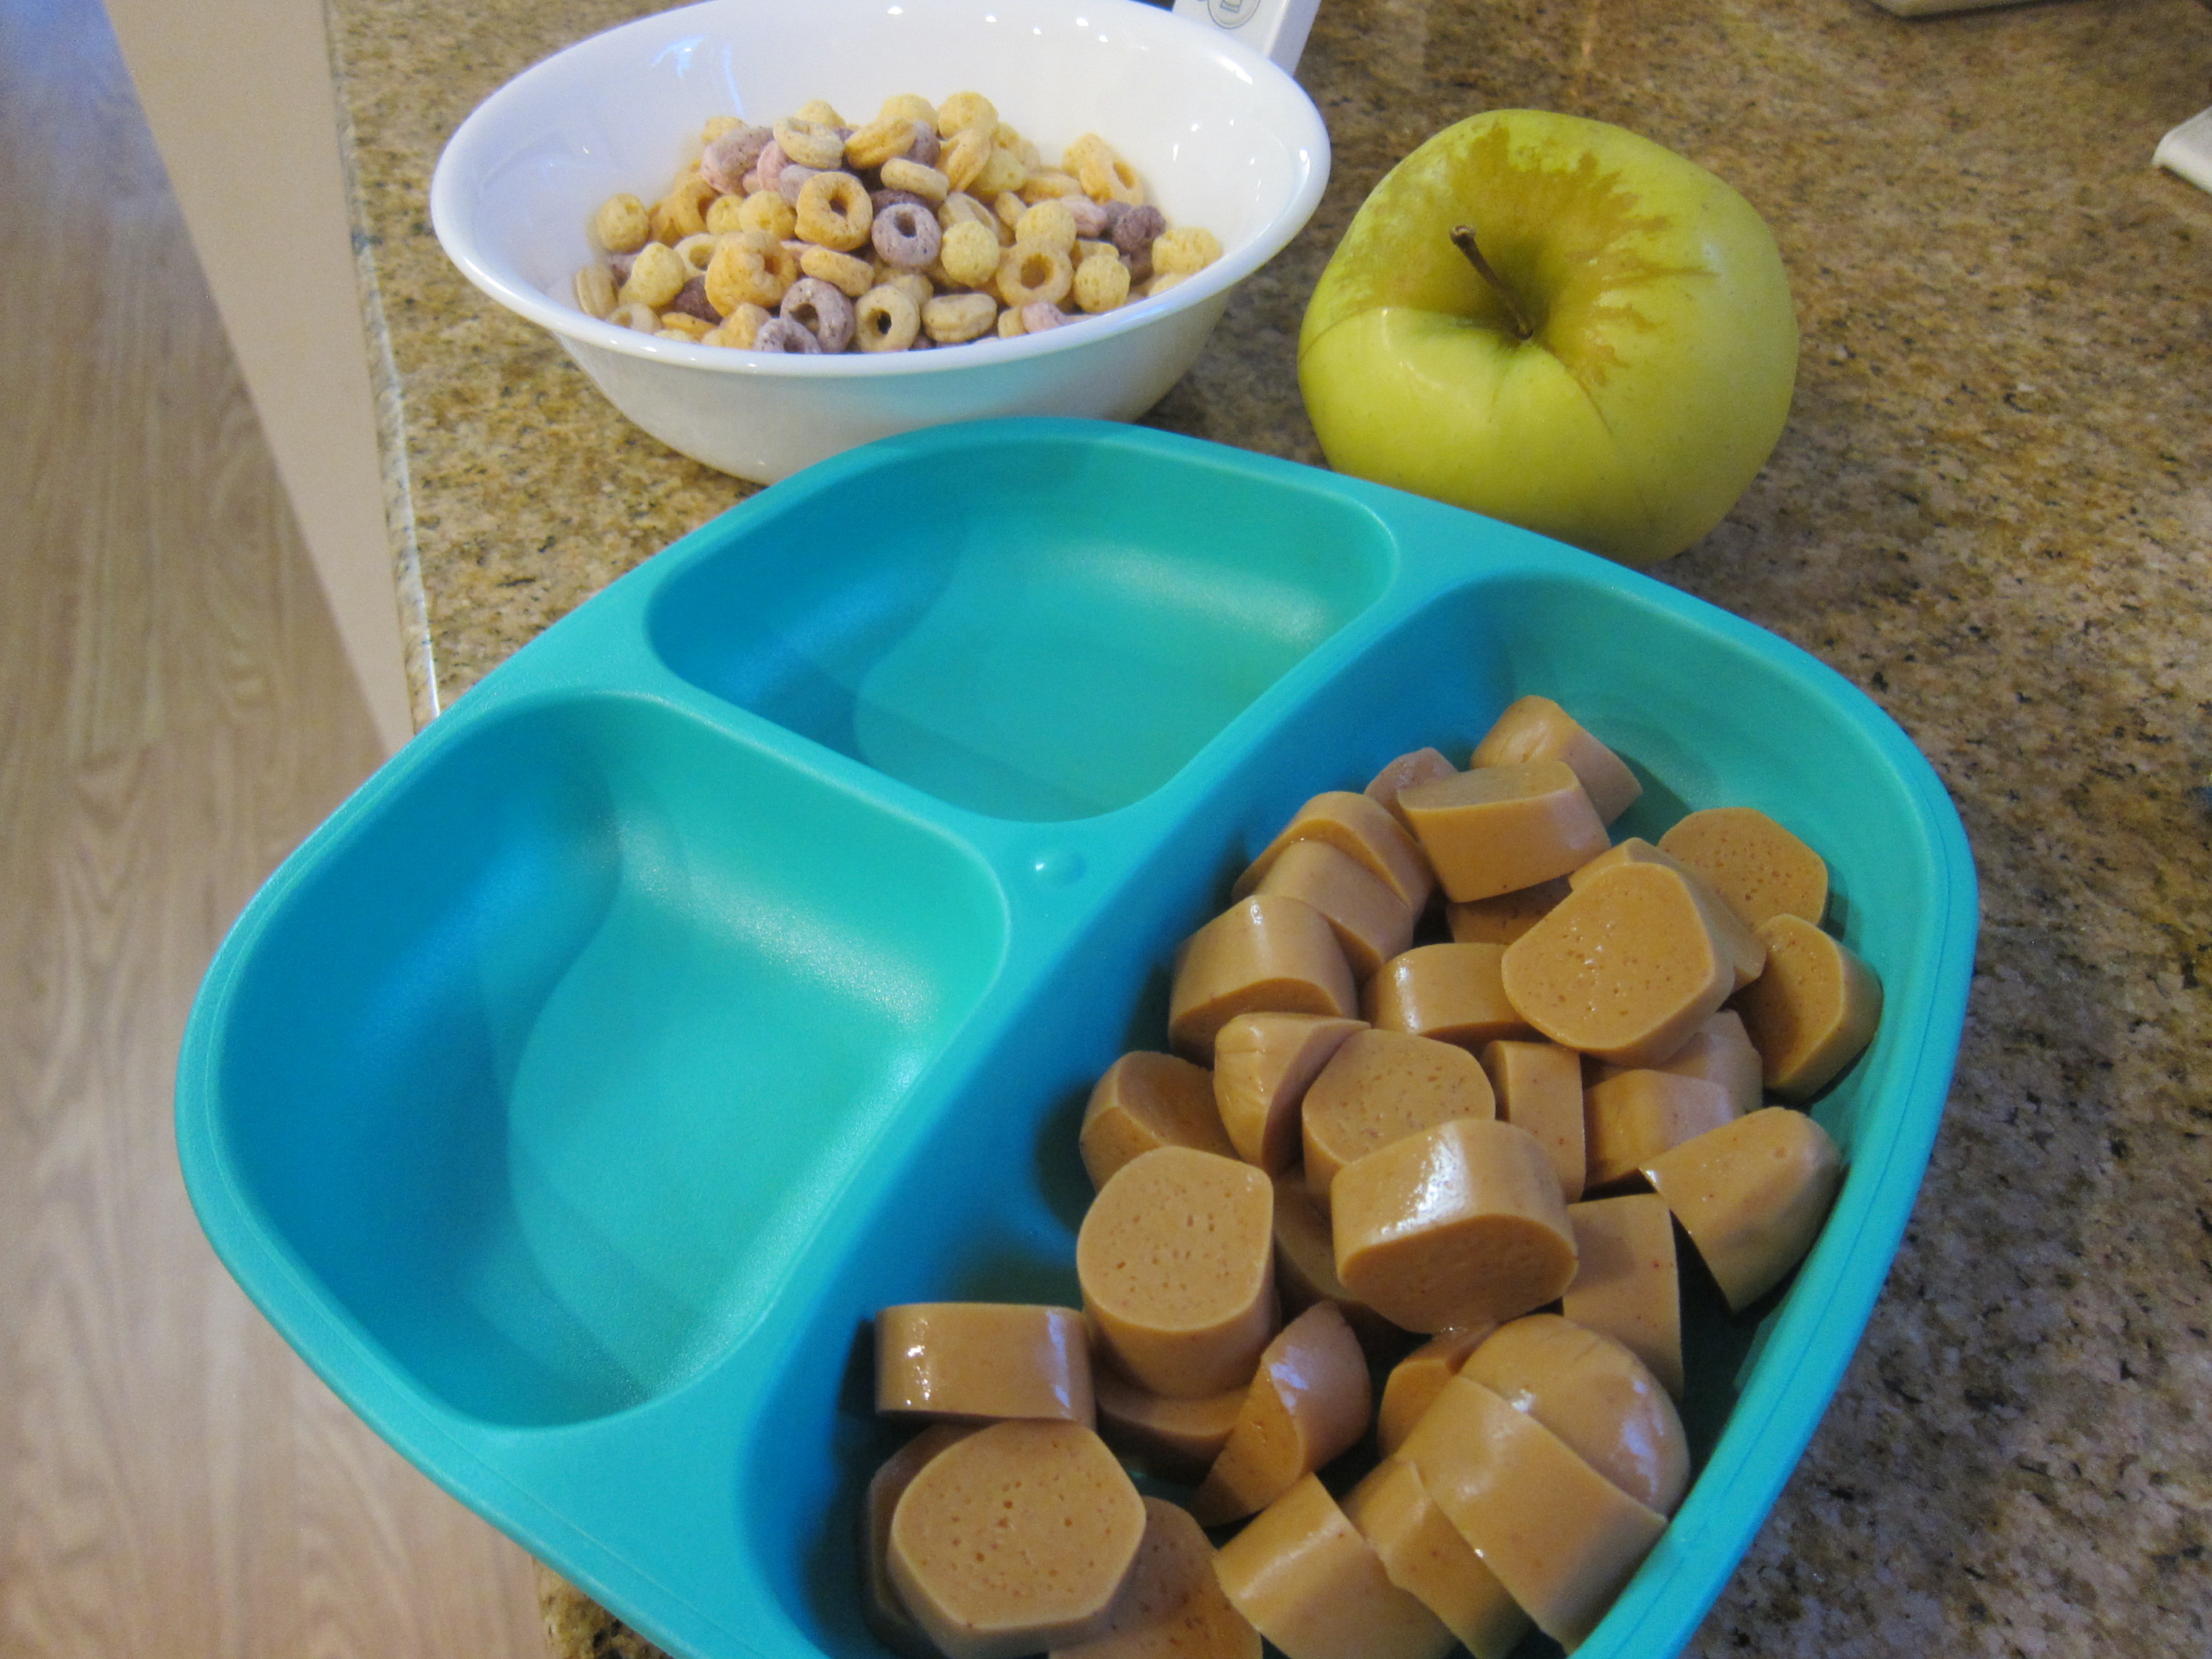
To do: Make it Backwards Day! Whether you extend this theme all day long (like wearing clothing backwards or doing a silly activity backwards) or just add a few backwards points here and there, it’s a great way to keep kids positive and playful mid-way through the week. To wit, Travis was about to turn grumpy about school until I told him we were having dinner for breakfast and vice versa. He started the day with a favorite meal: hot dogs!

Back to School (13)

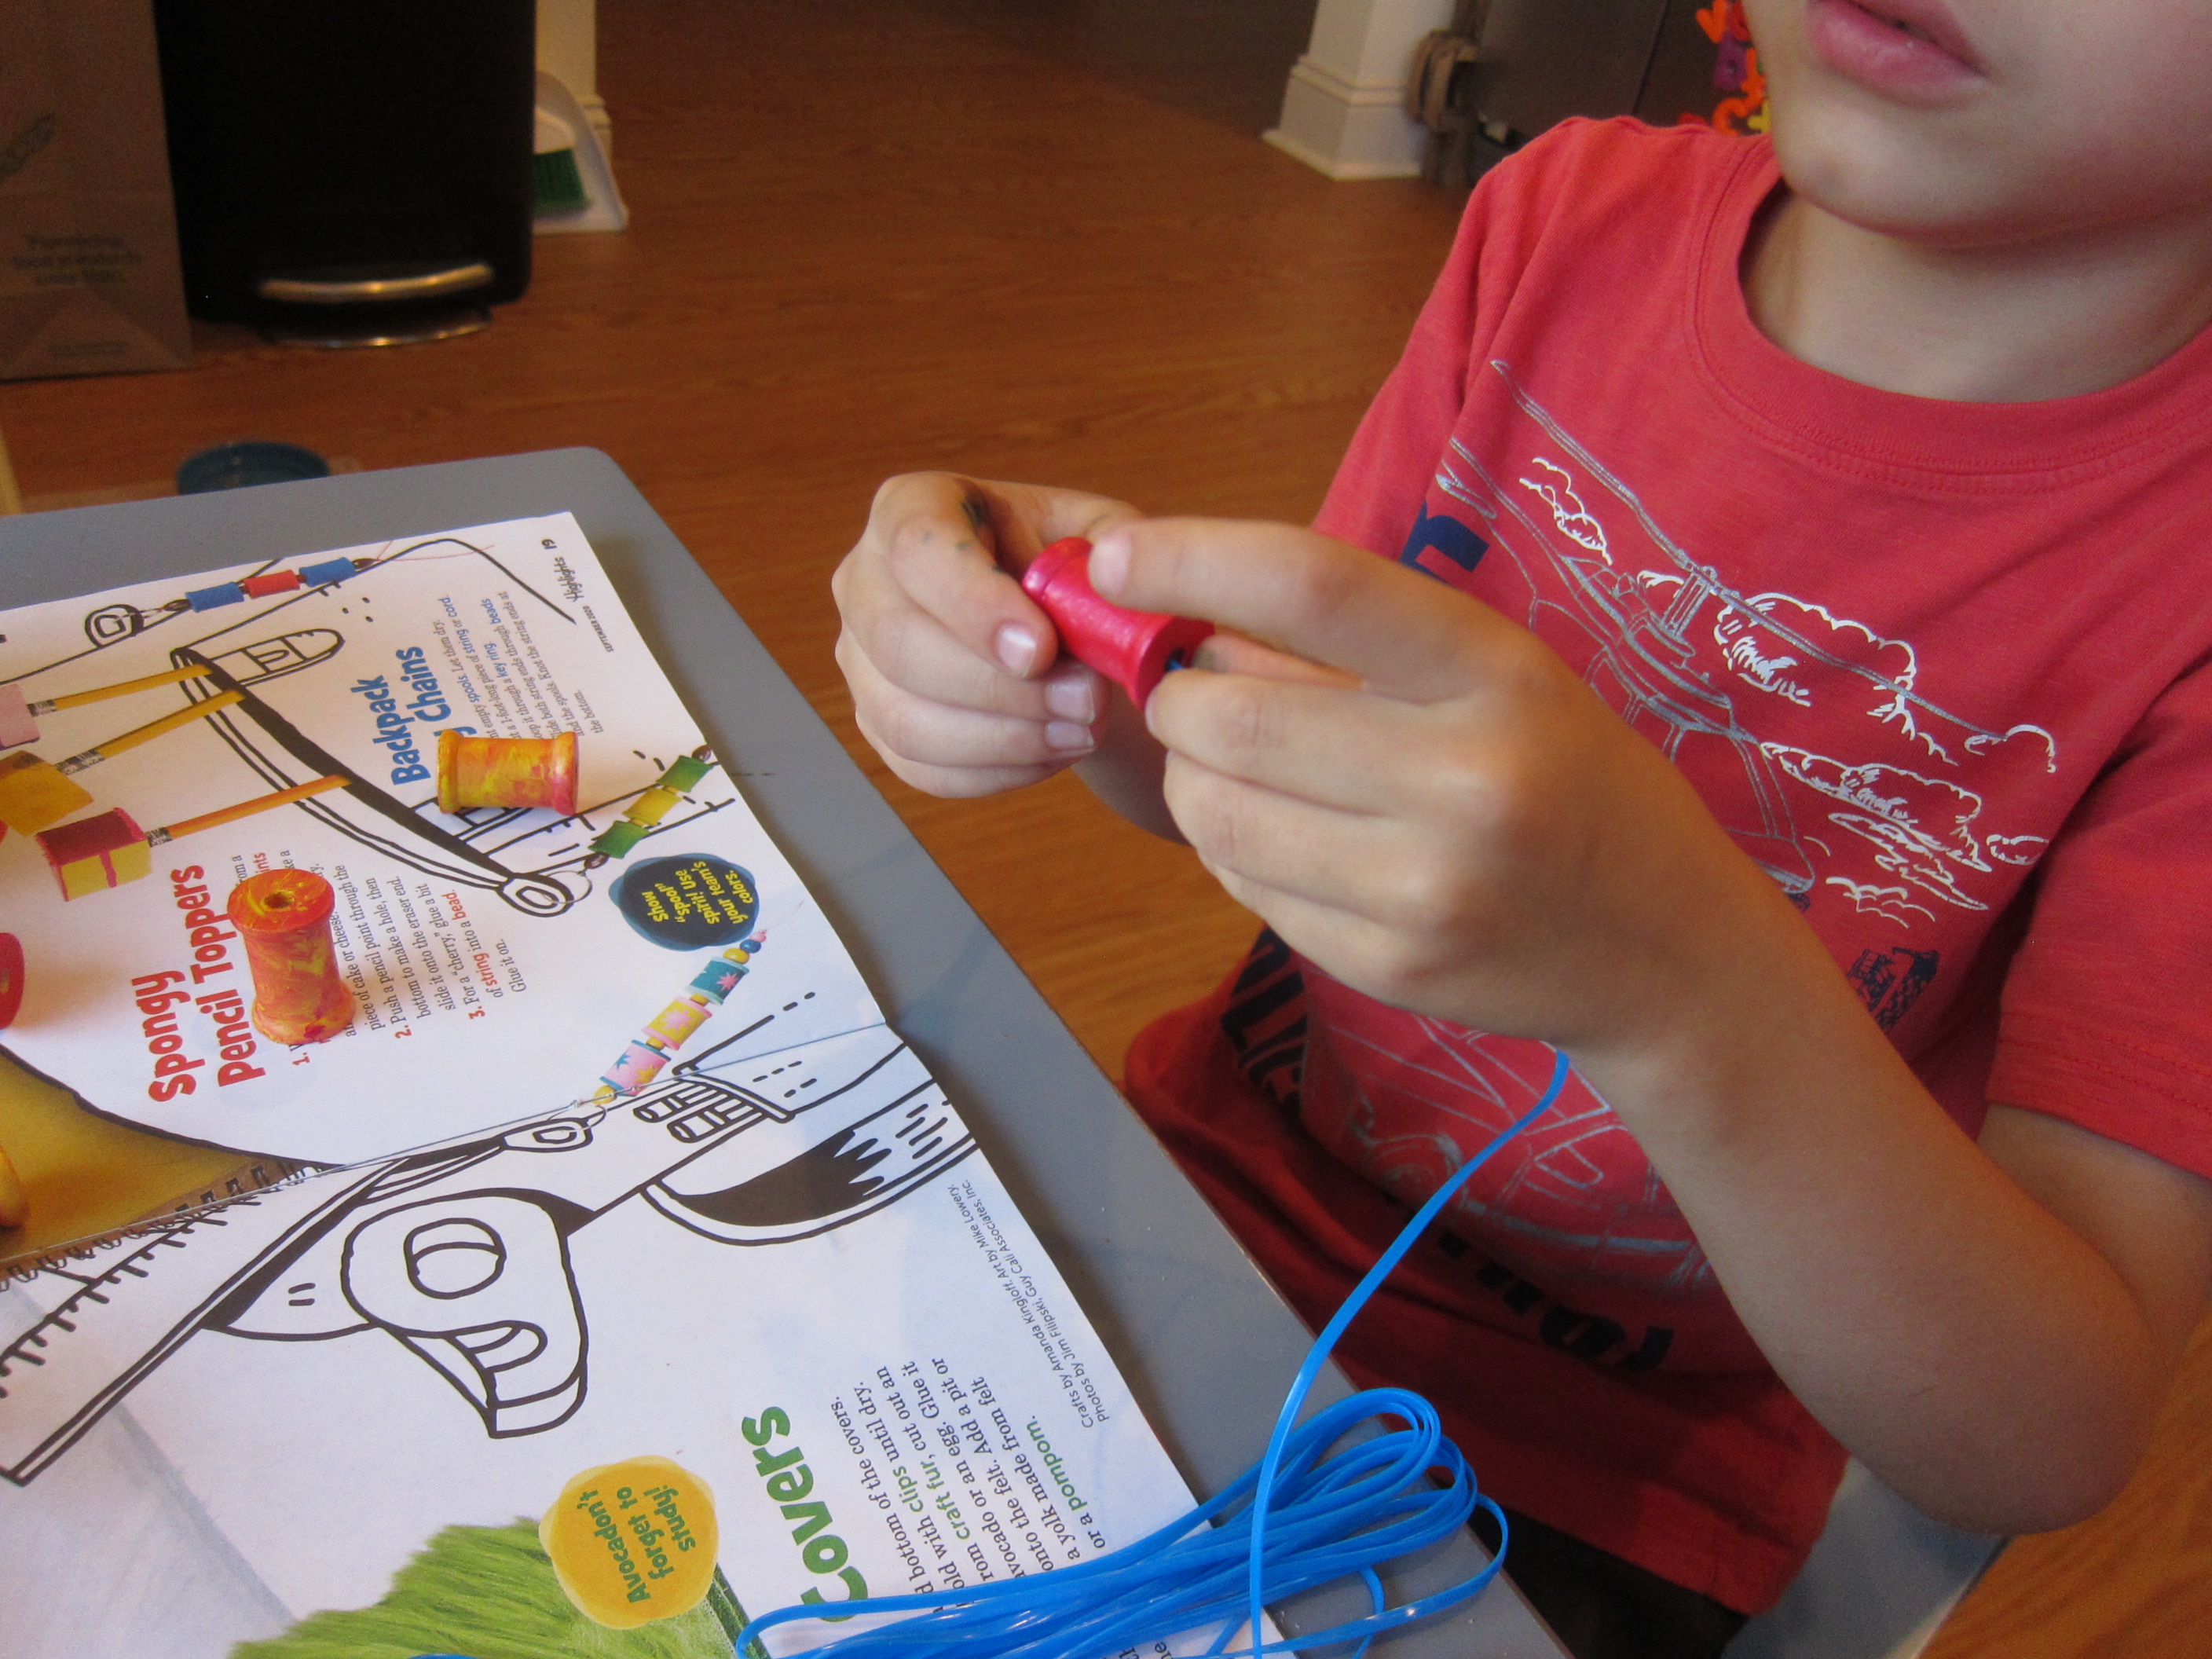
To make: A vision board! Flip through magazines and have your child cut out pictures that provide inspiration or goals for the year ahead. We were a touch limited with only a few doll catalogs on hand, but actually this worked out well. Travis selected images to go with: making new friends, having his own locker, playing sports, and taking care for our cat. Your child could also draw their goals if you don’t want to be limited by magazines.

Back to School (5)

Day 4

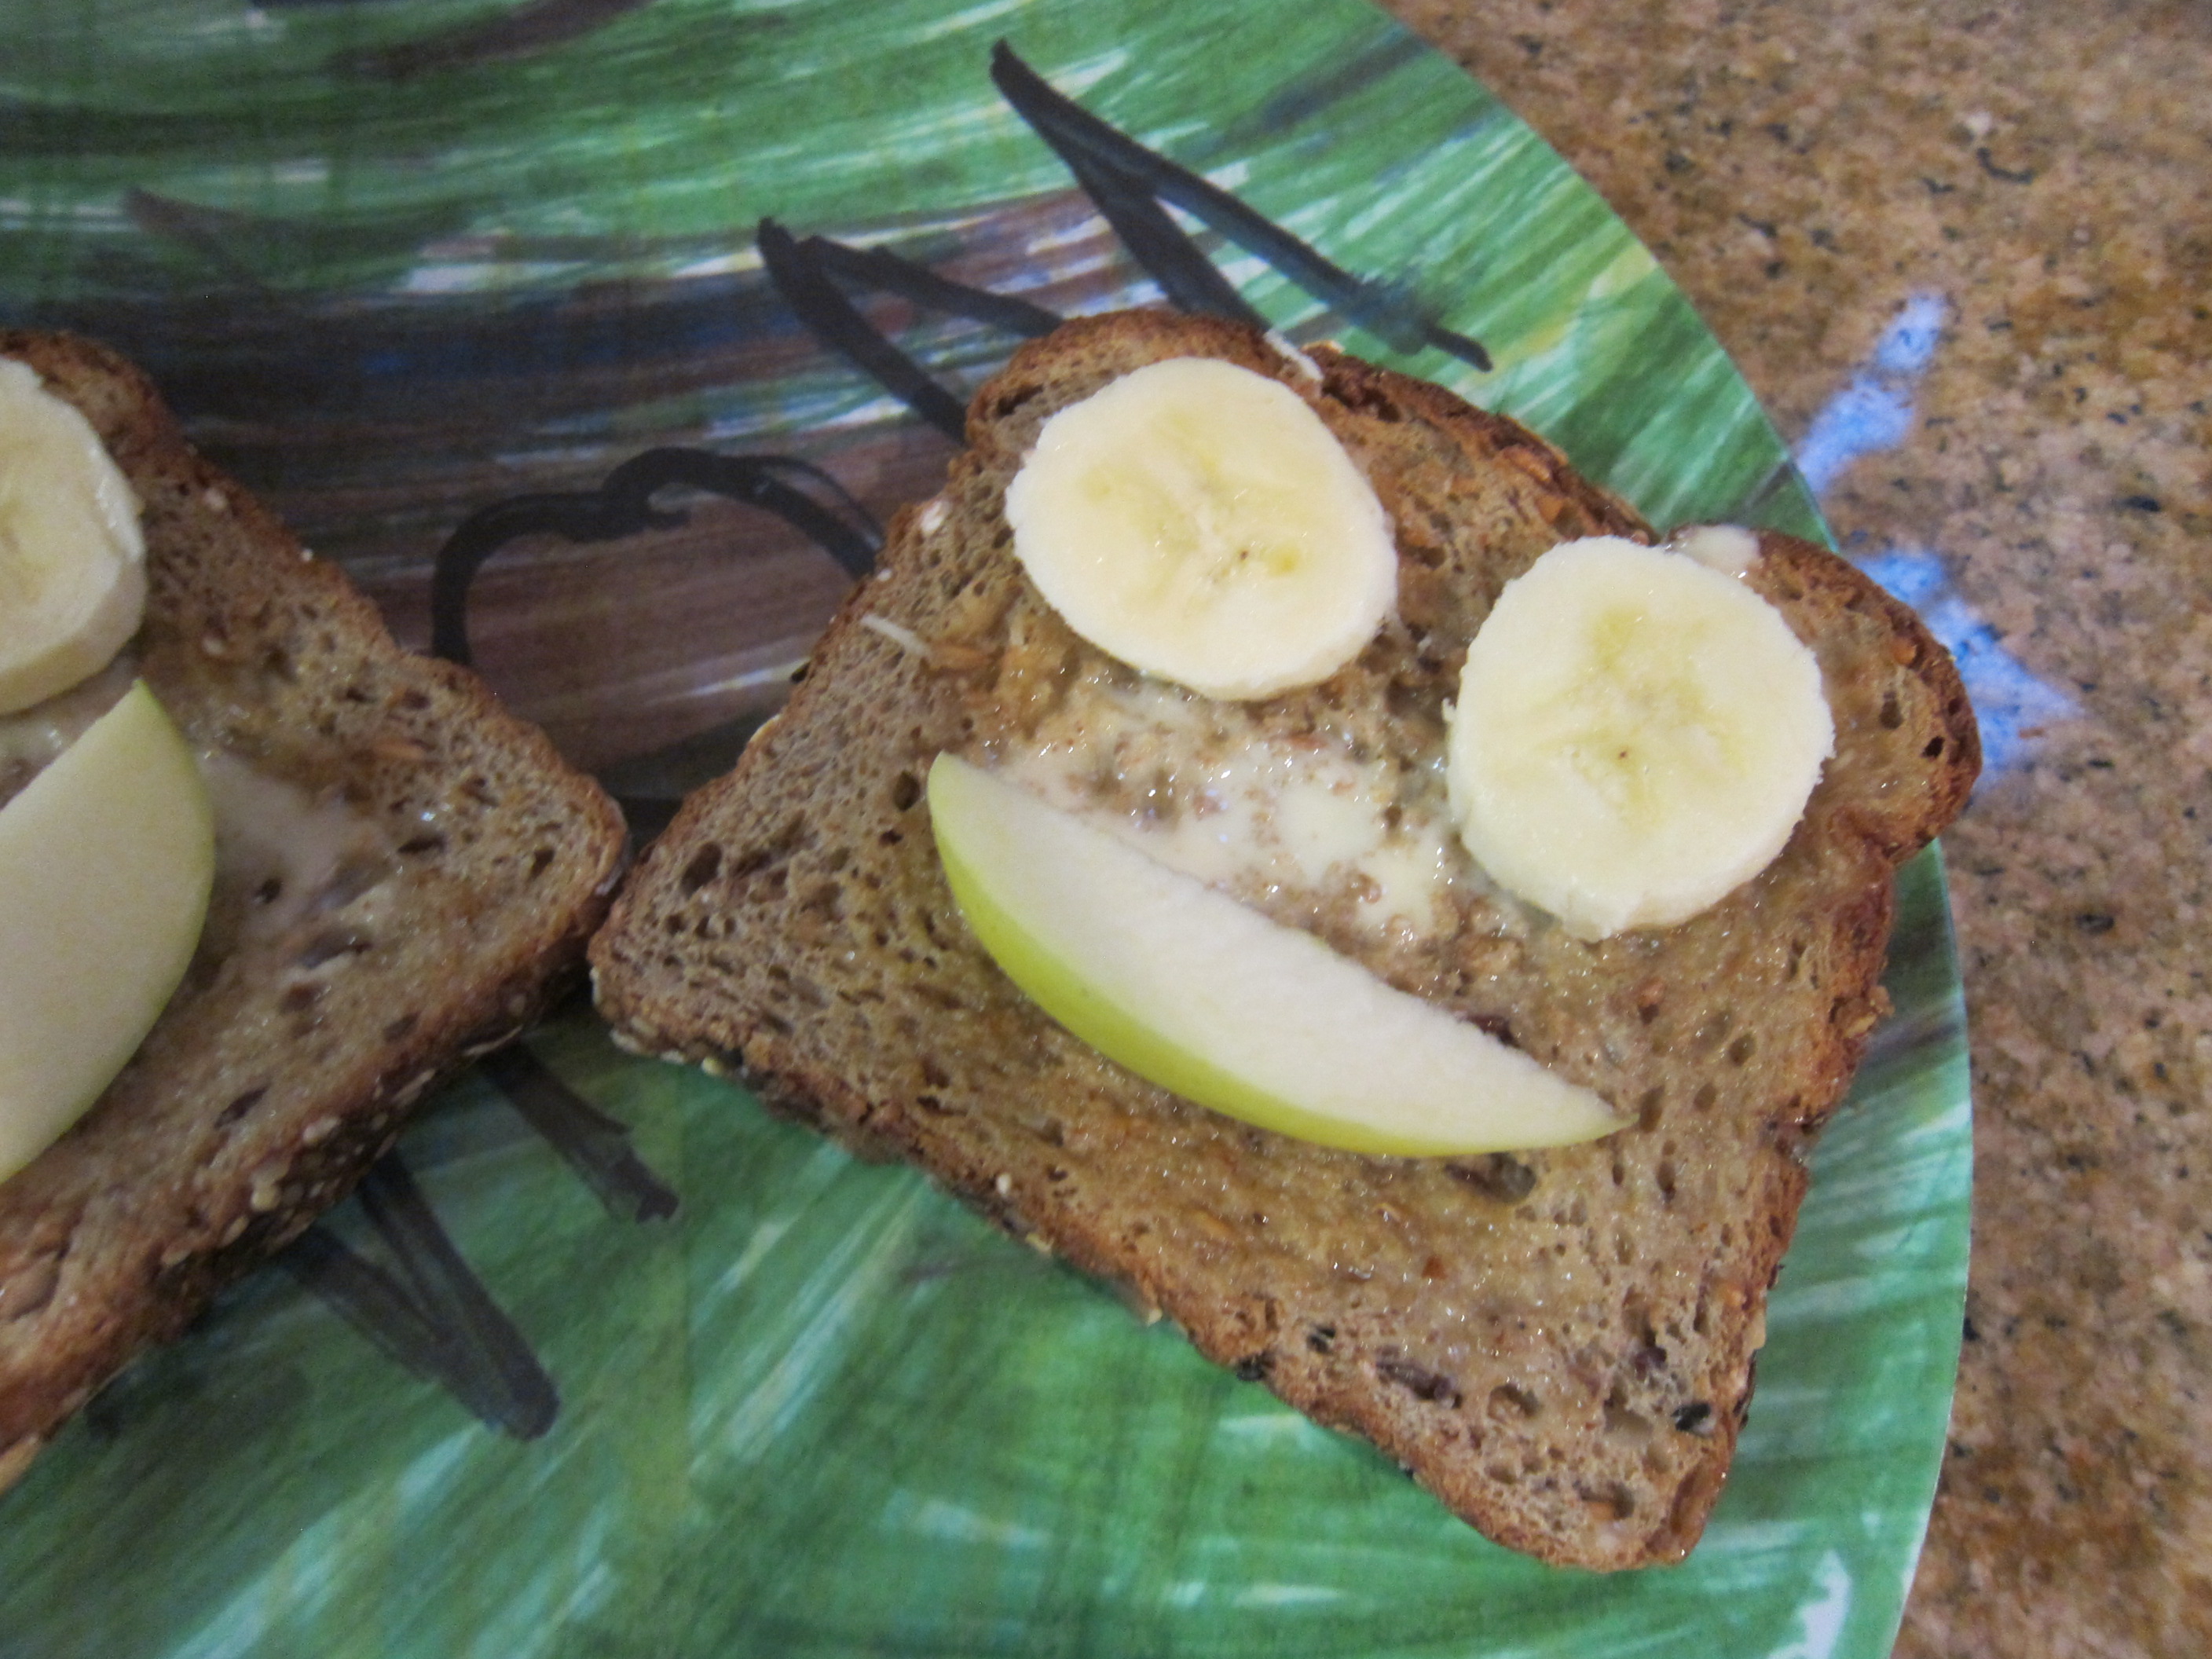
To eat: Fruit Faces! This can be as simple as banana slice eyes and an apple wedge smile on a piece of toast, but it’s sure to make kids wake with a smile even after a groggy start.

Back to School (12)

To do: Make it Spirit Day! Even if no one else in school is doing so, get rah rah and show school spirit by dressing in school colors.

Back to School (14)

To make: Start a video! Capture these moments of first-week-back excitement with little video clips. You can then take several mini clips and edit them together into one longer video, if you have access to the right app or software.

Recap:

At the end of the week, I checked in with him on his goals.

Regarding a new friend, he’s already bonded further with a girl he only knew from the cafeteria last year, who is now a classmate.

For a fresh start, he’s improved on his Zoom behavior markedly!

For a new activity, he’s all signed up to join our local Cub Scouts.

For learning something new, the class has already learned a new math game.

Happy Back to School!

Spongy Pencil Toppers

Spongy Pencil Toppers (7)

These fun pencil toppers were the final craft Travis and I put together to round out his new school supply swag. They’re perfect for any pencils where the eraser is completely worn down to a nub.

I had a bag of makeup sponges that we use for face paint, and the triangle shape made them the perfect candidates to turn into painted miniatures of triangular foods. Think: slices of cake, wedges of cheese, or sandwiches.

Squishy Pencil Toppers (1)

A little puffy paint was all we needed.

Squishy Pencil Toppers (3)

This one was a piece of cake (heh).

Squishy Pencil Toppers (2)

Then we tested out other ideas, like a peanut butter and jelly sandwich (blue and yellow paint). Travis wanted a mint chocolate cake, which we made with black and green paints.

Spongy Pencil Toppers (5)

Let the puffy paint dry completely, then add details like beads on top for cherry garnishes.

Spongy Pencil Toppers (8)

Once the glue dries, poke the sharp end of a pencil into the bottom of the sponge to make a hole. (Note: You can also secure the sponges with hot glue for added security). Insert onto the eraser end of the pencil and write away!

Backpack Key Chains

Backpack Keychain (8)

Travis is kitted out with notebooks and textbooks, but he won’t be completely back-to-school ready until his backpack has some homemade bling! We used up the last of a pack of craft spools for this easy DIY version.

First up was painting the spools and Travis chose red.

Backpack Keychain (2)

I painted a second set in a marbled red and yellow.

Backpack Keychain (4)

You’ll want to use acrylic paints so that the first rainy day doesn’t spoil your child’s craft. But since little sister Veronika wanted to get involved, I gave her some washable paints to smear around next to us.

Backpack Keychain (3)

Once the spools dry, thread onto craft laces. Travis chose blue for his.

Backpack Keychain (5)

And of course you’re sneaking in fine motor skills when your child threads the spools onto the lace.

Backpack Keychain (6)

We alternated these with wooden beads, then added a clasp at the top and knotted the lace.

Backpack Keychain (7)

Backpack? Check. COVID-19 hand sanitizer? Check. Keychain? Check. He’s ready.

Backpack Keychain (9)

Taco Notebook

Taco Notebook (6)

On the heels of a fun avocado textbook, here was another project to kit out Travis’s school supplies for the first day next week!

Travis helped glue a piece of brown cardstock to the cover of a standard spiral notebook. Then we glued scrapbook paper in a gingham print (which reminded us of a picnic blanket!) on to the first sheet of paper of the notebook; let dry.

Taco Notebook (1)

Trim the edge of the cover so it is rounded like a taco shell.

Taco Notebook (3)

Next up was cutting taco fillings (lettuce, tomato, and cheese shreds) from felt. This was great scissor practice for Travis since felt is tough to cut.

Taco Notebook (2)

We glued the felt shapes along the inside cover of the “taco shell”.

Taco Notebook (5)

Once closed, it looked almost good enough to eat!


Fuzzy Book Covers

Furry Book Covers (2)

With back-to-school just around the corner, I’m starting to put together fun supplies for Travis to help ease his transition. These fuzzy book covers, a cute idea from Highlights magazine, will make any textbook go from daunting to exciting.

Since Travis hasn’t actually received books from his new teacher yet, we practiced the craft with a favorite book from home: his nature field guide.

Furry Book Covers (1)

Cut a piece of green felt so it completely covers a textbook, leaving an extra 1/2-inch or so on the sides and top. Use hot glue (or tacky glue) to adhere the felt along the inside cover.

Furry Book Covers (3)

Cut an oval from brown felt, and glue in the center of the cover. Now you have an avocado… so we avocadon’t forget to study, as Highlights pointed out.

You can have fun with this and make lots of different fruits and veggies from different colors of felt. You could make them even fluffier with craft fur instead of felt, too!

Fluffy Tree Pencil Toppers

Fluffy Pencils (4)

These fluffy foofy funny pencils are meant to look like the trees from The Lorax; they’re a fantastic craft if you’ve recently read the book with your child… Or just to have the coolest back-to-school pencils in the room!

To make the pencils, first wrap in tape. We used yellow washi tape and then wound around that with black.

Fluffy Pencils (2)

The trick of winding the tape at an angle was a bit difficult for Travis, but I was proud of him trying!

Fluffy Pencils (1)

Next we used craft boas and small Styrofoam balls for the tops of the trees. You can attach the boas with tacky glue, which will require a bit more patience, but Travis requested hot glue. That made this a grown-up step! Glue one portion at a time, working around until the whole ball is covered, then trim off any excess boa.

Fluffy Pencils (3)

Poke a sharpened pencil into each Styrofoam ball to make a hole; now flip the pencil around and hot glue the eraser end into the hole you’ve created.

Fluffy Pencils (5)

Your pencil tree is ready to use!

Fluffy Pencils (6)

Custom Kicks

Custom Kicks (6)

Kids take great pride in things they’ve made, and that goes for clothing as well as crafts. Give them a little extra kick in their step by customizing sneakers for school this fall!

You’ll need to start with blank canvas sneakers; the ones from Kikiz Kids are made of non-animal materials, and inexpensive enough that you won’t mind unleashing your mini Picasso on them.

Custom Kicks (1)

If you want to make the project into a bit of a lesson, try stenciling in lines with a pencil first, and encouraging your child to trace along the lines. We used glitter pens, but you can also use paint pens for the project.

Custom Kicks (2)

Travis had his own plans, and soon his shoes were a riot of colors.

Custom Kicks (4)

We also liked practicing our tracing around the eyelet holes!

Custom Kicks (3)

Now those are some kool kicks:

CUstom Kicks (5)


A is for Apple

A is for Apple (4)

Kids have the jitters before meeting a new teacher or as they’re heading back to school? Sweeten the deal with this adorable homemade lollipop.

I used Yum Earth’s vegan hard candies to replicate a recipe that originally called for Jolly Ranchers. Yum Earth colors won’t quite be apple red or leafy green, but I came close with colors from their Citrus Grove variety pack, a pink-ish red for the apple and a pale yellow-green for the leaf.

First came the excitement when I announced to Travis that we were going to make homemade lollipops!

A is for Apple (1)

Line a baking sheet with parchment paper, and place 4 of the red candies in a square.

A is for Apple (2)

Bake at 275 degrees F for 4 minutes – they should be just slightly soft. Let cool for 1 minute, then push into the shape of an apple. Push a lollipop stick down into the center of the apple.

Place a green candy at the top for the leaf. Return to the oven and bake an additional 4 minutes. Shape the “leaf” at the top of the apple, once out of the oven, then insert a piece of pretzel stick as the stem.

A is for Apple (3)

Yup, Travis thought this was the neatest lollipop ever!

A is for Apple (7)