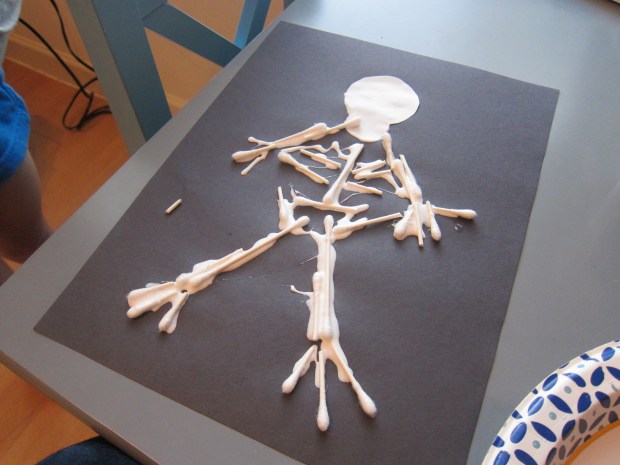
This little craft is great for kids who learning about the body and bones. Big kids can be really exact with it, mapping out locations for the humerus, femur, and more. For my four year old, it was fun just to talk about our bodies and bones, and help him see a skeleton take shape.
To set up the craft, I cut out a skull shape from white construction paper and glued it onto a piece of black paper.

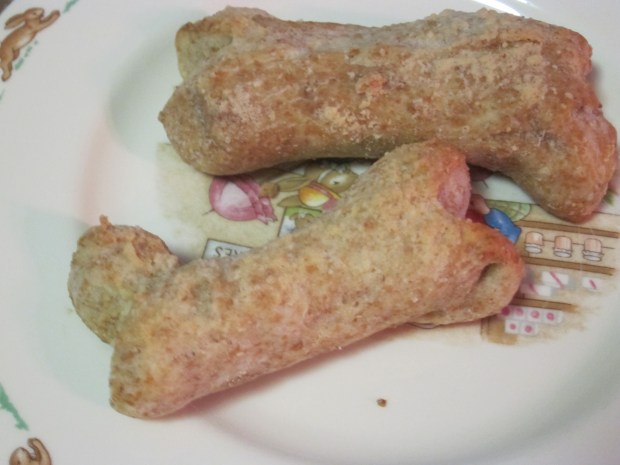
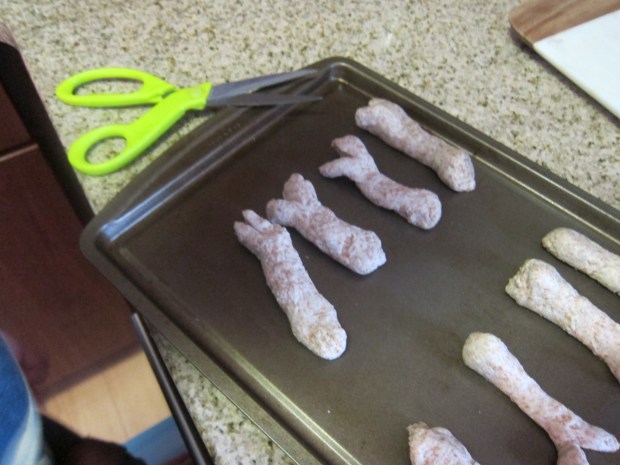
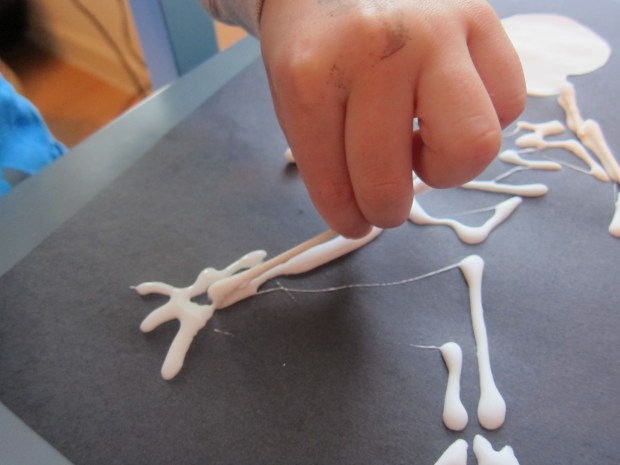
Next we needed to make bones! To do so, I cut q-tips into varying lengths, including a few that I left whole for bigger bones in the body. This is a fun step because q-tips are quite hard to snip through, which means they go flying when you cut them. Travis became the bone-gathering doctor!

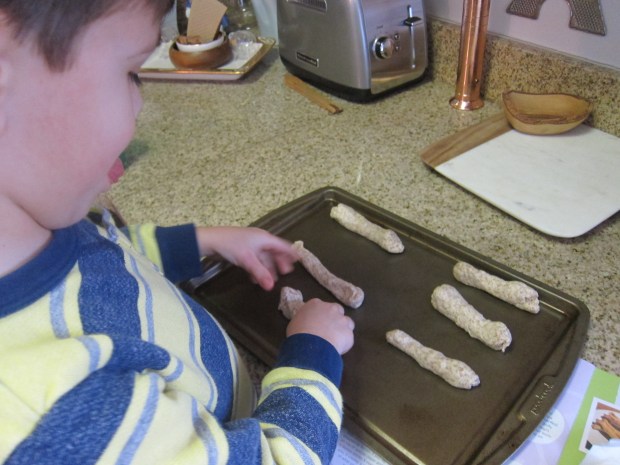
I asked if he wanted to decide where to place each bone, or preferred to have me lay down lines of glue for him to follow. He asked for the latter, but then it was a great game for him to match the length of my glue stripe to a properly sized “bone.”

He loved doing the hand. “Look, it’s my pinkie finger!”

This was a great chance to talk about the differences in the length of our bones. We needed to find a long one for the femur, I explained, which was the biggest bone in the body.
It was also neat to touch our real, corresponding bones as we worked. He loved feeling his spine.

When the skeleton looked almost done, I asked him what we still needed. “Hip bones!” he decided, touching his own, so we glued down a few more pieces.

So proud of my little scientist putting this one together.