Styrofoam Ornaments

Styrofoam Ornaments (8)

Here’s a way to upcycle those Styrofoam trays that come home from the produce department now and then (I’m looking at you, mini cucumbers) and use them in a holiday craft. Today, Veronika and I turned them into ornaments!

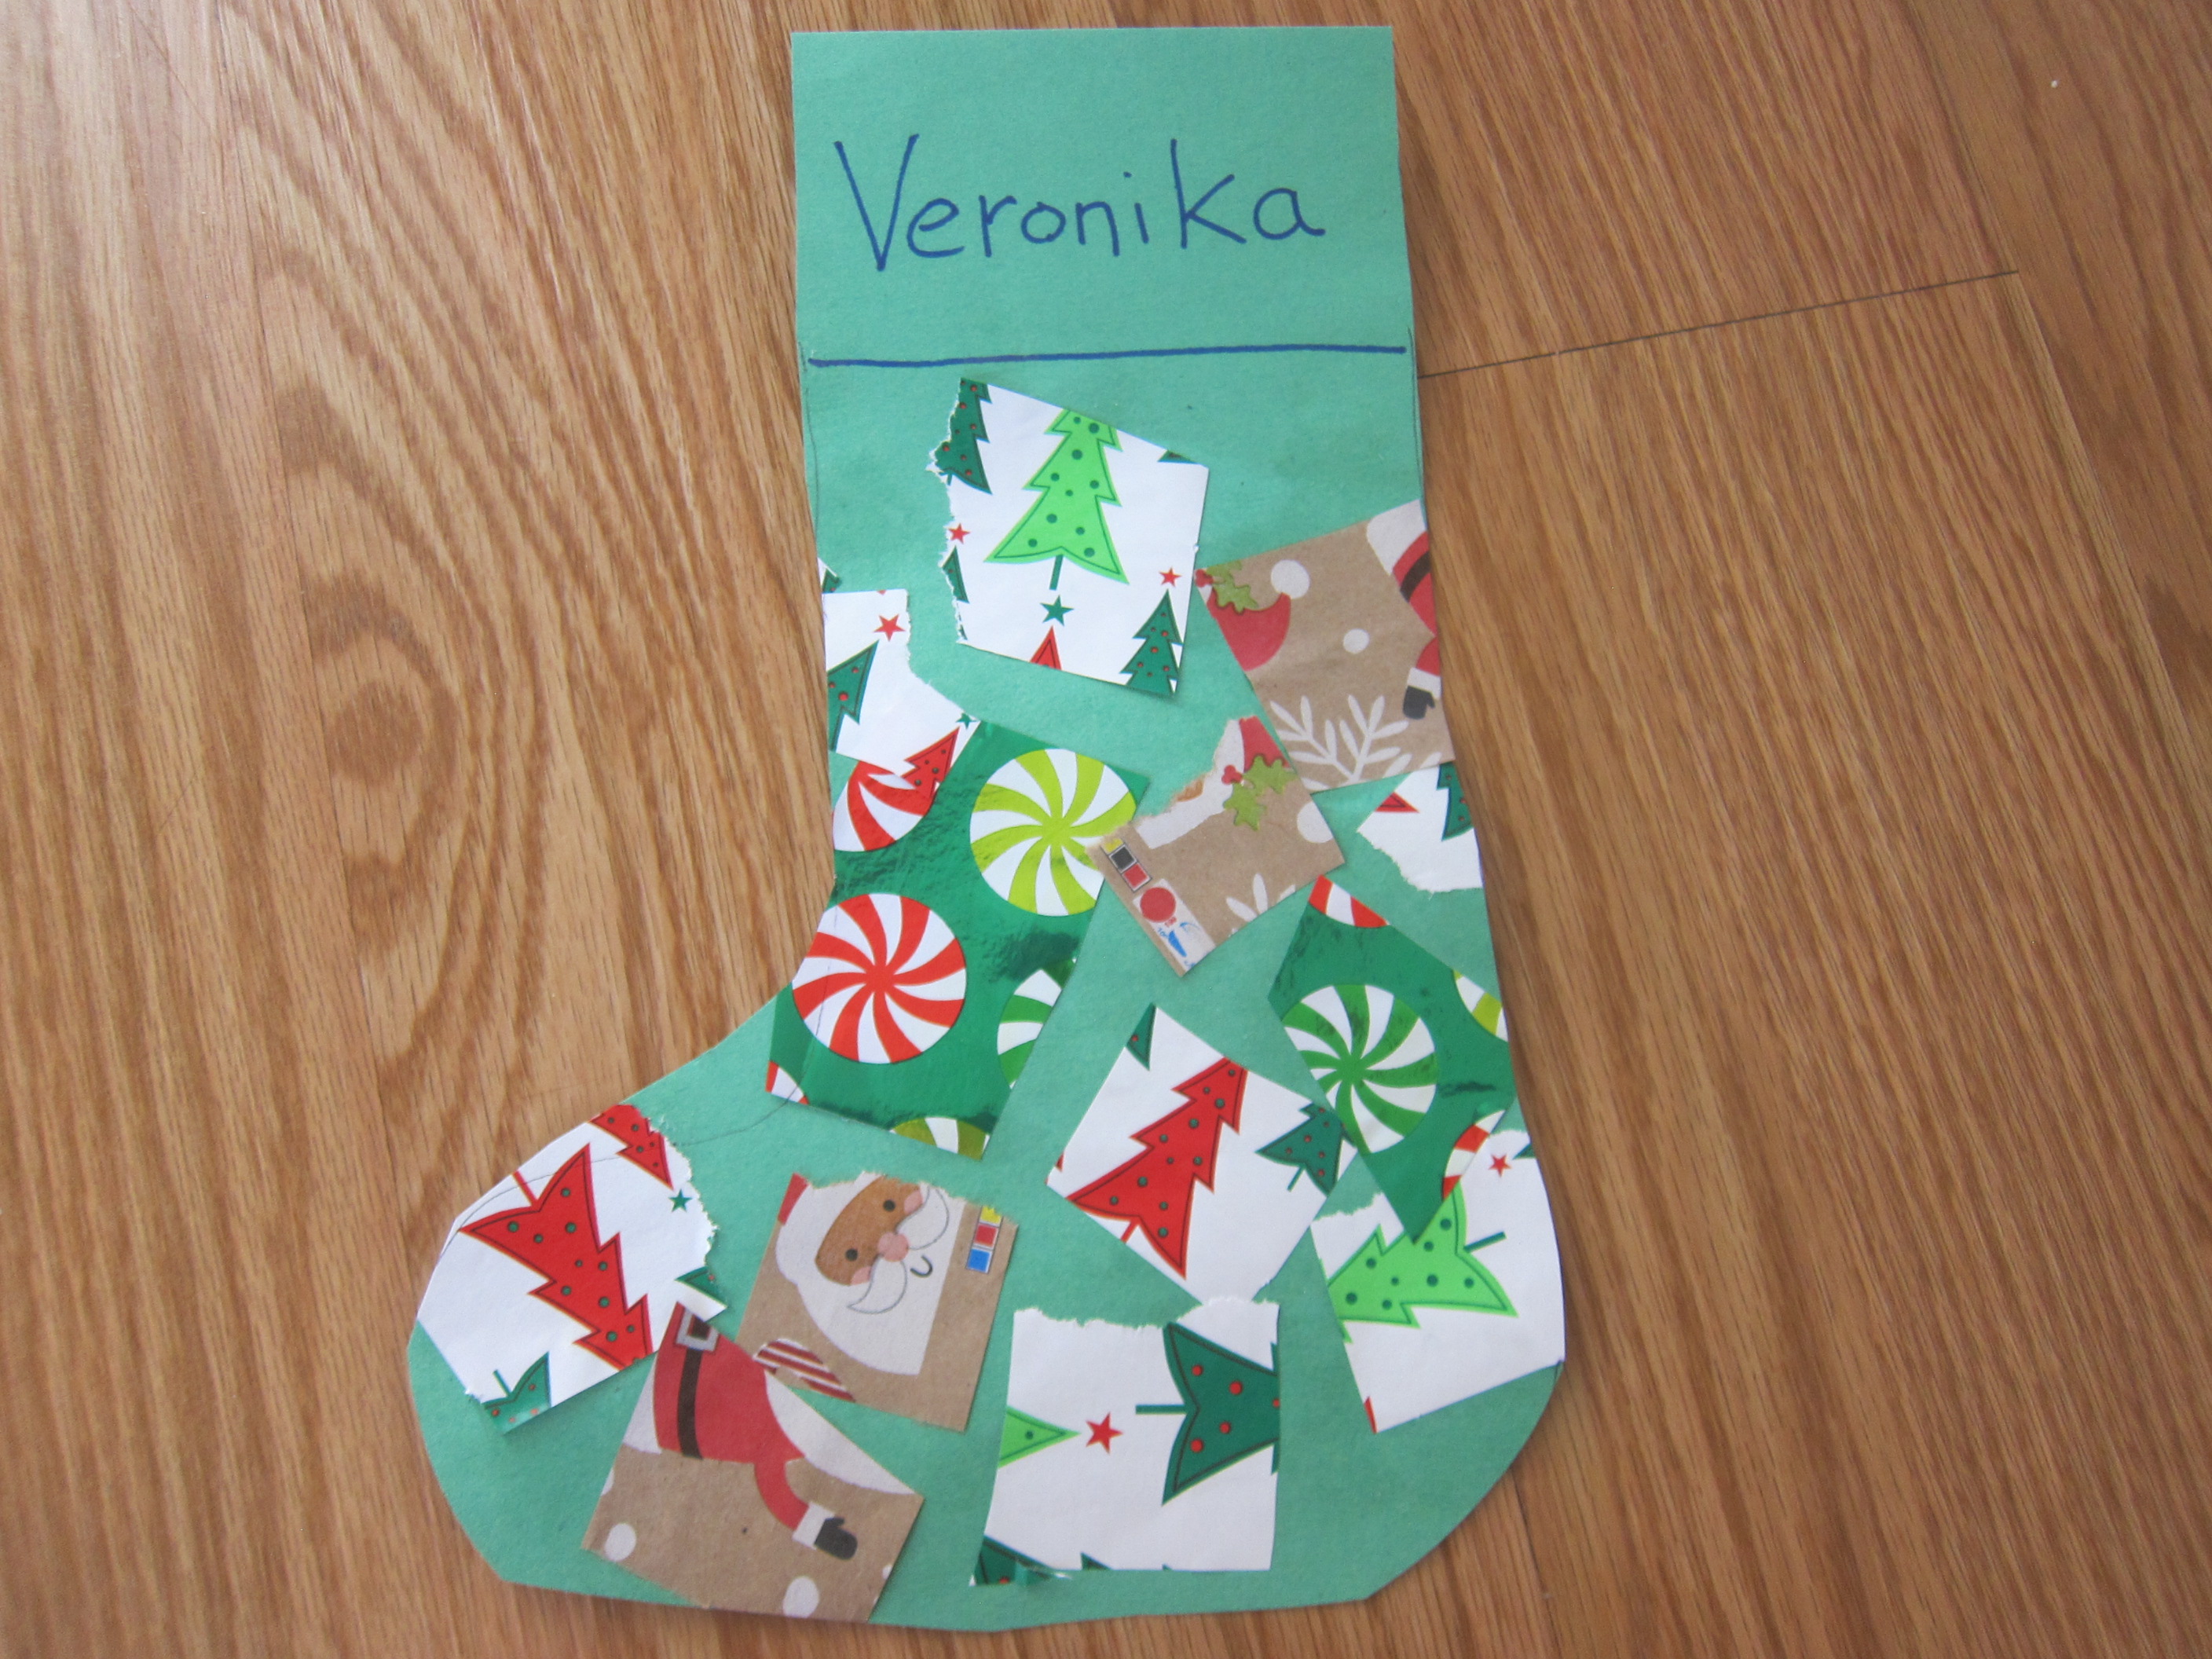
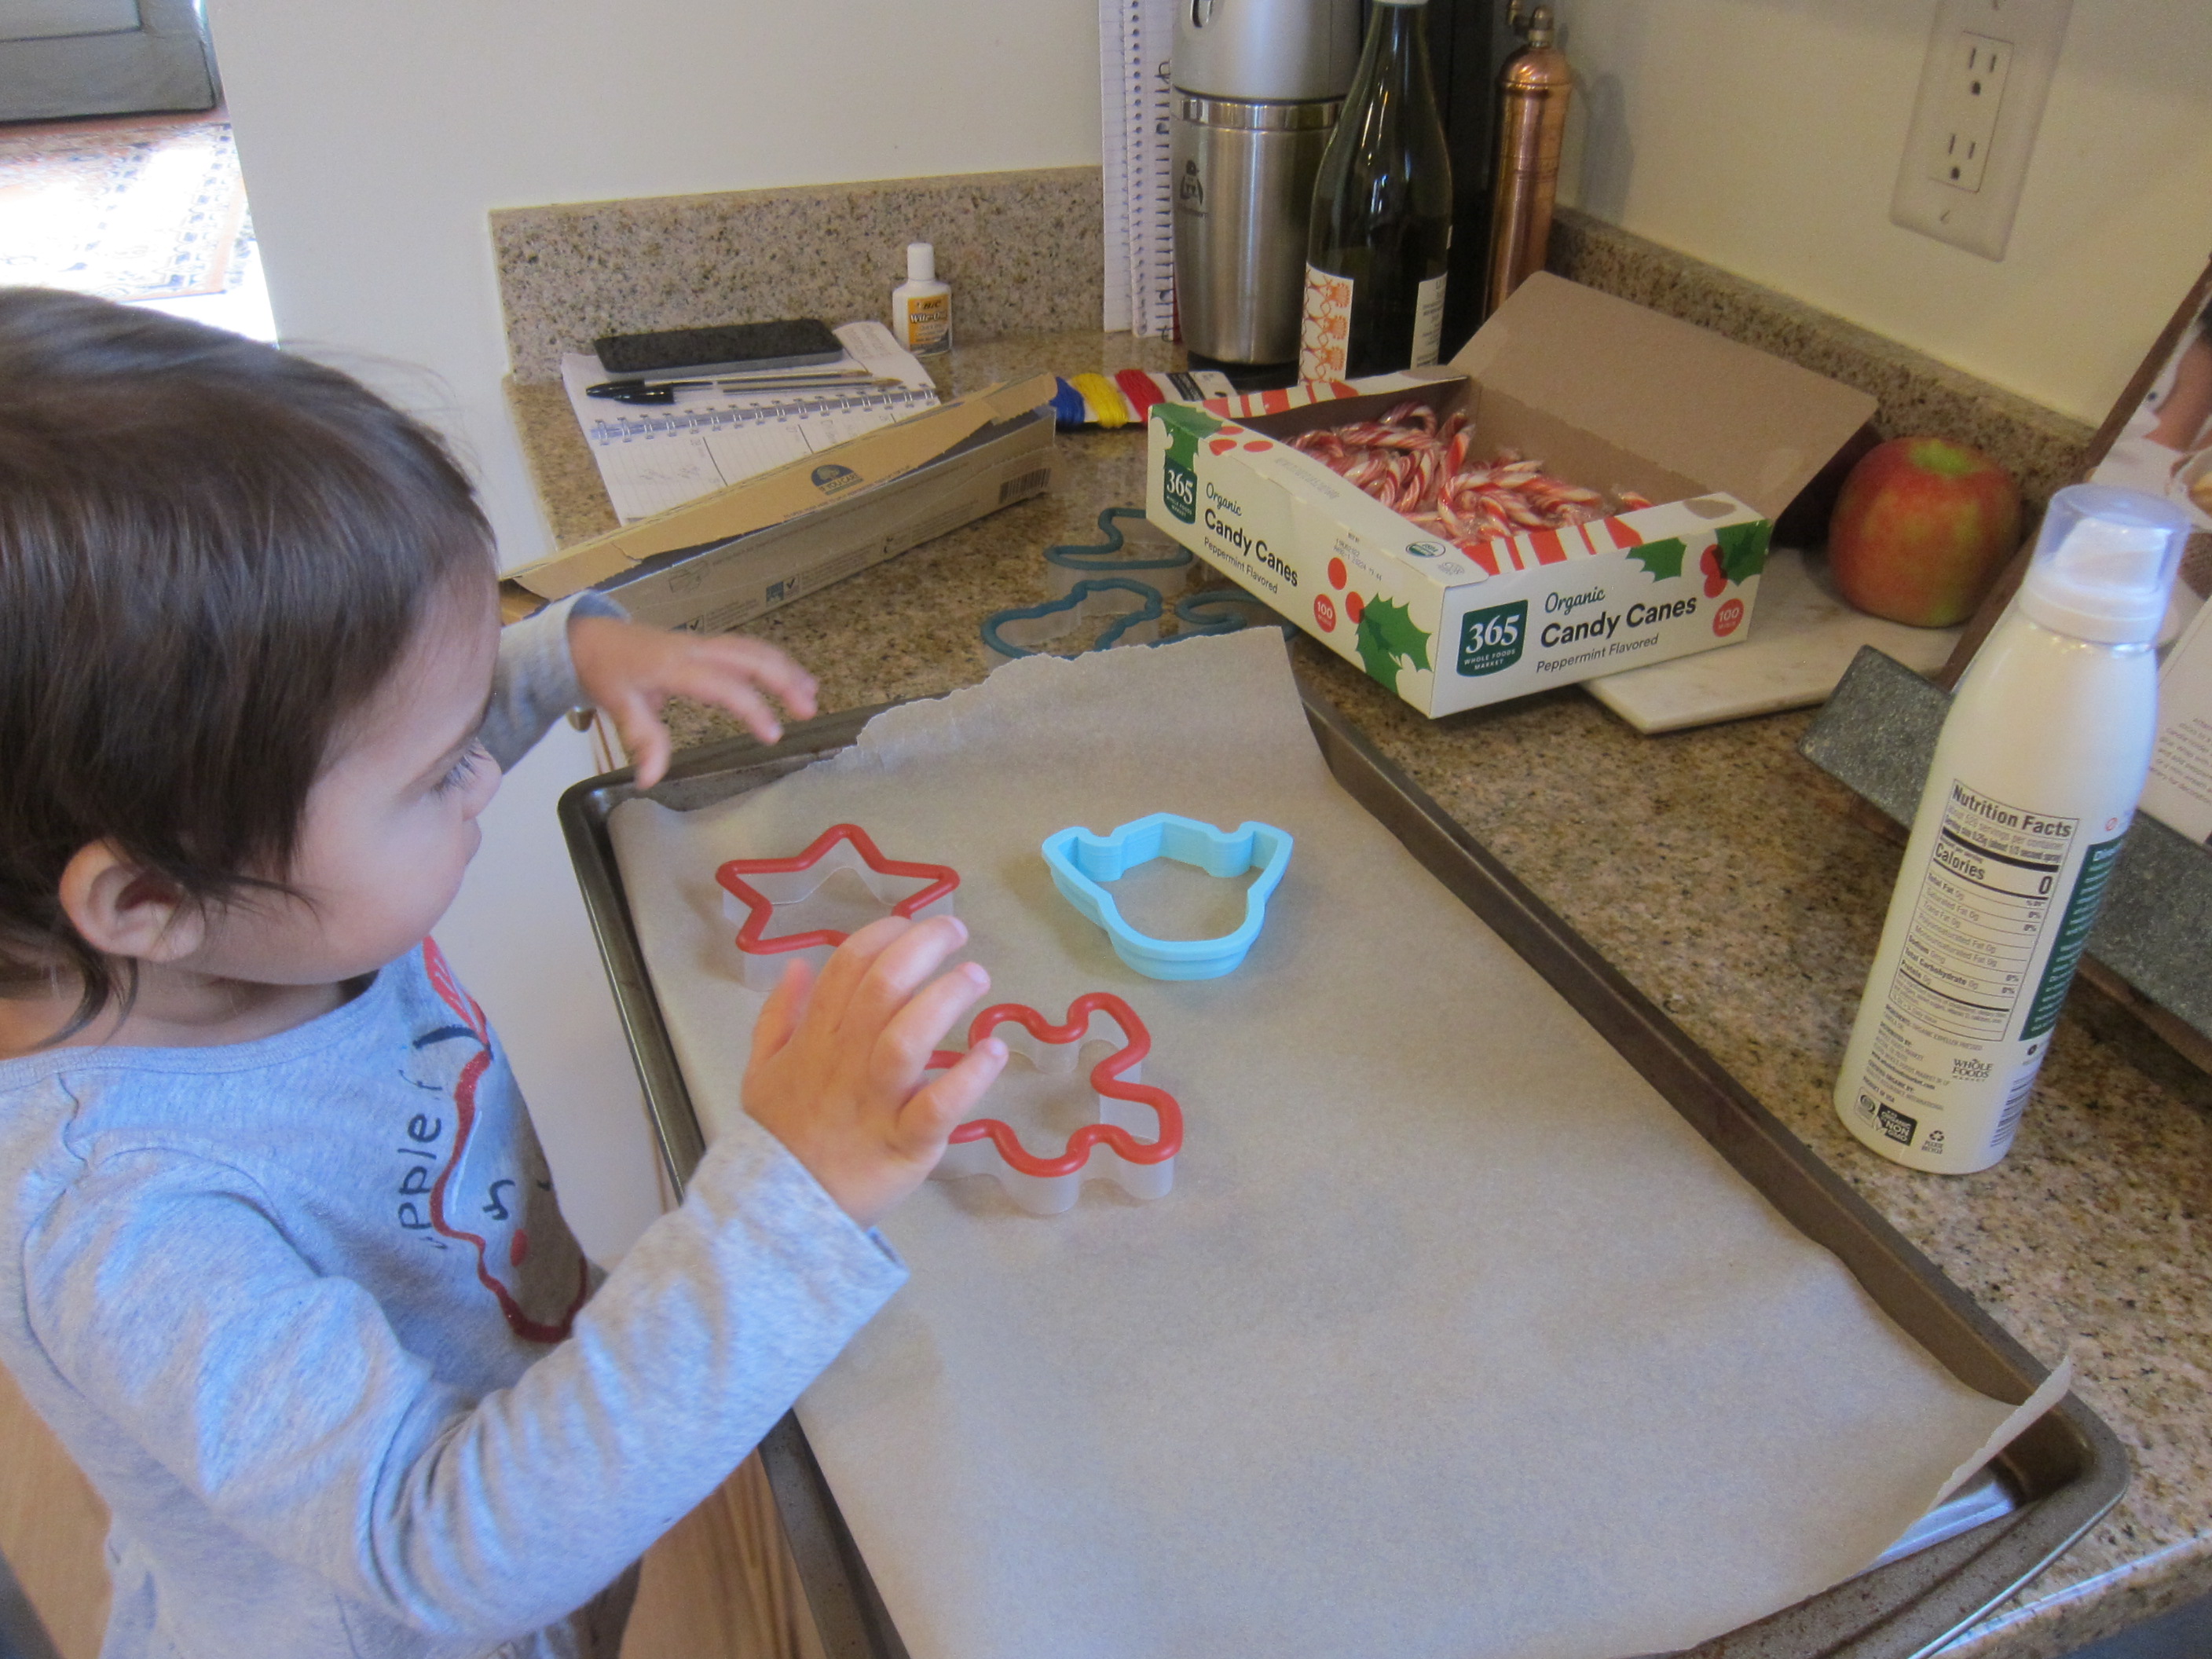
Once the tray had been washed and dried, we pulled out a few Christmas cookie cutters and traced around them, then cut out. Veronika loved talking about all the shapes.

Styrofoam Ornaments (1)

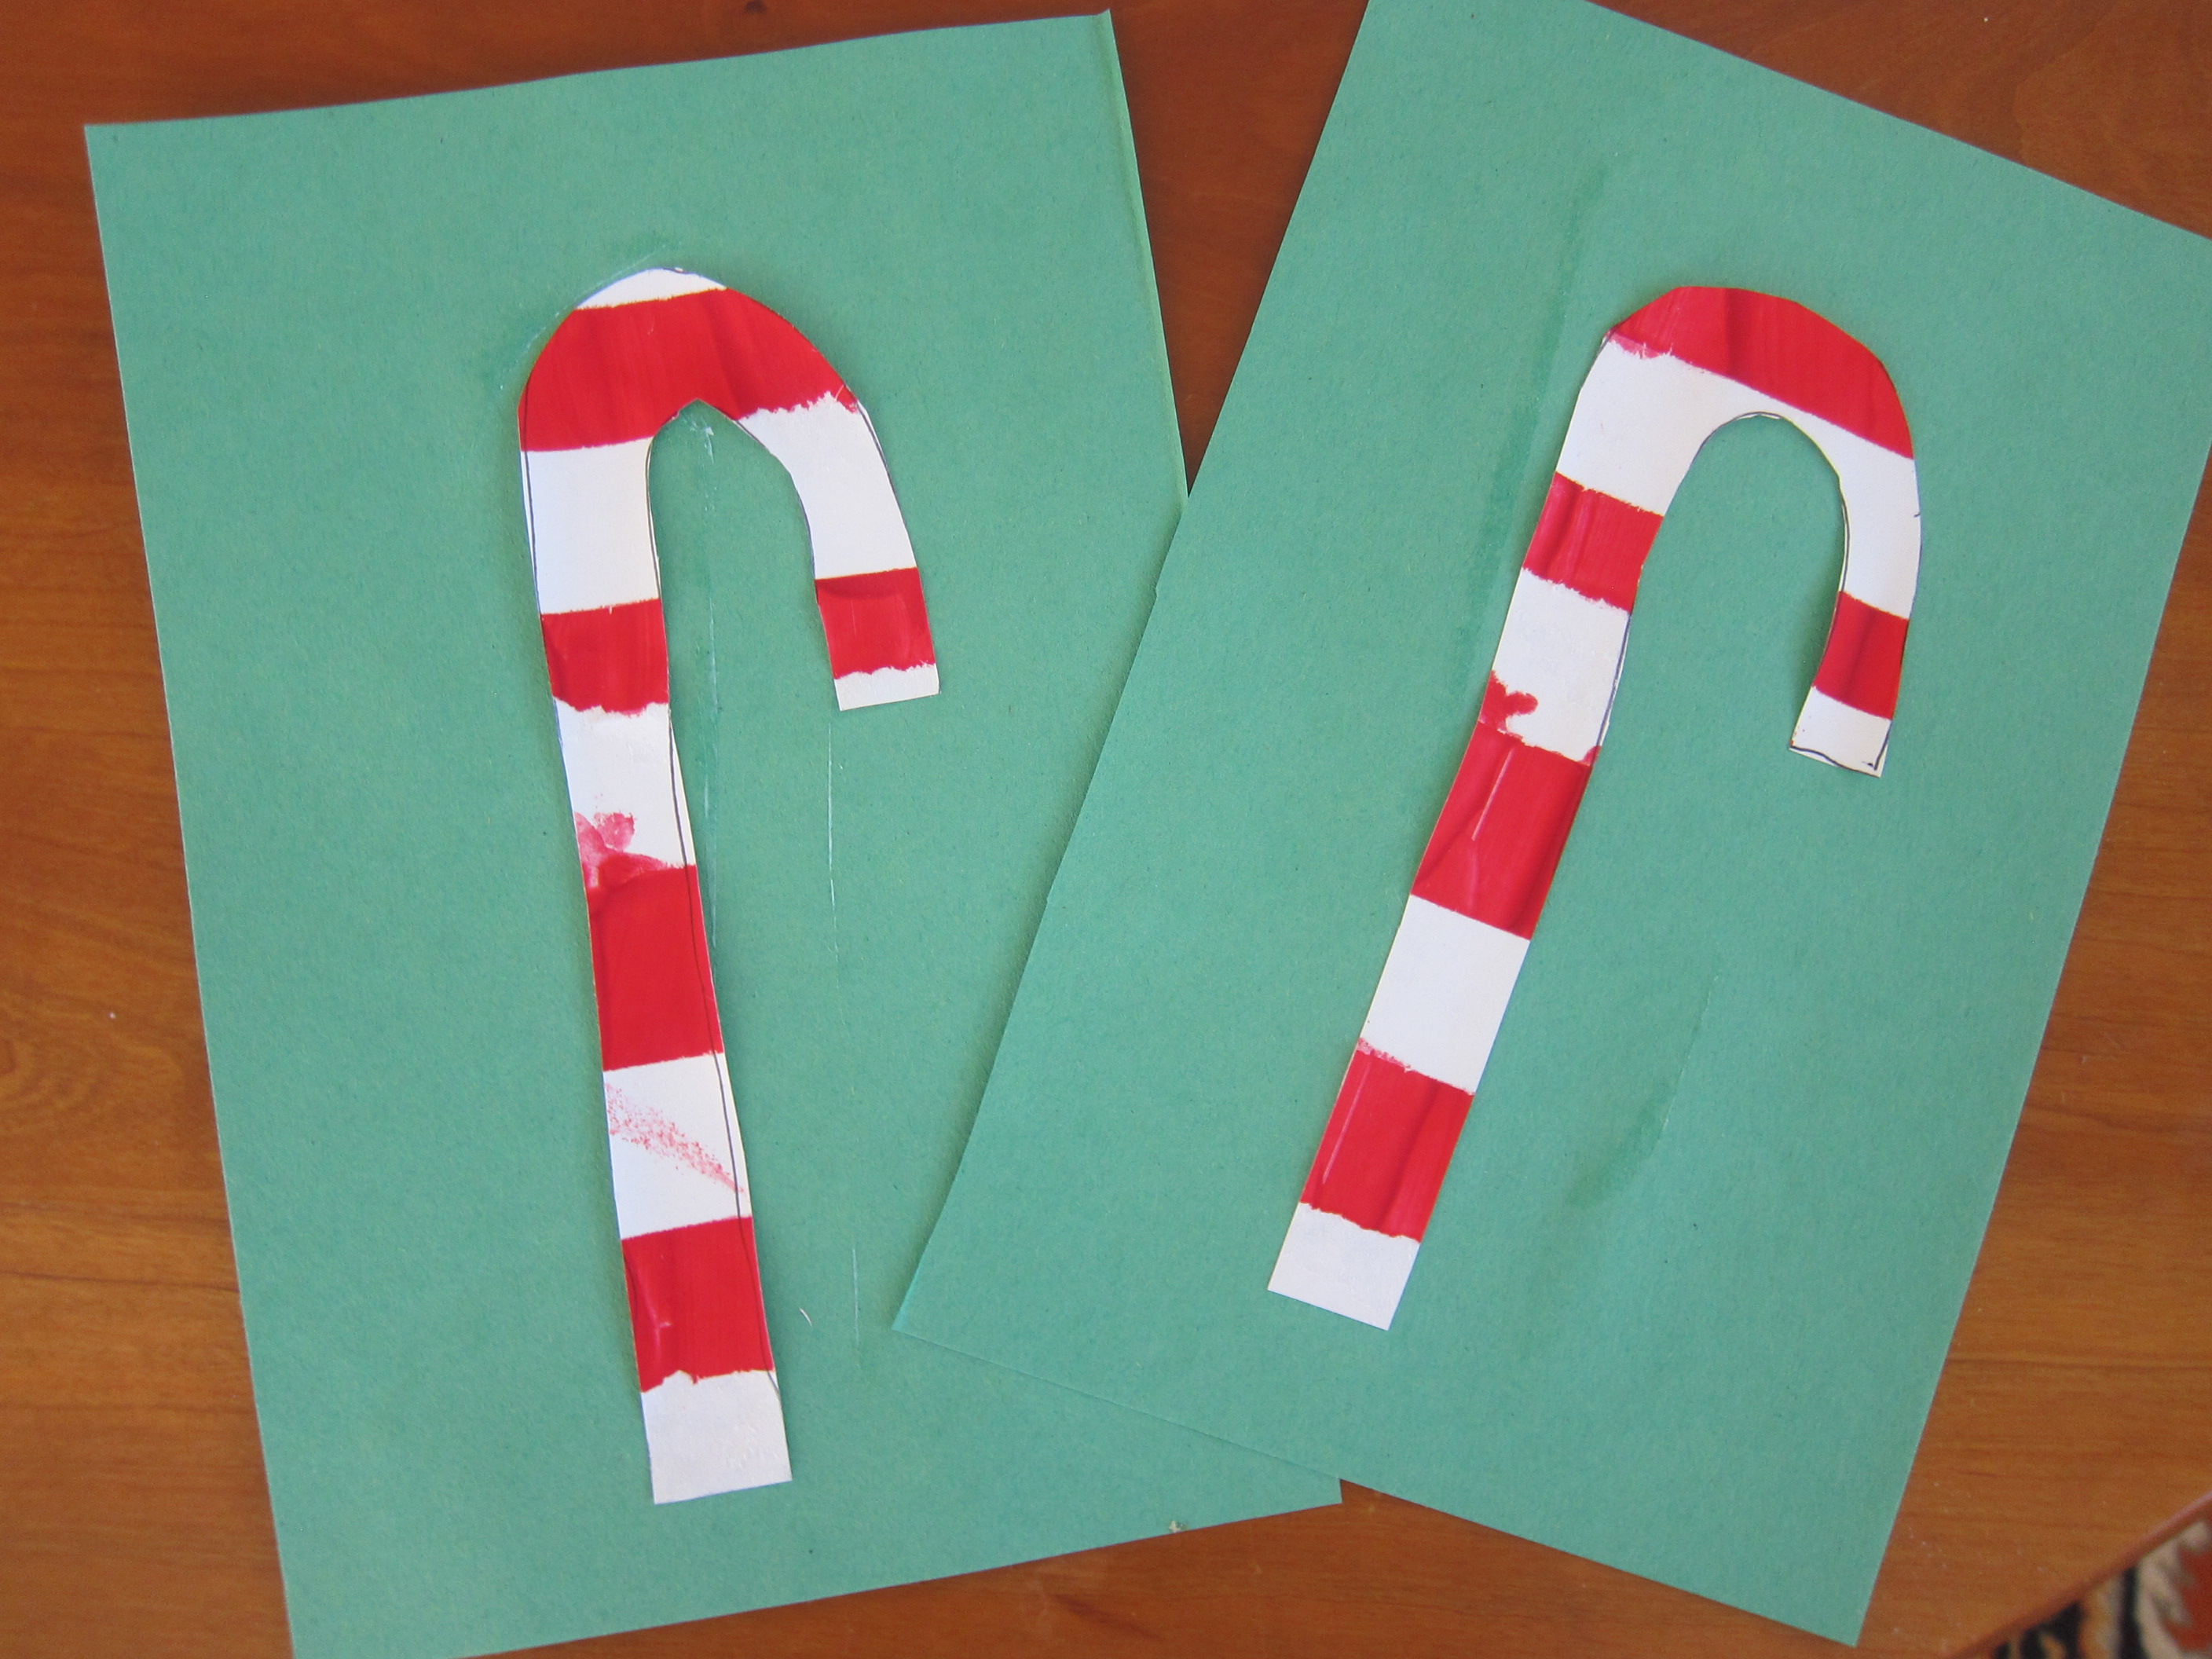
Now use the tip of a white crayon to make imprinted designs in the Styrofoam. I showed Veronika an example of lines and dots on a stocking shape. Since it was hard for her to press down the crayon hard enough or with precision, I took directions from her instead. She asked for circles on the candy cane and triangles on the star!

Styrofoam Ornaments (2)

Next, we painted the shapes with acrylic paint. She was so excited when she noticed that the paint had made lines on her paintbrush, at one point.

Styrofoam Ornaments (3)

Finally, it was time to squirt on glitter glue. Aim to use a corresponding color of glitter for each color of paint you’ve used (although with a toddler, be prepared for some mixing and matching). Ideally, once you brush the glitter glue across the surface of the shapes with a paintbrush, it will sink into the etched lines you made with the white crayon.

Styrofoam Ornaments (5)

However, since I was doing this project with a toddler, ours didn’t come out quite that neatly. But Veronika loved simply squirting big globs of glitter glue, which was just fine.

Styrofoam Ornaments (6)

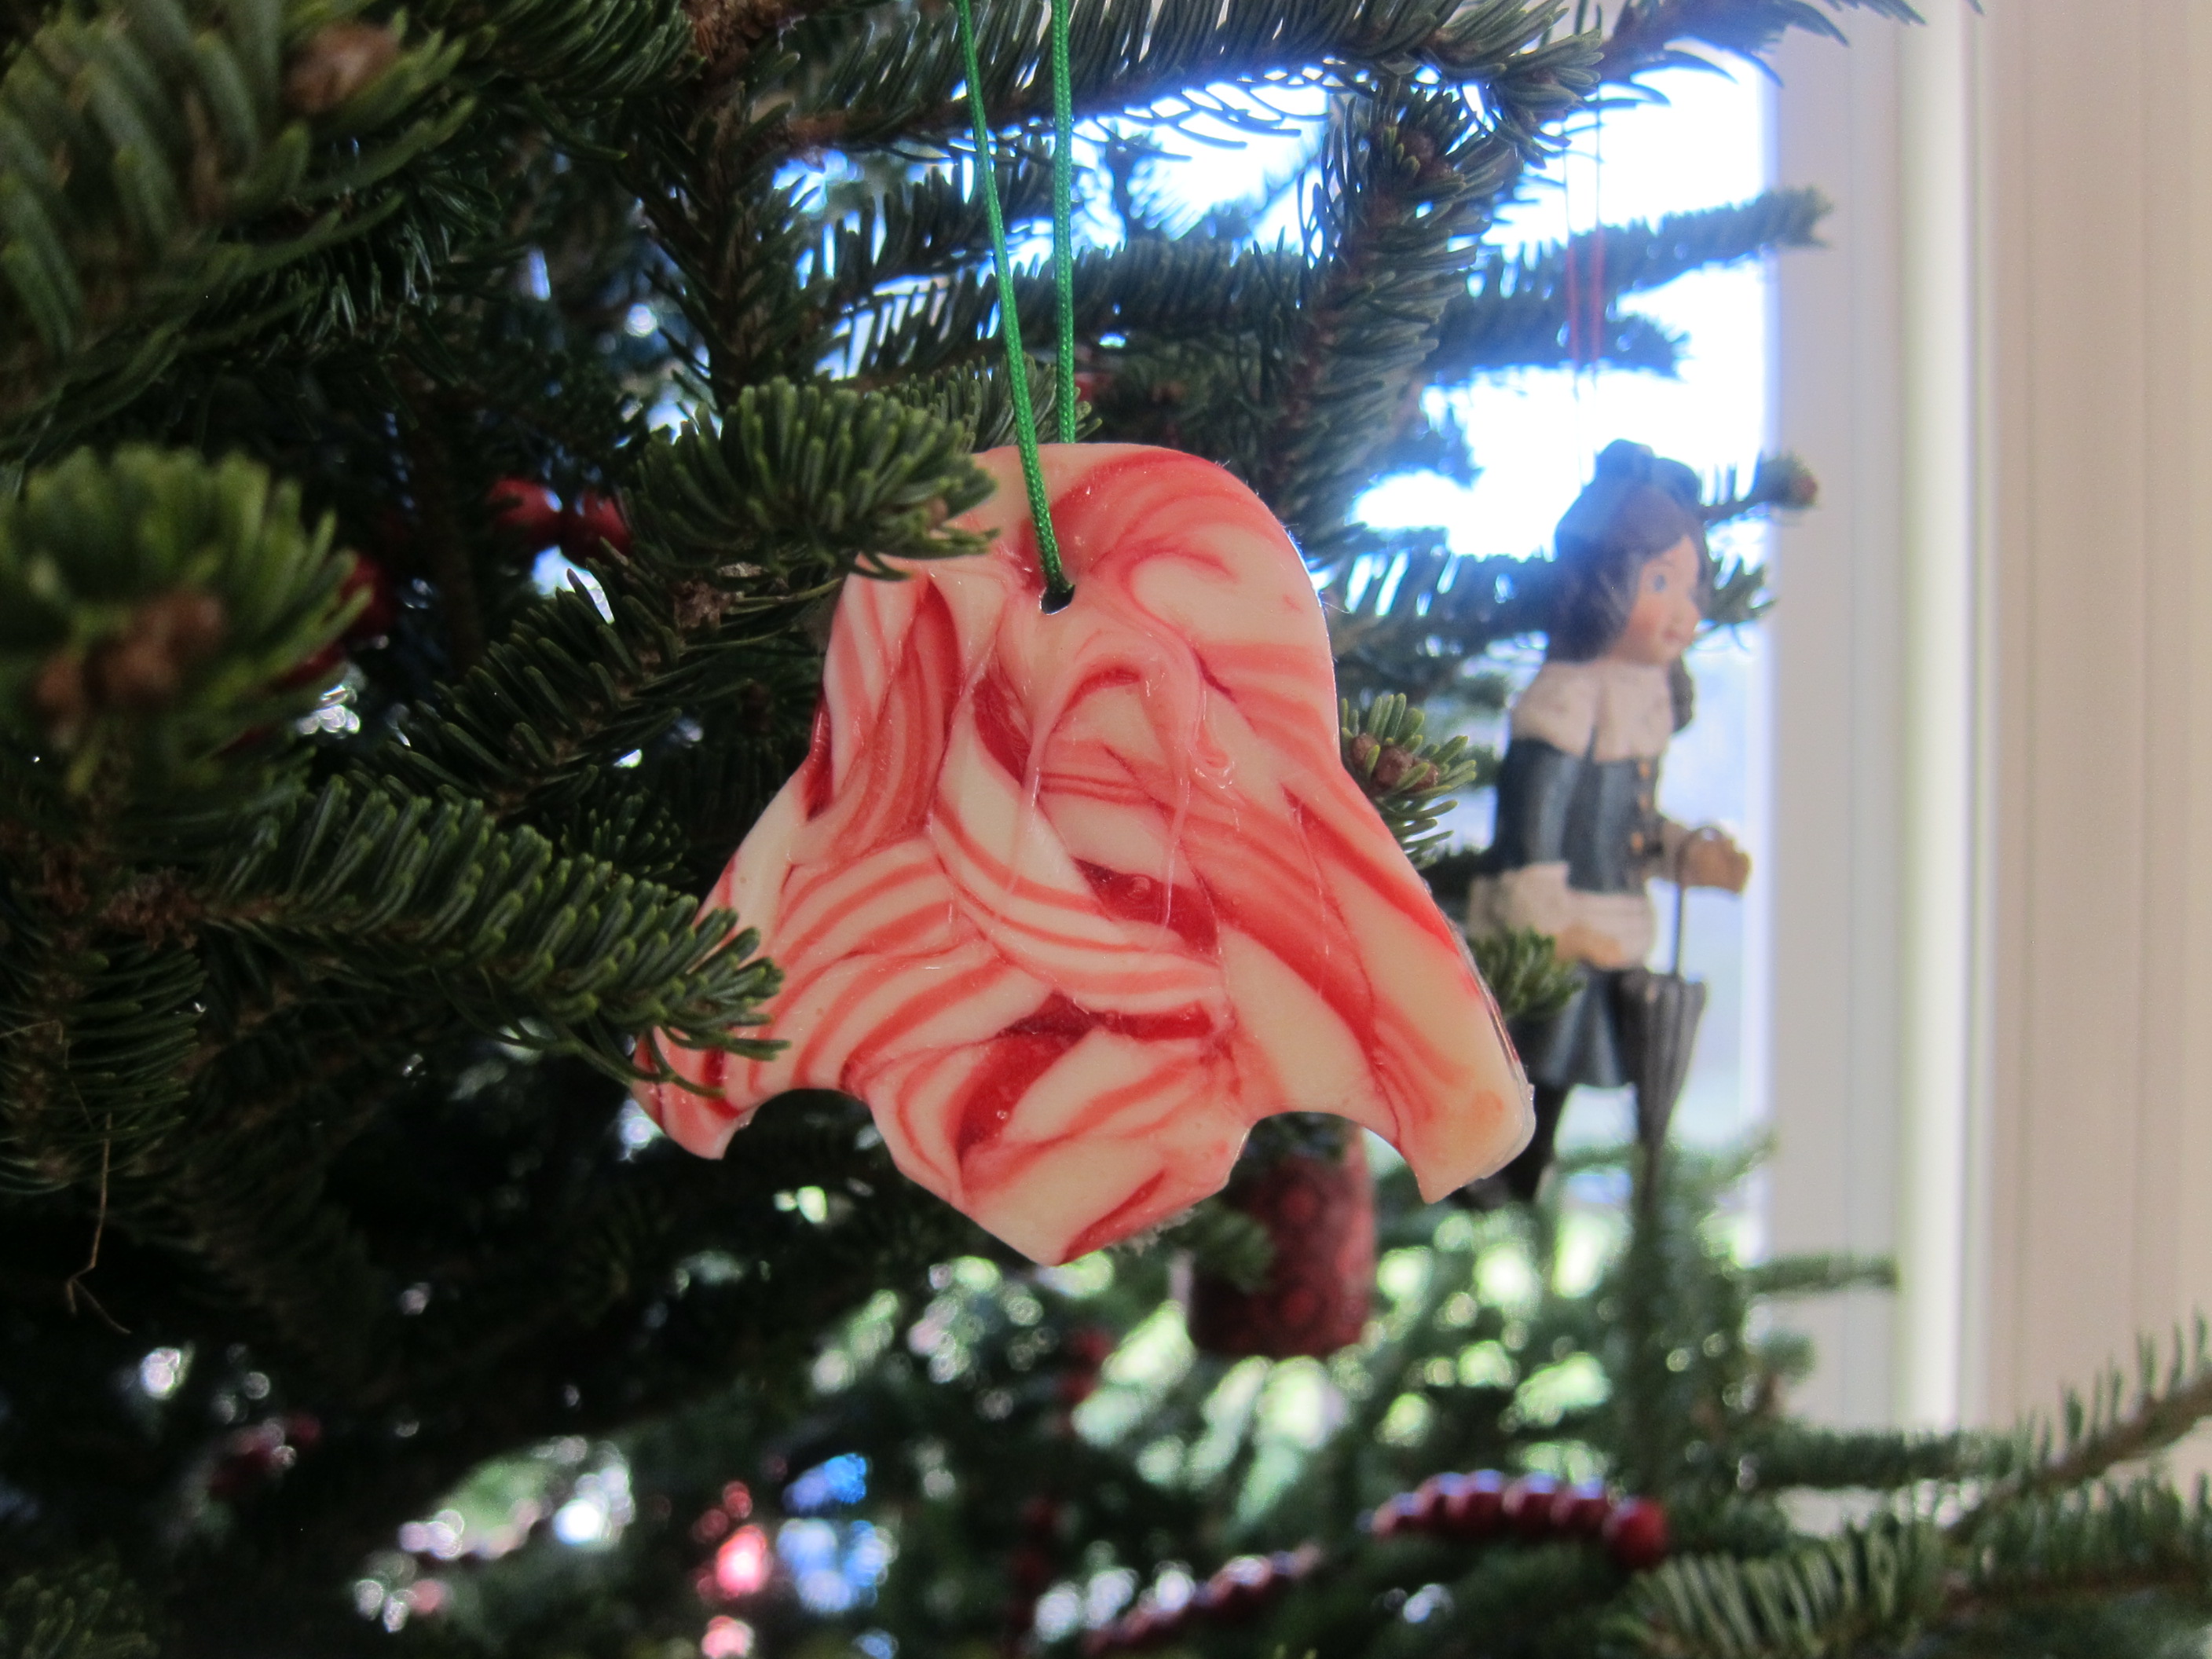
Punch a hole in the top once dry, thread with string, and hang from the tree!

Styrofoam Ornaments var

Cinnamon Drawings

Cinnamon Drawings (8)

If there’s one scent that evokes Christmas in our home, than cinnamon is it. Here’s a fantastic sensory project that allows toddlers to take in one of the best smells of the season while making art!

To start, I cut out two simple Christmas-themed shapes from sandpaper. I had a coarse grade in green and a medium grade in brown, so it worked out nicely to draw a Christmas tree on the green and a simple gingerbread man on the brown.

Cinnamon Drawings (2)

Cut out your shapes and give to your toddler along with a few whole cinnamon sticks. Of course the first thing to do is take a nice big smell. “I smell with my nose!” Veronika is learning to say of her sense of smell.

Cinnamon Drawings (1)

Then I showed her that if she rubbed the cinnamon against the rough sandpaper, it left behind a trail of scented brown cinnamon.

Cinnamon Drawings (3)

Of course we had to smell the artwork again once it was covered!

Cinnamon Drawings (5)

Veronika loved both the shapes and the smell, but she was also very interested in transferring the cinnamon sticks in and out of their jar for a while. That meant this turned into a fine motor skills activity, too!

Cinnamon Drawings (4)

When the sandpaper was covered, I drew on a few final features with marker, then punched a hole and threaded ribbon through each so they could hang on our tree.

Cinnamon Drawings (7)

Gingerbread People

Gingerbread People (13)

Gingerbread cookies are the perfect baking project with a toddler. There’s messy dough to mix up, wonderful spices to smell, adorably-shaped cookie cutters, and little people to decorate. In sum, Veronika had lots of floury, sticky, sensory fun with this one!

Gingerbread People (1)

To start, we needed to make the dough. She loved smelling each spice before we added it into the dry ingredients!

Ingredients:

  • 1 tablespoon flaxseed
  • 3 tablespoons cold water
  • 1 cup shortening
  • 3/4 cup agave nectar
  • 1 cup molasses
  • 1 and 1/2 teaspoons baking soda
  • 1/2 teaspoon salt
  • 1 teaspoon ground ginger
  • 1 teaspoon ground cinnamon
  • 1 teaspoon ground cloves
  • 5 cups flour
  1. In a small bowl, whisk together the flaxseed and water; let stand for 5 minutes.
  2. In the bowl of a stand mixer, combine the shortening, agave, molasses, and flaxseed mixture; beat until combined.
  3. Combine the baking soda, salt, ginger, cinnamon, cloves, and flour in a large bowl. Add the dry ingredients to the wet ingredients and stir until combined. Wrap the dough in plastic wrap and chill for at least 1 hour.

Veronika loved watching the dough mix up in our stand mixer!

Gingerbread People (2)

And as you can see, she also loved taste-testing right from the bowl!

Gingerbread People (4)

She marveled at how sticky the dough was as we wrapped it in plastic to chill in the fridge.

Gingerbread People (3)

Once the dough had chilled, we rolled it out on a generously floured surface, then used gingerbread man cookie cutters to cut out our little people. I gave Veronika a plate filled with decorating goodies: raisins, almonds, licorice strips, and small jelly bean candies. It was up to her to decorate!

Gingerbread People (6)

She thought this was delightful! She loved giving the people eyes and a “skirt”.

Gingerbread People (7)

Since I knew her cookies risked getting broken or mashed, I worked alongside her to ensure we had enough people for a few real batches of cookies.

Gingerbread People (12)

Big brother Travis thought it looked so fun that he needed to join in the action!

Gingerbread People (8)

He was so proud of this very ornately-decorated fellow, with almond shoes and licorice shirt sleeves.

Gingerbread People (11)

Once the people have been fully adorned, bake at 375 degrees F for 10 minutes. And then comes the best part of all; it was time for a taste test!

Gingerbread People (9)

You might consider ending the day with a read of the classic Gingerbread Man tale.

Tape Resist Candy Cane Painting

Tape Resist Candy Cane (7)

Tape resist is a great art method for toddlers because they get to make a mess but still wind up with a recognizable image or picture. This candy cane version is just right around the holidays!

I first placed horizontal strips of masking tape on white construction paper, then squirted generous blobs of red fingerpaint all over it. I was glad we did this in a craft tray, because it definitely got messy.

Tape Resist Candy Cane (1)

All Veronika had to do now was smear! She quickly decided she wanted to use yellow paint instead, so I let her play with that on the side and finished off the red version, making sure to wipe off excess paint.

Tape Resist Candy Cane (3)

Immediately peel off the strips of tape, then let the paint dry completely. “Look what I made!” Veronika proudly said when she spotted it drying on the table.

Tape Resist Candy Cane (4)

Once dry, I cut the paper into candy cane shapes and glued them against a green paper backdrop. You can hang these from a door if you attach a loop of ribbon, or simply tape to a wall as holiday decor.

Tape Resist Candy Cane (6)

No one will believe your toddler can make such straight lines, but they can!

Wrapping Paper Stocking

Wrapping Paper Stocking (8)

As you wrap gifts this holiday season, no doubt you’ll end up with just as many scraps and small bits of wrapping paper as I do. So after some early gift wrapping today, I gave Veronika the leftovers!

She loved looking at all the different patterns before we even started crafting with them, particularly seeing images of Santa Claus and Christmas trees.

Wrapping Paper Stocking (1)

I then gave her a glue stick to smear all over a piece of green construction paper and showed her how to add the scraps of wrapping paper any which way.

Wrapping Paper Stocking (4)

I made sure to leave a little space blank at the top, but other than that, all the placement was up to her!

Wrapping Paper Stocking (5)

Once the glue dried, I cut out a simple Christmas stocking shape, and wrote her name at the top.

Wrapping Paper Stocking (6)

This makes a great decoration to hang around the holidays and is great for early name recognition, too!

Wrapping Paper Stocking (7)

Insta-Graham Houses

Insta-Graham Houses (9)

You can always make gingerbread from scratch, but if your kids want to decorate gingerbread houses in a hurry, look no further than graham crackers! We love the vegan s’moreables from Kinnikinnick; armed with those plus store-bought vegan frosting plus empty cartons of non-dairy creamer, we were ready to go.

Insta-Graham Houses (4)

We first smeared some of the frosting over the sides of the cleaned and empty cartons. Press on graham crackers to each side of the carton. The fit wasn’t perfect, but we weren’t going for Instagram perfection here!

Insta-Graham Houses (2)

Now use additional frosting as “glue” to add candy details. We used candies from Yum Earth, as well as mini candy canes and Dandies mini marshmallows.

Insta-Graham Houses (1)

Travis loved making window frames…

Insta-Graham Houses (5)

…and was particular proud of the marshmallow door he created with a front path made of jelly beans.

Insta-Graham Houses (6)

For snow, we added extra frosting on the top of the carton, then sprinkled down shredded coconut. A blizzard!

Insta-Graham Houses (7)

Little sister Veronika got a turn to decorate, too! She loved alternating between taking bites of candy and sticking one onto the carton where I had applied frosting.

Insta-Graham Houses (13)

There’s lots more you can do here, depending how crafty the family is feeling! Make trees from upside down ice cream cones coated in frosting and green sprinkles, or add tile roofs, or turn yours into log cabins with the aid of pretzel sticks. I confess, though, we skipped all that.

There are magical families who make their gingerbread houses last as beautiful decorations throughout the holiday season. Needless to say, we are not that magical family; within moments the house was part of Travis’s Star Wars Lego battle.

Insta-Graham Houses (11)

But I had happy smiling kids, and that’s the most Insta-graham-able thing of all!

Insta-Graham Houses (8)

Naughty or Nice Jar

Naughty or Nice Jar (6)

We don’t do Elf on the Shelf in our house, because I don’t love the idea of the kids being “watched” for good behavior before Christmas. That said, if your kids’ attitudes could use a little tweak this holiday season, consider this Naughty or Nice Jar instead.

To make the jar, I first covered an empty oatmeal container with sparkly red felt. Empty coffee canisters or similar round containers would work well, too.

Naughty or Nice Jar (1)

Next, add a belt and buckle from craft material. I used black construction paper for the belt and a shiny silver chenille stem for the buckle, but black and yellow felt would also work for this part, or even aluminum foil for the buckle!

Naughty or Nice Jar (3)

Trim the bottom of the felt if needed so the jar stands flat, then trace the bottom circle on yellow construction paper. Cut out and cover the bottom of the jar. Write in the words “Naughty or Nice?” in permanent marker.

Naughty or Nice Jar (4)

Now to put the jar to good use! Good behavior receives a reward in the jar and bad behavior earns a piece of coal. The goal is for kids to have more treats than coal as the month progresses, so they wind up on Santa’s nice list by Christmas Eve!

Naughty or Nice Jar (5)

Mini candy canes were our rewards for nice behavior and I found fun mini “coal” erasers in case of any naughty antics. Once Travis understood, he was doubly motivated to make Santa’s “nice” list this year!

Note: If you make a pair of these jars, you can fill one with all treats and one with all coal (real or fake), then seal. It makes a fun gag gift for a recipient who would appreciate the humor.

Threaded Orange Garland

Orange Garland (6)

Kids will love helping thread dried slices of orange onto pretty ribbon, making this an easy Christmas decoration for the whole family to put together. Plus the oranges will make your house smell amazing while they dry out in the oven.

To start, cut thin slices from navel oranges, and place on a baking sheet in a single layer. Bake at 225 degrees F until completely dried. Depending on the thickness of your slices, you’ll need anywhere from 1 hour to 90 minutes per side.

Orange Garland (2)

Cut a small slit in each slice once cool, then string along plaid ribbon.

Orange Garland (4)

We wound the ribbon alongside a pine garland on our banister for a fantastic holiday look!

Orange Garland (5)

Snowman and Santa Wobblers

Santa Wobbler (4)

These cute holiday items from Kiwi Co. come together quickly, but make adorable stuffies that wobble back and forth thanks to a weight inside. You can opt for just a snowman, just a Santa, or both!

Either way, start the craft by adhering a metal weight into the bottom of a plastic base with a sticky foam dot. Take care in this step that the weight doesn’t fall on any toes; it’s heavy! Insert the base and weight into the provided sock.

Snowman Wobbler (1)

Stuff the socks with the provided cotton fluff. Travis loved how soft this material was!

Santa Wobbler (1)

We secured the top of each sock with a thin elastic band, then pushed a second, thicker elastic about 1/3 of the way down each. This divides the wobbly toys into a head and body.

Now decorate! There were stickers for the snowman’s face, as well as stick-on buttons and arms, and a strip of red fabric to tie on for a scarf.

Snowman Wobbler (5)

Meanwhile, Santa gets a beard that slips over the head and a little red shirt that slides on from the bottom. Stickers for facial features, belt, and hands complete the look.

Santa Wobbler (3)

Travis loved that these toys were meant to be played with, unlike some of our Christmas decor that is just display.

Snowman Wobbler (6)

The wobblers even curled up to watch a Christmas movie with him, and Santa pretty much comes everywhere with us now. That’s what I’d call Christmas magic!

Melted Candy Cane Ornaments

Candy Cane Ornaments alt

Caution: these pretty ornaments are fragile, so they might not last beyond one holiday season. But the fun of making them is worth it!

Line a baking sheet with parchment paper, and spray with cooking spray. Select which shapes you want your ornaments to be from among Christmas-themed cookie cutters and coat those with cooking spray as well before setting on the parchment.

Break mini candy canes into smaller pieces to fill the cookie cutters in an even layer. Look at my littlest kitchen elf!

Candy Cane Ornaments (1)

Bake at 350 degrees F for 6 minutes, just until the candy canes are melted.

Candy Cane Ornaments (2)

Remove from the oven and let stand for 2 minutes, then use a skewer to poke a hole near the top of each ornament.

Candy Cane Ornaments (3)

This was the trickiest part, as the candy canes need to be cooled enough not to run right back over the hole, but not so firm that cooled strands stick to the skewer. I confess we broke a few of our ornaments at this stage!

Candy Cane Ornaments (4)

Let stand an additional 5 minutes, then remove the cookie cutters.

Candy Cane Ornaments (5)

Thread twine or cord through each hole and tie into a loop before hanging from your Christmas tree.

Candy Cane Ornaments var

And yes, that’s a Darth Vader candy cane ornament you see!