Light-Up Heart Flower

Light Up Flower (7)

After lots of experiments with circuits, not only does Travis have a good understanding of how they work, but mommy does, too! In all honesty, this was a project I put together for Travis to make home school pencils feel special, rather than one he learned from. Many of the steps were simply too advanced for a kindergartner’s dexterity. But consider it as a STEM project if you have kids aged 9 and up!

First, wrap a pencil in green tape for a flower stem. I did this against a light green pencil, giving it a nice two-tone look.

Light Up Flower (5)

To make petals, cut two squares of red cardstock that are 4×4 inches, and one square that is 3×3 inches.

Light Up Flower (1)

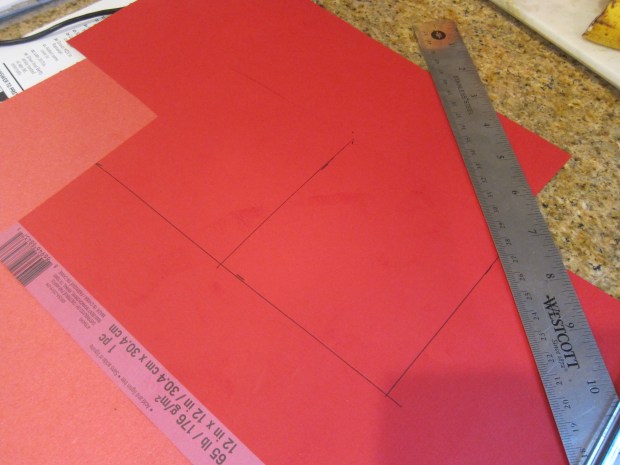
Fold the squares in half first vertically and then horizontally. Then fold diagonally in both directions. You can now tent up the piece of paper so it forms a smaller square.

Light Up Flower (2)

Draw a heart such that the bottom of it comes to the center fold.

Light Up Flower (4)

Cut out along the heart shape, and when you open the paper up, you’ll have 4 hearts! Repeat with the other pieces of cardstock.

Light Up Flower (3)

Punch a hole in the center of each of these “petals” using the sharp tip of a pencil or pen, and set aside. To put the flower together, glue an LED light to the pencil’s eraser end.

Light Up Flower (6)

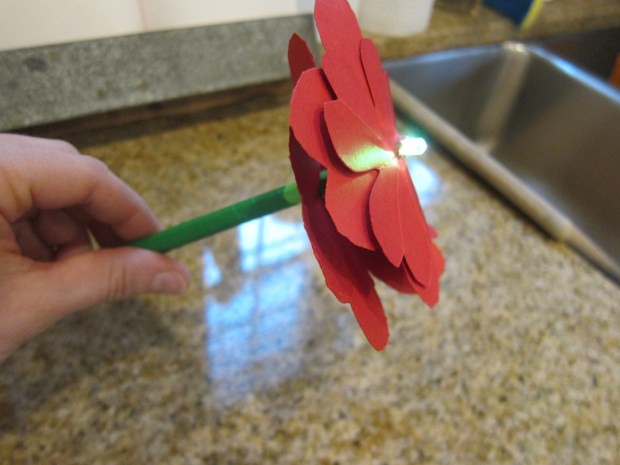
Slip one large petal over the light, followed by the smaller petal, and use hot glue to secure in place. Tape a 3V battery underneath the large petal. Make sure that the negative side of the battery lines up with the negative end of the LED light, and the positive with the positive. (Hint: the positive leg is the longer one). Secure one of these connections with tape, but leave the other loose.

Light Up Flower (8)

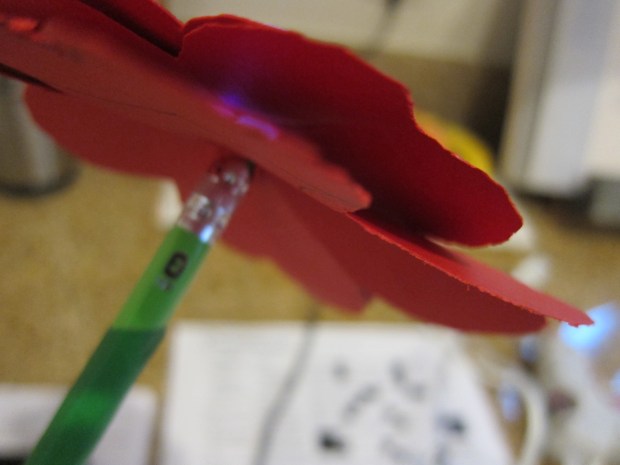
Now push the final cardstock petal up from the lead end of the pencil. When it presses the other leg of the LED light against the battery, the circuit is complete!

You can secure this bottom piece of cardstock in place with a rubber band, if desired. Hopefully this makes all of Travis’s writing projects more exciting in the home school weeks ahead!

Circuit Science Kiwi Crate

Kiwi Circuits (9)

Travis’s Kiwi Crate has never been so welcome as during this period of home school and social distancing, particularly on a rainy day when we couldn’t get outside for a spring nature walk. The package literally saved the day! Sometimes Travis wants to spread out the projects, but this time he insisted we dive into the crate right away and do all three projects start to finish.

The big concept this month was electric circuits, which Travis has grown to understand recently from a few at-home projects, so I was glad the concept wasn’t foreign to him.

First up was the Lamp: A simple set-up involved attaching a lamp base and LED light holder onto a cardboard base, then inserting batteries into the provided battery pack. Travis connected red wire to red wire and black to black, and his lamp turned on!

Kiwi Circuits (1)

The second project, the Lampshade, was really the only “A” component of STEAM for this crate.

Kiwi Circuits (3)

Travis loved punching the holes along the lines of a Steve the Kiwi template, with a sheet of black paper underneath, since it was similar to punch art he does at school.

Kiwi Circuits (2)

The black paper then slips easily inside the lamp, and Steve glows!

Kiwi Circuits (4)

We put it all together with the Electric Bowler Game. This was definitely complicated, but Travis was determined to put together a circuit board that involved four brads against a wooden plate and wires that slip over the outer brads.

Kiwi Circuits (5)

He slotted the wooden frame together and held it all together with provided rubber bands.

Kiwi Circuits (7)

A wooden dowel in the middle is the switch to deactivate the circuit when needed. 3 silver balls then trigger the circuit; these need to be scuffed with scratchy pads first, although to our disappointment, the booklet did not explain why.

Kiwi Circuits (10)

To complete the game, a wooden board sits on top with a foam bumper. Take turns rolling the three metal balls towards the holes at the end. Once all three metal balls fall into place between the brads on the circuit board below, the circuit is complete, and the lantern turns on!

Kiwi Circuits (11)

Definitely play in a dim room, for the best effect.

Kiwi Circuits (13)

Travis enjoyed the Explore magazine that delved deeper, including an experiment called Let It Flow. What else could complete the circuit in our set-up, other than the three metal balls?

Kiwi Circuits (14)

Three plastic beads failed, as did three marbles. But three strips of aluminum foil did the trick!

Kiwi Circuits (15)

There was no suggested further reading this month, but I recommend Oscar and the Bird: A Book About Electricity.

Kiwi Circuits alt

We also plan to check out I Am Benjamin Franklin when the title is released in October, as there’s sure to be some fun bits about electricity in there!