Coffee Can Drum

Coffee Can Drum (11)

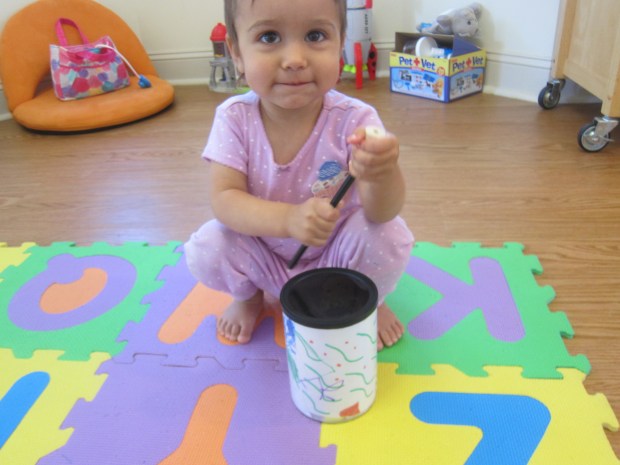
We have several real drums that Veronika loves to bang on, but toddlers are even happier when things are sized just right for them. You can easily make a tot-sized drum that’s perfect for toddler hands with a few upcycled items.

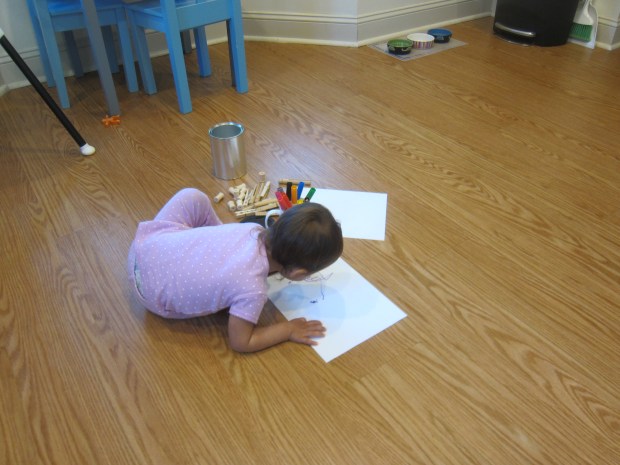
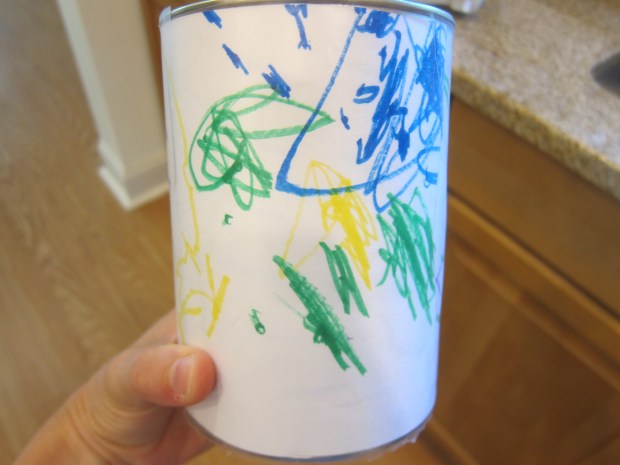
To make the drum, clean out a coffee can and remove any outer labels. From there, Veronika was in charge of decoration! I gave her paper and markers and she was so proud drawing.

Coffee Can Drum (1)

I love that she’ll tell me what she’s drawing (“triangles”, “ten little buses”), even if the resemblance between her words and her scribbles isn’t apparent.

Coffee Can Drum (2)

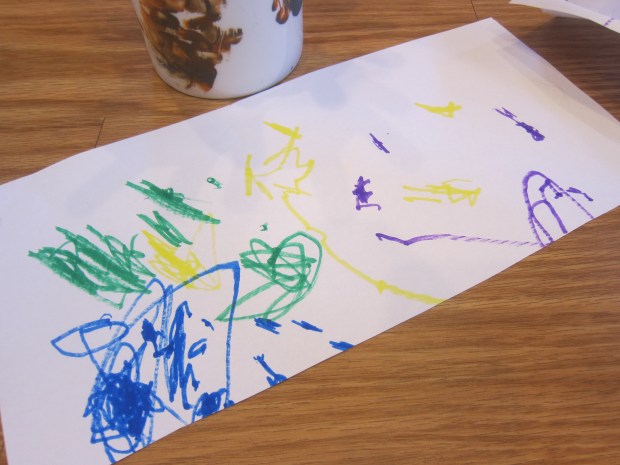
I then adhered her artwork to the can using contact paper.

Coffee Can Drum (5)

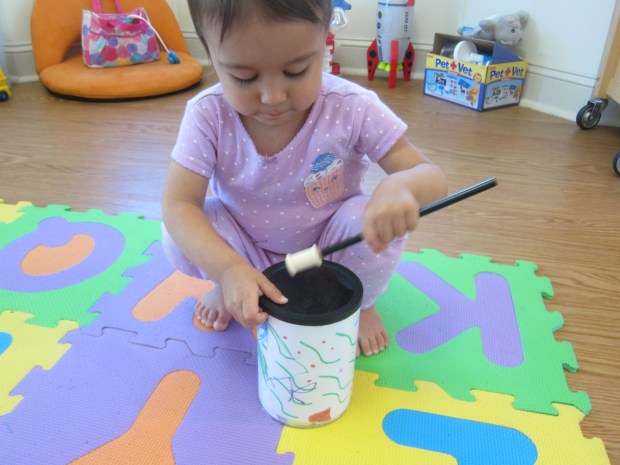
Use hot glue to attach the lid of the can. If you have a spare lid from a second can, you could add it to the bottom for a two-sided drum.

Coffee Can Drum (7)

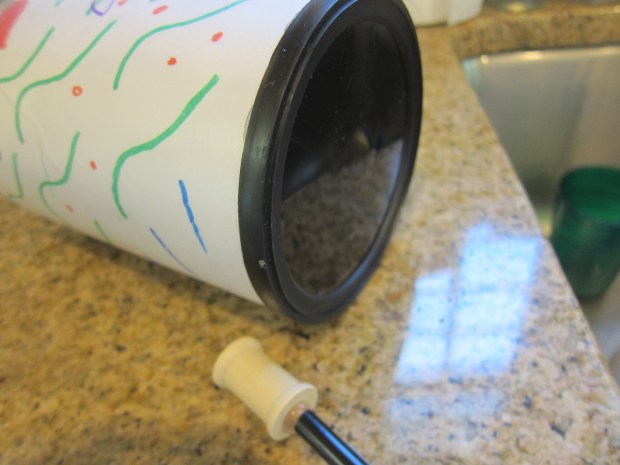
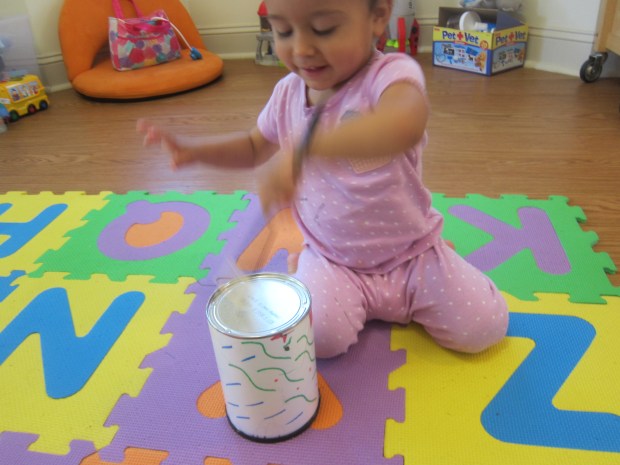
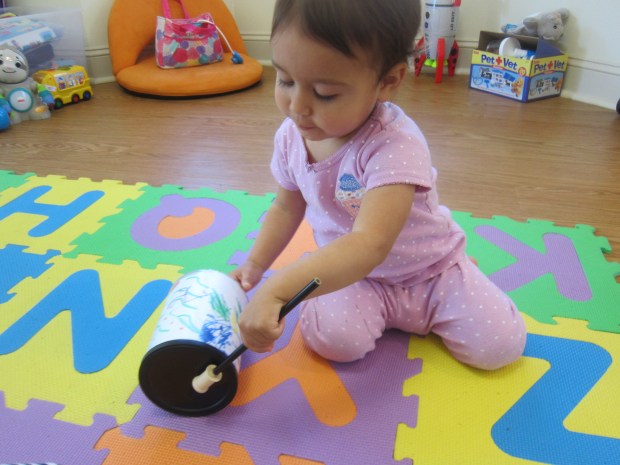
We actually preferred leaving the bottom metal, because this meant she could alternate the volume of her drumming; soft on the plastic lid, loud and pingy on the metal. There was even a third alternative, at mid-volume, if she drummed on the middle of the can!

Coffee Can Drum (10)

For an at-home mallet, I used hot glue to insert the lead end of a pencil into a wooden craft spool. Again, just the right size for toddler hands.

Coffee Can Drum (6)

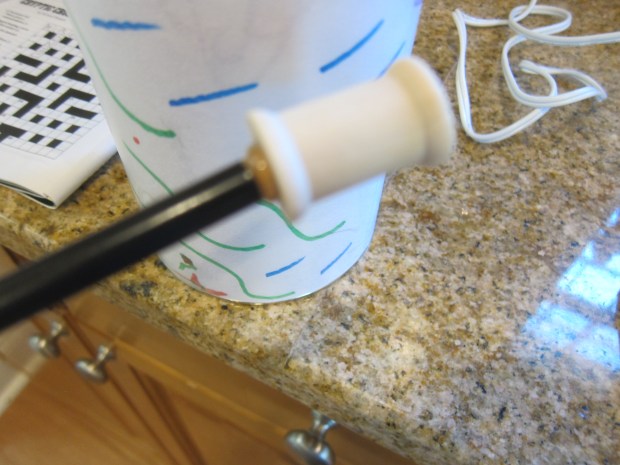
And it turned out that leftover spools were excellent for stacking!

Coffee Can Drum (4)

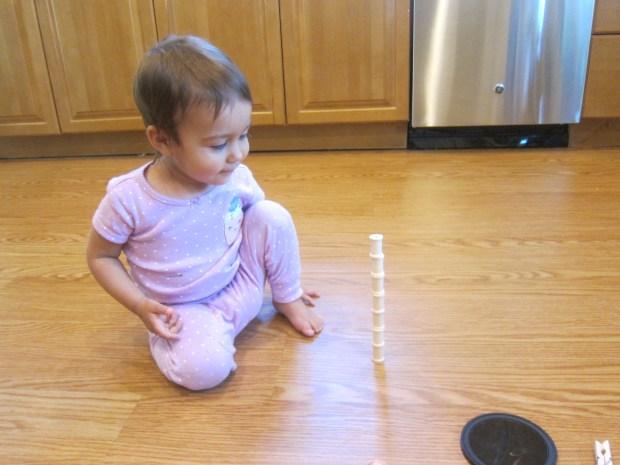
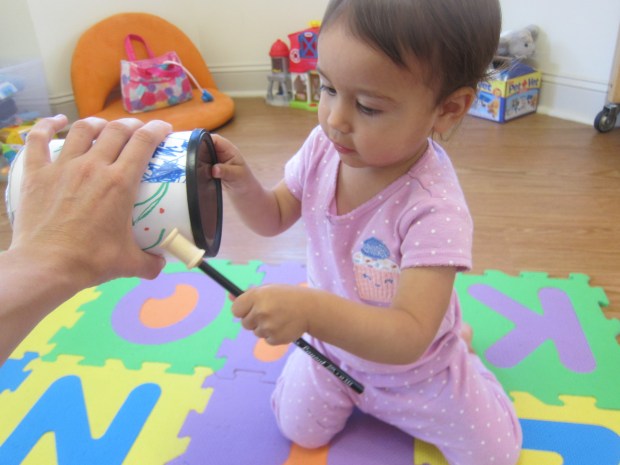
Veronika was clearly so proud of her little drum.

Coffee Can Drum (12)

We put on music and got jamming.

Coffee Can Drum (8)

Not a coffee drinker? Simply use an empty oatmeal container instead. Don’t have spools and pencils? Just use an empty toilet paper tube!

Coffee Can Drum (9)

Coffee Can Drums

Coffee Drum (6)

The spin drum we made the other day was such a big hit (pun intended!) that we continued the musical fun with this easy upcycled drum. It’s similar to the oatmeal- and soup-can drums we made about a year ago, but you can never have too many drums in your home collection.

Trim construction paper or craft paper to fit around an empty coffee canister, leaving it about an inch longer than the can at the bottom.

For decoration, we worked in some fine motor skills practice! Give your child any small circular object and have them trace it on the paper.

Coffee Drum (1)

While Travis turned his attention to other toys, I hot-glued the construction paper to our can, folding over and gluing the excess paper on the bottom.

Coffee Drum (2)

Then we continued the tracing, this time making the circles on a strip of colored duct tape.

Coffee Drum (3)

Cut out the tape circles (another grown-up step; cutting duct tape is a sticky affair), then give them to your child and let them line up the sticky circles with the ones on the paper. Travis enjoyed this part!

Coffee Drum (4)

For the head of the drum, I snipped the narrow end off of a balloon, and stretched over the can. “Mom, you’re not very good at this,” Travis accused. Phew, got it on the third try! Secure the balloon with another piece of colored duct tape.

Coffee Drum (5)

We threaded some ribbon around our drum as the final decorative touch. I also hot-glued pom poms onto the ends of unsharpened pencils to be the drumsticks, although this would have worked better if I had had larger pom poms in our craft bin!

Coffee Drum (7)

My happy drummer boy!