Auditioning All Dolls

Auditioning All Dolls (2)

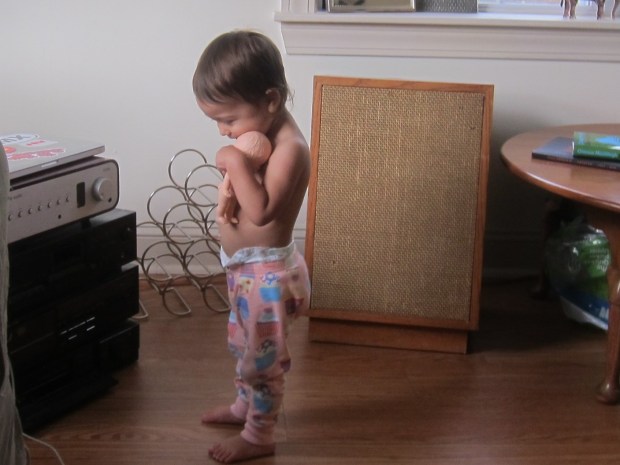
Veronika loves her doll toys and frequently plays with them solo, but today we devoted some time to focus on doll play together. Some of our games were familiar to her, but I threw in some new activities, too!

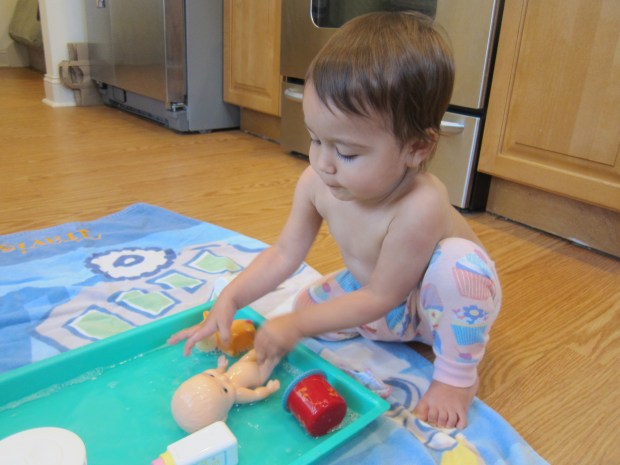
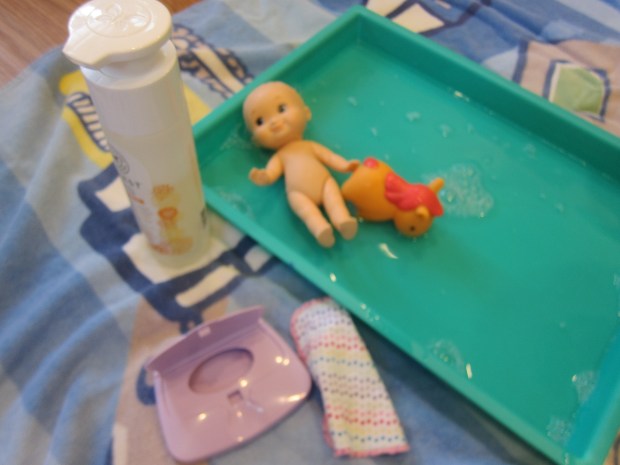
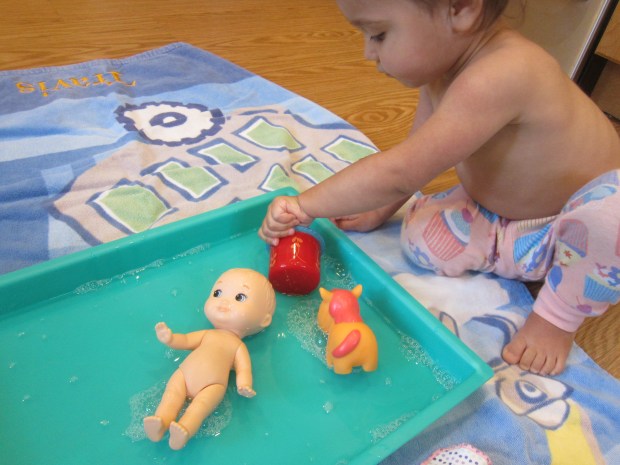
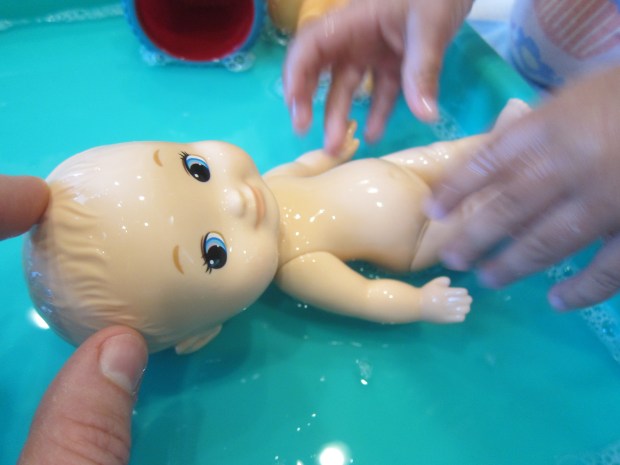
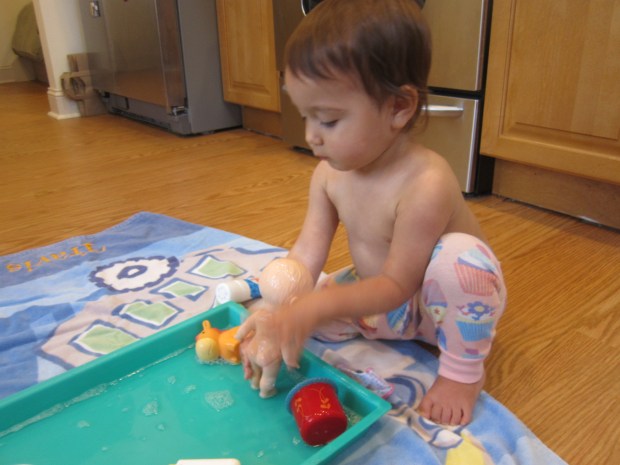
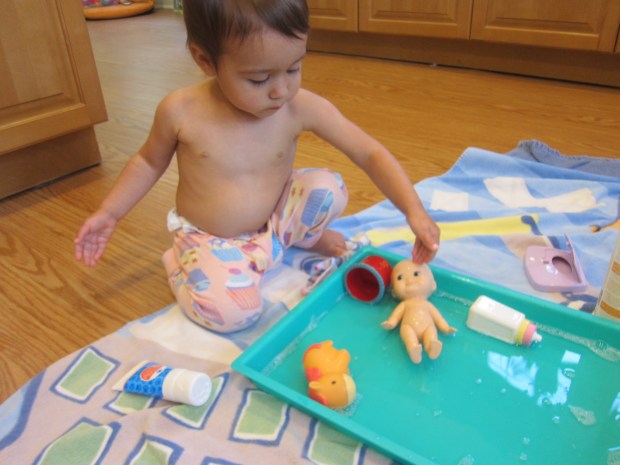
First I simply set out all the doll accessories around her, and encouraged her to play. She loves to dress the dolls (and undress them!)…

Auditioning All Dolls (5)

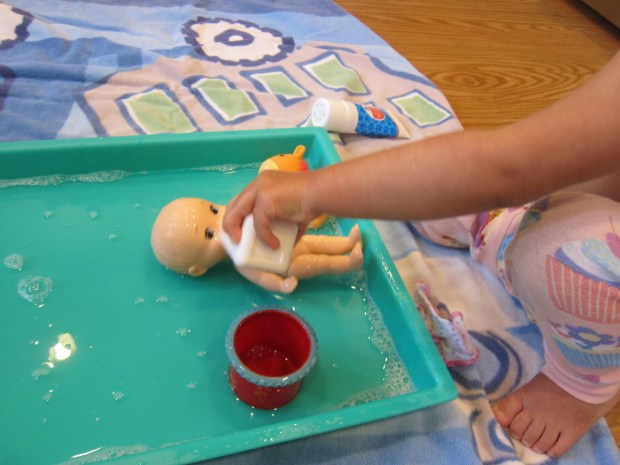
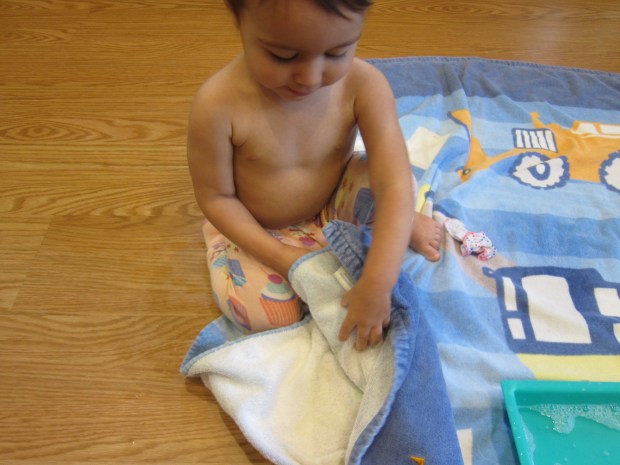
…and to do diaper changes and feed them. Beyond merely mirroring adults in their lives, children build empathy when they care for dolls or other toys in this way.

Auditioning All Dolls (6)

Now it was time for something new! I read her a favorite story (Sleeping Beauty), and after we read each page, I encouraged her to act it out with the dolls. She loved rocking the baby when Princess Aurora is born.

Auditioning All Dolls (7)

And dancing the babies at the ball.

Auditioning All Dolls (9)

And then rescuing them with a kiss!

Auditioning All Dolls (10)

Paper dolls are another great toy, in general, but Veronika is still too young for the regular version. The perfect toddler alternative? Magnet dress-up dolls! I showed her a new magnet set, featuring two dolls and lots of clothes and accessories that can be mixed and matched. She immediately loved playing fashionista.

Auditioning All Dolls (3)

Dolls were also great for talking about body parts. “Where is the girl’s arm?” I asked her. “Where is her hair?” And of course there will be lots of clothing vocabulary, too.

Auditioning All Dolls (1)

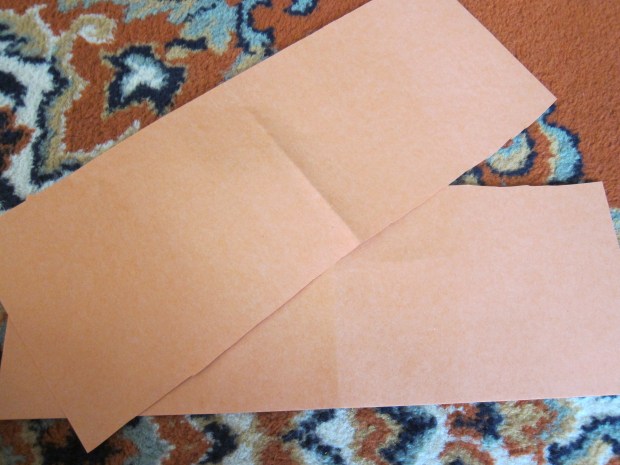
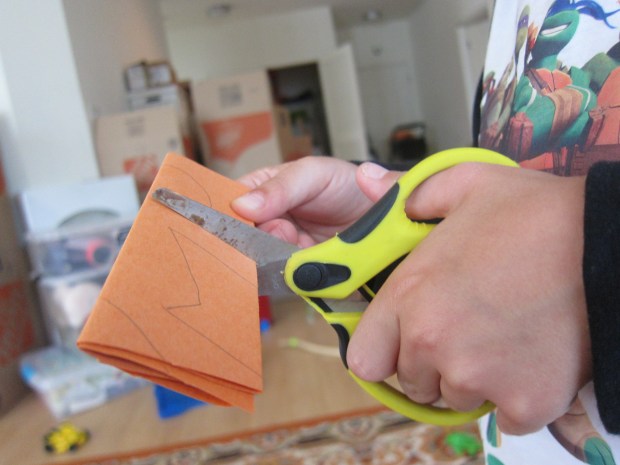
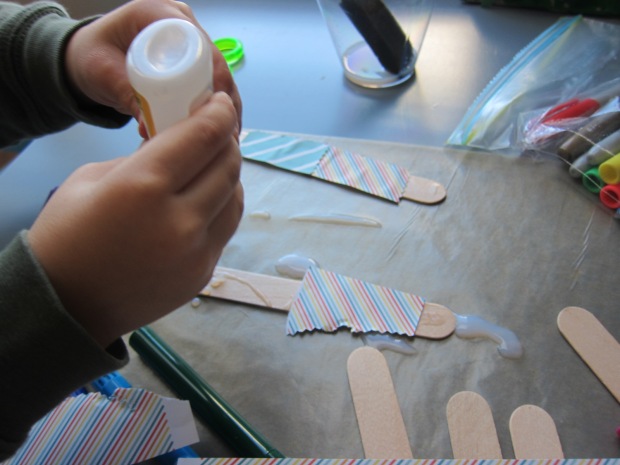
To tie it all together, I drew her the outline of a few fancy dresses from the Sleeping Beauty book.

Auditioning All Dolls (11)

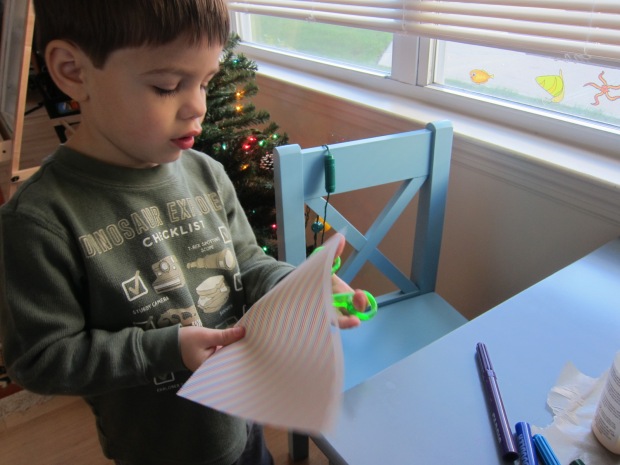
She colored these in (with a little mommy help).

Auditioning All Dolls (12)

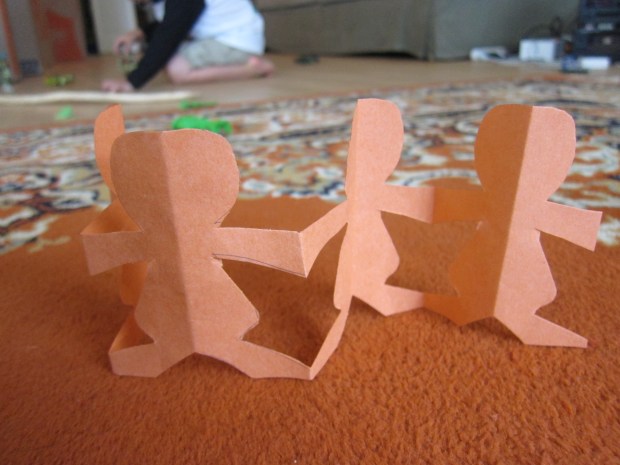
Then we dressed the magnet dolls in these cut-out dresses!

Auditioning All Dolls (13)

Doll Washing

Doll Washing (8)

Veronika loves to mother her baby dolls, and frets intensely whenever one gets dirty (a spot of glue, dirt from outside, etc.). So I’ve wanted to give her a chance to wash her dolls in a “bath” for a while now, but all of the ones we own have soft cloth bodies.

When I spotted a tiny all-plastic doll at the toy store, I knew it would be worth the purchase. Sure enough, Veronika wanted to carry”new baby” around all day, and that was before I even trotted out the big surprise. It was New Baby’s bath time!

Doll Washing (1)

I set out a basin of shallow soapy water (use baby shampoo for a tear-free activity), along with a small cloth, a bath toy, a cup for pouring, and some pretend creams and lotion. (Note: Depending on your toddler’s age, feel free to provide real baby powder or lotions for the game).

New Baby was ready for her bath! Veronika so lovingly and carefully attended to this task. She scrubbed New Baby with the cloth, poured water over her head (“shampoo!”), made her jump and splash in the water, and more.

Doll Washing (2)

Midway through the bath, New Baby needed a sip of milk, of course!

Doll Washing (7)

I also used the opportunity to name all of the doll’s body parts, including less common ones like wrists, ankles, and elbows. Mostly, though, I sat back and let Veronika dictate the way that bath time would go.

Doll Washing (5)

Your child can learn so much from this game, whether the above-mentioned body part vocab, the mechanics of washing, and social/emotional learning as well.

Doll Washing (9)

Plus water is fun to splash with!

Doll Washing (10)

When she seemed about to tire of the game, I declared it was time for the doll to get “warm and dry”, which is exactly what I say to her when she needs to towel off. She was so proud to handle this task.

Doll Washing (12)

Take a look at the hug and snuggle that followed! This is exactly how I carry her to warm up after a bath, and it pretty much made my heart explode.

Doll Washing (14)

Helping Out

Helping Out (1)

Veronika is nearly 11 months old (!), an age when babies love to imitate the big people in their lives. So today, at various points throughout the day, I let her be my little helper.

First, she loves to grab the cloth when I clean up her highchair tray after a meal. Once the initial messy mess is gone, I let her use the cloth to continue to “clean” the tray. What a helper!

Helping Out (2)

Veronika also loves to “mother” her dollie. So after a diaper change, I gave her an extra diaper and let her take care of baby.

Helping Out (4).JPG

She looked so proud of herself! This version of the game is great fun on a teddy bear, too.

Helping Out (3)

Finally, now is a great time to get little ones actively involved in clean-up. As I sort books or toys into bins and boxes, Veronika gets to help out. Don’t expect your baby to get it just right, but by starting to mirror your actions, little ones feel like big important people, too!

Helping Out (5)

Paper Doll Chain

Paper Doll Chain (6)

In a continuing unit on symmetry, today I thought Travis might like to see an old-fashioned paper doll chain. Making it was good fun… but even more so was the interesting way he created to play with it!

First, cut a piece of construction paper into two long rectangles. Travis helped with this part, which was great for scissor practice.

Paper Doll Chain (1)

Fold the paper in half three times. Pencil in a person, making sure the arms and legs extend all the way to the crease.

Paper Doll Chain (2)

I let Travis cut along the straight lines through all those thick layers of paper – even better scissor practice! I helped out on the trickier bits, like around the head.

Paper Doll Chain (3)

Extend the chain of people out and you’ll see perfectly symmetrical dolls! We did a review of what this means to have symmetry, and he understood that they were all the same because of the way we’d folded the paper.

Then to my amusement, the dolls were lined up in battle formation, a little phalanx to join his action figure battle games!

Paper Doll Chain (5)

Craft Stick Dolls

Craft Stick Dolls (12)

Travis attends an art class where one of the free-play toys is a set of fabric swatches and wooden doll figures to dress up in different patterns. It’s a huge hit with kids in the class, so we recreated it at home!

Instead of fabric, I purchased a pad of decorative craft paper, in dozens of different patterns. For the dolls, we simply used wooden craft sticks!

If your child would like to, they can color in the craft sticks first with marker. I colored a few, but Travis decided he wanted the rest left plain.

Craft Dolls (6)

He was way more into applying a layer of mod podge to the craft sticks, proudly squeezing a line of glue down the middle of each.

Craft Dolls (1)

Another option is to brush on the mod podge with a foam brush, which we did a few times, too.

Craft Dolls (9)

Then it was time to dress our dolls! I told Travis he could pick a shirt and skirt for each figure, and he loved selecting “fabric” patterns from the craft paper.

Craft Dolls (4)

My plan was to cut rectangles out for him, but Travis insisted on cutting pieces himself.

Craft Dolls (2)

And proudly glued them on.

Craft Dolls (3)

As a result, we soon had very inventive fashion designs popping up. This one turned out to be the perfect shape for a skirt!

Craft Dolls (5)

Then Travis layered two popsicle sticks together; I thought the resulting doll looked like she was wearing a kimono.

Craft Dolls (11)

And we even had one wearing pants instead, when Travis made an accidental snip down the middle.

Craft Dolls (10)

Once the glue dried, I markered in smiles, hair, and shoes on our dolls as the finishing touch.

Craft Stick Dolls (13)

Overall, I loved watching his creativity with this simple activity. Leftover craft paper soon turned into “leaves” around the apartment, so don’t let the inventiveness stop just because the dolls are done!

Craft Dolls (7)

Corn-Husk Dolls

Corn Husk Dolls (5)

Corn-husk dolls are a lovely project that you can add to any fall or harvest decorations in your home. Or, as it turned out for us, just a fun chance to play with a new material!

If you have fresh corn from the farmers’ market, here’s the perfect opportunity to save the husks and turn them into something new. In a pinch, you can buy corn husks in most grocery stores.

I followed instructions from Barefoot Books’ Kids Garden kit to make the dolls. Actual assembly of a doll is a bit complicated for little hands (although kids aged kindergarten and up can get much more involved), but Travis simply adored exploring this new material while I made our “dolls.”

The husks were great for layering….

Corn Husk Dolls (4)

Or his favorite, ripping into strips.

Corn Husk Dolls (1)

Meanwhile, to make a doll, tie together three husks for each of the arms, securing with yarn or twine. Trim to desired length.

Corn Husk Dolls (2)

Tie together three husks for each leg as well, leaving them long. Line up the tops of all 4 arm and leg segments, and tie them together about 2 inches down, to form the neck and head. Trim off any excess twine. You can draw on a face with marker, if desired.

Corn Husk Dolls (3)

Travis decided that the husks he had shredded looked like a nest, so we made an “owl” as well, by gathering together husks and tying off at the neck. Or perhaps it was a Halloween ghost!

Corn Husk Dolls (7)

In an impish twist, Travis decided it was much more fun to pull apart all the husks in our doll than to set it outside with our pumpkins. So much for adding to our fall decor! But I loved seeing his delight, which made the project worth it.

Corn Husk Dolls (6)

Get creative! What other dolls or animals can you make from the husks? Please share in the comments!