Icy Winter Scene Salt Paint

Icy Winter Scene Salt (4)

You only need two items to make a toddler happy on a slow morning: white glue and Epsom salts! To wit, Veronika made a winter artwork of “ice and snow” with just these two ingredients.

I set out one cup full of white glue and another with the Epsom salts, along with a sheet of construction paper. We chose blue as a background to evoke the bluish light of winter.

Icy Winter Scene Salt (1)

I thought she might want to paint the glue on with a paintbrush, but she was so interested in the cup of salt that she wanted to dip her brush back and forth between that and the glue. This meant her brush was quickly too gunky to spread the glue around on the paper.

Icy Winter Scene Salt (2)

Instead, I helped her pour the cup of glue right over the paper! Then I showed her how to pour the salt on top. There’s no need to worry about a mess because as you tilt the paper to tap off any excess salt, the rest will stick in the puddles of glue.

Icy Winter Scene Salt (3)

It looked like sparkly snow and ice to us!

Spaghetti Mobiles

Spaghetti Mobile (11)

We started the day with some messy food fun! This activity makes for great sensory play, plus nets you a cool piece of artwork at the end.

I cooked up a big batch of spaghetti (although in retrospect I didn’t need a full package), and set it out in front of Veronika. She was immediately thrilled to dip her hands in.

Spaghetti Mobile (1)

She was even more excited when I set out three paper plates and poured a little glue in each. We tinted them red, blue, and green with all-natural food coloring.

Spaghetti Mobile (2)

I showed her how to dip a few strands of the spaghetti in one of the colors, then transfer to a foam tray (like the kind some vegetables are sold in at the supermarket).

Spaghetti Mobile (3)

Continue to dip and layer, helping your artist “arrange” the strands of spaghetti. Veronika loved talking about the colors as she worked!

Spaghetti Mobile (4)

When she started tossing big piles of spaghetti that weren’t covered in colored glue on top, I knew it was time to set the mobile safely aside to dry. But she wasn’t done yet!

Spaghetti Mobile (5)

She loved picking up big handfuls of the spaghetti and making them go “splat!” At one point I saw her trotting off toward the playroom with a huge handful, and quickly redirected her to the kitchen.

Spaghetti Mobile (7)

We were out of glue, but we could still add more food coloring to the spaghetti on each paper plate. “It’s pink-y! It’s blue-y!” she said of each pile with delight.

Spaghetti Mobile (9)

Meanwhile, back to the glued spaghetti:

Spaghetti Mobile (10)

As long as your child hasn’t piled it on too thickly to dry properly, you’ll be able to stretch it up off the tray once the glue has dried, thread yarn through, and suspend it from a hook. A rather novel piece of modern art!

Glue Printing

Glue Printing (8)

Caution: This project is messy! But toddlers love a mess and this catered right to Veronika’s impulse for arts & crafts this morning.

Instead of using an ink pad for stamps, the idea is to use glue as the “ink”. I gave Veronika a paper plate filled with white glue, and then I set out a few items that we could dip into it.

Glue Printing (1)

I included a fish-shaped sponge, a block wrapped in string, and a cut apple. The small block was by far the easiest for her to dip in the glue and lift up, then transfer onto paper and press down.

Glue Printing (3)

The larger items turned out to be tricky; they had a tendency to stick in the glue, and were tough for her to pull up without assistance!

Glue Printing (4)

Next time I would use much smaller objects, like a sponge cut into little squares, or slices of an apple. But with some mommy help, we managed to dip the items in our glue “ink” and then transfer to paper.

Glue Printing (5)

To make the prints more apparent, sprinkle with glitter. This was definitely Veronika’s favorite part, shaking a container of large glitter over the paper and watching it pour down on her creation.

Glue Printing (6)

Shake off any excess glitter and let dry. I confess you couldn’t really discern the shapes of the prints we’d made, but it was still a fun and colorful piece of toddler art.

Glue Printing (9)

Glue Play

Glue Play (2)

Your toddler is going to be a using a lot of glue in the next few years, since it’s part of just about every nursery school and preschool project. But how often is glue itself the object of play? The point of this activity was simply for Veronika to explore glue… and yes, you can probably count on it to be messy.

I lined the bottom of a shallow tray with two pieces of construction paper just to contain some of that mess, and then showed her how to squeeze a glue bottle.

Glue Play (1)

Squeezing glue bottles is actually great for muscle development in the hands, and she was so proud when she could do this all by herself. “Dot dot dot!” she said.

Glue Play (3)

Then we opened up the nozzle and really let the glue pour out, which she found fascinating.

Glue Play (4)

From here, she wanted to touch it, and I used the word “sticky” as she played. She was not at all afraid to get hands-on with the stuff.

Glue Play (6)

Thinking to extend the play, I added a few plastic spoons and little pom poms she could sprinkle into the glue.

Glue Play (5)

But really she was mostly interested in the glue itself! Then it was time for a hand wipe and clean up.

Glue Play (7)

Ooey-Gluey Colors

Ooey Gooey Colors (5).JPG

It’s not often that I find an art project for my 5-year-old that feels refreshingly new. This artsy idea from Highlights magazine had definite goo factor that appealed to him!

First, drip school glue all over the clear acrylic cover from an empty photo frame. We used an 8×10 frame for maximum work space.

Ooey Gooey Colors (1)

Drip food coloring over the glue, ideally with some restraint, although Travis loved making big puddles of color.

Ooey Gooey Colors (2)

Finally, use a paintbrush to smear it all together.

Ooey Gooey Colors (3)

The colors will swirl and mix in neat ways and make little bubbles on the acrylic. This is a fun chance to experiment with different brushstrokes.

Ooey Gooey Colors (4)

Let dry completely, then insert back into the photo frame (gooey side in) for instant art. These look particular pretty when the sun hits them through a window, acting almost like a suncatcher.

Pasta Mosaic

Pasta Mosaic (14)

It’s finally happening… My little boy who used to happily jump at any art project I suggested has his own agenda now. And while I lament that he’s not quite so pliable or amenable to activities I’ve anticipated, I also am celebrating this three-year-old independent spirit and the imagination that accompanies it.

Cue this project as the perfect example. I thought sorting and making art with pasta might nicely fill some time on a Sunday morning since I had several boxes of dry pasta in the pantry. Sorting is a great skill for little fingers and minds, but silly me, every pasta I had was a variation on penne…in different lengths! It turned out we had regular penne, medium-sized pennette, and super-short ditalini.

Pasta Mosaic (1)

This turned the sorting into a neat challenge based more on length than shape, so Travis actually sat happily to help me sort for a while.

Pasta Mosaic (2)

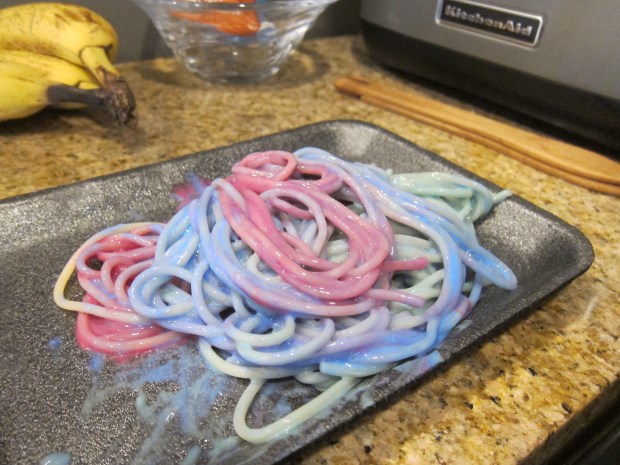
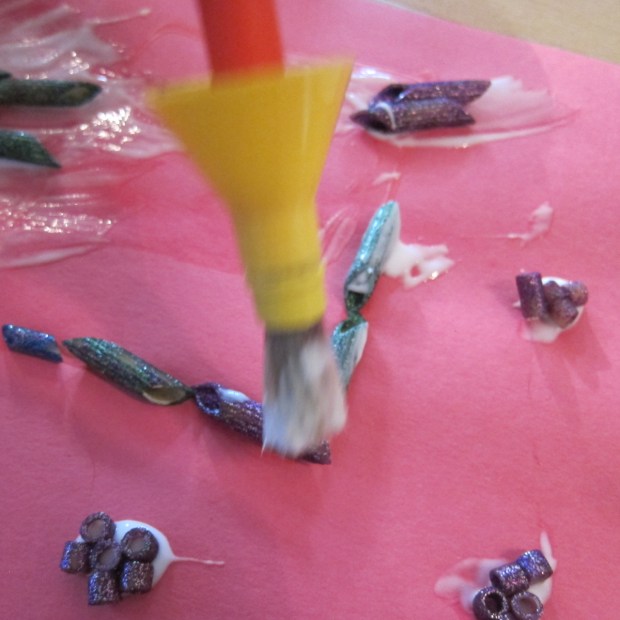
My suggestion to paint the pasta after was met with indifference though! A bit miffed, I pulled out glitter paint. That made things decidedly more sparkly and fun, and we discovered that painting penne is quite silly and tricky since they roll.

Pasta Mosaic (3)

What worked best? Dabbing at them on a piece of wax paper and leaving them to dry? Tossing them into a whole bath of paint and swirling them around?

Pasta Mosaic (6)

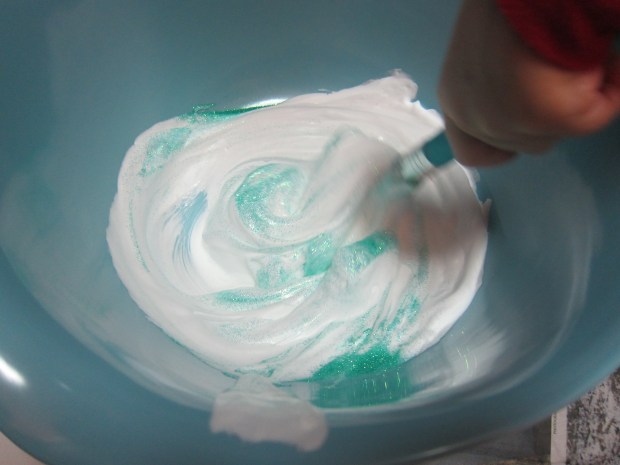
Travis decided it was more fun to paint the bowls holding the paint, but eventually we had lots of sparkly painted pasta, and left it to dry.

Pasta Mosaic (5)

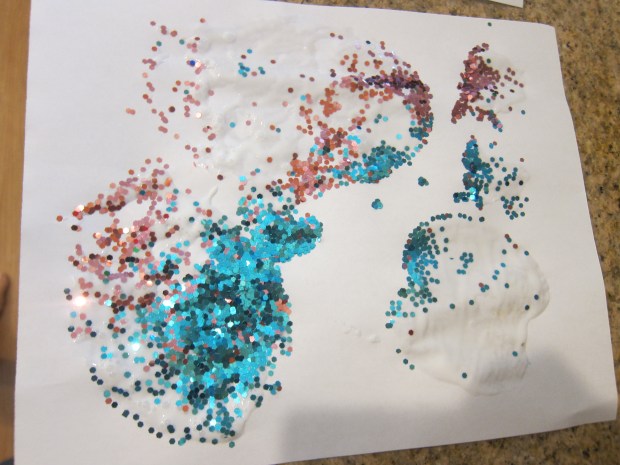
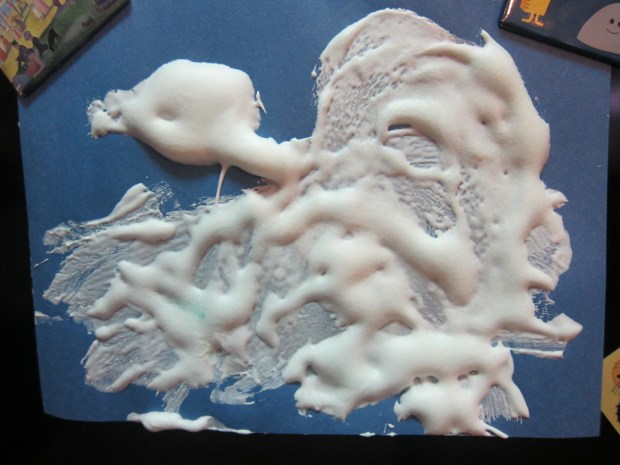
The final idea was to turn all that painted pasta into a mosaic, but Travis was completely uninterested…until I suggested that the glue was caulking, and the pasta was “ants” coming through the floor (a game based on a recent, real-life scenario….).

Pasta Mosaic (9)

Well then he couldn’t get enough! We caulked and caulked, and filled puddles of glue with “ants” trying to get into our kitchen.

Pasta Mosaic (10)

When I asked if he thought our paper was full enough, he pointed to the remaining pasta pieces and adamently told me, “No Mom, still more ants.”

Pasta Mosaic (11)

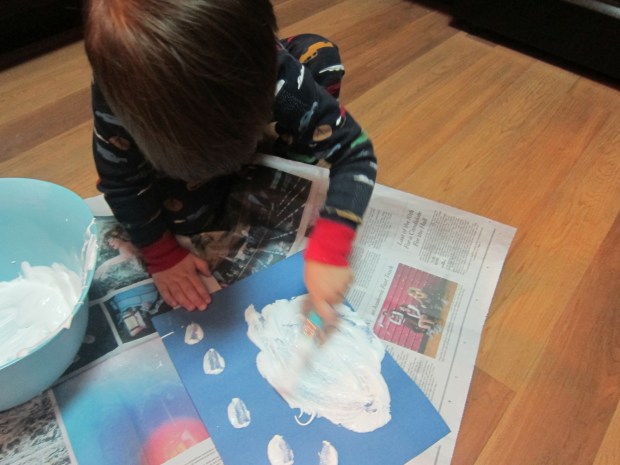
Once we’d used up all the pasta, he needed to “caulk” two more pieces of construction paper before he tired of the game.

Pasta Mosaic (13)

So there you have it, a valuable lesson on my son’s ever-growing independence, but also a reminder that incorporating his latest interests and imaginative play might still just get him to sit and make art with his mama.

Pasta Mosaic (12)

Snow Paint

Snow Paint (6).JPG

This homemade paint is deliciously goopy, and as thick as snow after a blizzard, but it won’t melt away!

Place a can of foaming shaving cream and a bottle of glue in the fridge for 1 hour to chill.

Combine 3/4 cup shaving cream and 1/2 cup glue in a large bowl, mixing well. Travis was instantly enthralled with the texture.

snow-paint-1

Next we added heaps of icy blue sparkles because of course we needed sparkly snow!

snow-paint-2

Then it was time to paint a winter scene! With Travis so young, his was very abstract, but as he worked he told me he was painting first a horse, then an elephant, and so on. I loved the imagination at work.

snow-paint-4

Meanwhile, I painted a proper snowman, so Travis could enjoy the final result. He helped me press down cardboard cutouts of buttons and a hat – they will stick right to your gluey paint mixture as it dries.

snow-paint-7

We also added extra blue sparkles as the finishing touch.