I Heart You Stickers

i-heart-stickers-8We always love the craft ideas that come in our High Five magazine, and this month’s was perfect for Valentine’s Day! Before you begin, you’ll need to buy sticker paper, which can be found at any craft store.

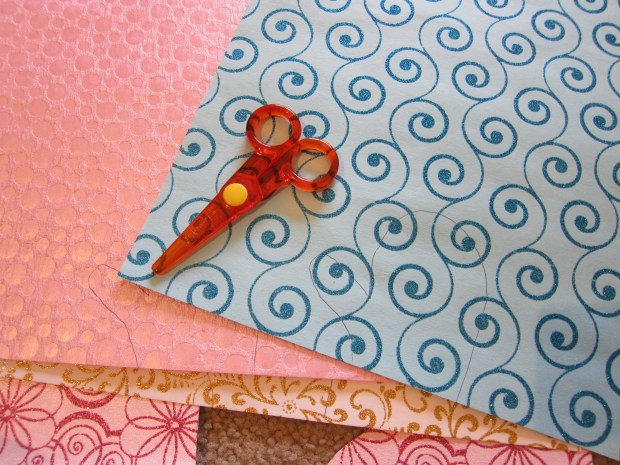
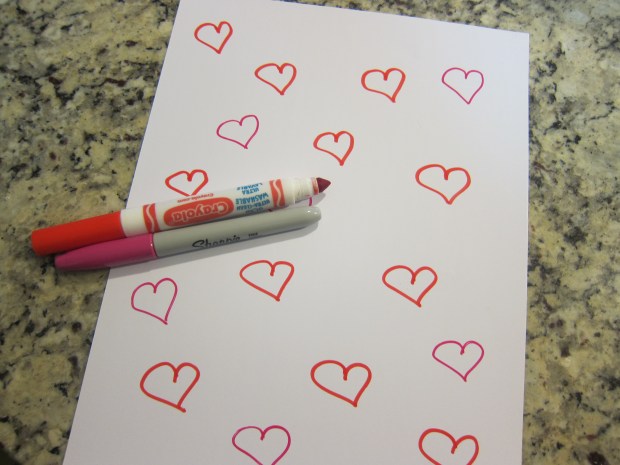
On the sticker paper, I drew the outlines of several hearts.

i-heart-stickers-1

Now it was up to Travis to color them in with pink and red crayons or colored pencils. This was great practice for coloring inside the lines!

i-heart-stickers-3

(Note: Big kids can not only color in their hearts, but draw the outline of the shape as well).

i-heart-stickers-2

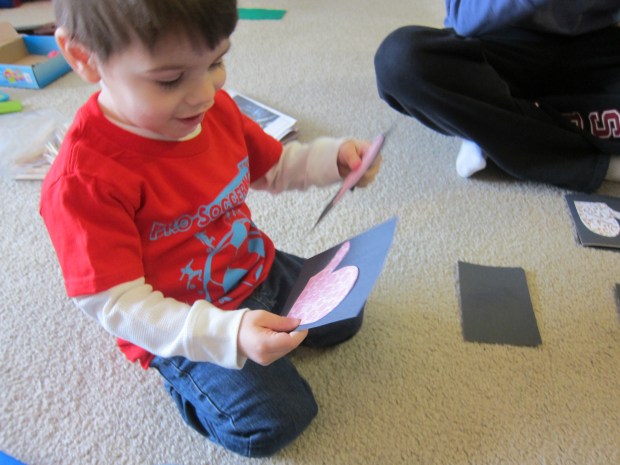
I cut out the heart stickers, and Travis helped peel off the backing to attach to index cards, which I had folded in half. We added extra heart stickers from the store as well – the more the merrier.

i-heart-stickers-5

On the inside of the index card, we wrote Valentine’s notes to all of his cousins. Travis grabbed a colored pencil and told me he was writing “Love Travis.”

i-heart-stickers-6

Although I filled in most of the actual detail on these cards – the words, adding enough stickers to each – I could tell Travis was so proud to be making something special for his loved ones, and that’s part of what I wanted to teach him as to what Valentine’s Day is all about.

i-heart-stickers-7

Don’t forget a special trip to the post office to send your Valentine’s cards on their way!

Mitten Mania

mitten-matchup-6

We played two games this week with mittens as the theme – perfect for this time of year when you can’t walk out the door without mittens on your hands! Both are very easy to D.I.Y with a few materials.

For the first, you’ll need felt in multiple colors. I traced a mitten template and then cut one mitten from each color of the rainbow. Finally, cut a circle from white felt to be your snowball.

hidden-snowball-1

Place all of the mittens on the floor and have your child close his or her eyes. Hide the snowball under one mitten, and now it’s time to guess which color is hiding the snowball!

hidden-snowball-2

Travis loved the feel of the felt, so it was a delight to lift each mitten and see if the snowball was hidden there. We talked about the colors as we played, and did a few rounds before Travis got bored.

hidden-snowball-3

The second game came to us in February’s High 5 magazine, and is an introduction to the classic game of Memory. I cut mittens from fancy sheets of patterned paper (although you could also use plain construction paper in multiple colors).

mitten-matchup-1

Travis was a big help using the glue stick to attach each pair of mittens to black construction paper, which I had previously cut into squares.

mitten-matchup-2

Arrange all of the squares, mitten side down, on the floor, and take turns selecting two cards. If you get a match, keep them! Otherwise, turn them back to black and it’s the next person’s turn. Whoever gets the most matches wins.

mitten-matchup-3

Travis is still a little young to entirely grasp the concept of turn-taking and game rules, but he loved finding a “match” or a “mis-match” as he reached among the cards, and played with the mittens for quite some time after while I was busy making lunch.

mitten-matchup-4

This is definitely a game we’ll return to as he gets older and grasps it more each time.

mitten-matchup-5


Mac and Cheese in a Mug

mac-n-cheese-mug-5

Yes, your toddler can make pasta nearly him- or herself alone! This comfort food recipe is just right for a winter lunch or dinner.

In an oven-proof mug, have your child pour in the following: 1/2 cup uncooked elbow macaroni or small shell pasta; 1/4 cup shredded Daiya cheddar cheese; 1 tablespoon flour; and 1/2 cup non-dairy milk.

mac-n-cheese-mug-2

Now give the mug a big stir to combine the ingredients!

mac-n-cheese-mug-3

Adults, place the mug on a baking sheet and bake at 375 degrees F for 30 minutes – the mixture should be bubbly on top.

mac-n-cheese-mug-4

In a small bowl, combine 1 tablespoon melted Earth Balance butter and 1 tablespoon fresh bread crumbs. Spoon over the mac and cheese, then return to the oven for a final 5 minutes.

Let cool at least 5 minutes before serving. Travis was so proud to have stirred the ingredients together, and couldn’t wait to try the recipe – especially because of the novelty of eating from a mug!

mac-n-cheese-mug-6

You can double the recipe and use two mugs; reheat the second portion of mac and cheese in the microwave the next day.

Mac in mug (2).JPG

Robot Racers

robot (5).JPG

Our cute suggestion of the month from High Five magazine was a cozy indoor craft for a winter day. You’ll need two empty tissue boxes for the robot bodies… so save your empties from any winter sniffles! Ahead of time, I cut the tops off the boxes, then gave to Travis to decorate.

He loved the first step, which was to cover the boxes with either aluminum foil or duct tape. Because the mechanics of wrapping boxes is difficult for a two-and-a-half year old, he played with the materials while I did the actual wrapping up.

robot-2

Next it was time to add eyes and stickers! Travis decorated one very randomly, and I made our other robot have a bit of robotic order with patterned stickers.

robot-3

As a final touch, we added chenille stems (those frilly pipe cleaners) as arms or antennae.

robot-4

Make a ramp out of anything you have that will serve – pillows, cardboard pieces, or an old baking sheet all make good options. Place a tennis ball underneath each robot, and let them race to the bottom! We had fun varying the height of our ramp to see how it affected the way the robots raced.

robot-6

Thanks for the cute idea, High Five!

robot-8