Felt Crown

Felt Crown (10)

We tried out a pipe cleaner crown the other day, but unfortunately it was short-lived. The pipe cleaner segments unwound from one another quickly after King Travis tossed it around a few times. We thought a felt crown might stand up to more rough and tough kingly play!

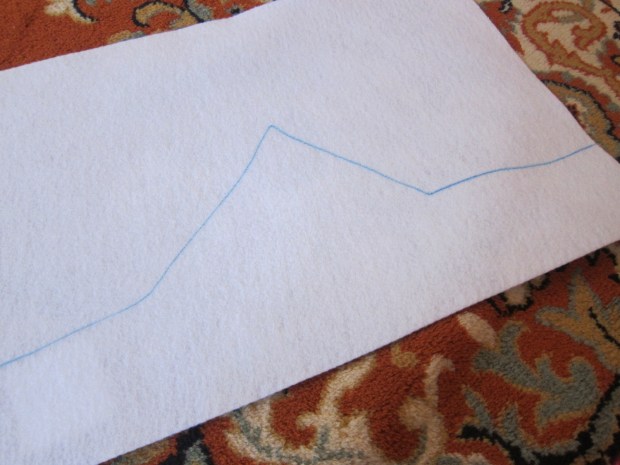
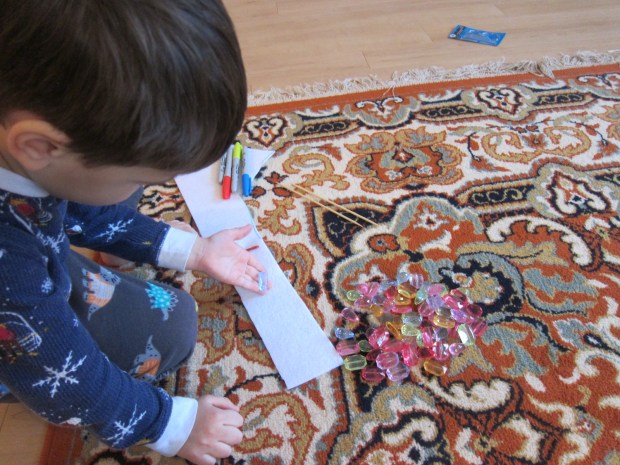
First, trace an outline for your crown on white felt and cut out.

Felt Crown (1)

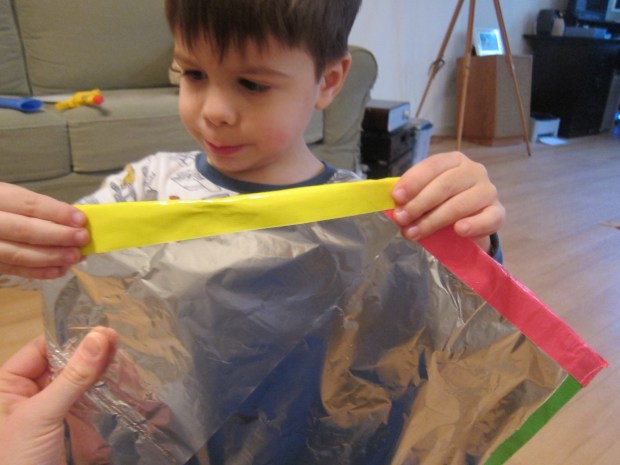
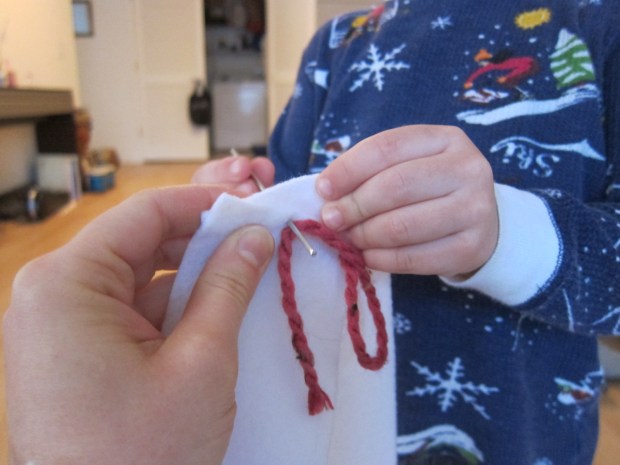
Even this large piece of felt wasn’t long enough to stretch around Travis’s head, so we cut an additional strip of felt to sew on the back. This ended up being the neatest part of the craft for Travis. With careful adult help, we threaded yarn through the felt to secure the extra strip in place.

Felt Crown (2)

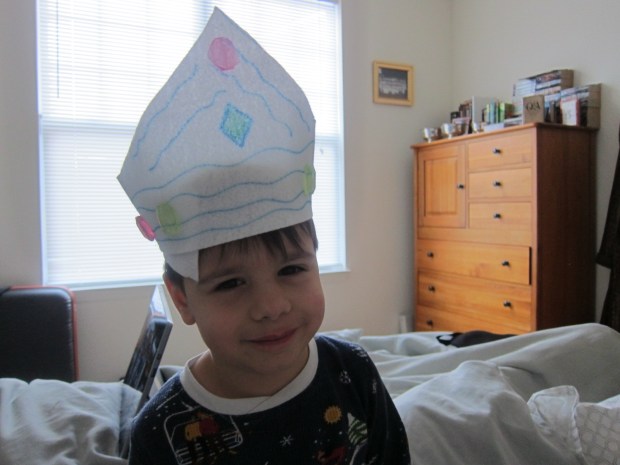
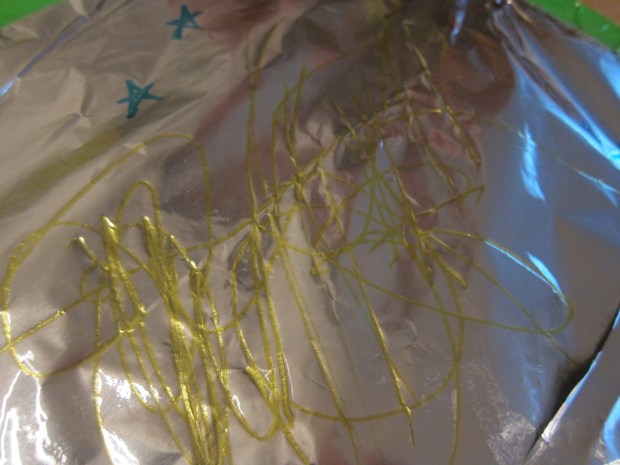
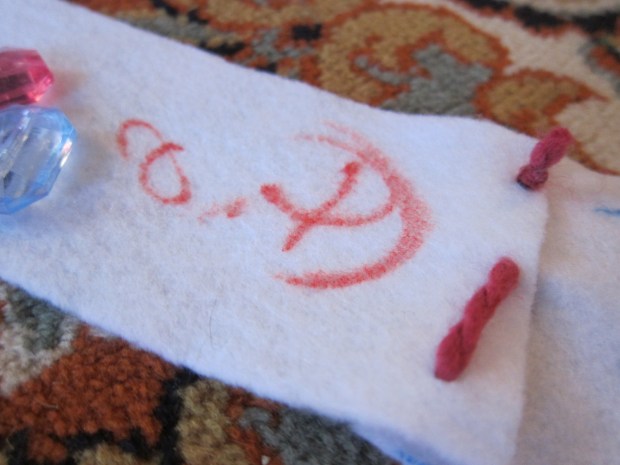
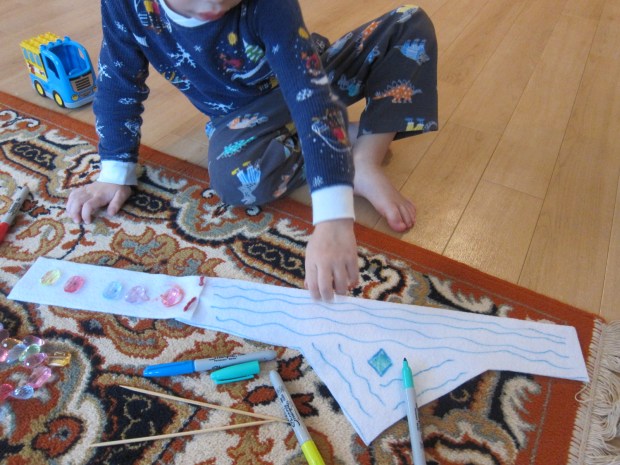
Before sewing though, I asked Travis how he would like to decorate the crown. He wasn’t very into the permanent markers I offered, making only a few scribbles. (I ended up ending a few lines of decoration across the front).

Felt Crown (6)

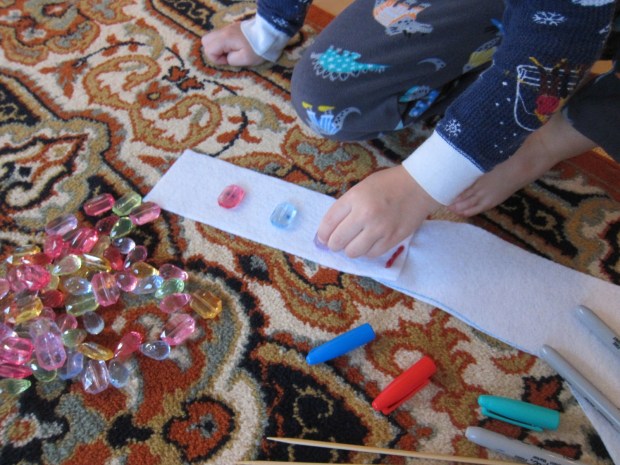
He did, though, love the “gems” from the craft store that I had.

Felt Crown (3)

Very careful consideration was given to which gem should go where, and then I adhered them with hot glue.

Felt Crown (4)

If you have decorative buttons on hand, you can also add those to your crown – another chance for sewing through the felt!

Felt Crown (5)

Once he had the crown on, I realized he actually looked more like a medieval bishop than king! But either way, this is a great dress-up prop.

Felt Crown (9)


Mini Archery

Mini Archery (12)

After way too much fun with our medieval Koala Crate, we needed to continue our exploration of the Middle Ages. This project was too cute for words. Putting it together was mostly a grown-up task, but you’ll love watching your kids imagination go wild as they play with the final product!

To prepare the bow, notch a craft stick on both ends, on each side, for 4 notches total. I was entirely unsure how to go about making the notches, and just slivered into the stick with scissors. This may not have been the safest or best method, but it worked!

Mini Archery (3)

Soak the stick in water for at least one hour to soften the wood.

Mini Archery (4)

Once soft, carefully bend the stick into an arc. Wrap a piece of dental floss a few times through the notches on one end. Stretch the floss taut while curving the bow, and secure through the notches on the other end.

Mini Archery (2)

For completely safe mini arrows, simply snip one tip off of a q-tip.

Mini Archery (10)

Now we needed something to aim at! We cut two circles from poster board (paper plates would work, too), and decorated with a bull’s eye marking. Little poster board strips taped to the back helped them stand upright.

Mini Archery (5)

The mechanics of nocking and launching the q-tips turned out to be quite tough for Travis.

Mini Archery (6)

He loved watching though while we had some family time trying to hit the target. The arrows go quite far!

Mini Archery (9)

As the finishing touch, we needed a quiver for the arrows. I cut a toilet paper tube until it was only a little taller than the q-tips, then wrapped in brown construction paper to cover the bottom and sides. We added a few Sherwood Forest-y decorations, as well as a ribbon handle.

Mini Archery (11)

It turned out the quiver was Travis’s favorite element of the whole game. He loved loading it up with his “arrows” and running around with it…

Mini Archery (13)

… but in full disclosure, he also decided it would be fun to run around naked while doing so. So you’ll have to take my word for it that there was lots of enjoyment going on, but I couldn’t capture photos for the blog!

Mini Archery (7)

DIY Shield & Coat of Arms

DIY Shield (11)

Inspired by our Medieval kit from Koala Crate, we had to continue the fun with more games of knights and kings! Travis has a Disney plastic broadsword, so this Medieval mama couldn’t wait to show him how to make a shield to go along with it.

Start with a piece of cardboard roughly the size of your child’s chest, and trim the bottom edge into a point to make a shield shape.

DIY Shield (1)

Next we covered the shield in foil for a shiny metal look, securing on the back with masking tape.

DIY Shield (2)

It’s starting to look like the Middle Ages around here!

DIY Shield (3)

Travis adored the next step, outlining the edges of his shield in colorful duct tape. I knew I’d need all those colorful rolls that have been taking up space in our craft bin eventually!

DIY Shield (4)

Any pretty washy tape would work great here as well, and you can tape designs on the interior of the shield as well as the edges, if your child would like.

We then talked a little about coats of arms, and how knights used them to distinguish one another in battle. Travis drew a “lion” as his sigil.

DIY Shield (5)

Older kids may want to do some online research and pull up information about real coats of arms, or learn about the symbolism in many of the designs. You can draw a more complicated coat of arms on paper, and tape that onto the shield. If drawing directly onto the foil, make sure you use sharpie markers; washable markers will rub right off.

DIY Shield (6)

For the handle, tape two pieces of colored duct tape together, leaving one longer than the other. Apply the sticky ends of the long tape to the back for the shield in an arc. Now your knight has something to hold on to.

DIY Shield (7)

Behold brave Sir Travis!

DIY Shield (8)

Then it was time for a sword fight of course. Haha, that’s me wielding a Nerf bat to battle my son.

DIY Shield (10)