Straw-Threaded Shoestring Necklace

Straw-Beaded Necklace (6)

Veronika is just starting to love dress-up, especially adorning herself with ribbons, beaded bracelets, and other accessories. She’s also at the perfect age to hone the fine motor skills needed for threading. So this activity combined the two perfectly!

To start, I set out a tray with colorful paper straws and her safety scissors. She wasn’t strong enough to cut through the straws, but she loved trying! Meanwhile, I worked alongside her and snipped each straw into several smaller pieces.

Straw-Beaded Necklace (2)

Give your toddler a shoelace or craft lace, and show him or her how to poke the tip into each piece of straw, then pull all the way through.

Straw-Beaded Necklace (3)

Veronika was delighted when she could do this alone, working with such concentration on her face. It was harder for her to pull the lace all the way through, but a little mommy assistance did the trick.

Straw-Beaded Necklace (5)

She loved deciding which color straw piece we should add next! Once the lace was full, I tied it into a knot so she could wear it as a necklace.

Straw-Beaded Necklace (7)

My little fashionista! She had so much fun that we made a second one for mommy to wear, too.

Straw-Beaded Necklace (4)

Flower-Power Pendants

Flower Pendants (7)

Kids will love this novel bubble-based painting method. The resulting pendant necklaces are perfect for class Valentines!

To create the bubble paint, fill a short cup with 3 tablespoons dish soap, 1 tablespoon water, and 2 tablespoons paint. In order to make our cups short enough, I snipped the top half from regular 8-ounce paper cups.

Flower Pendants (1)

Use a straw to blow into the mixture and you’ll create colored bubbles that rise to the surface. Press a piece of thick white paper firmly over the top. Repeat with more bubbles and more pressing until you’ve covered the sheet of paper, then let dry.

Flower Pendants (2)

Travis loved that the bubbles toppled over the edge of our cup each time; needless to say, this is a bit of a messy project! We repeated with three different paint colors.

Flower Pendants (3)

Once dry, cut the pages into flower shapes, repeating for the desired amount of Valentines.

Flower Pendants (4)

Punch a hole in each flower and thread with cord (available at craft stores), to complete each necklace.

Flower Pendants (5)

On the back, we wrote the sweet message, “You’re a great bud!”

Flower Pendants (6)

Straws and Yarn

Straws and Yarn (8).JPG

This project is fantastic for keeping motor skills sharp in the summer break between preschool and kindergarten… and the final product easily becomes a gift for someone special, whether a graduation or a birthday!

Tie a piece of yarn to a drinking straw with a tight knot; set aside. Help your child snip straws into pieces of varying size. We used wide pastel-colored milkshake straws, and discovered that the smaller we snipped them, the more they were ilke “beads” for our necklace.

Straws and Yarn (1)

The straws could be a bit tough to snip, and Travis loved when pieces went flying!

Straws and Yarn (2)

Have your child begin threading them on to the yarn.

Straws and Yarn (5)

Travis tried a few tactics, including pushing a straw “bead” onto the yarn, or pulling the yarn up through.

Straws and Yarn (3)

I loved his patience and concentration as he worked!

Straws and Yarn (4)

Once long enough for a necklace, tie the two ends of the yarn into a secure knot.

Straws and Yarn (6)

Travis enjoyed the project so much that he insisted we make two; he didn’t want either grandmother to feel left out, so we’ll be gifting two of these!

Straws and Yarn (7)

Reindeer Bell Necklace

Reindeer Necklace (5)

This adorable necklace is just right for rockin’ out to your famiiy’s favorite holiday tunes. May I suggest ‘Jingle Bell Rock’ and ‘Run, Run Rudolph’, in particular?

Ideally, I would have used larger jingle bells as the body of the reindeer, but the craft store was clean out of just about every Christmas supply! We found sparkly, medium-sized silver bells instead, which were intriguing to Travis, if not perfect for the craft.

Reindeer Necklace (1)

To make the antlers, cut a pipe cleaner in half and thread one half through the bell. Twist to secure.

Reindeer Necklace (2)

Cut the other half in two again (so now you have quarters) and wrap a quarter around each branch of the other pipe cleaner, to form antlers. Travis needed a bit of help with this step.

Reindeer Necklace (3)

We glued two eyes and a red pom pom nose onto each bell, and set them aside to dry.

Reindeer Necklace (4)

Once the glue dried, it was time to shake our jingle bells! I tied a string to each reindeer to form a necklace, and we could rock out.

Reindeer Necklace (6)

Jingle bells, Jingle bells!

Reindeer Necklace alt

Friendship Heart Necklace

Friendship Heart (13)

Here’s the final craft we’re putting together this Valentine’s Day, this time thinking of a few special friends. Even if it’s not Valentine’s, this is a great craft to ask your kids who their best friends are, and to talk about budding concepts of friendship and the emotions that go with it. Also, the idea of keeping half of something for yourself and giving the other half away was a bit novel for my preschooler, so I’m glad we did the activity!

First, we needed simply to have fun with clay! Travis has become quite adept at rolling clay between his hands to form a ball.

Friendship Heart (1).JPG

From here, I showed him how to flatten the balls into discs, and I asked him how we might cut out a heart shape. You can just use cookie cutters, but Travis is very into his chisel tool, so we chiseled. It helped if I made the outline of a heart for him to follow, first.

Friendship Heart (3)

Next, chisel each heart in a zig-zag down the middle, so you have two halves for each one.

Friendship Heart (7)

Punch a hole into each heart piece near the top with a chisel or straw, then let the clay air-dry overnight.

Friendship Heart (8)

The next day, we decorated. First, Travis applied a coat of watercolor. He decided the jagged halves looked a bit like teeth, ha!

Friendship Heart (10)

Then we painted on a layer of tacky glue so he could adhere beads and confetti pieces. Glitter would be pretty, too.

Friendship Heart (11)

We had the perfect beads with letters on them that could be used for friends’ initials, a great find in the craft bin!

Friendship Heart (12)

I cut strands of colored twine for necklace strings, and then our friendship hearts were ready to be shared with good buddies.

Friendship Heart (14)


Clay Charms

Clay Charms (10).JPG

With a big batch of clay in the house, we decided to shape some into charm necklaces – they’ll make the perfect gift for the upcoming September birthdays of several relatives!

You can shape your charms in one of two ways. First we tried a butter knife to cut out simple squares or rectangles. This was definitely Travis’s preferred method.

Clay Charms (2)

Alternatively, you can use cookie cutters to fashion your charms into circles.

Clay Charms (3)

We found a bunch of old buttons in our craft box, which made perfect imprints into the clay, like flowers or hearts.

Clay Charms (5)

Once you’re happy with your designs, let the clay set. If you have oven-dry clay, bake according to package instructions. Ours was air-dry clay, so we left it out overnight. While the clay is still soft, poke a hole through each with a toothpick or wooden skewer so you can string it onto a thread later on.

The next day it was time to paint! Watercolor works very well on clay, but you could also use acrylic paint.

Clay Charms (6)

After a swipe or two with a paintbrush, Travis decided it would be much more fun to do watercolors by hand. I laughed and decided why not! The results were surprisingly beautiful.

Clay Charms (7)

Let the charms dry again, then thread twine through the hole in each charm. Voila! A charm necklace.

Clay Charms (9)

N Week!

N week (21).JPG

Even with the Thanksgiving holiday, we squeezed in games and crafts with a letter N theme this week, as we continue on our Letter of the Week journey. Highlights included…

n-week-3

Nature/natural: This was really our key theme of the week, and we kicked things off with a gorgeous fall walk through a nature preserve before the weather turned very windy. With the collection of nature items we found, we came home and arranged them on contact paper. Simply fold the sticky paper in half when you’re finished and voila – a nature collage!

We also saved some of the leaves and flowers for a natural dye collage (and added a few store-bought berries because I knew their colors would be vibrant). We used cheesecloth, since I knew we wouldn’t be keeping this project, but make your dye collage on muslin or other cloth if you want to save it for doll’s clothing or another project. Once arranged, Travis loved pounding on the items with a mallet, and seeing the beautiful colors that (naturally) resulted.

n-week-9

Finally, for all those events out in nature, we needed a trail walking stick.

birds-nest-9

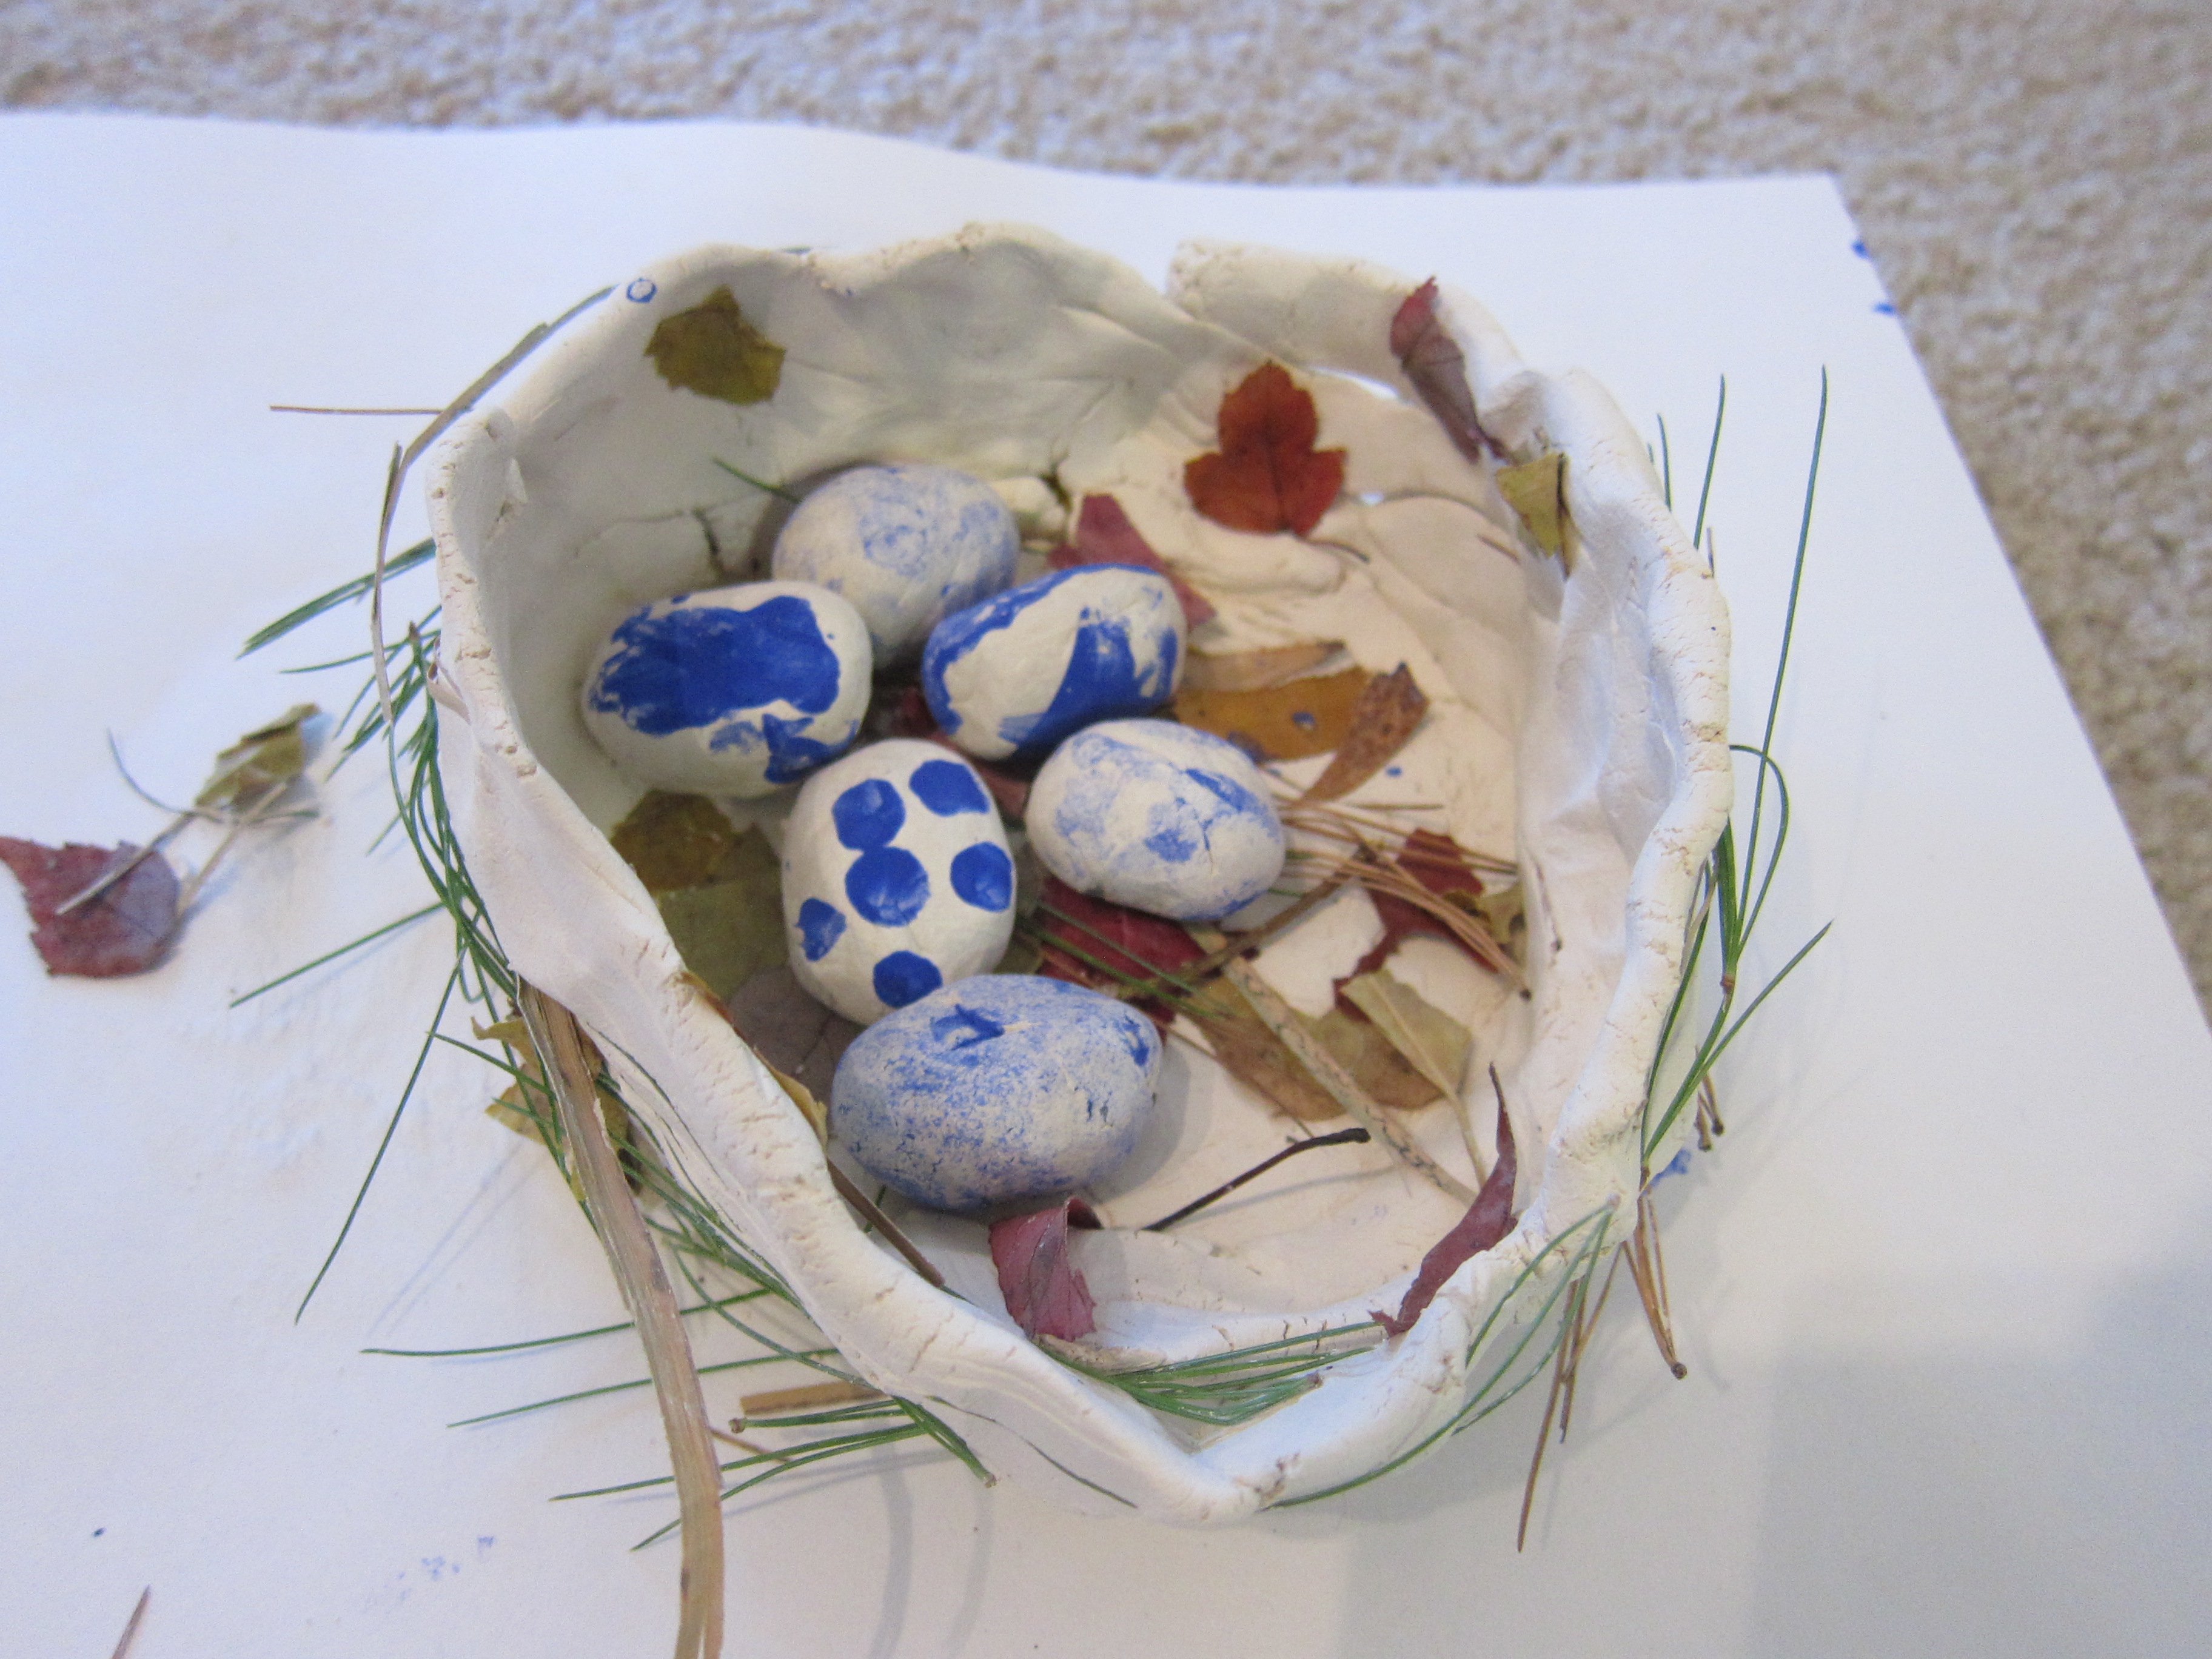
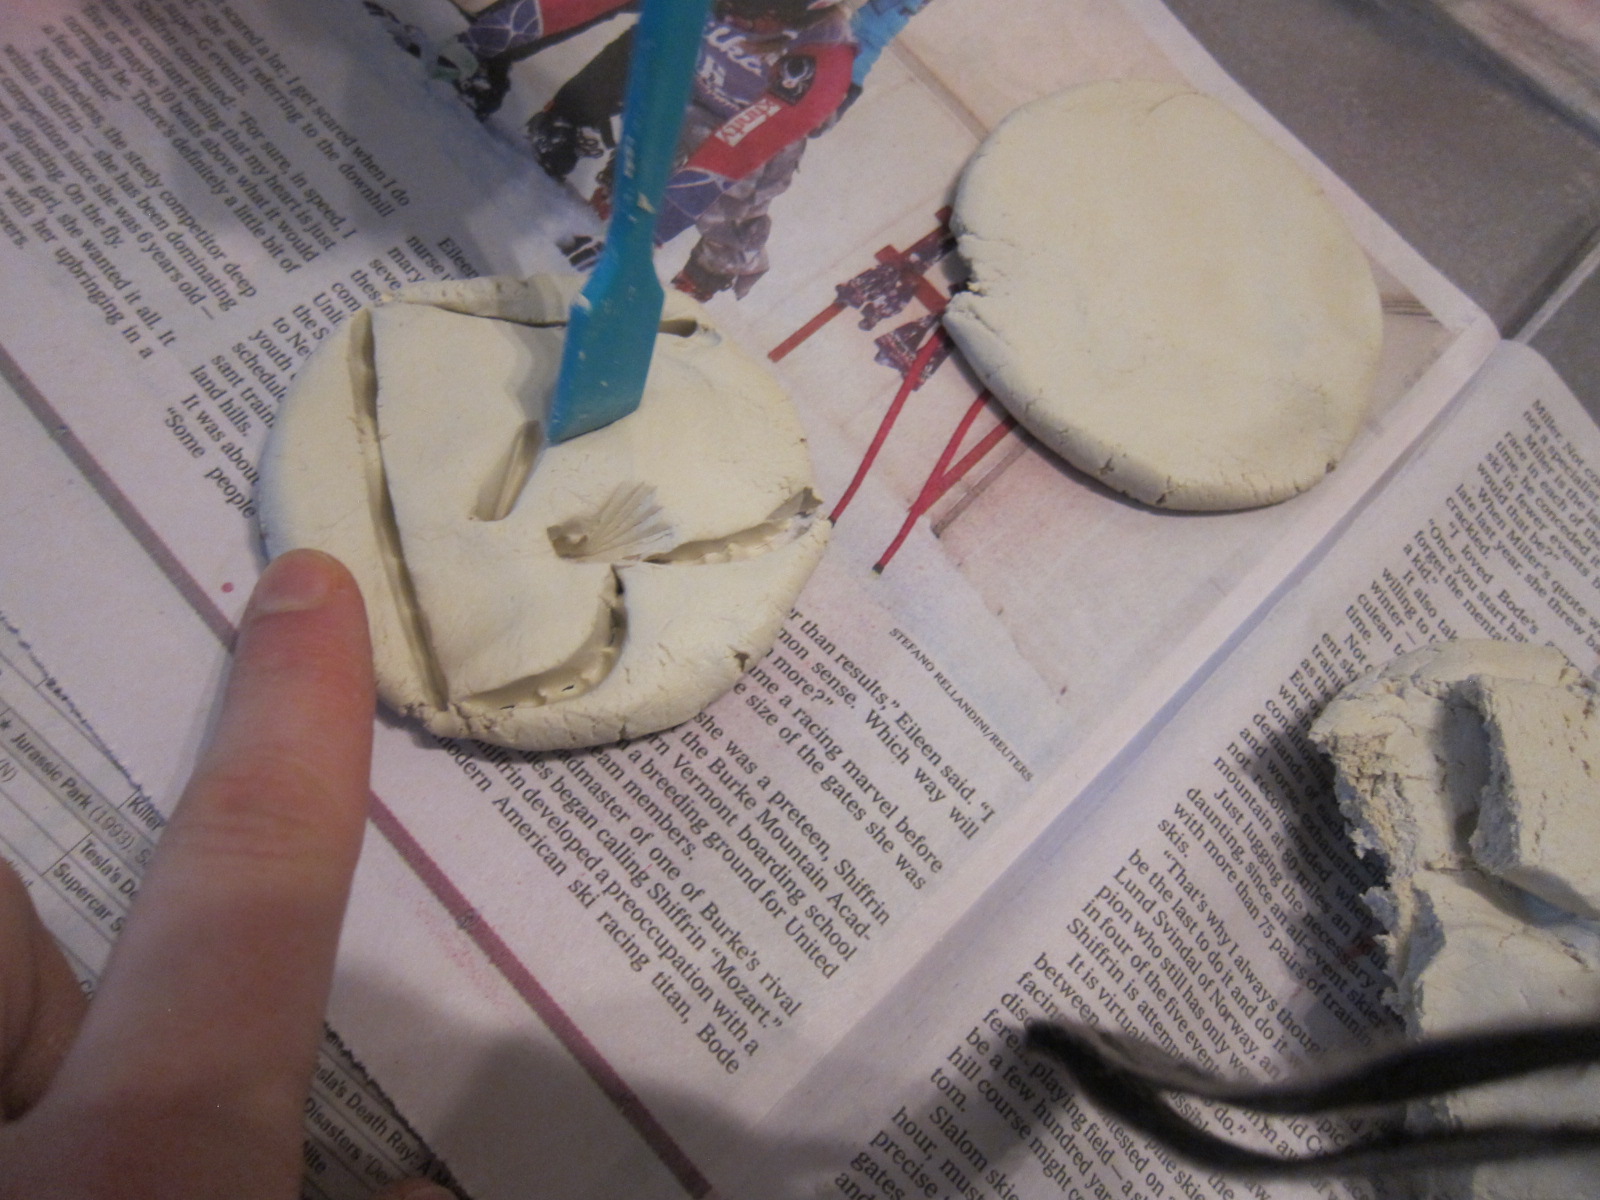
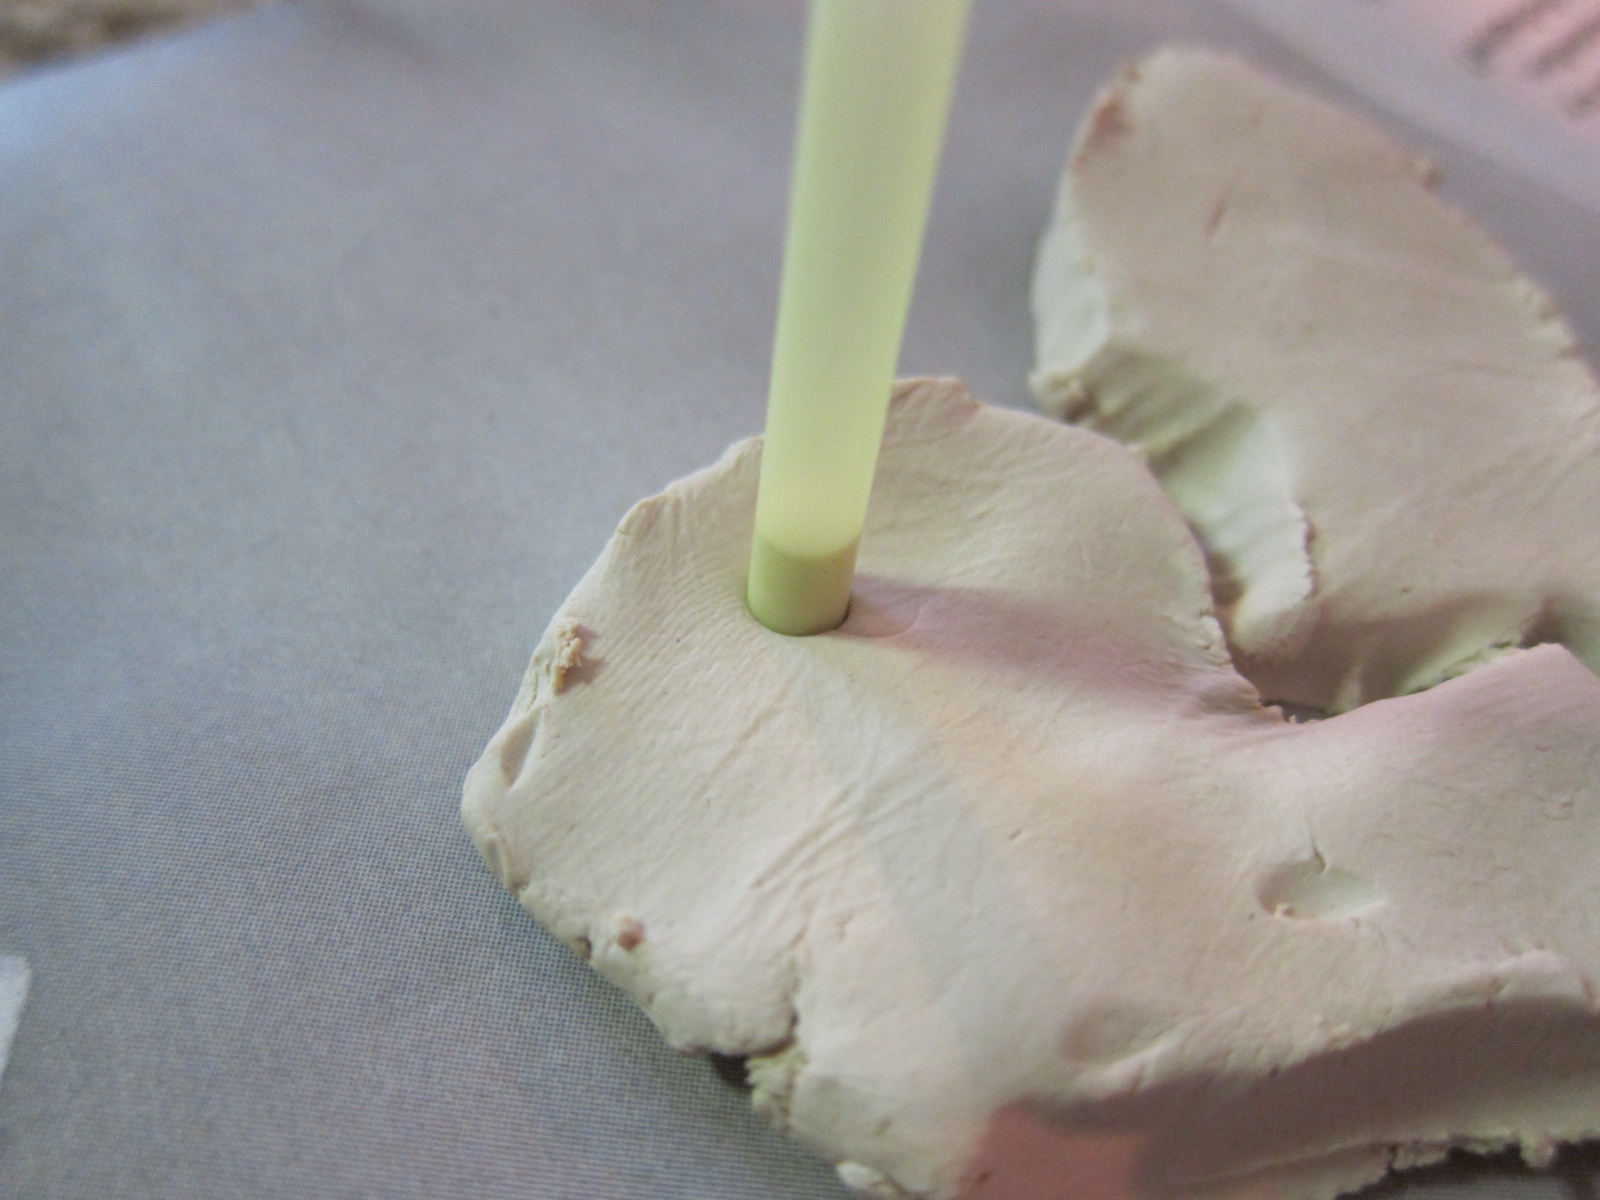
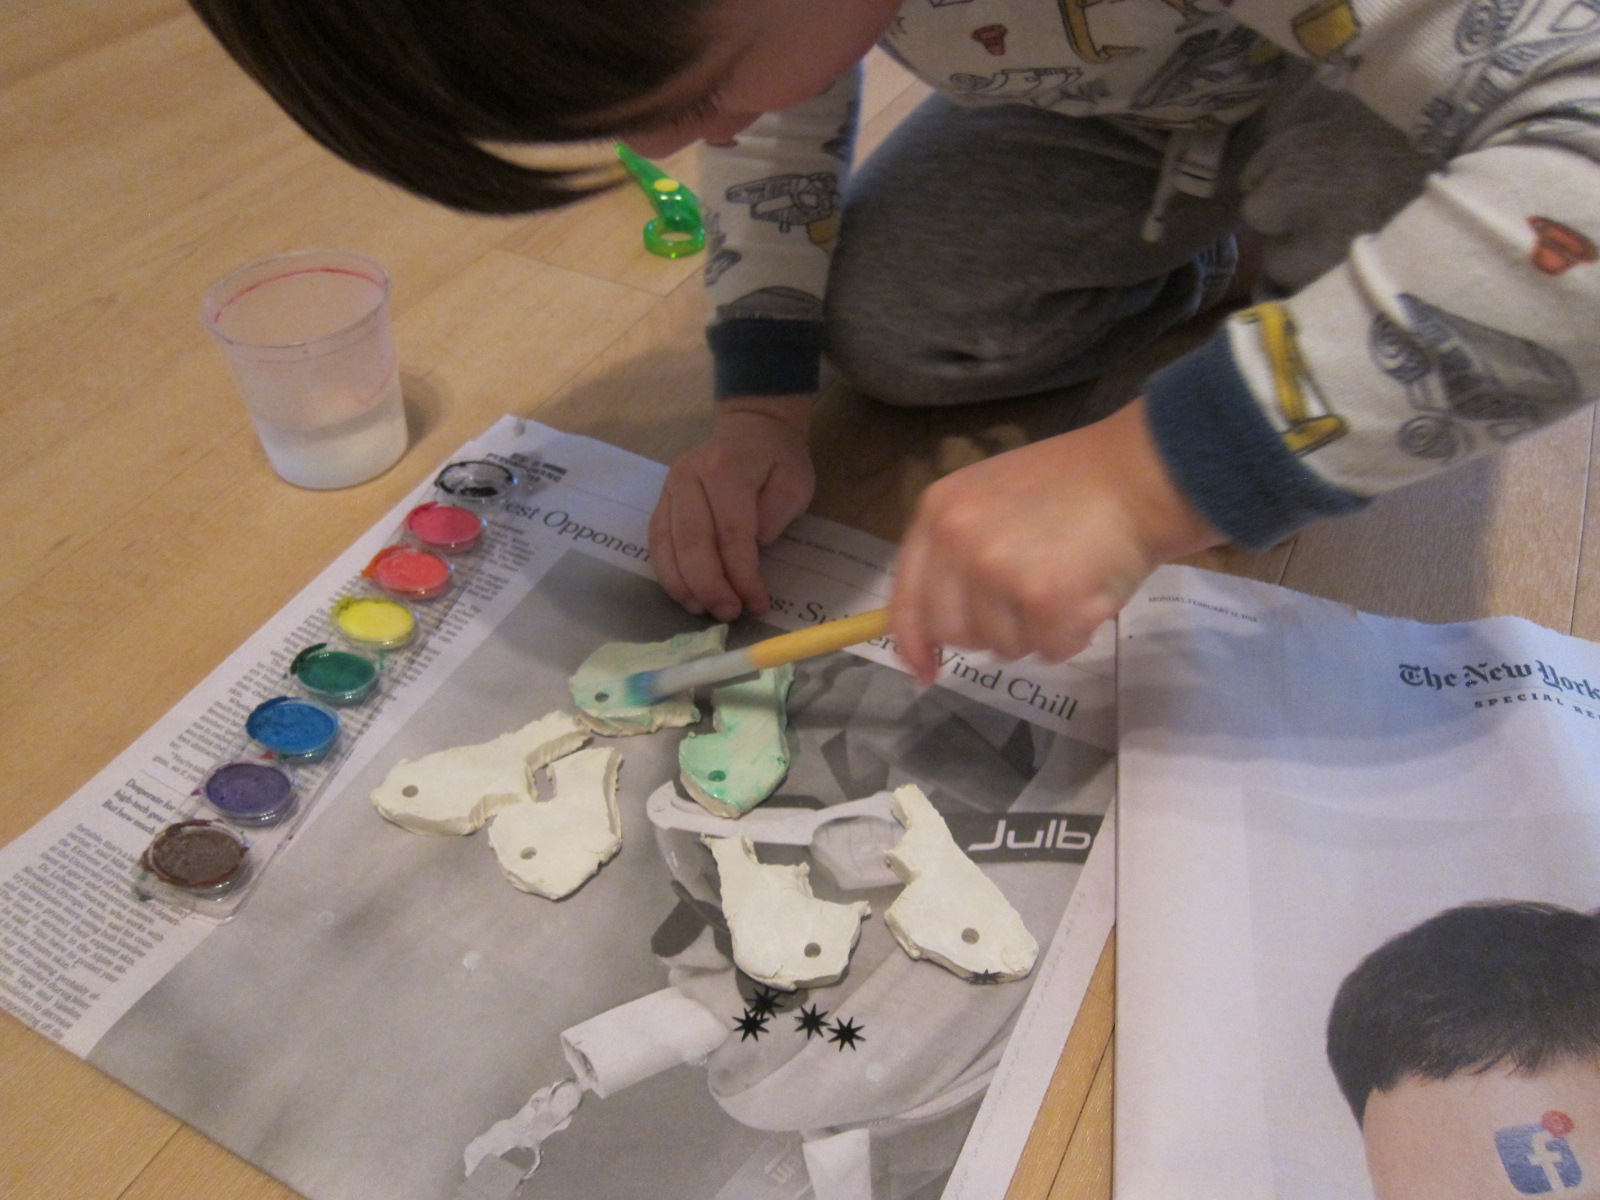
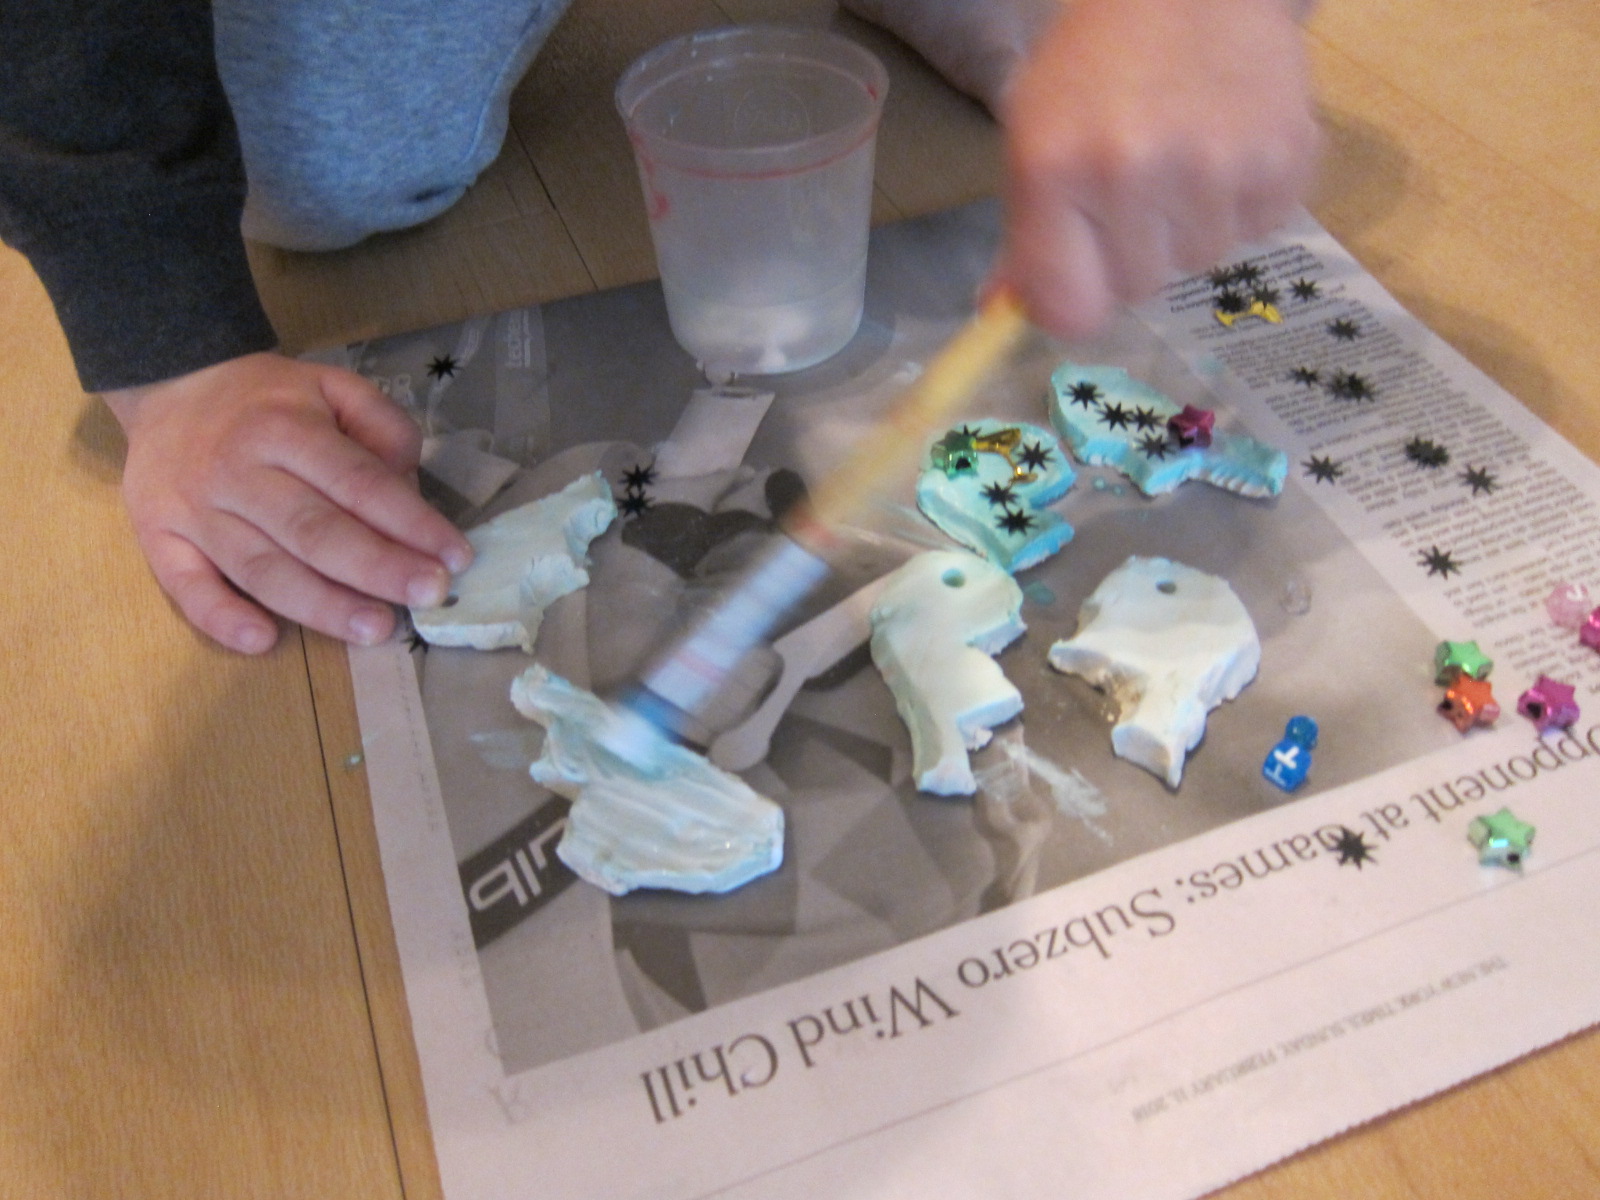
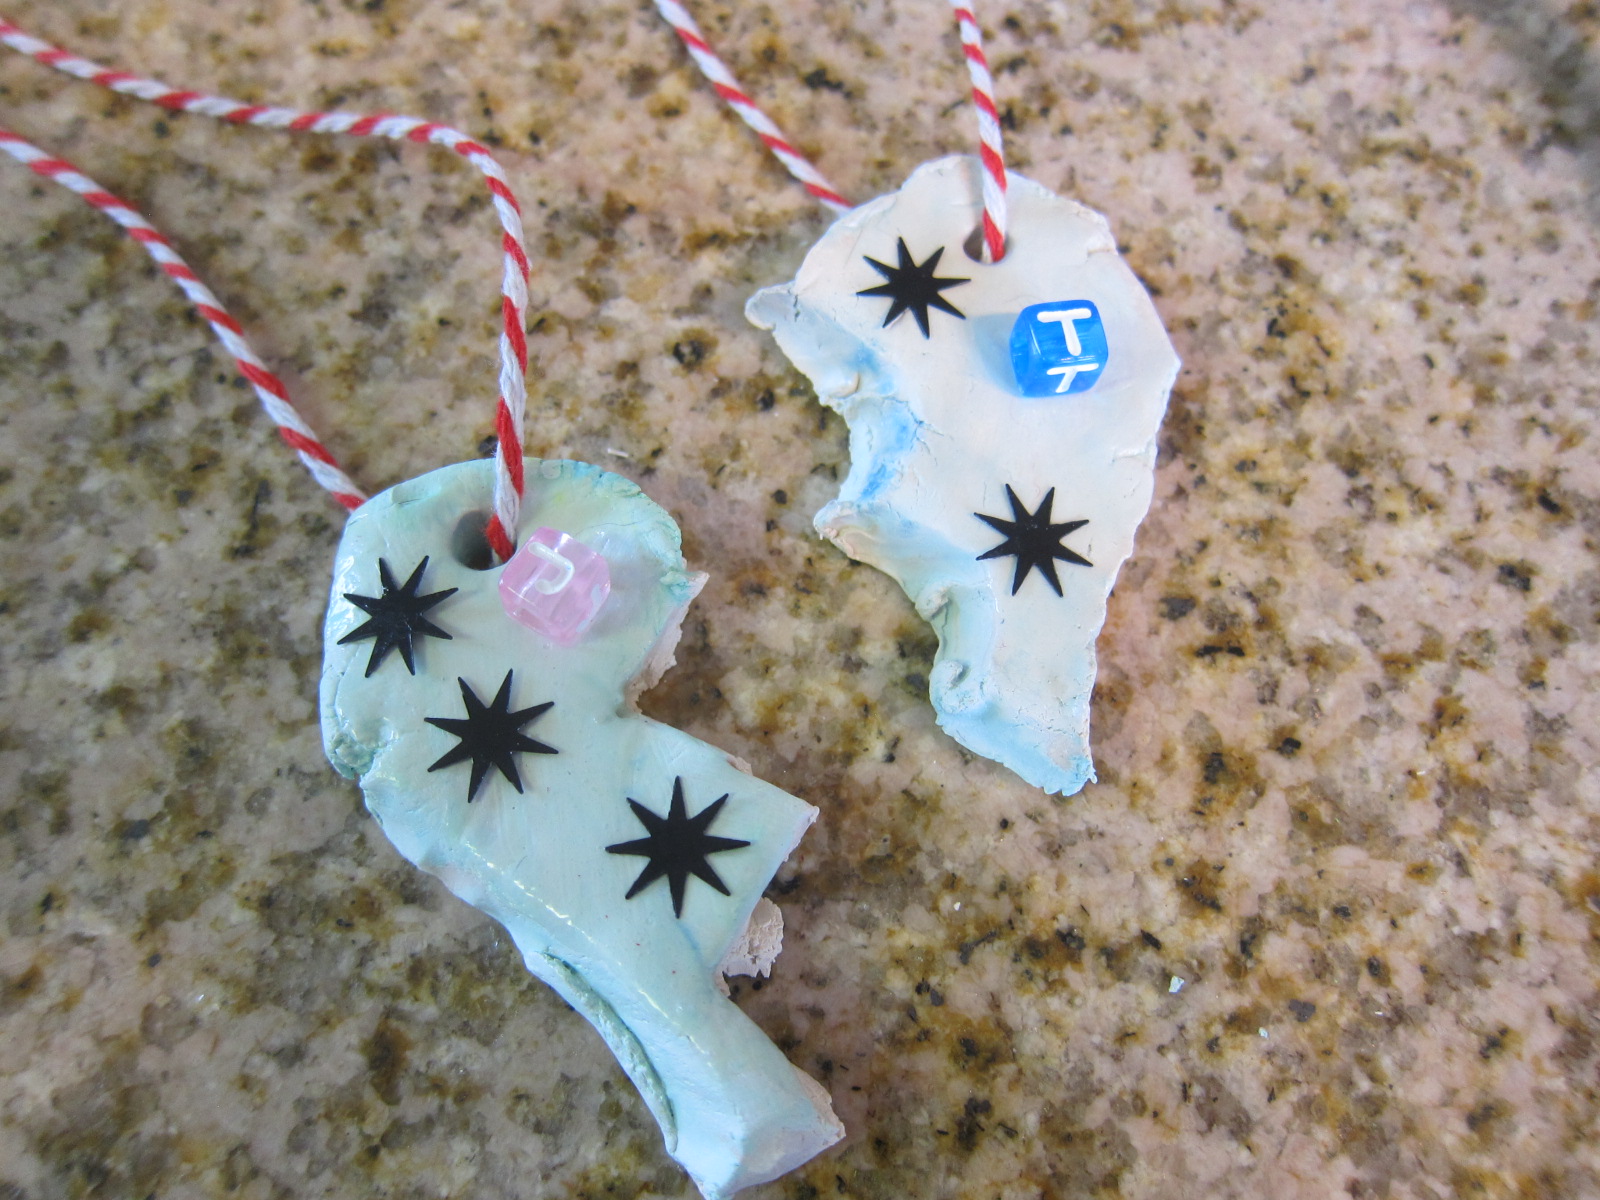
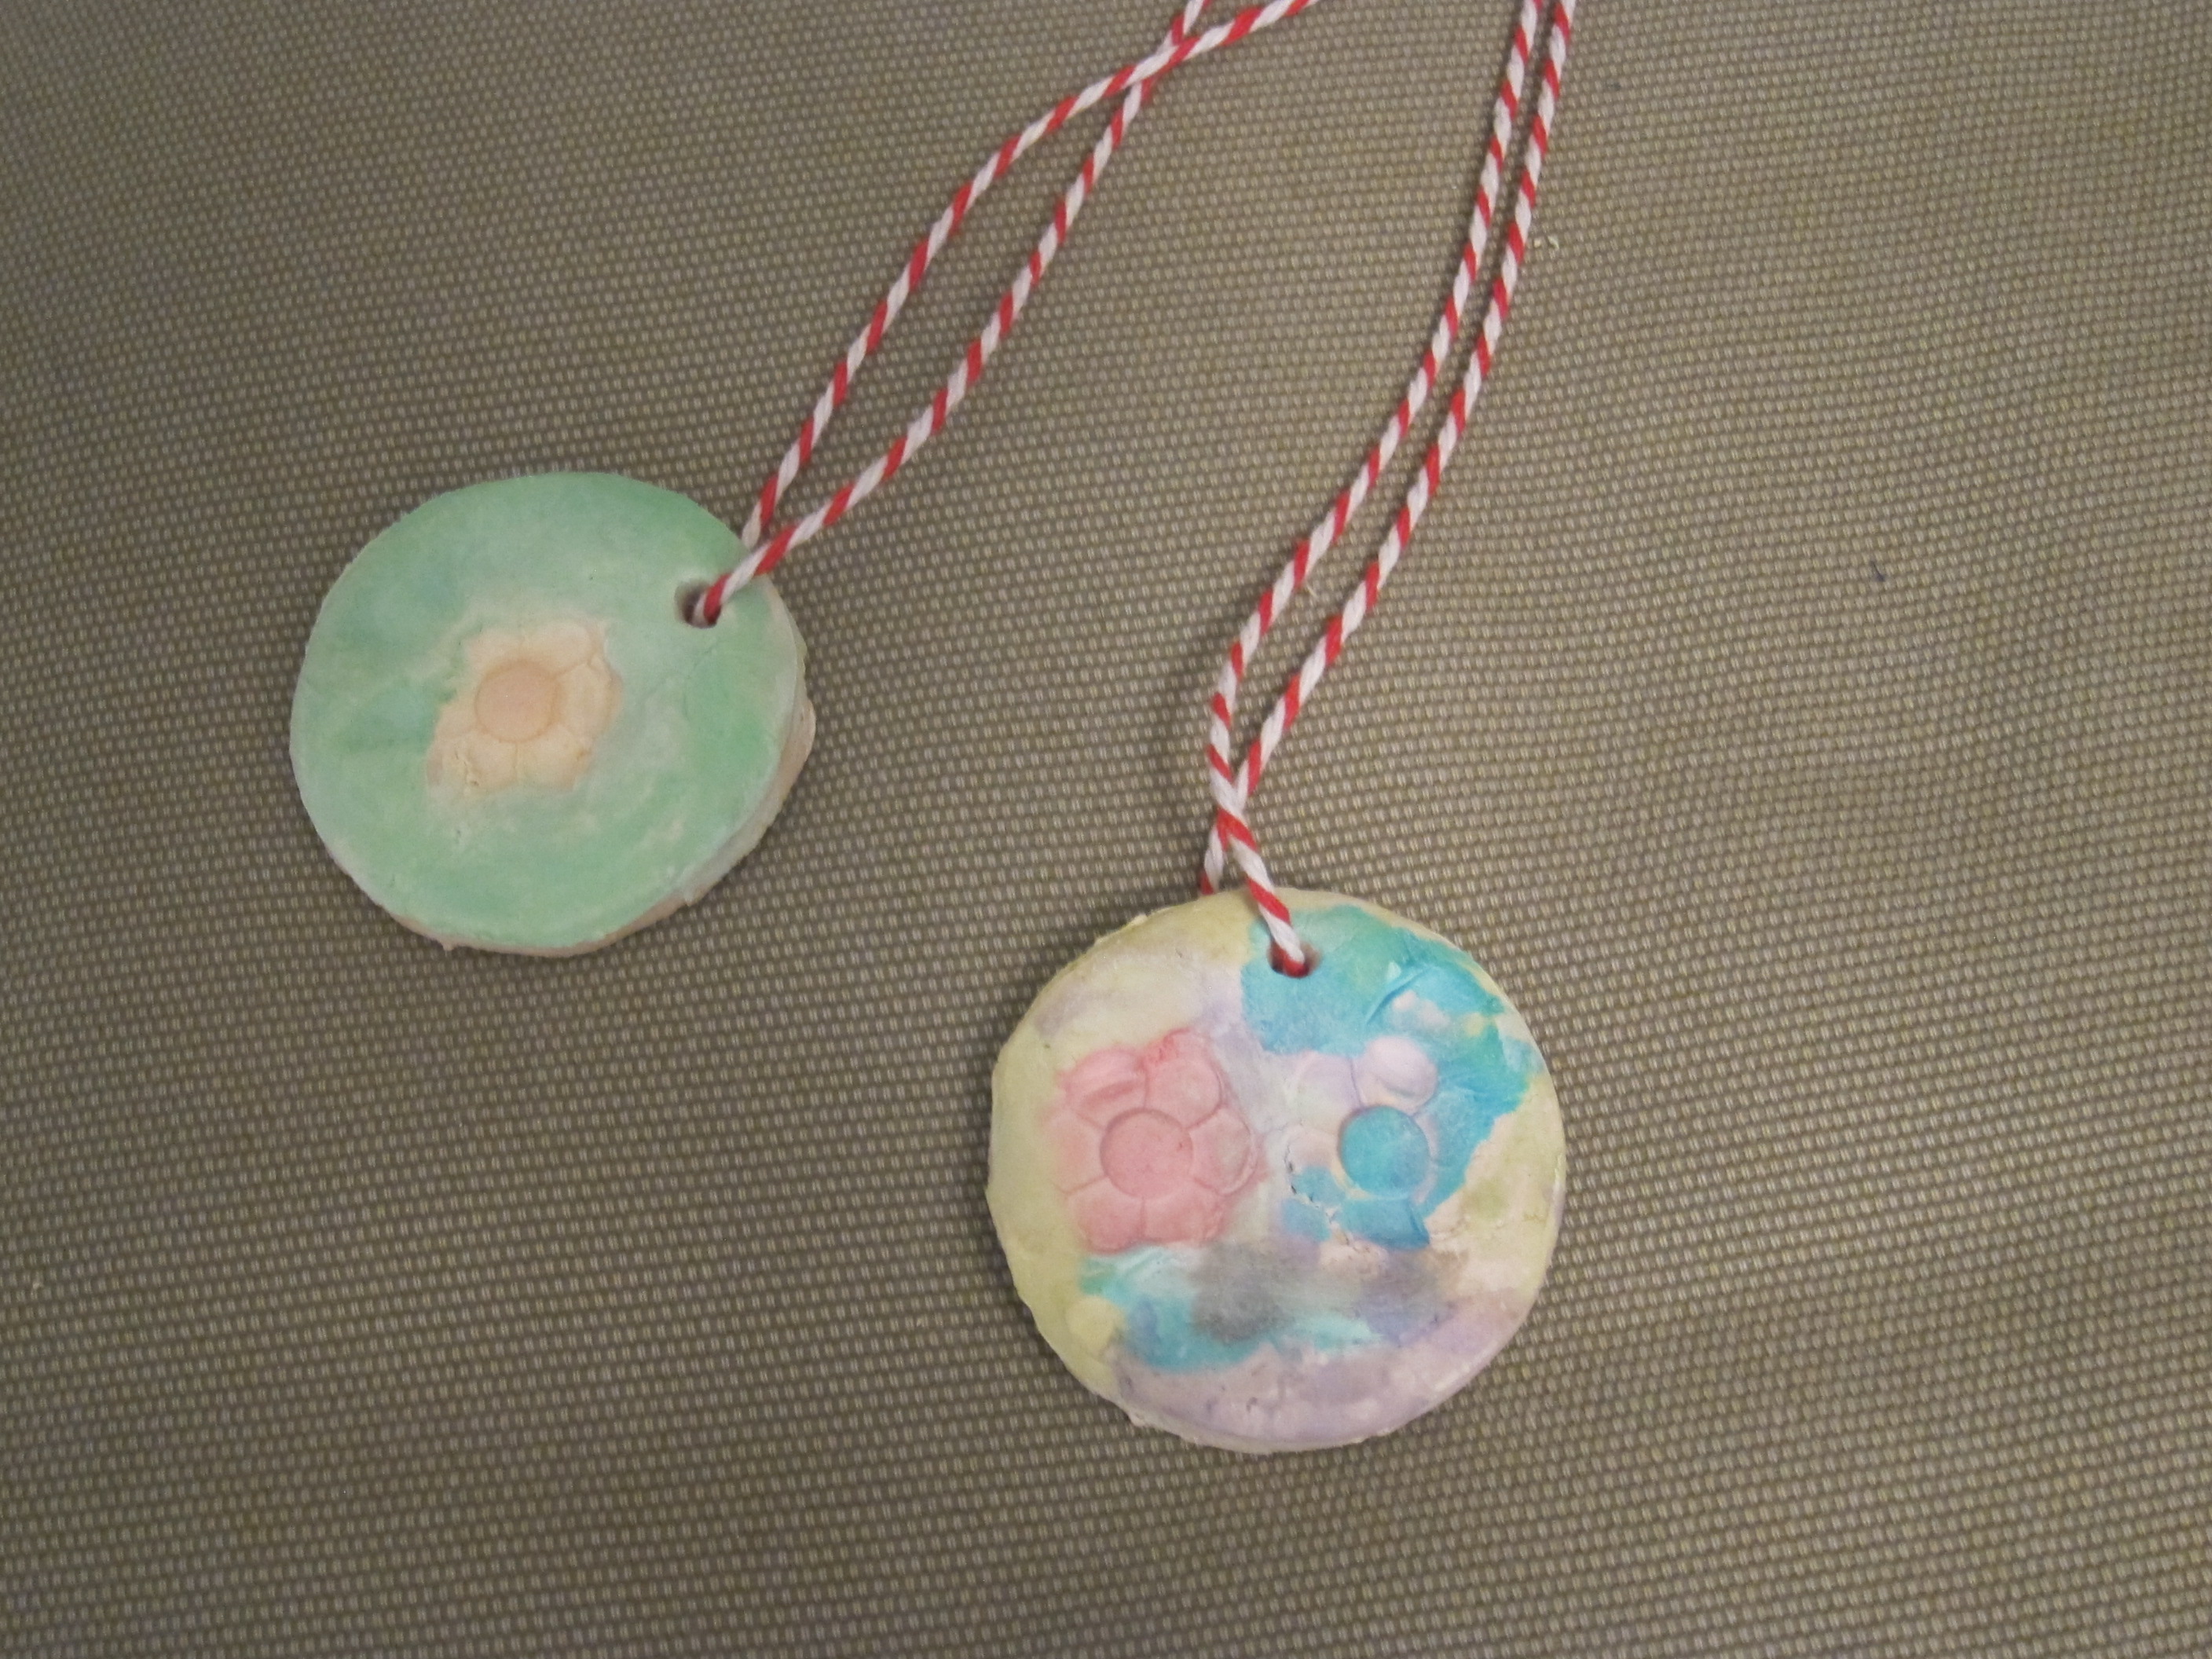
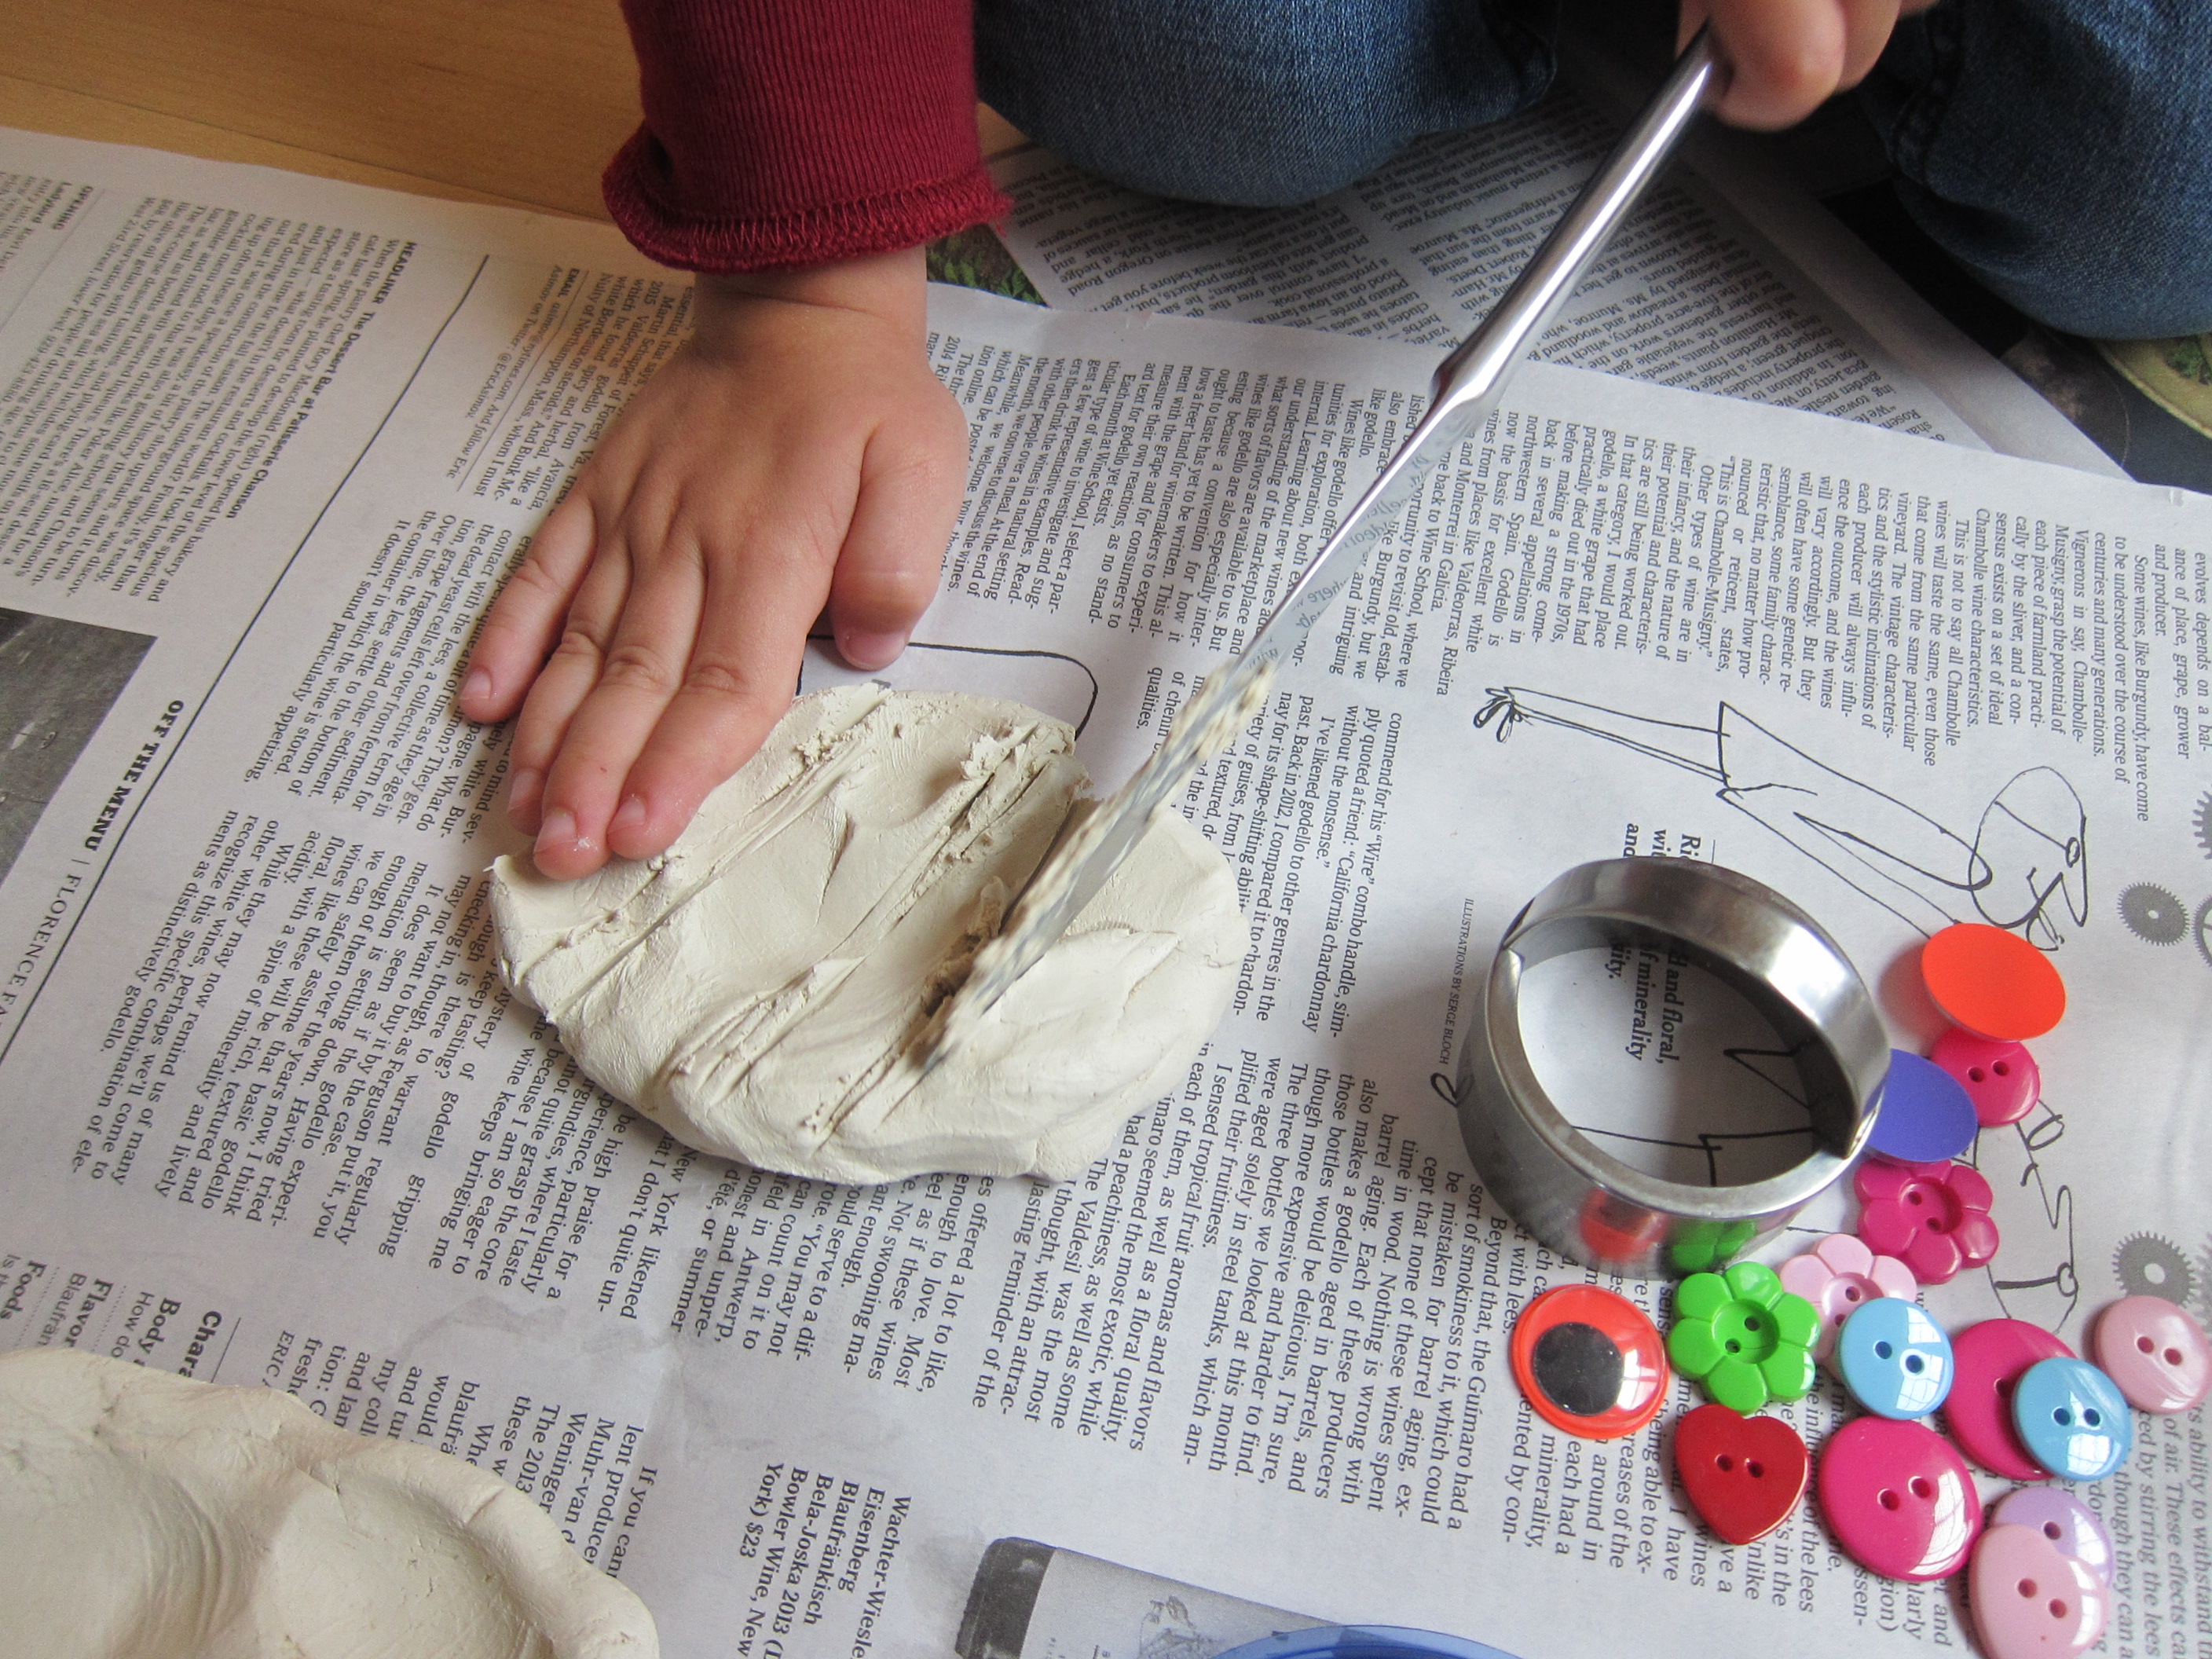
Nest: This word was closely linked to the nature ideas above. We used our air-dry clay to shape a nest, and pressed in more great finds from our nature walk – pine needles, grasses, and leaves. The process was so fun I devoted a separate blog post to it.

n-week-12

Noise: Make some of course! Pull out whatever instruments you have in the house, or use items around the house to create instruments, or simply bang on pots and pans. However you make noise, Raffi’s “Let’s Make Some Noise” is the perfect song to do it to.

n-week-19

Net: To play with a random butterfly net we own, I fashioned “butterflies” from construction paper and we set them aflutter for Travis to chase around. It was so windy that we were able to do this right at our windowsill, though we briefly tried outside as well. Nets are also great for bathtub “fishing” or just for letting your toddler collect little items.

n-week-13

Newspaper: Old newspapers are the gift that keeps on giving. You can wad them up and use an old baby tub as target practice…

n-week-15

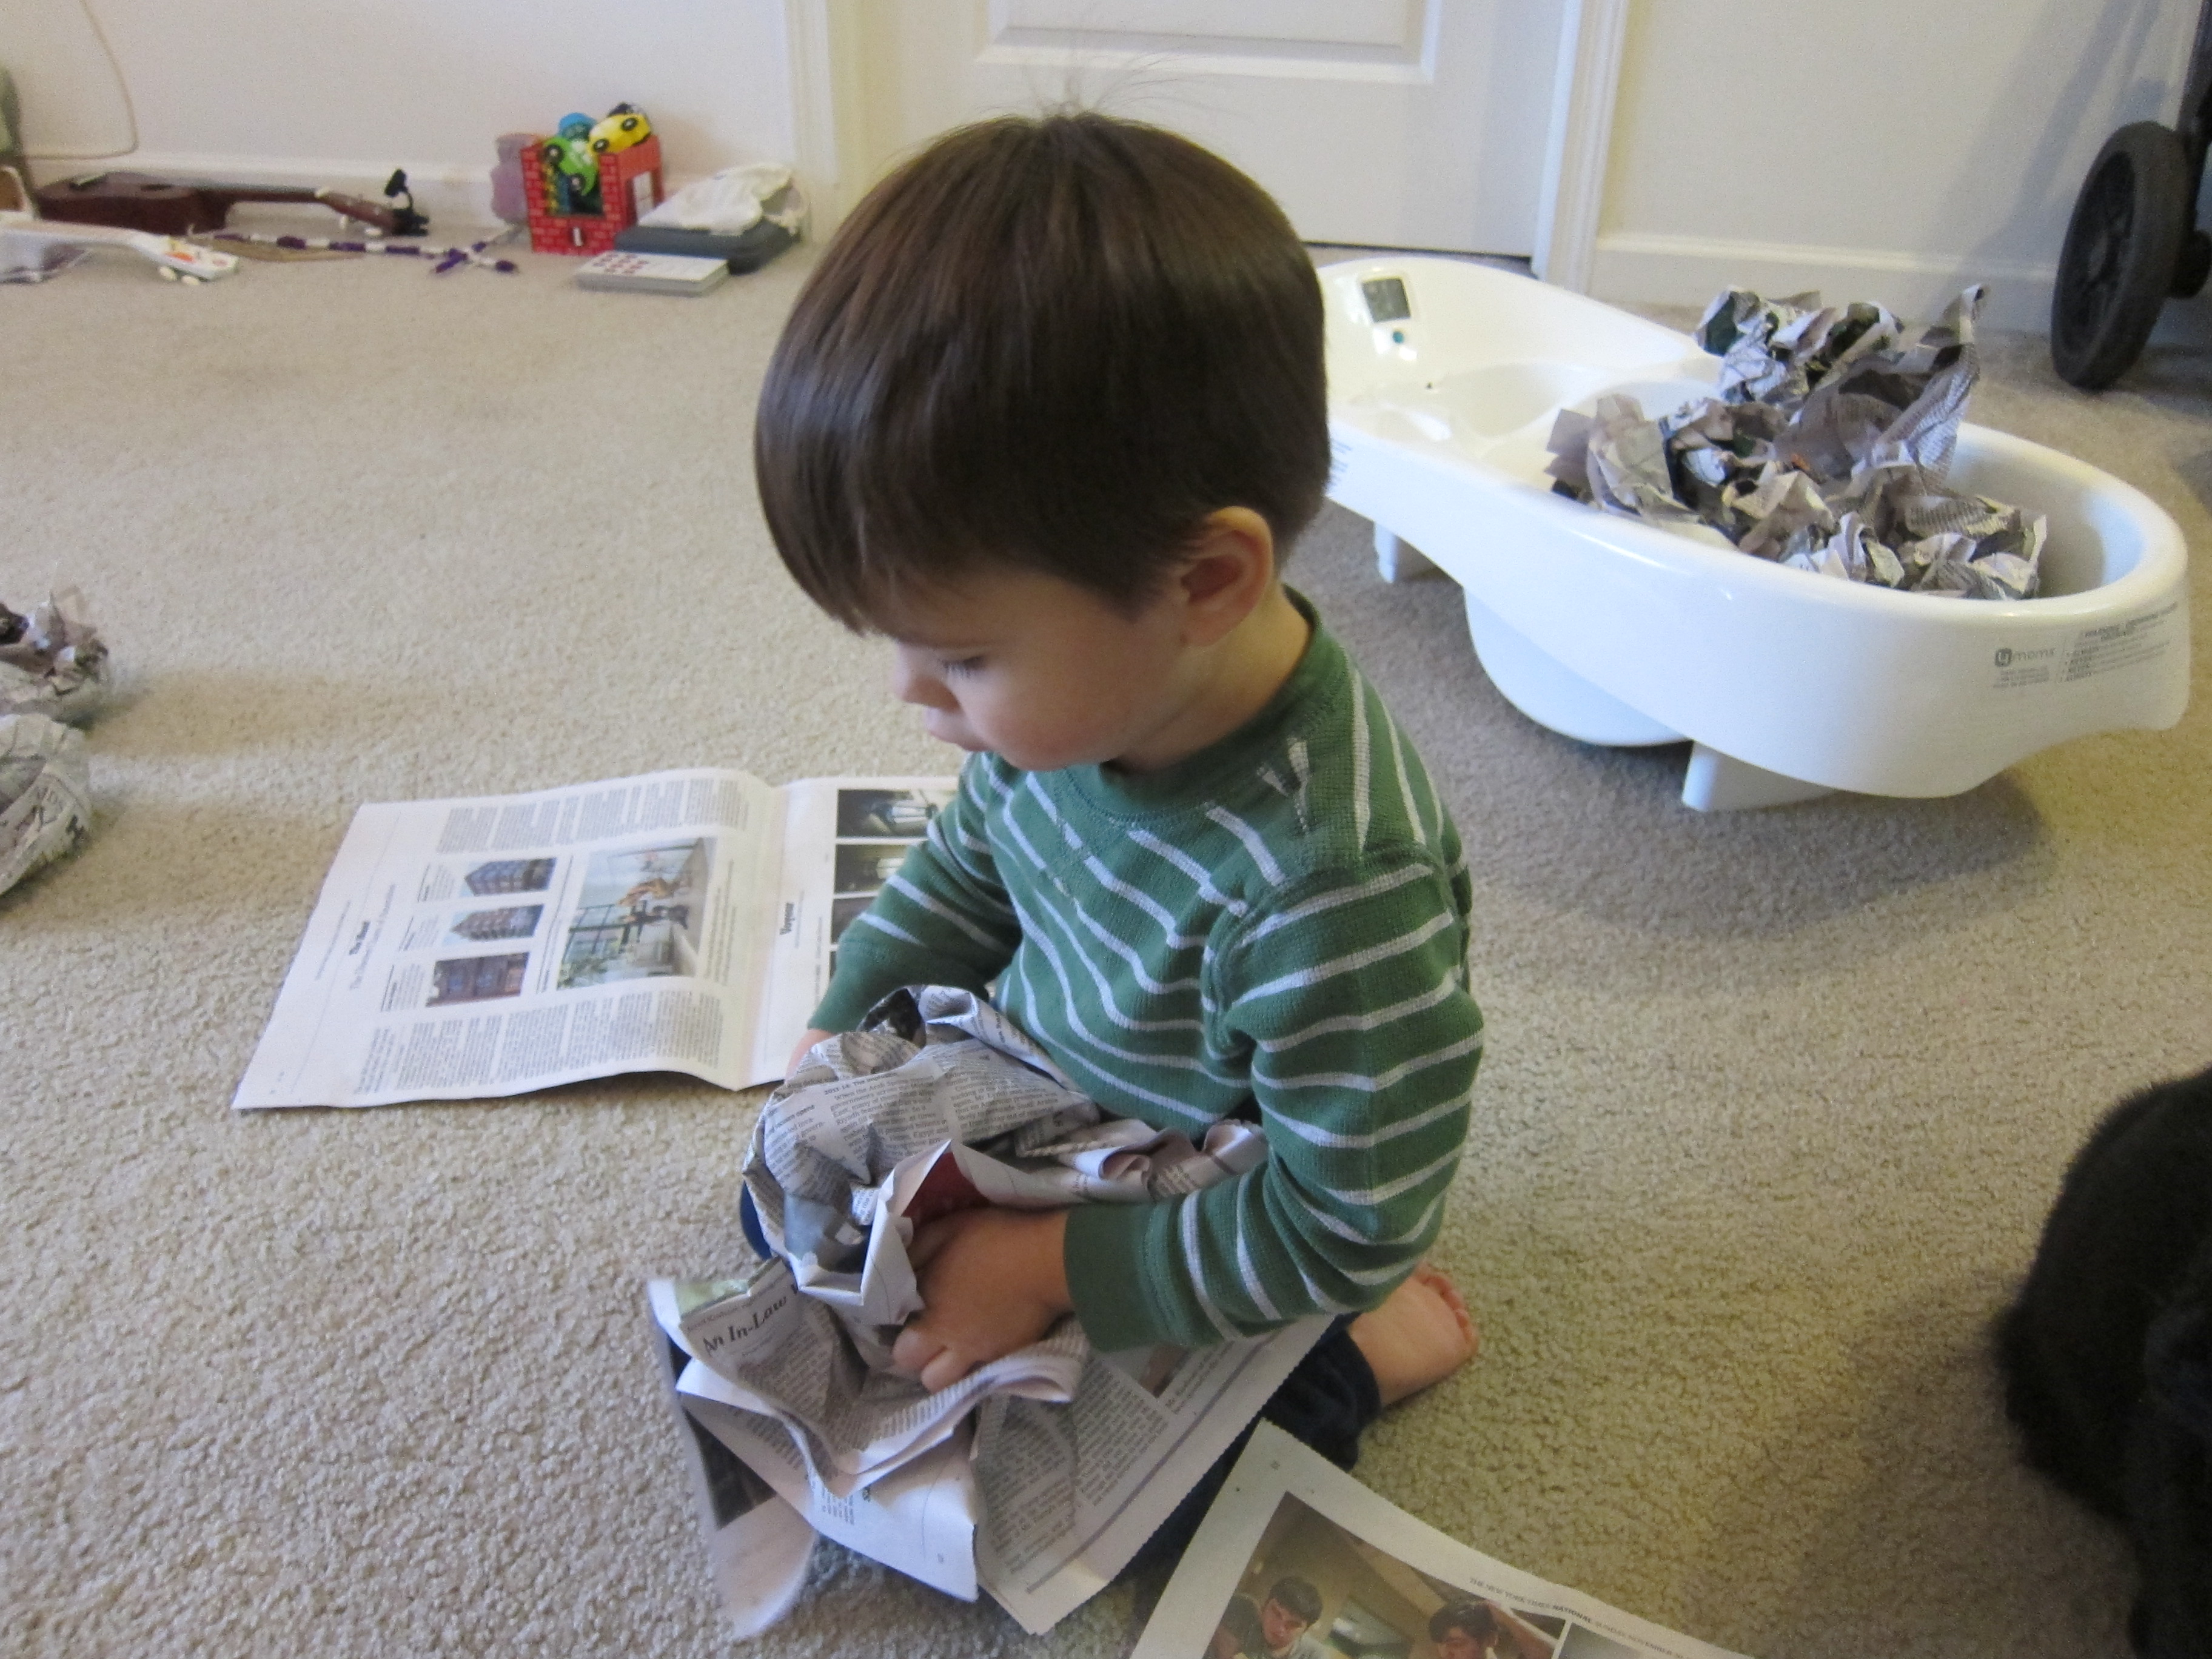
…or roll into a “golf club” and aim golf balls at a target (such as an empty shoebox on its side). We also made newspaper hats, and Travis was so proud wearing his!

And our weekly extras:

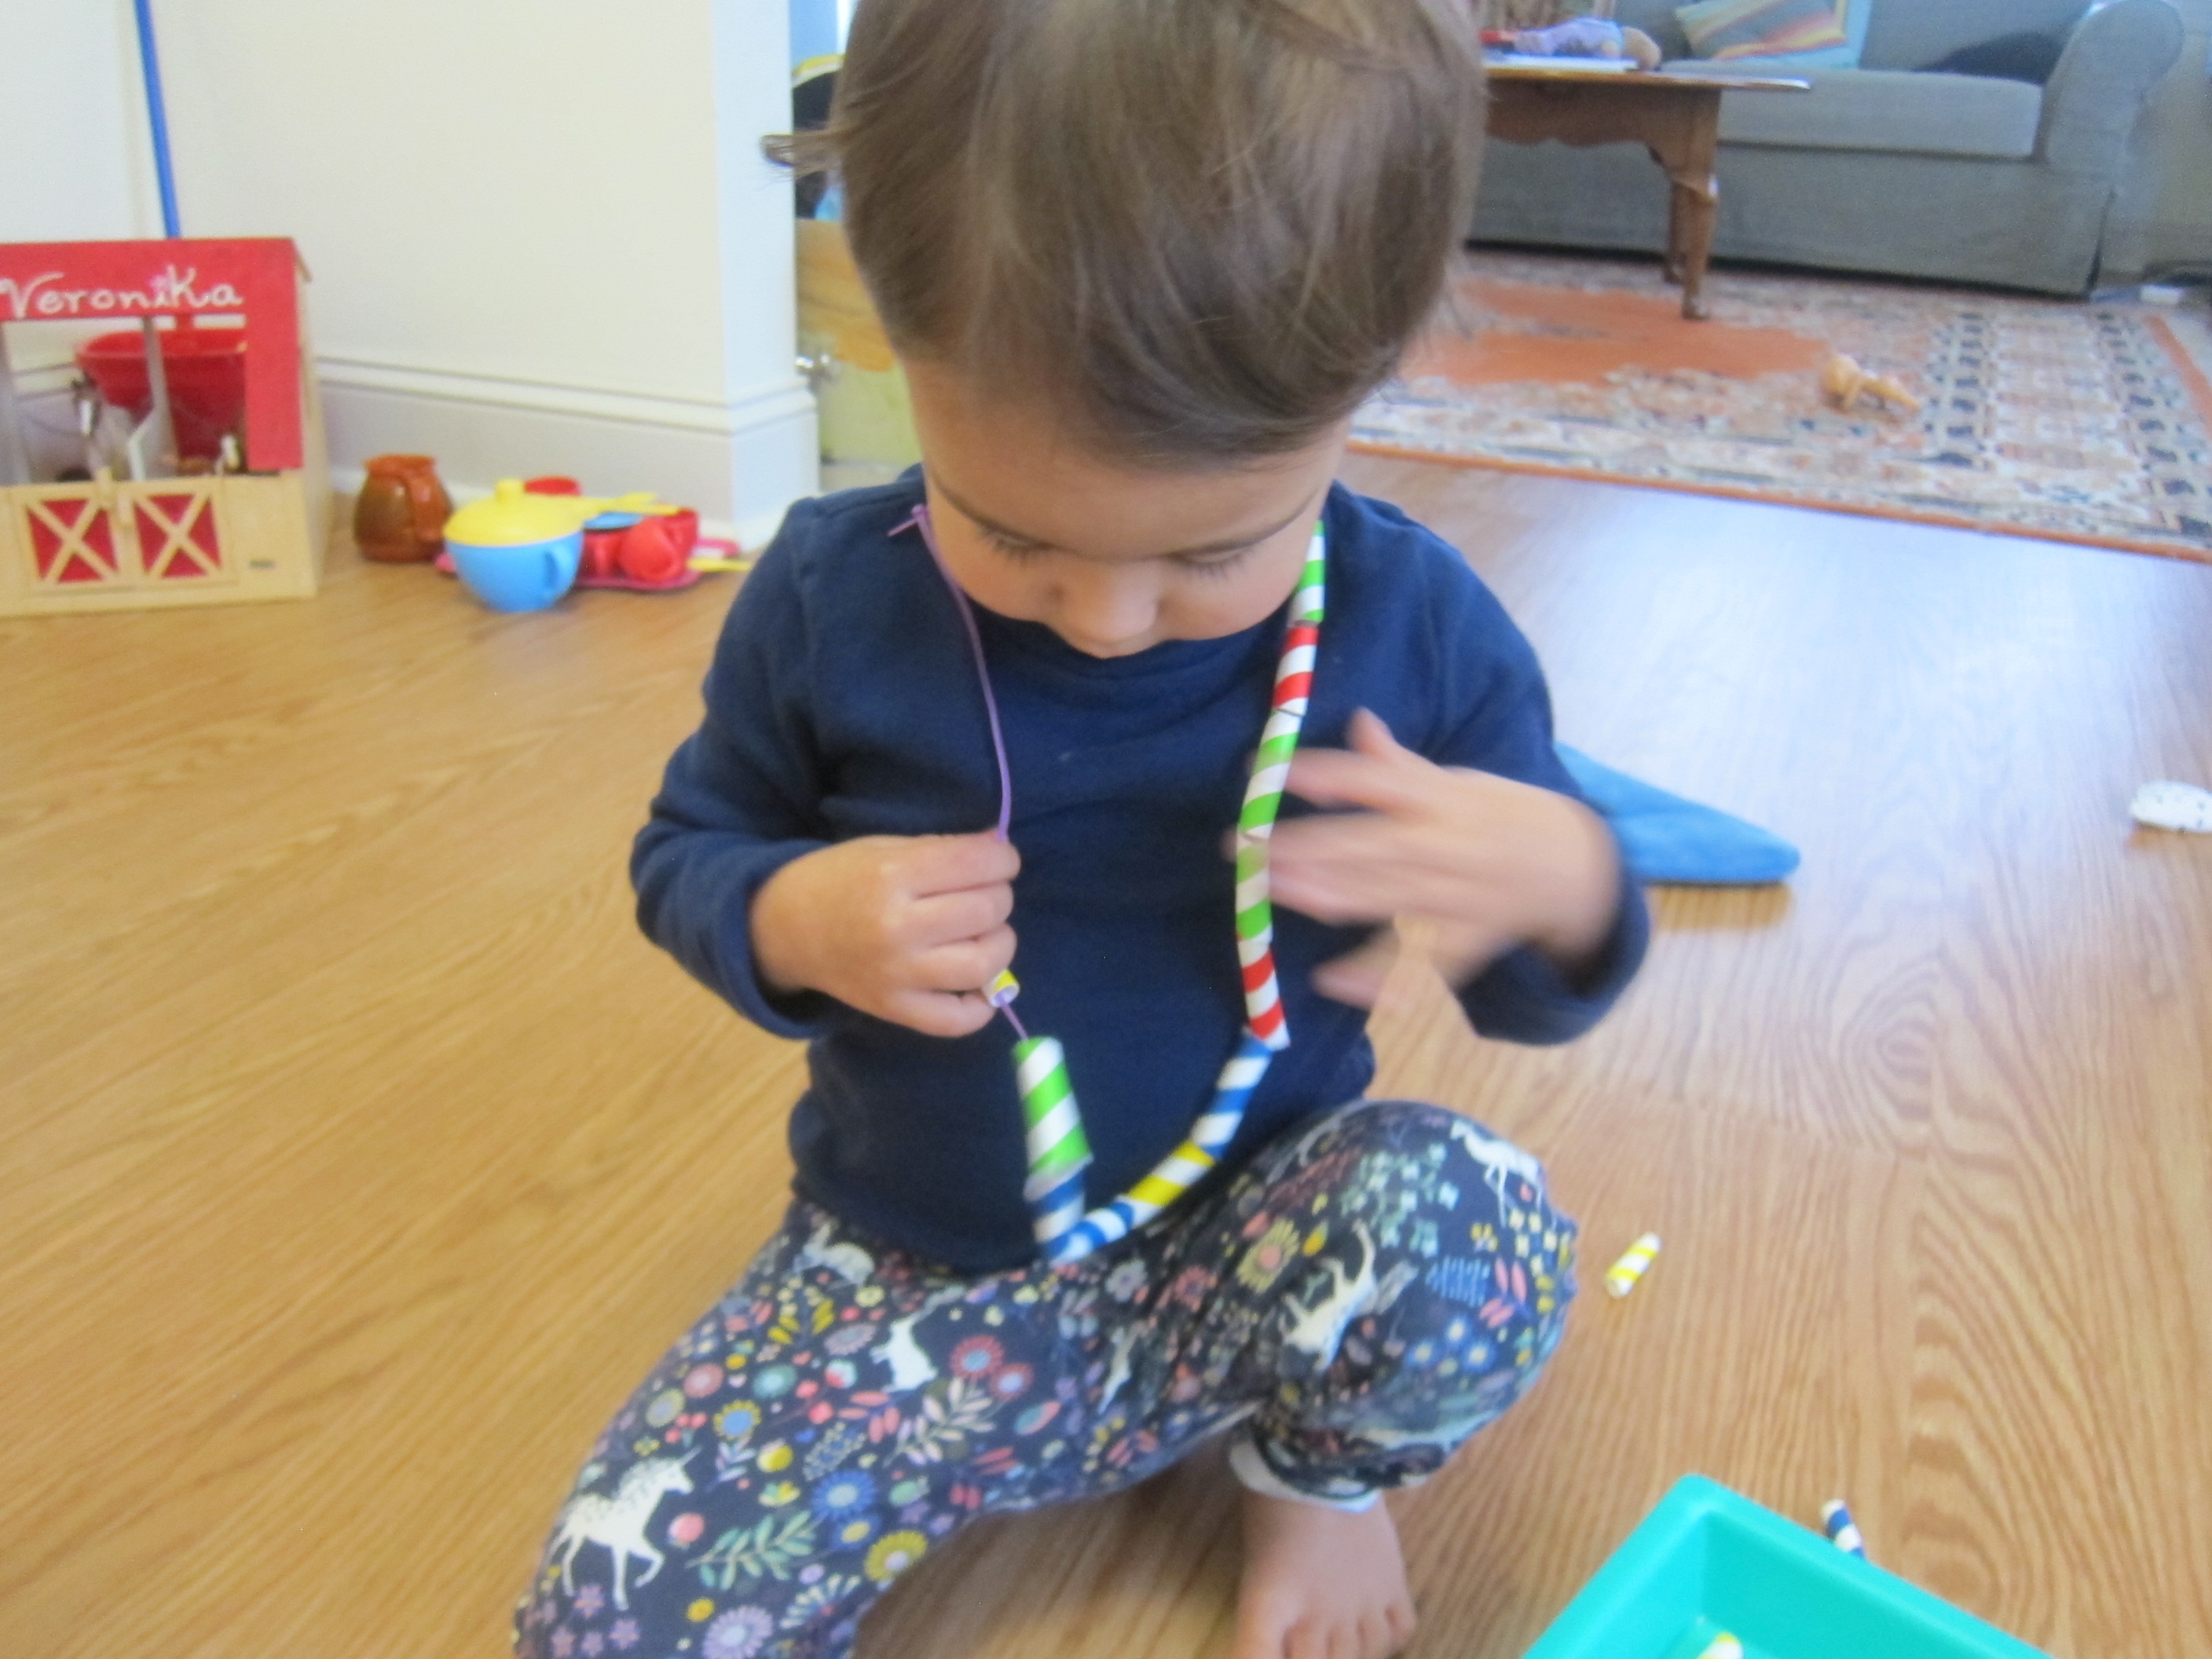
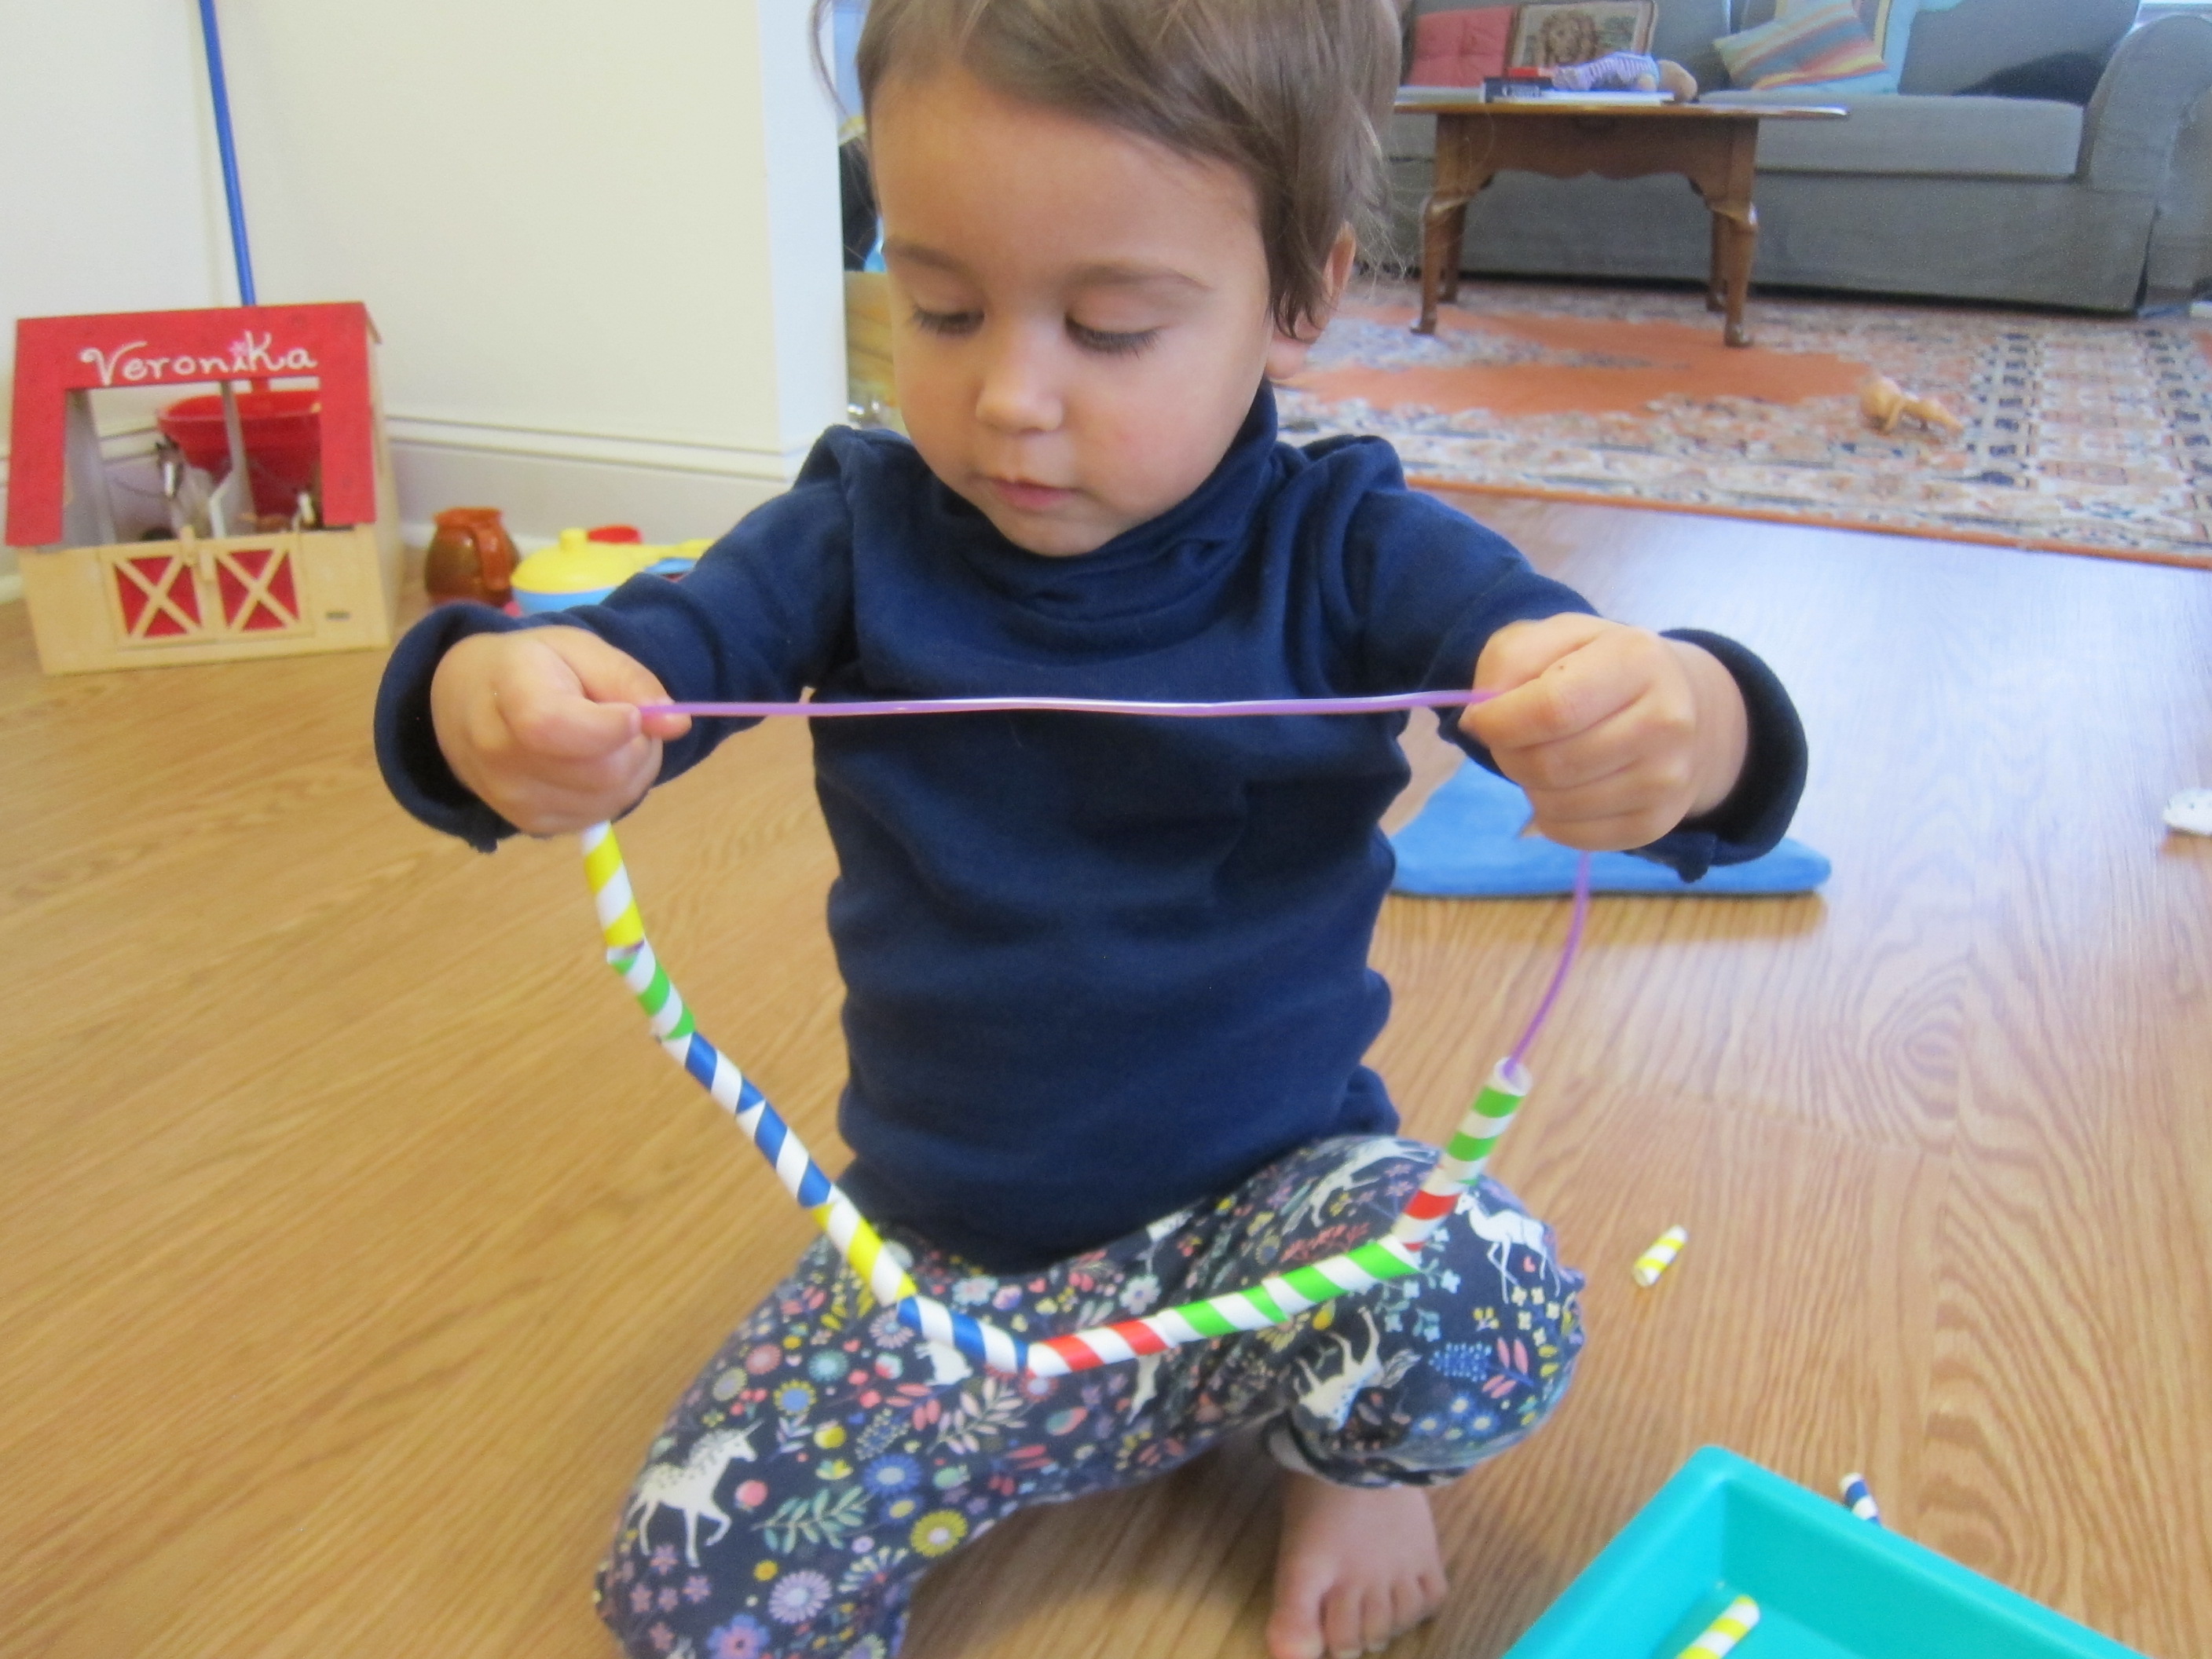
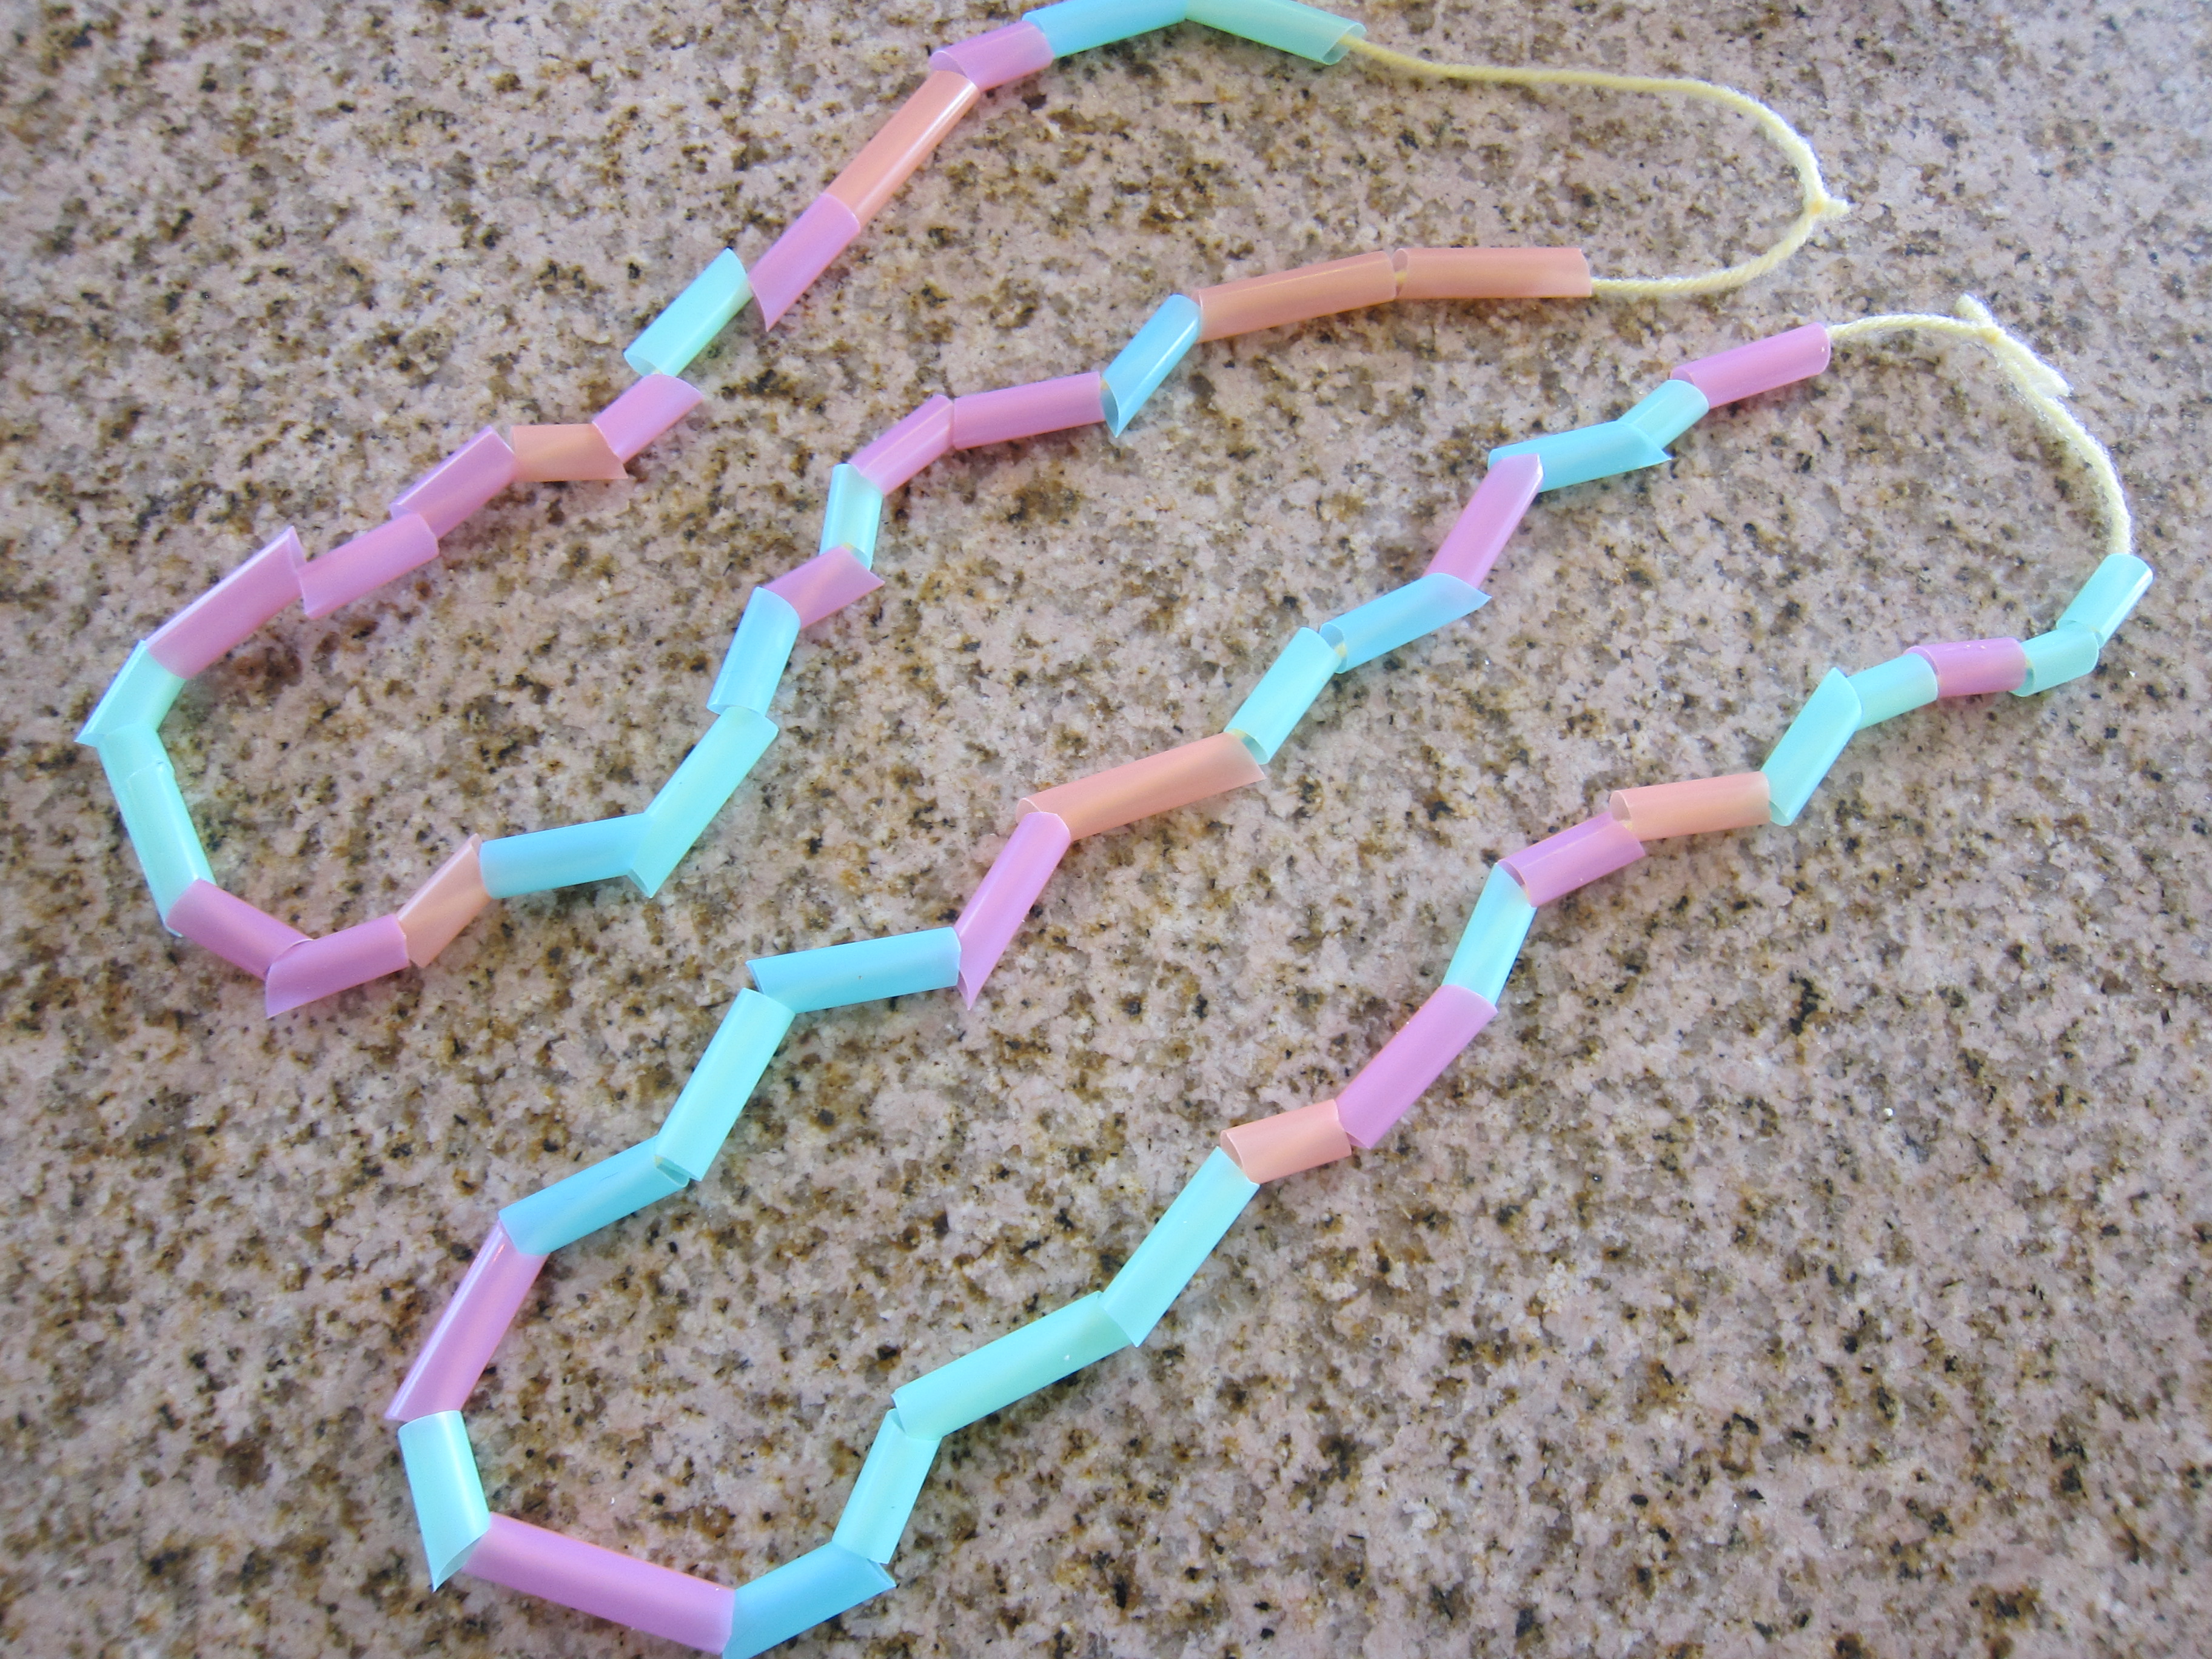
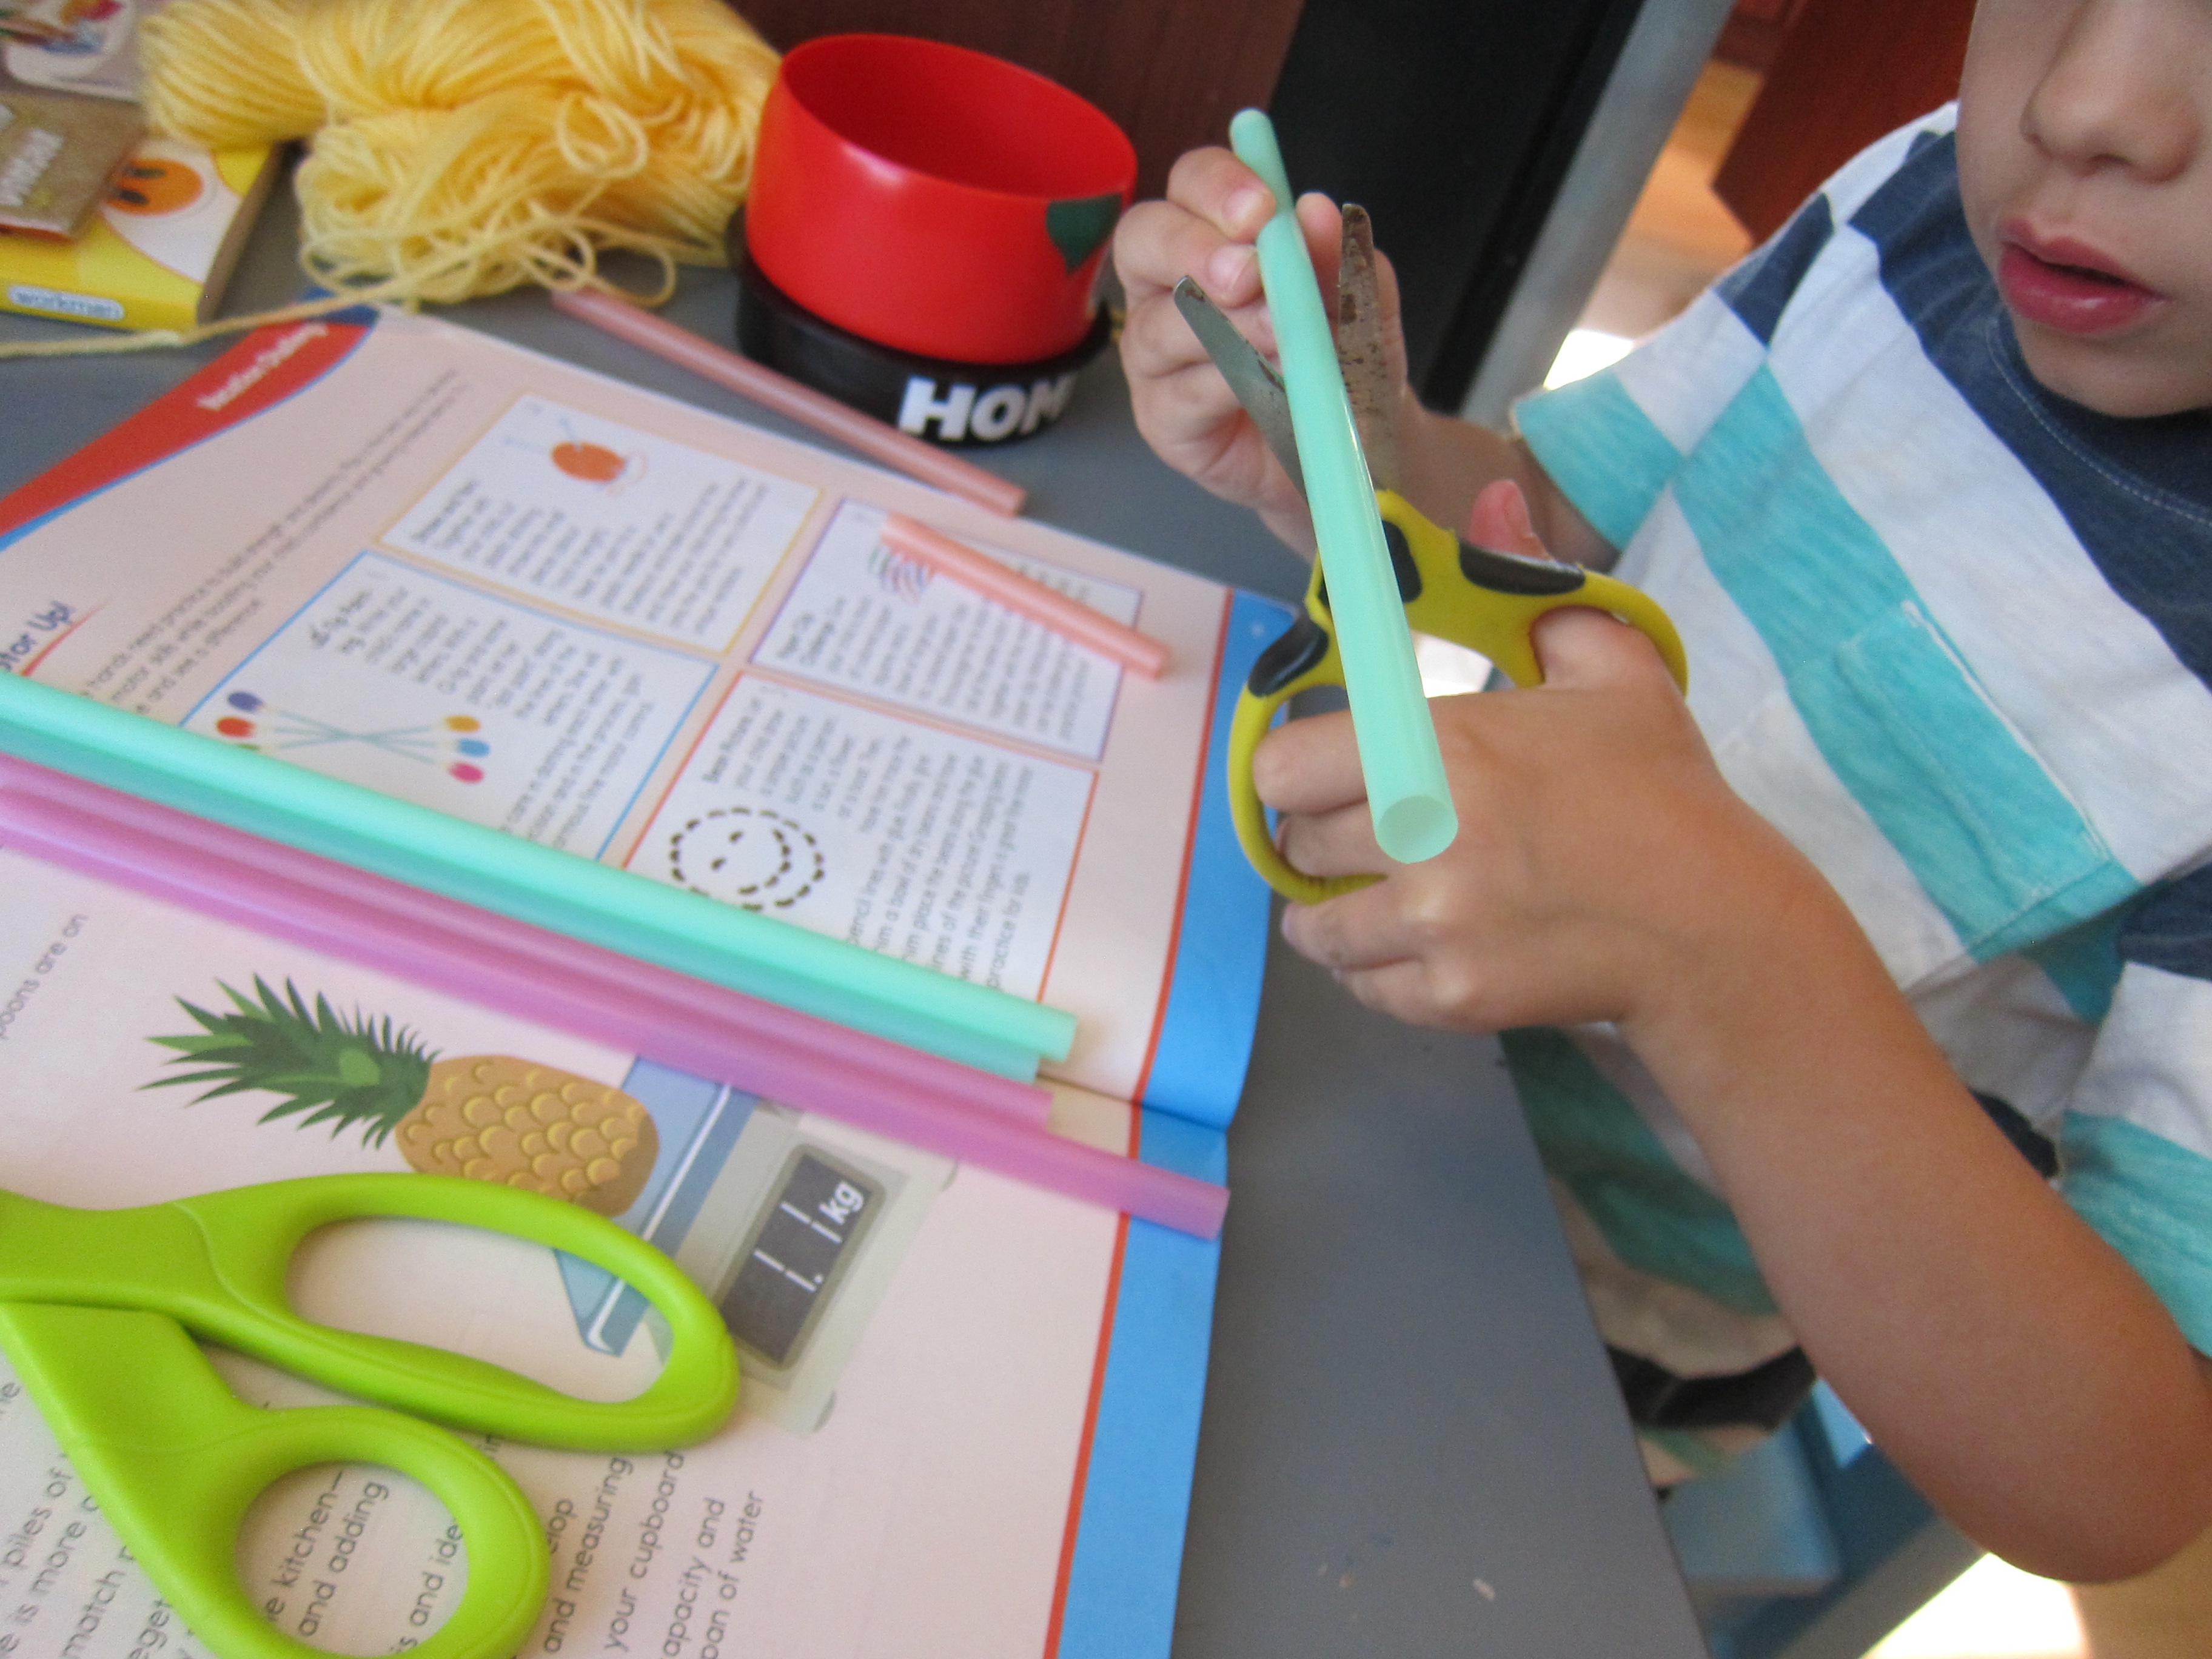
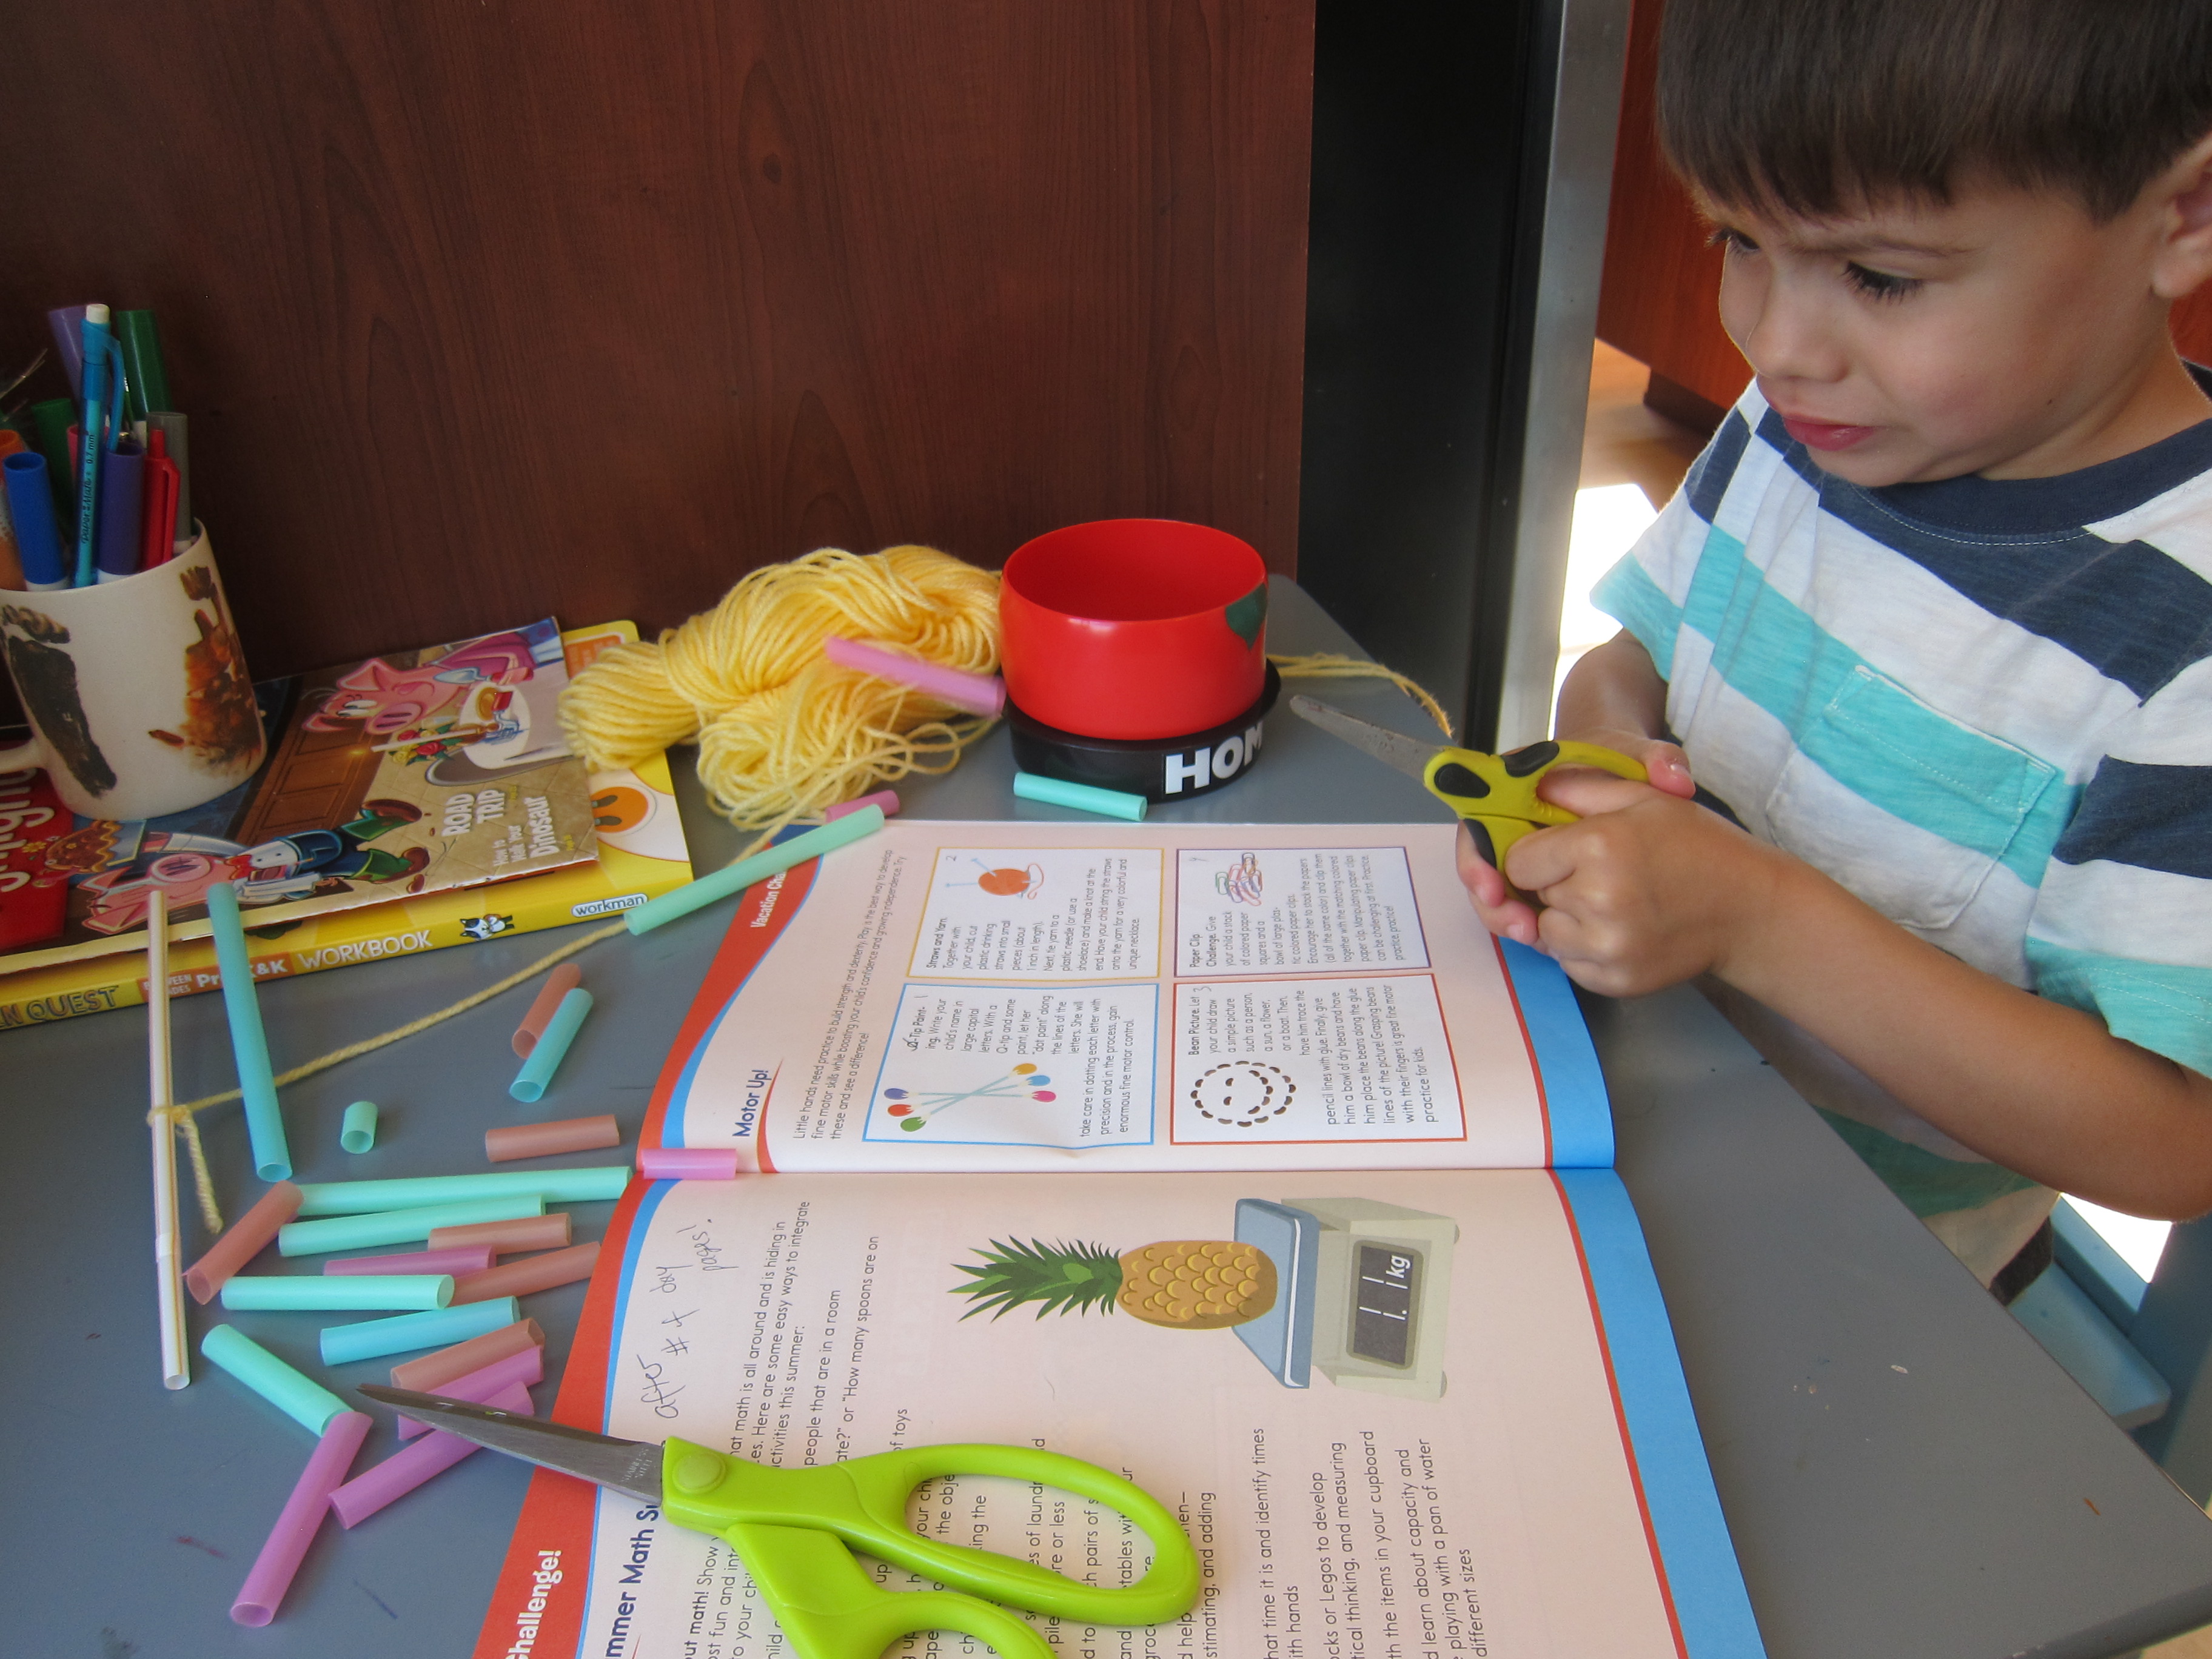
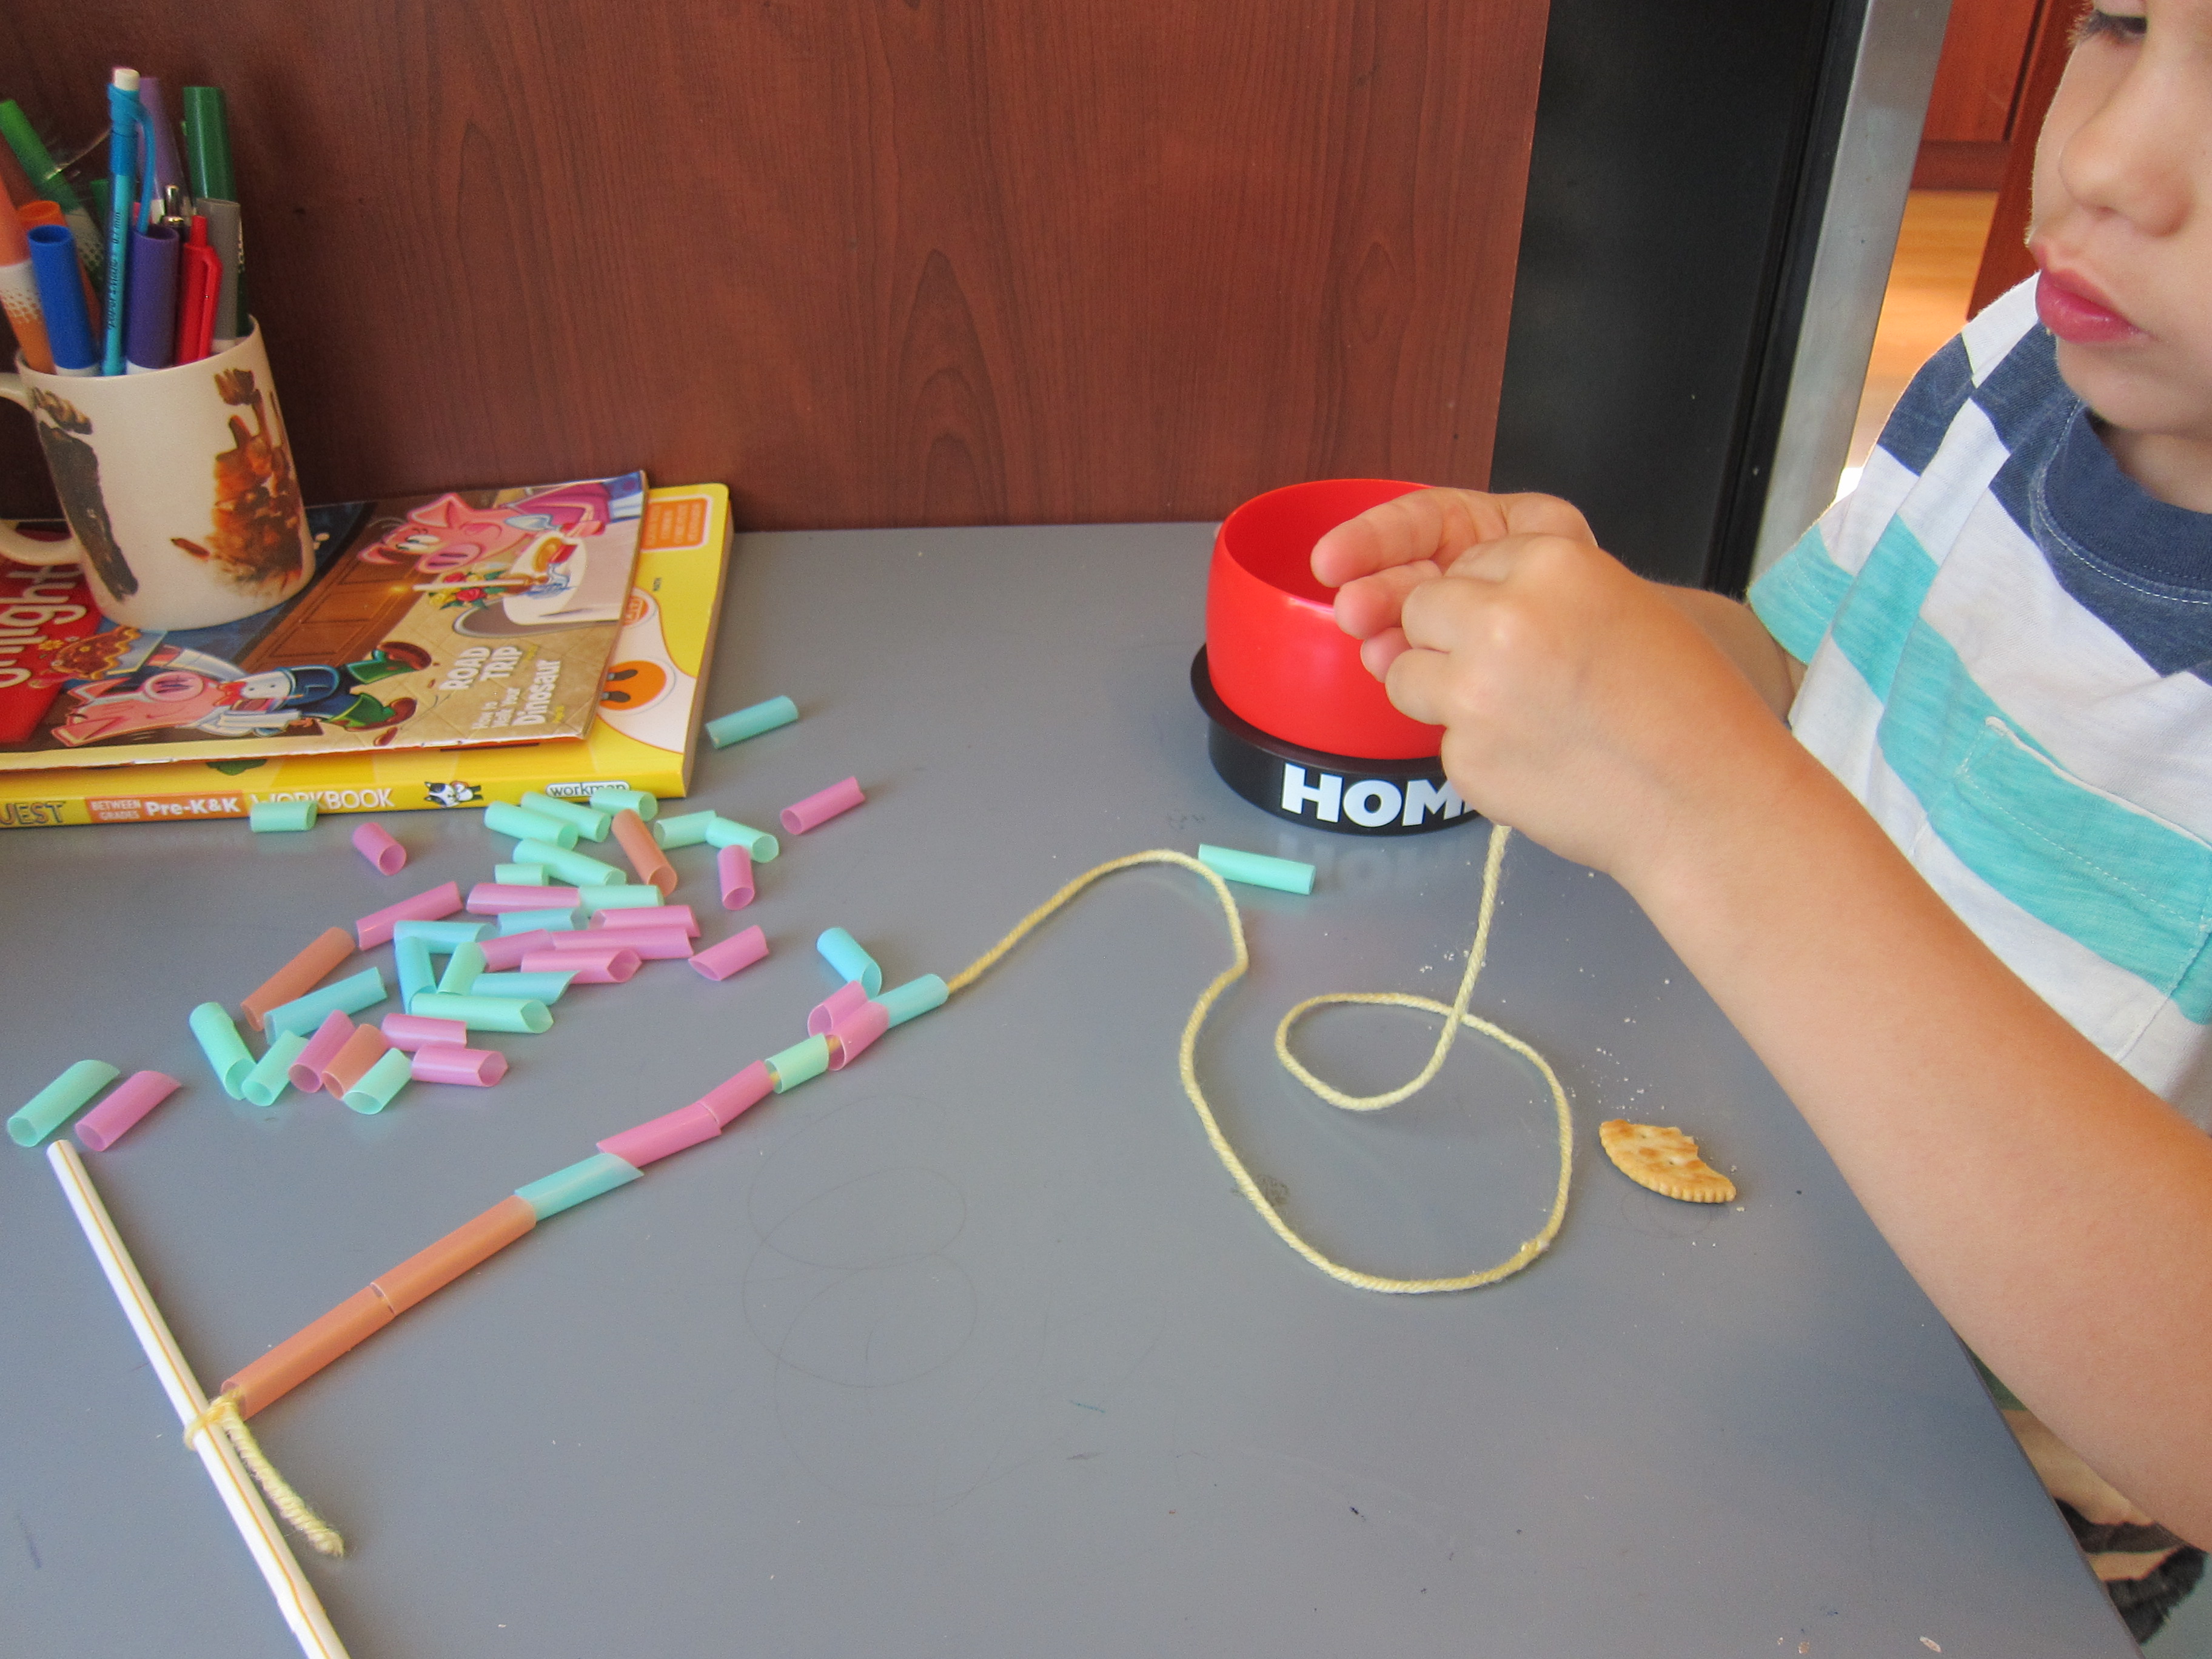
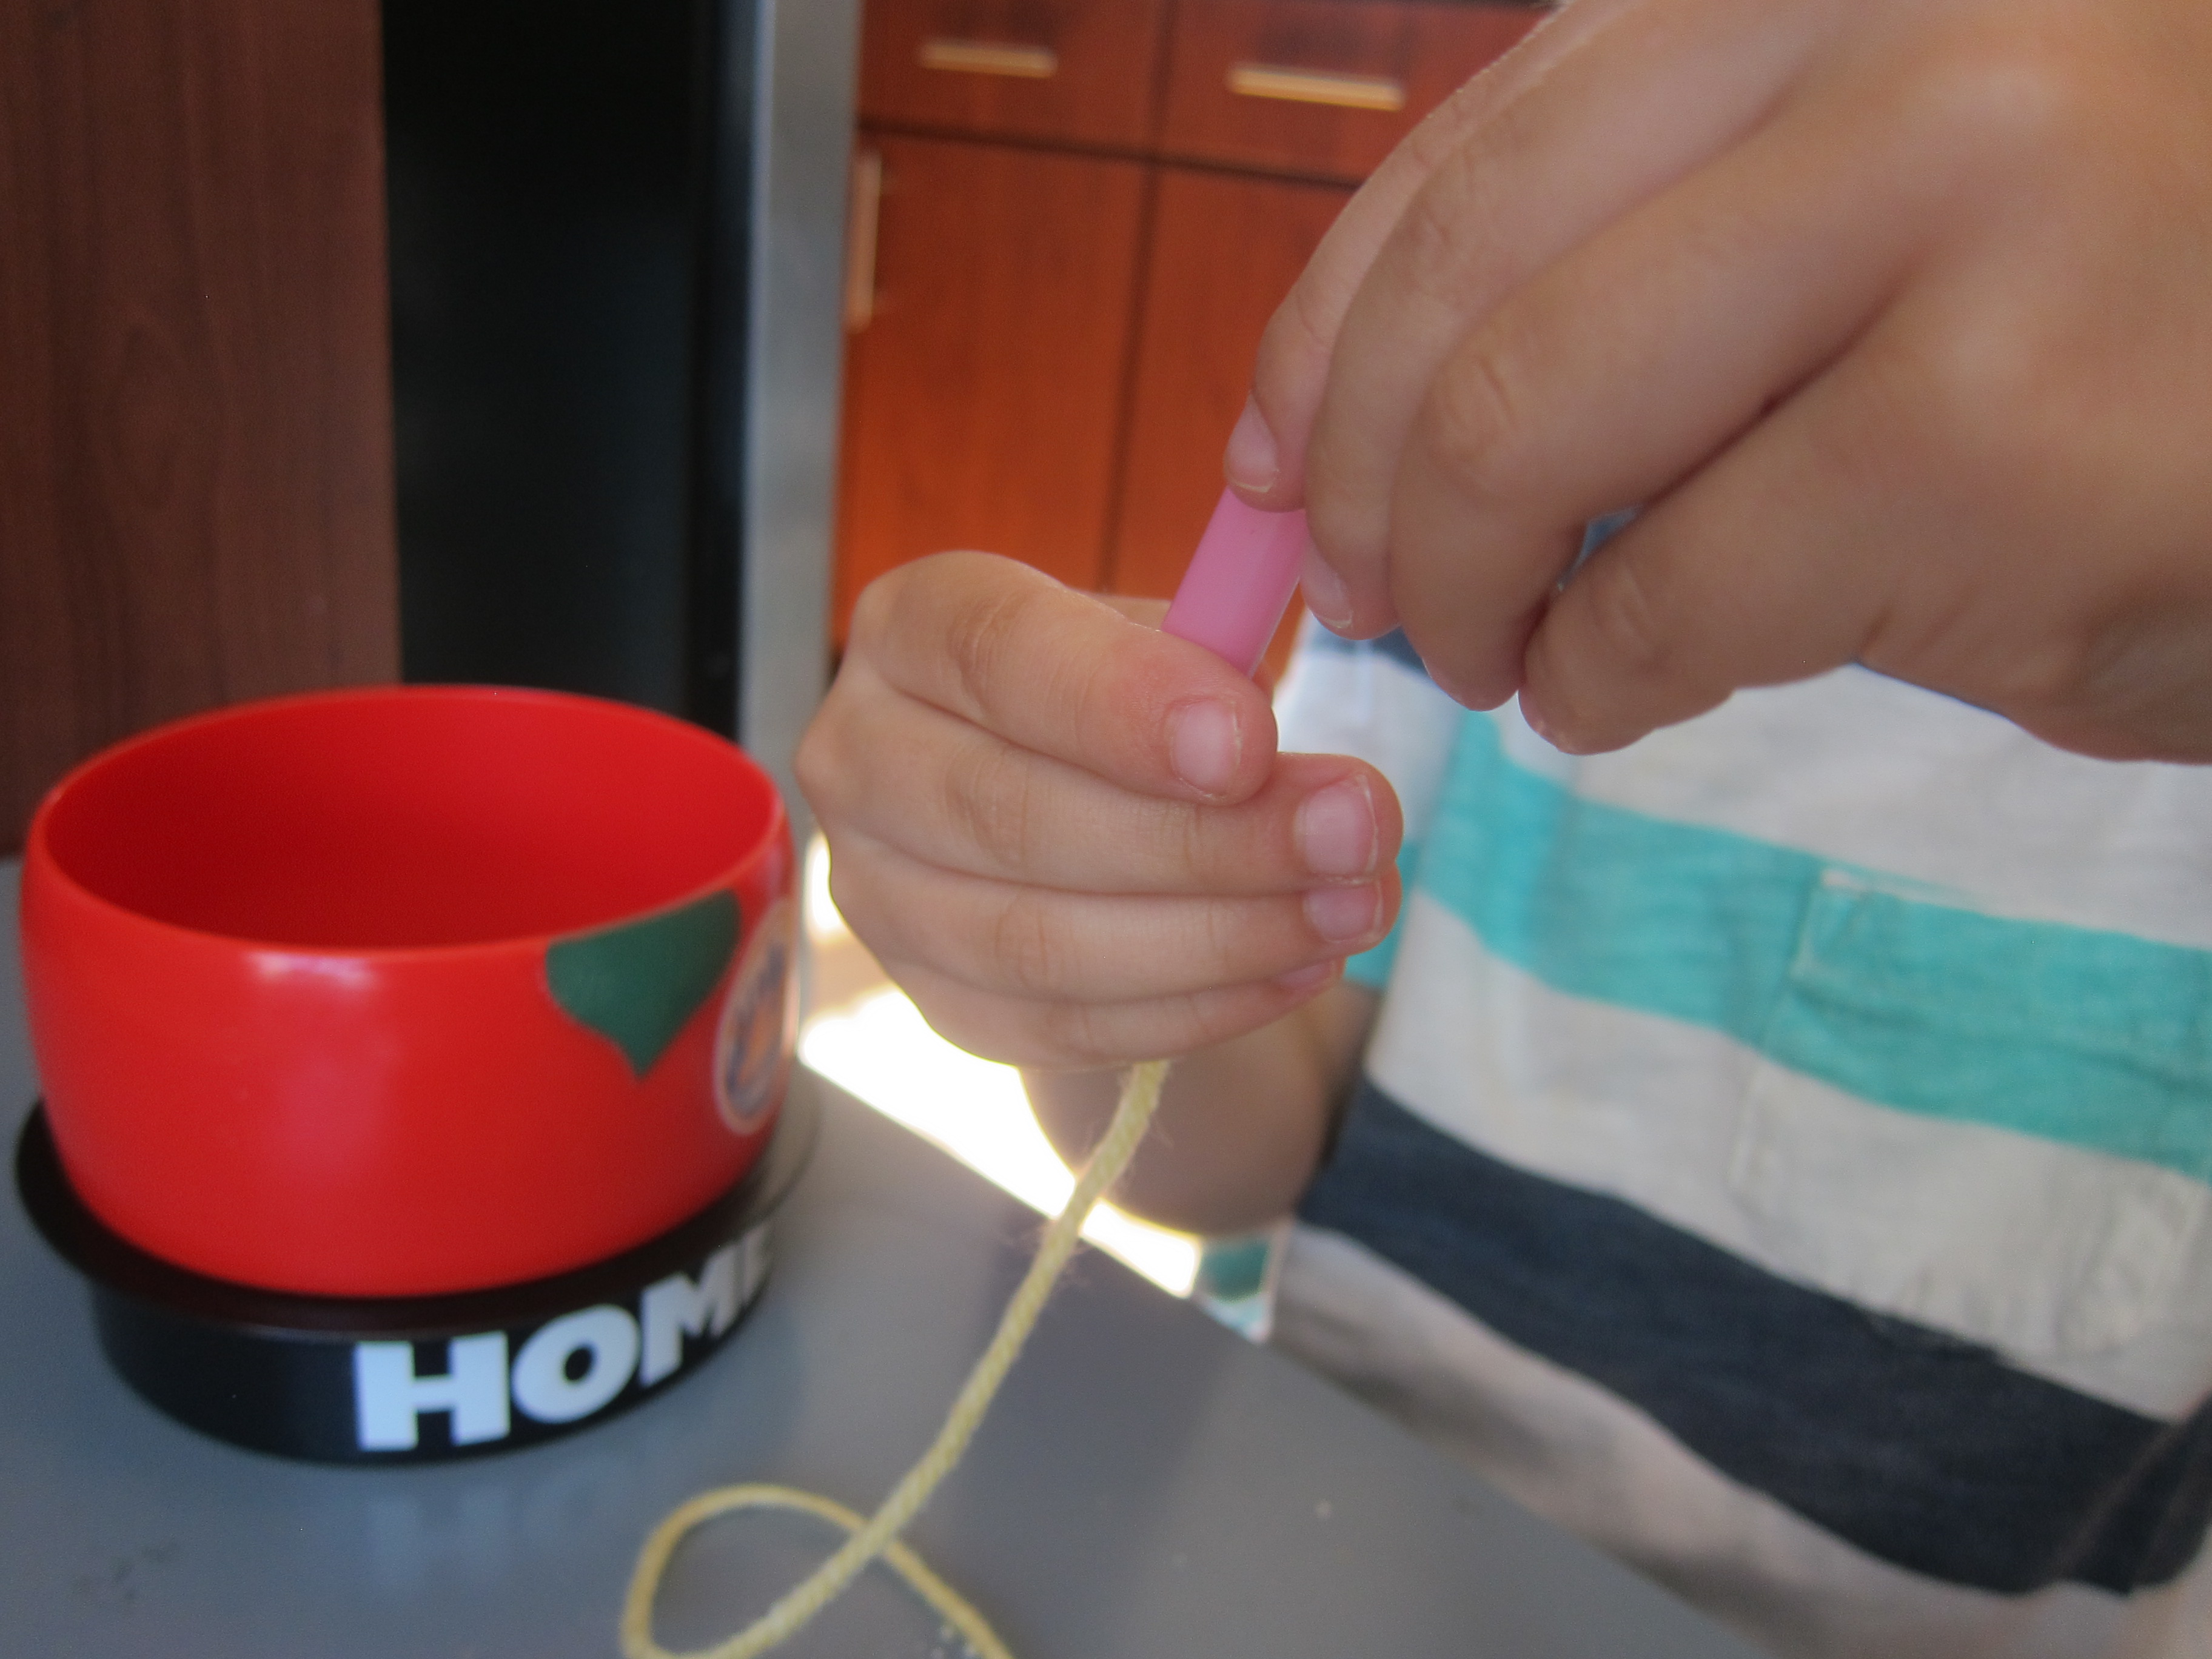
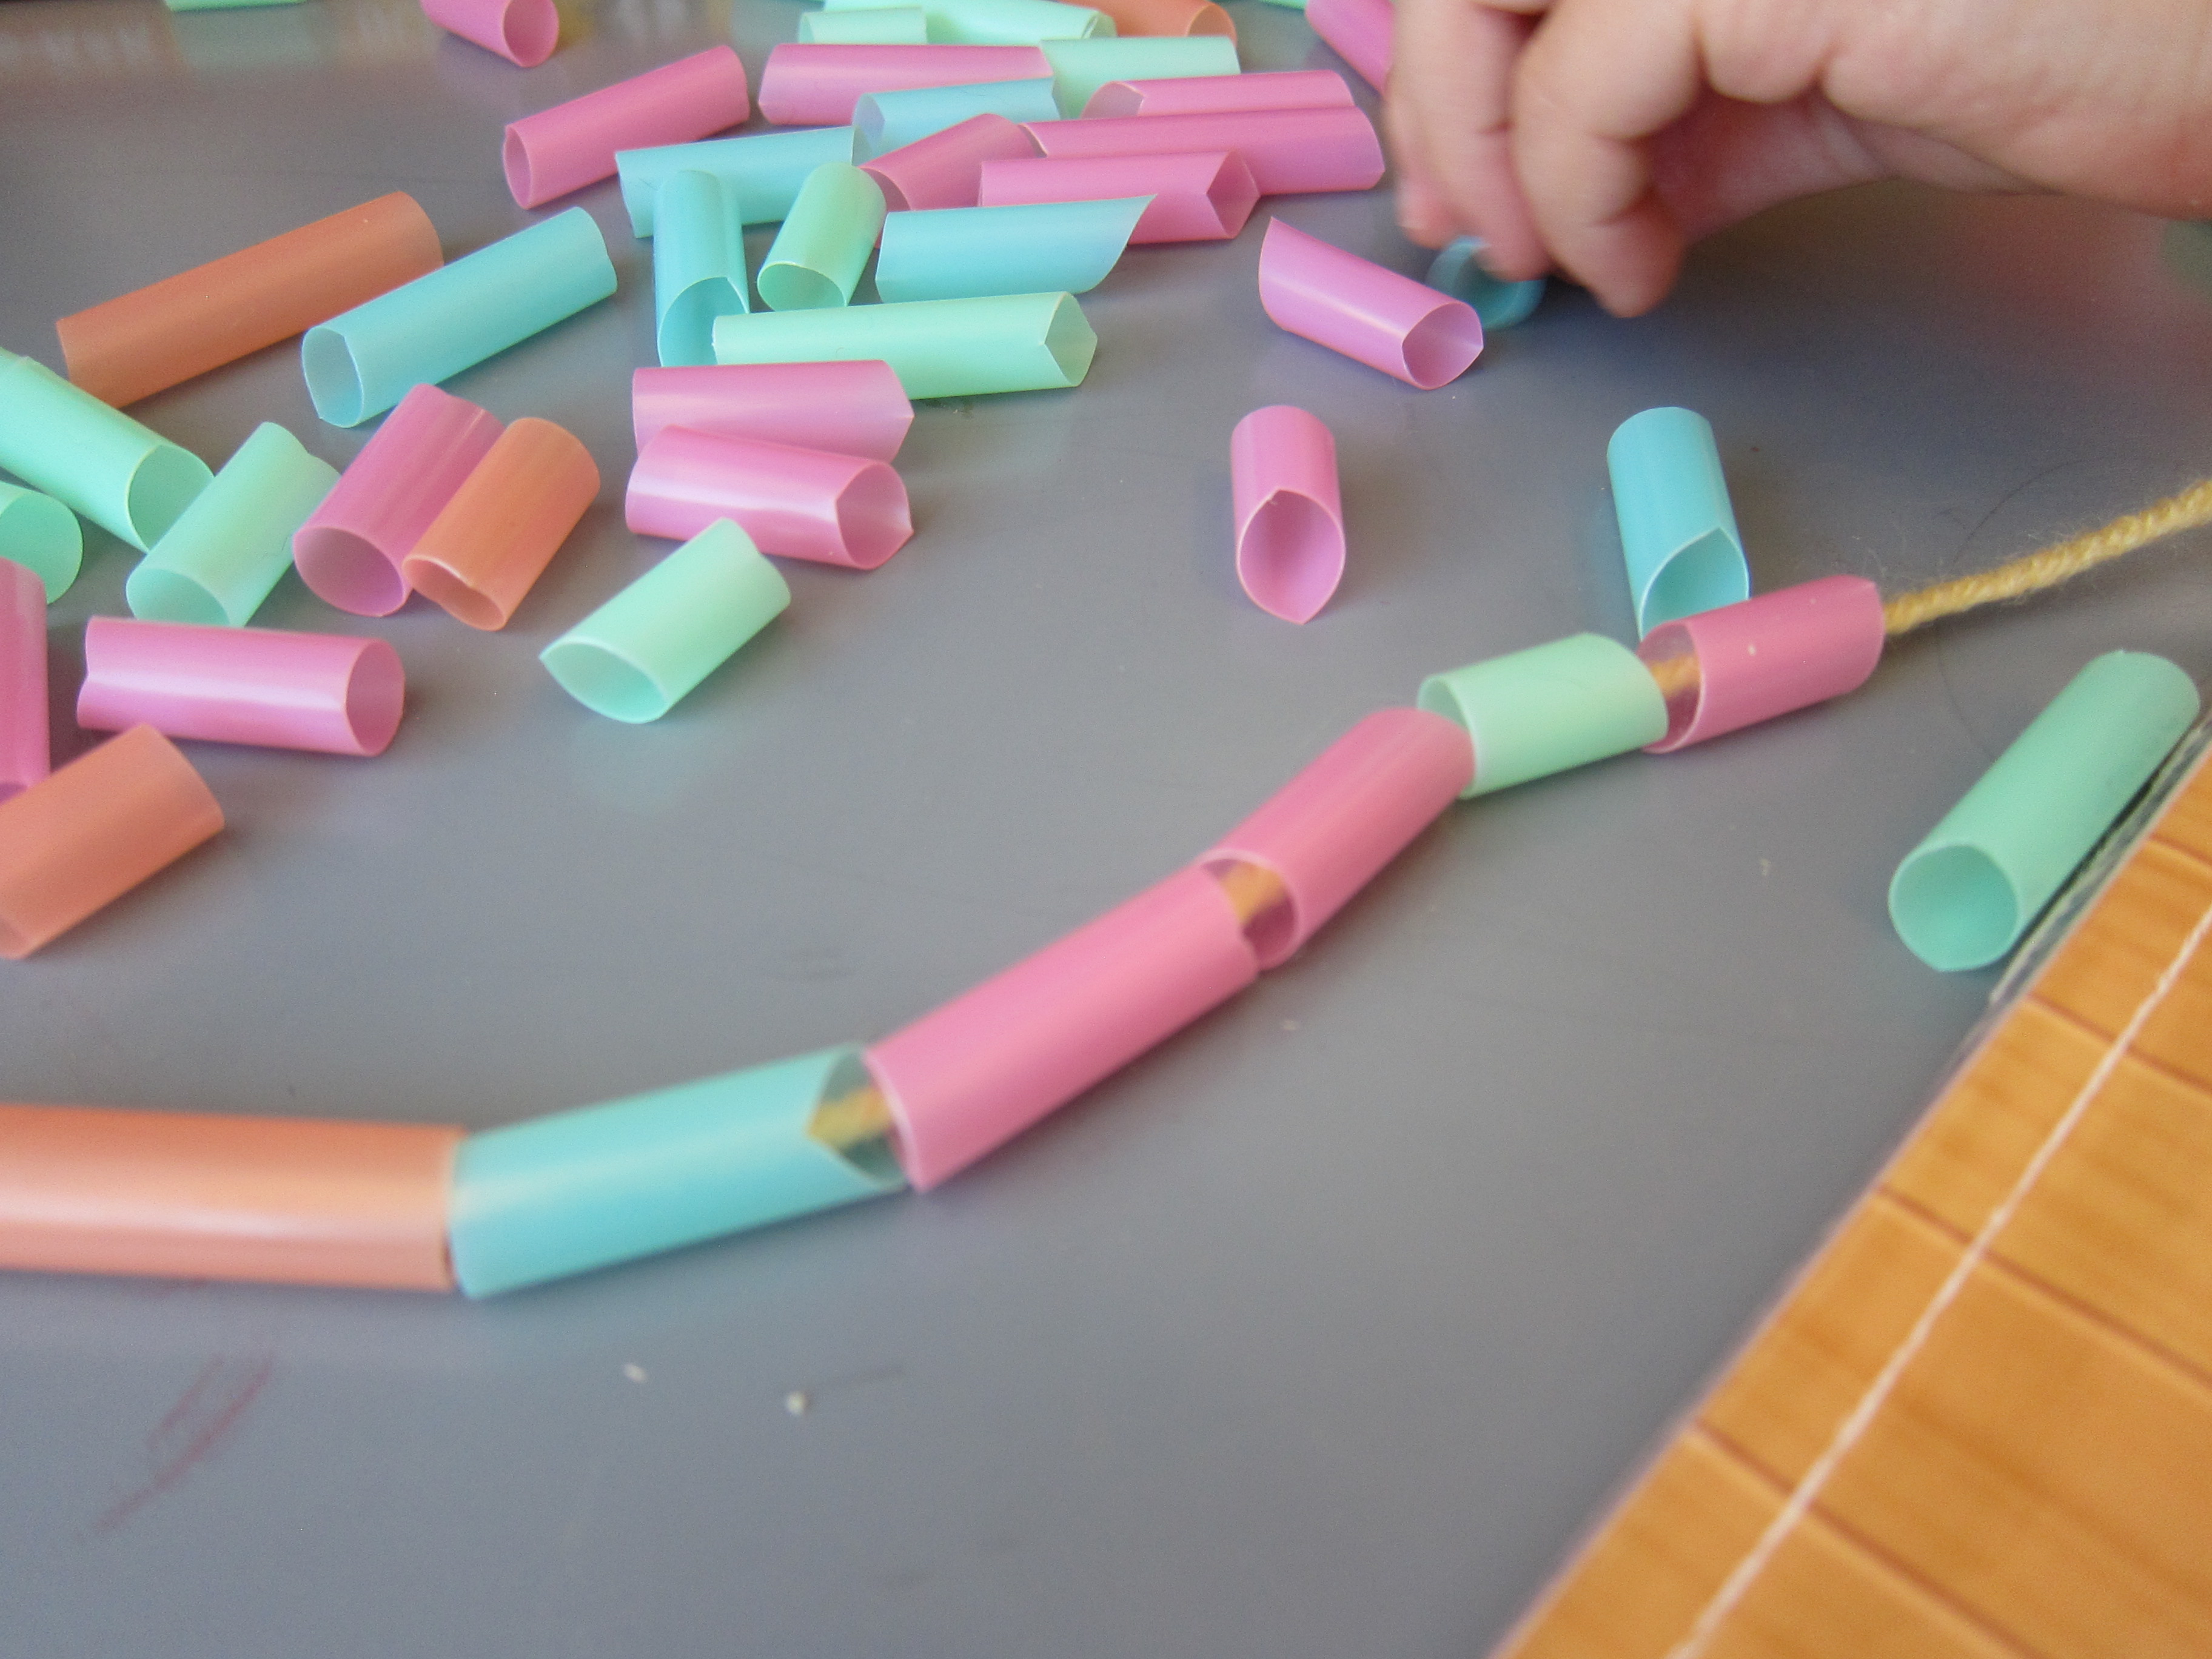
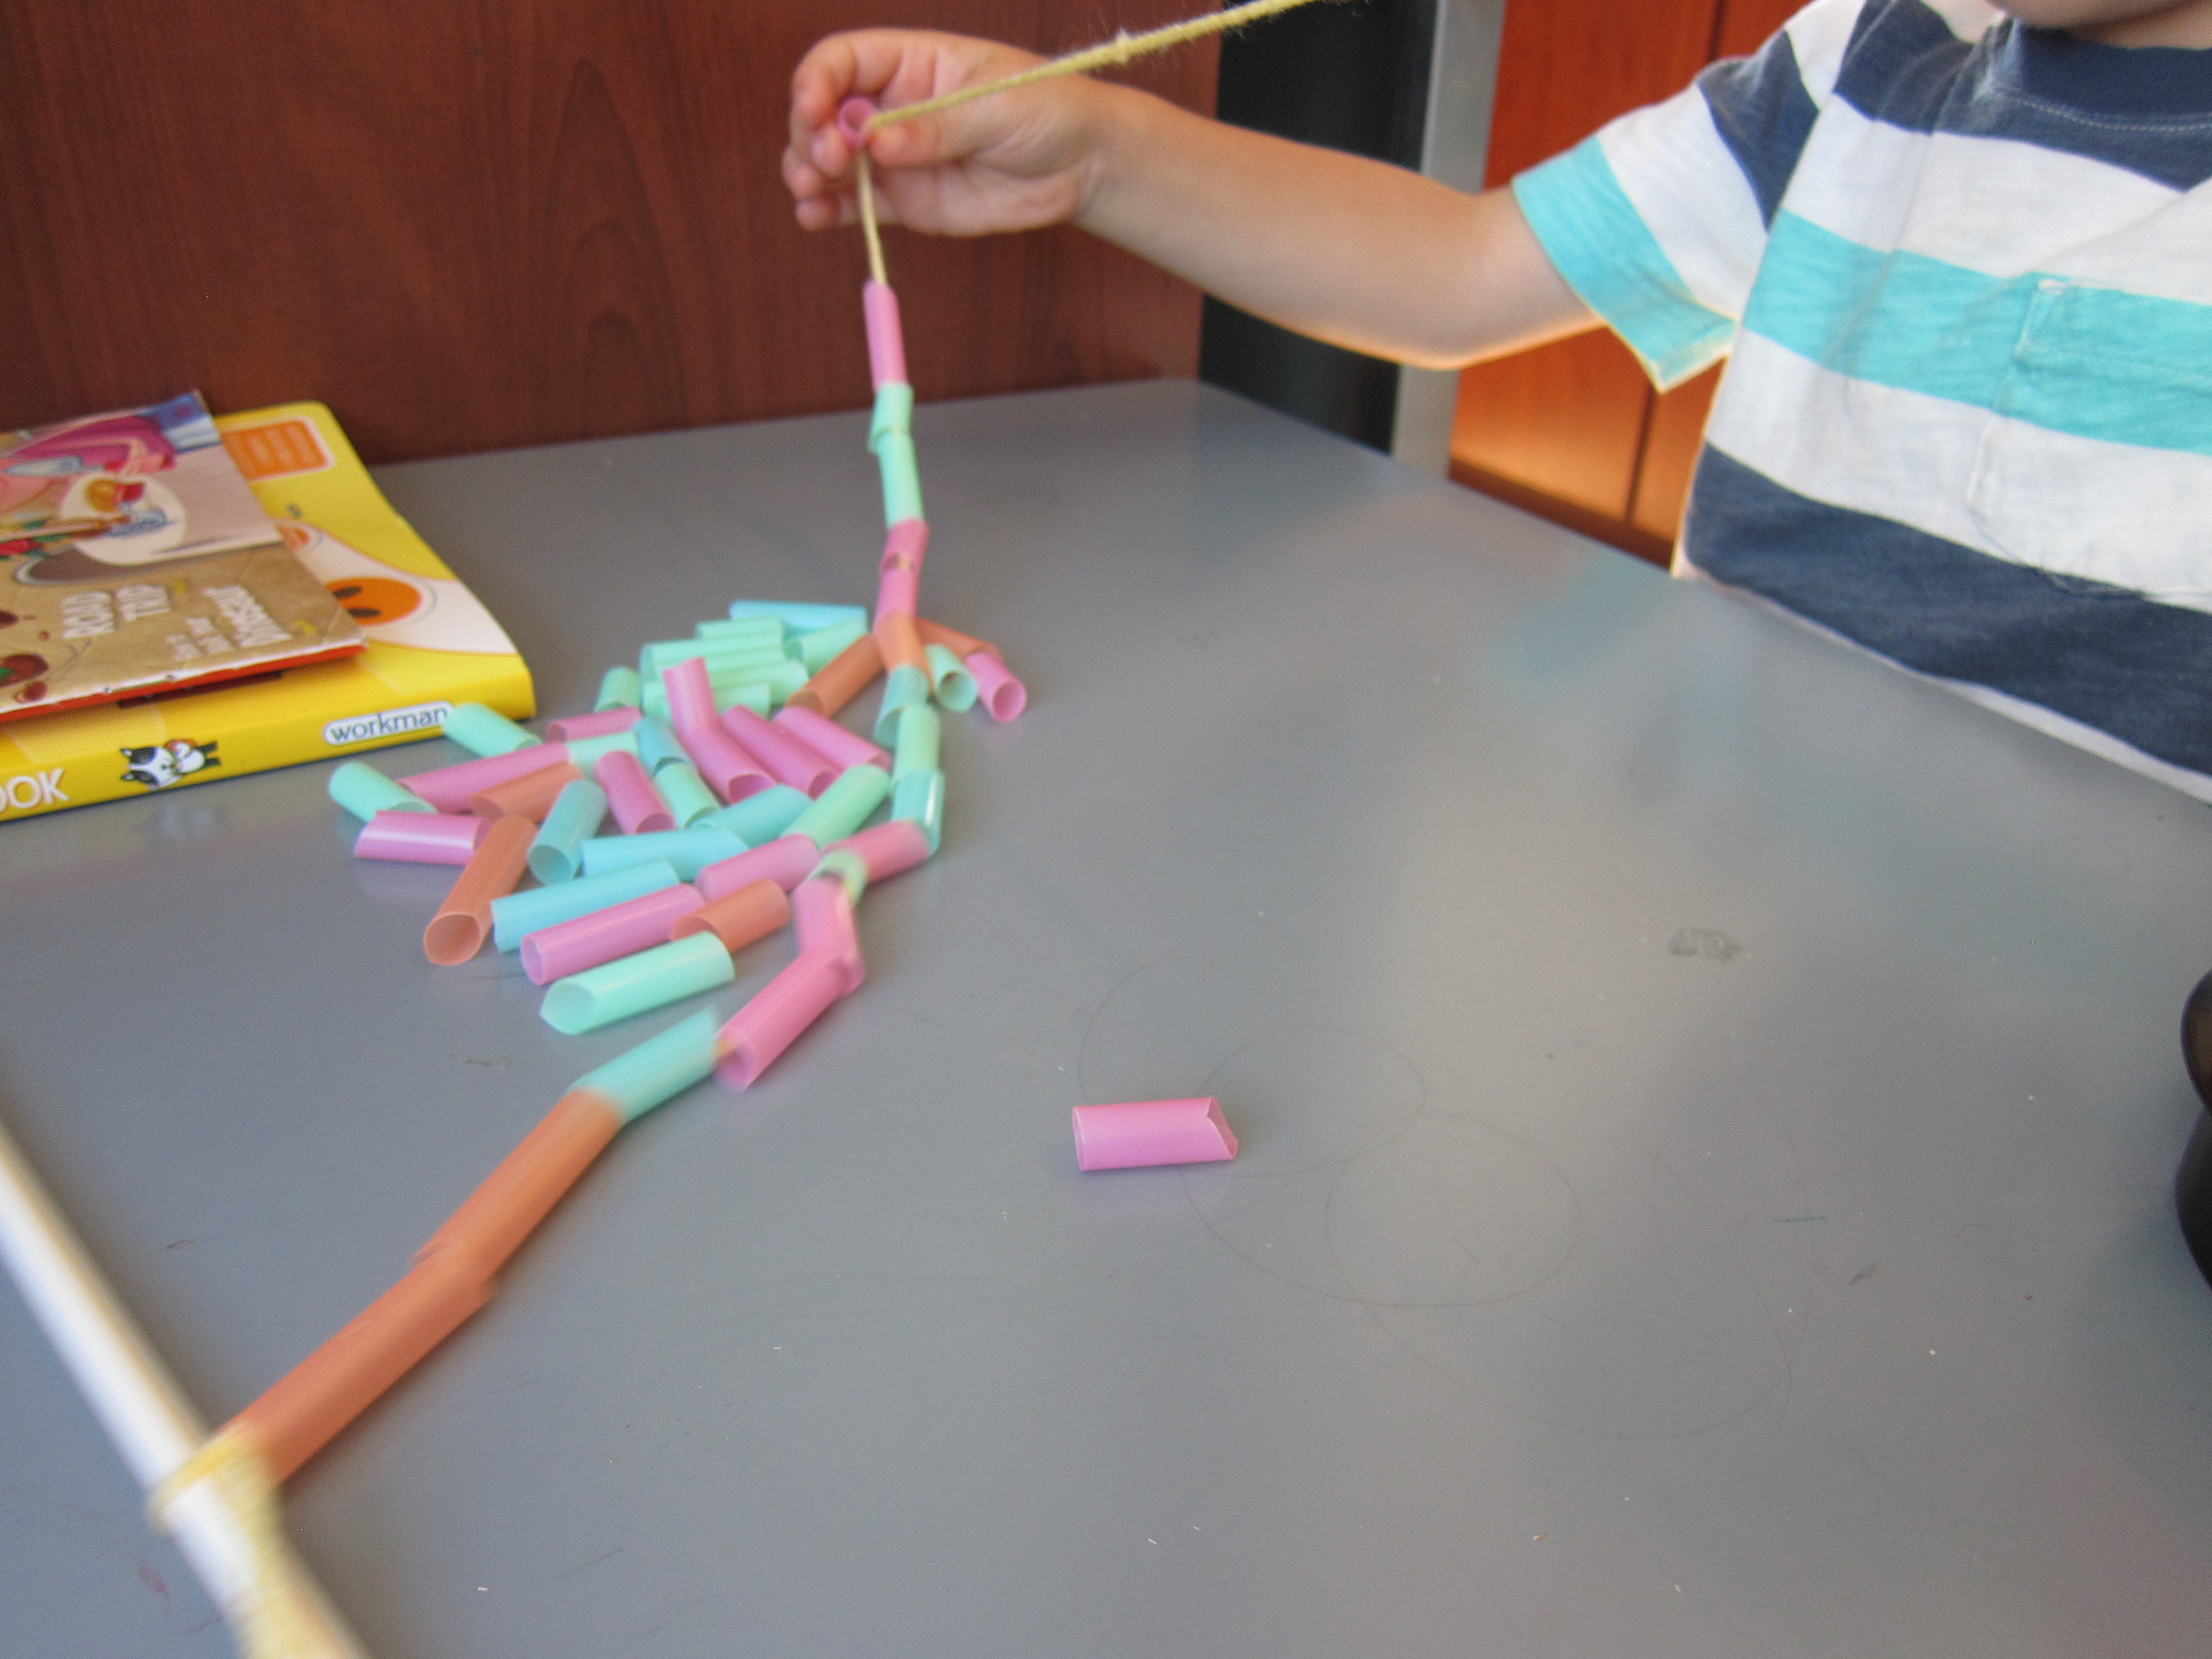
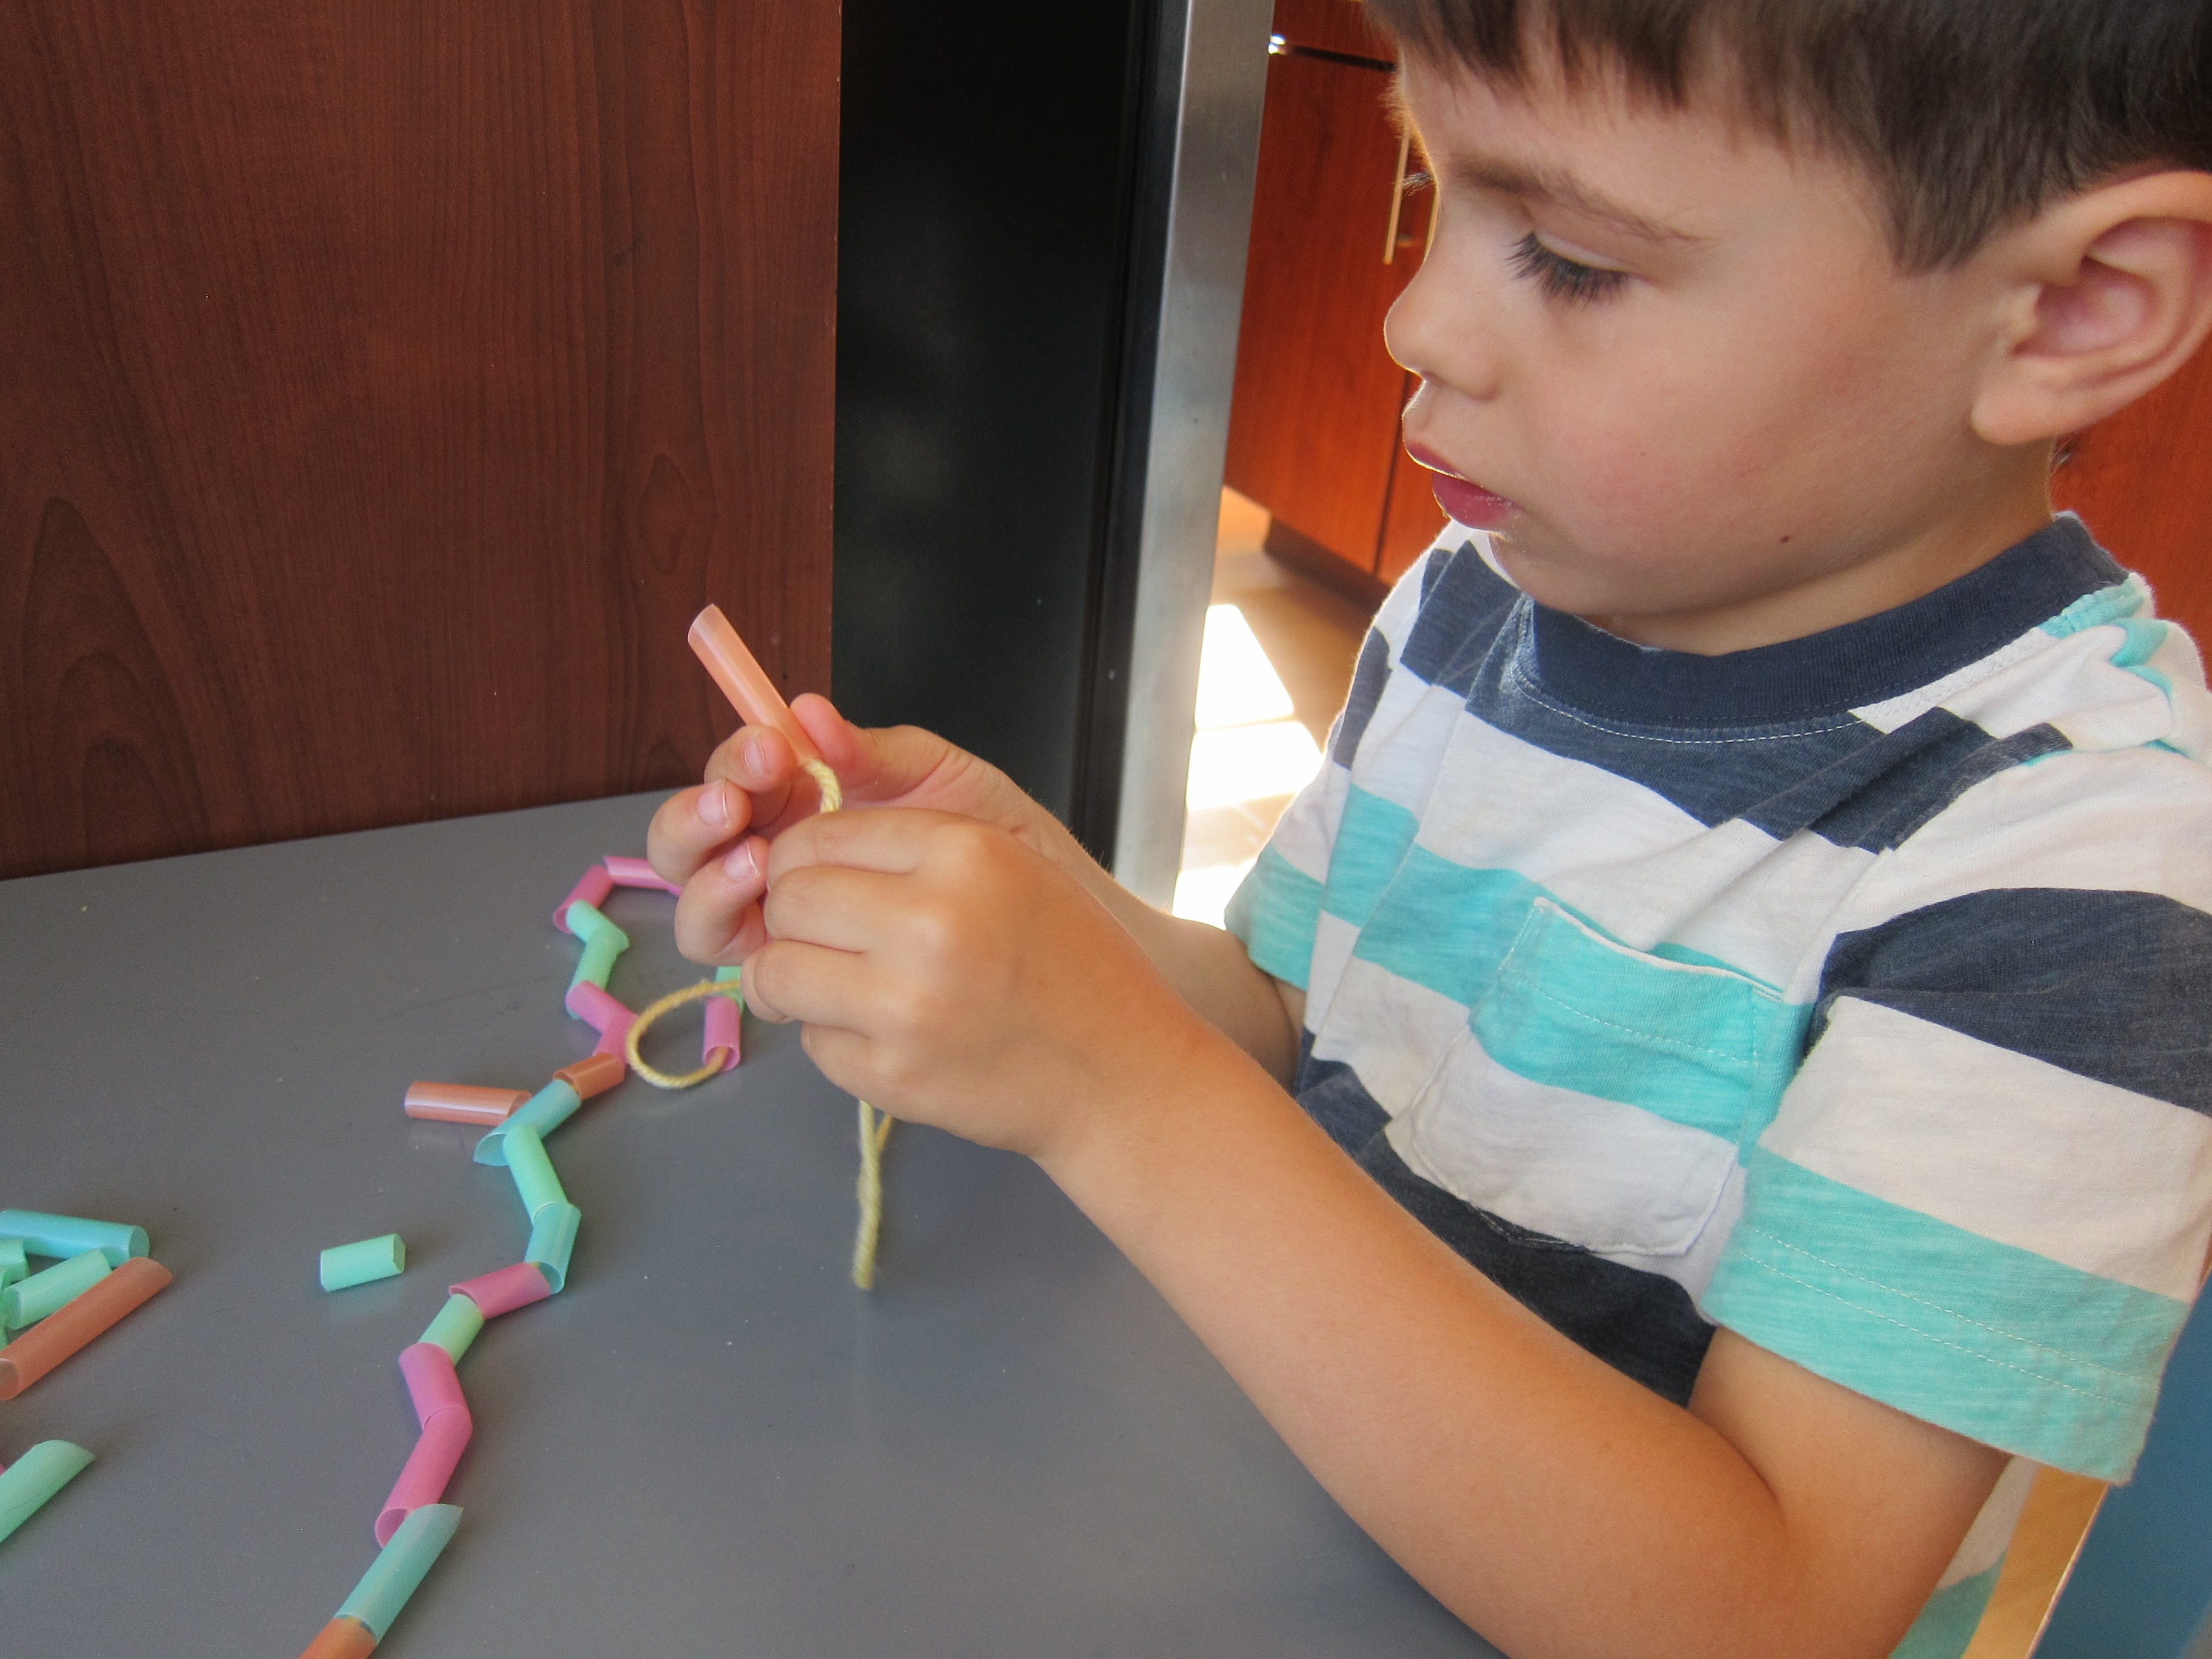
Fine art: My intended project was a bit of a fail. I hoped to encourage Travis to make a necklace by threading o-shaped cereal (we used Freedom O’s) onto licorice (yes, Twizzlers are vegan) but he decided it would be much more fun just to eat the cereal and watch me work. Win some, lose some!

n-week-17

Food: We had noodles for dinner one evening. Travis has also gotten a kick out of belly buttons lately, so what better snack than a navel orange?

n-week-18

Books: Library picks this week included Jan Brett’s Noah’s Ark, The Napping House by Audrey Wood, and Dog’s Noisy Day by Emma Dodd.

n-week-22

Songs: Give a listen to “These are the People in the Neighborhood.” Then follow it up with a walk or drive around your neighborhood!

Math: Nickles are an obvious choice. Travis knows quarters and pennies, so this week I taught him to recognize nickles as well, tough because they are the “medium-sized” ones!

n-week-11

I also simply left out all his toys and books that feature numbers, so he could return to them throughout the week.

n-week-10

One neat way to visually depict how numbers increase is to build increasingly tall towers (Duplo blocks are perfect) on a corresponding number mat or puzzle.

n-week-20