Swirly Ornaments Crate

Swirly Ornament (8).JPG

Kiwi Company occasionally puts out special holiday-themed crates, and we’ve been holding on to this one since last December! Reading the title on the box, I imagined the final product would be ornaments with beautiful swirls. Little did we know the method to make the ornaments was swirly, too!

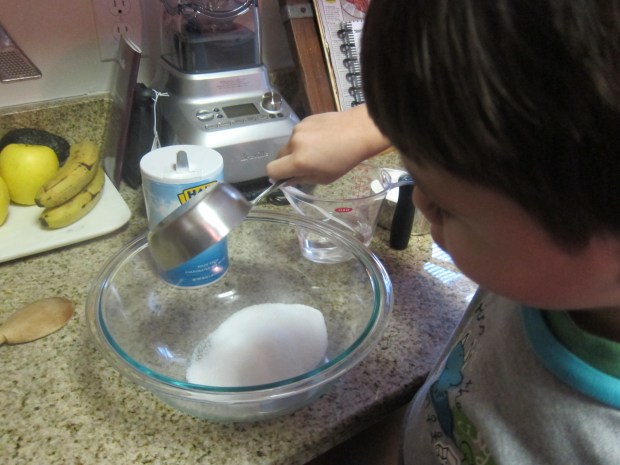
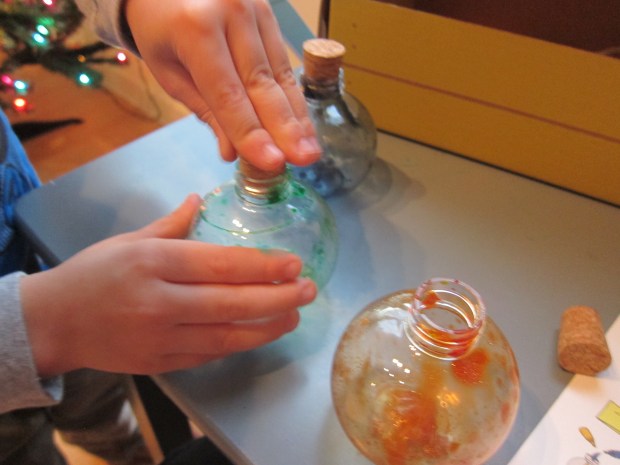
Travis was so excited seeing the three plastic globe ornaments, since we had just set up our tree. Add two of the provided watercolors (in primary colors) to each globe for a quick lesson in color mixing. You’ll be able to make one orange, one green, and one purple ornament. Next squirt in a drop of the glittery silver paint.

Swirly Ornament (1)

Add a marble, and get swirling! As you swirl, the marble will help the paint coat the entire globe.

Swirly Ornament (3)

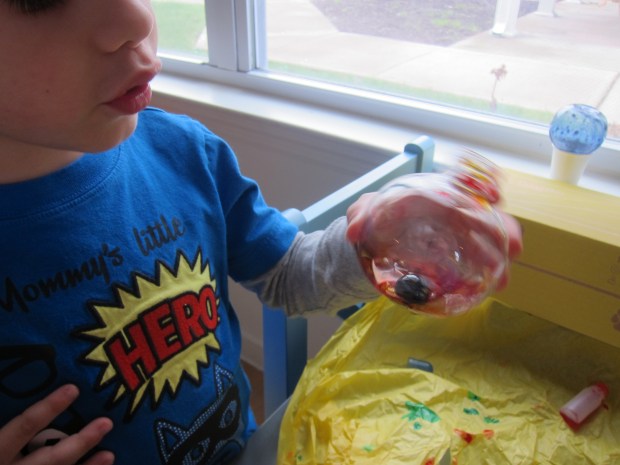
As a parental aside, this was very precarious proposition with a four-year-old. Of all the Koala projects we’ve ever done, this was by far the messiest! It was quite hard for Travis to swirl enough to coat the inside of the ornament without also spilling paint, so step in if you need to.

He loved the drying method that came next though; upend the ornament over a provided paper cup. The marble and any excess paint will fall out.

Swirly Ornament (2)

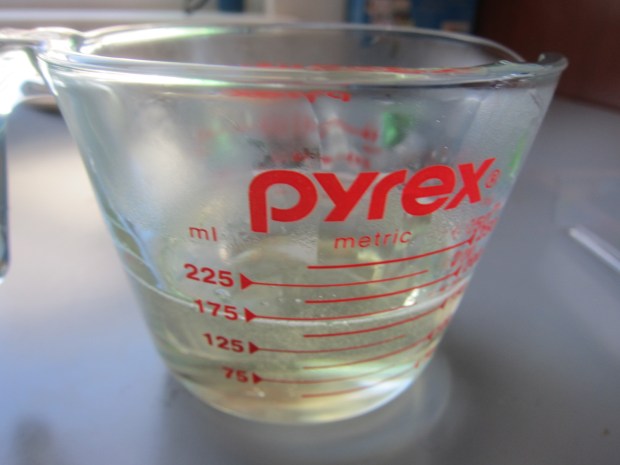
We set ours aside to dry for about an hour.

Swirly Ornament (4)

Ideally, flip the ornaments at this point and allow to dry on the inside, too, overnight. Travis was too impatient though and wanted to pop in the provided corks and seal them up!

Swirly Ornament (5)

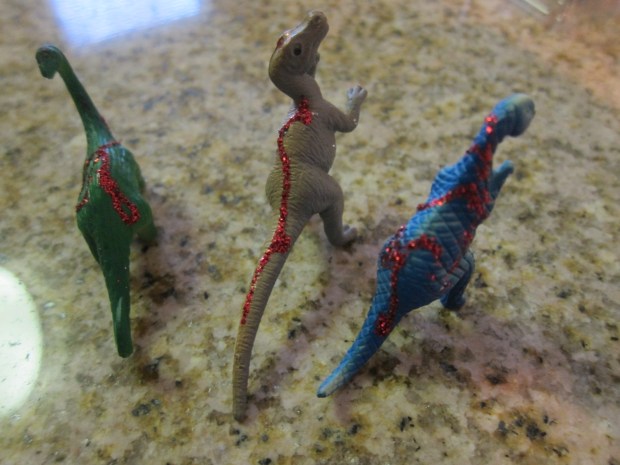
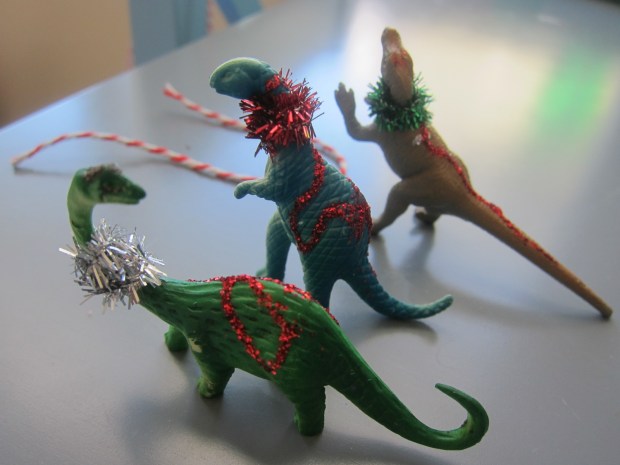
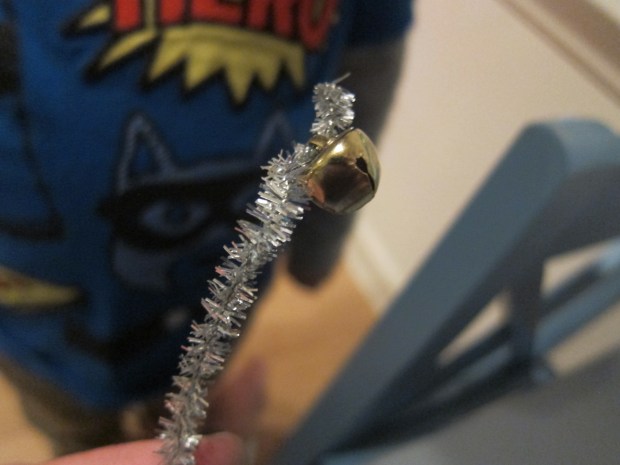
To finish each ornament, we wrapped a sparkly pipe cleaner around the neck.

Swirly Ornament (6)

Add a silver ribbon (a great chance to practice tying a bow), then thread a provided bell onto the pipe cleaner. Hook the end.

Swirly Ornament (7)

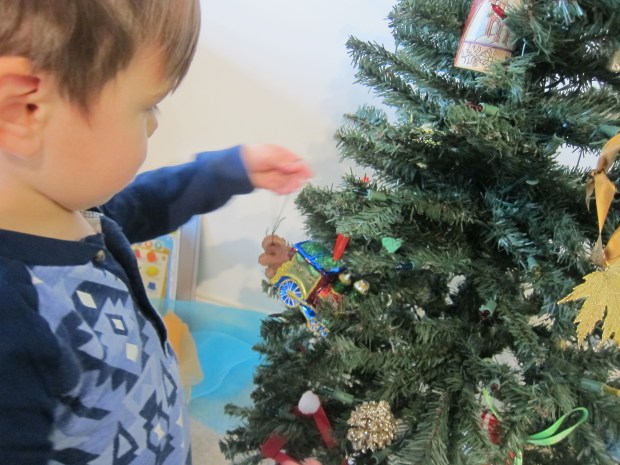
Now it’s ready to hang on your tree!

Swirly Ornament (9)

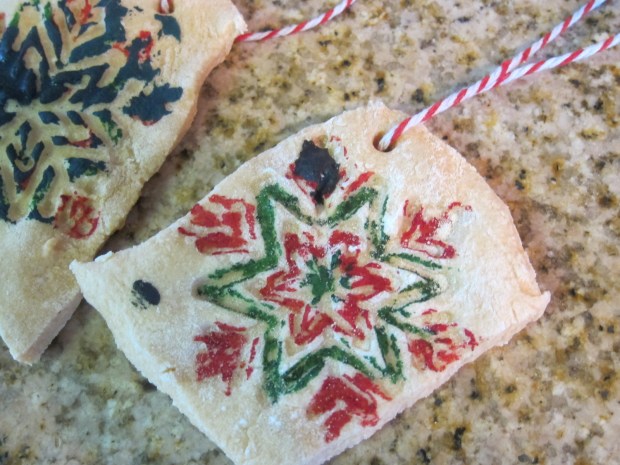
The kit also suggested gifting the ornaments (just slip on a gift tag and it’s ready to go)…

Swirly Ornament var

…or attaching one to your stocking as a sparkly decoration.

Swirly Ornament alt

Let the holiday season begin!

Swirly Ornament (10)


Fun with Plastic Dinosaurs


Dino Ornament (6)

Over the years we seem to have accumulated a good-sized collection of tiny plastic dinosaur figurines. You can find these sold in tubes at toy stores, craft stores, and museum stores, and we’ve amassed quite a few duplicates as time has gone by. So it was time to have fun with a few of the extras!

First, Travis decided to cover them in sparkly glitter paint.

Dino Ornament (2)

This immediately made me think of sparkly Christmas ornaments, so we finished off the look with a little chenille stem collar for each one.

Dino Ornament (5)

If you loop thread or an ornament hook through each dinosaur’s collar, you can really hang them up on your tree next holiday season! We’re setting ours aside for Christmas.

Next up was dinosaur “egg” soap. If you truly want yours to look like eggs, you’ll need oval soap molds (available at craft stores). I only had square craft molds but hey, maybe there was a dinosaur somewhere who laid square eggs instead of oval ones.

Place a plastic dino in each empty mold.

Dino Soap (1)

Meanwhile, melt a bar of glycerin soap in the microwave – you’ll need to heat it at 30 second to 1 minute intervals until completely melted, stirring after each interval.

Dino Soap (5)

A word of caution: we first tried a bar of bath soap from the store, but it only puffed up in the microwave instead of melting. Although this led to endless amusement for Travis, it did not make great dino eggs! Turns out you really need to buy what’s called “melt and pour” soap or it simply won’t work.

Dino Soap (6)

Once we had the right soap, it melted in a mere minute! Travis loved pressing the microwave buttons. Let your child carefully stir to remove any final lumps, then (adult step!) pour over the dinosaurs.

Here they are trapped in goo. Travis was gleeful!

Dino Soap (4)

I was impressed with how quickly the soap sets, in under an hour, meaning kids won’t have to wait long for soapy fun. Bring your dinos into the tub, wrap them in cellophane for gifts, or place out as decoration.

Dino Soap (7)

If you get soapy with your “eggs” in the tub, it won’t be long before your dinos hatch!

Dino Soap (8)

Salt Dough Snowflakes

Salt Snowflake (13)

Here’s a beautiful snow-themed project, perfect for Christmas tree ornaments or for hanging around the house as wintery decoration even once the holidays are over. We loved the idea of the craft, but had no snowflake cookie cutter at home. Read on for our improvised version!

To prepare the salt dough, mix together 1/2 cup salt…

Salt Snowflake (1)

1/2 cup water…

Salt Snowflake (2)

and 1 cup flour. Travis was a very happy mixer. If the dough is too sticky, add a bit more flour.

Roll the dough to about 1/4-inch thick, then cut out snowflake shapes with a cookie cutter.

Salt Snowflake (5)

As mentioned, we didn’t have the right cookie cutter… but I did have a snowflake-shaped pendant, that I thought we could press into the dough.

Salt Snowflake (4)

After some trial and error…

Salt Snowflake (6)

…we found it worked best to cut out squares of dough first and place them on a baking sheet, then to imprint the snowflake.

Salt Snowflake (7)

Poke a small hole in one corner of each snowflake using a straw, then bake at 275 degrees F for 90 minutes, or until hard.

Salt Snowflake (8)

They looked so pretty when they came out of the oven!

Salt Snowflake (9)

As the final touch, your child can decorate with paints or markers. I had fun coloring in a few with Christmas-y colors. Travis was equally delighted to paint several of them, and although perhaps not as “pretty”, I loved his creativity as he worked.

Salt Snowflake (10)

Thread a string through the hole in each one,. As mentioned, they make great ornaments (we’ll have to save ours for next year’s tree!) or even work as gift tags if you use a marker to write the name of the recipient on the reverse.

Salt Snowflake (12)


Dough Ornaments

dough-ornaments-9

We decorated the tree early this year, and to get further into the holiday spirit, decided to make homemade ornaments of our own! Adding spices to the dough makes your whole house smell like Christmas. With holiday music playing in the background, it was the perfect project to kick off the festivities.

In a large bowl, have your child help you combine:

1 and 1/2 cups flour

3/4 cup cinnamon and nutmeg

1 cup salt

1 cup water

If the dough is too sticky, add a bit more flour once you turn out onto a surface to knead it together. Travis adored mixing the dough, and couldn’t wait to get his hands messy when I showed him how to knead.

dough-ornaments-1

We then rolled the dough to about 1/4-inch thick, another step Travis loved since I finally have a child-sized rolling pin for him.

dough-ornaments-2

We used gingerbread men cookie cutters, but any holiday shape – or even just circles – would work great for this project.

dough-ornaments-3

Using a straw, punch a hole near the top of each ornament so you’ll be able to hang it after baking.

dough-ornaments-5

Transfer your ornaments to a baking sheet and bake at 350 degrees F for 30 minutes.

dough-ornaments-6

Once the ornaments cool completely, thread ribbon through the holes and adorn your tree!

dough-ornaments-7