Papier-Mache Mountains

LP Habitats (13)

Papier-mâché projects are always such good goopy fun. It’s been ages since we last whipped up a batch of this simple flour-and-water paste, and this project was great for a cold afternoon.

First, find a cardboard base and grab a roll of aluminum foil, and enlist your kids into shaping the foil into mounds.

LP Habitats (7)

They don’t need to look like perfect mountains; any tall or humped shape will do! Glue down to the cardboard base and let dry.

A layer of masking tape will help the papier-mâché newspaper strips adhere better, and also further helps anchor the mountain range to the cardboard. After a quick glance, Travis decided this step was way too time-consuming, so mommy took over.

LP Habitats (8)

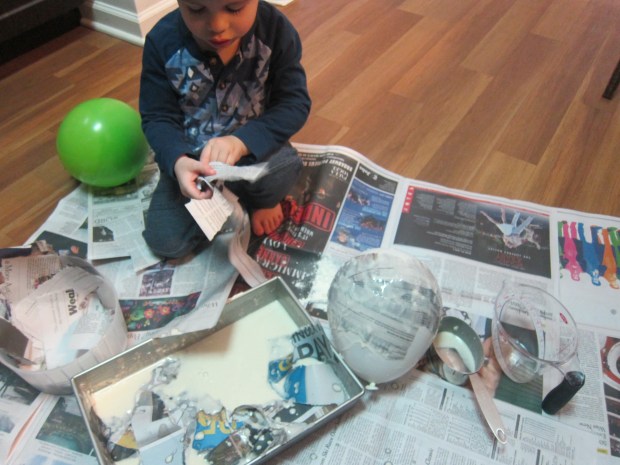
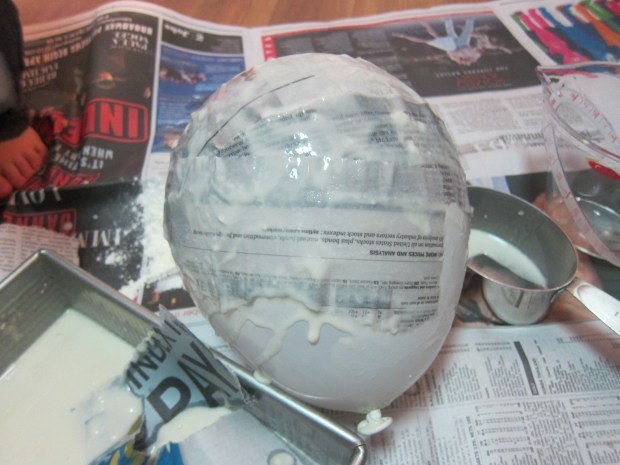
Next up: papier-mâché! We mixed 1 part water to 1 part flour for our goop, and ripped strips of newspaper.

LP Habitats (9)

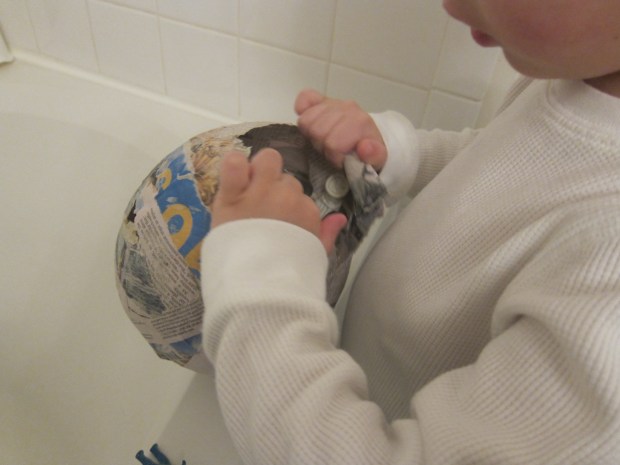
Layer the newspapers all over your mountains and let dry.

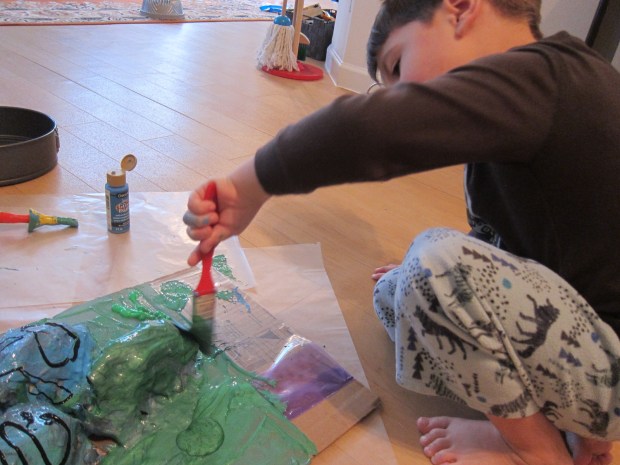
Finally, the mountains received a coat of paint – Travis’s favorite part by far.

LP Habitats (10)

We ended up with very artistic mountains, including shades of blue and silver and black.

LP Habitats (12)

And of course puffy paint had to make an entrance, because no paint project is complete without puffy paint in our house these days.

LP Habitats (11)

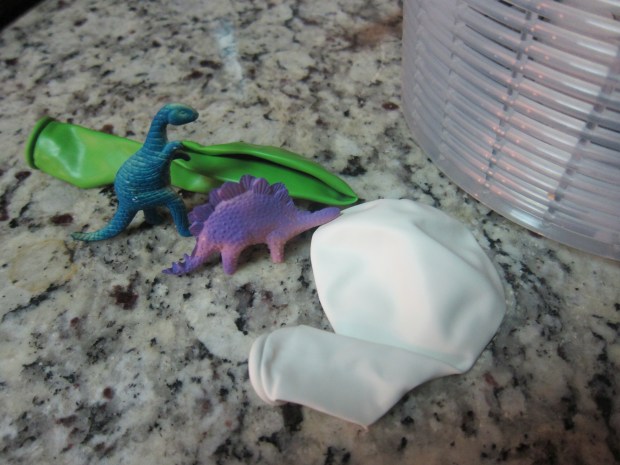
Once the paint dried, we pulled out some animal toys from around the house.

LP Habitats (17)

Now our animals could traipse about the Himalayas (or Rockies, or Alps)!

LP Habitats (18)

Dinosaur Egg

Dinosaur Egg (8).JPG

We found dinosaur eggs in our apartment this weekend! Okay, maybe not really, but these giant balloon-sized eggs are sure to get your kiddos excited, even if they helped make them and remember that they started out as balloons!

To start, slightly inflate a balloon (large ones work best for this game) and insert a small toy dinosaur into each – be careful not to tear the plastic of the balloon with any spikes i.e. t-rex works better than stegosaurus here, folks. Inflate the balloon the rest of the way.

dinosaur-egg-2

At this point, I told Travis we had baby dinosaurs that would be hatching soon, but that we needed to help the eggs incubate. It was time to get to work with our papier-mache!

If you’ve never made papier-mache at home, don’t be intimidated; it’s just one part flour to one part water. We mixed together our goop in a baking pan, which I set out along with a stack of torn newspaper.

dinosaur-egg-4

Travis had way more fun simply throwing the newspaper into the goop…

dinosaur-egg-6

…and stirring it with a spoon…

dinosaur-egg-7

…but I managed to cover our balloons in the meantime. Set them aside overnight to dry.

dinosaur-egg-5

Now came the magic. The next morning, I popped the balloons inside with a sharp pin. This cracked the papier-mache coating perfectly, so the eggs looked like the babies were just starting to hatch.

dinosaur-egg-9

Travis had so much fun opening the eggs the rest of the way to reveal the dinos inside!

dinosaur-egg-10

Note: If you like, you can paint your eggs before “hatching” them, but Travis was too excited to rip them apart, so we skipped that step!