Paper Parachutes

Paper Parachutes (3).JPG

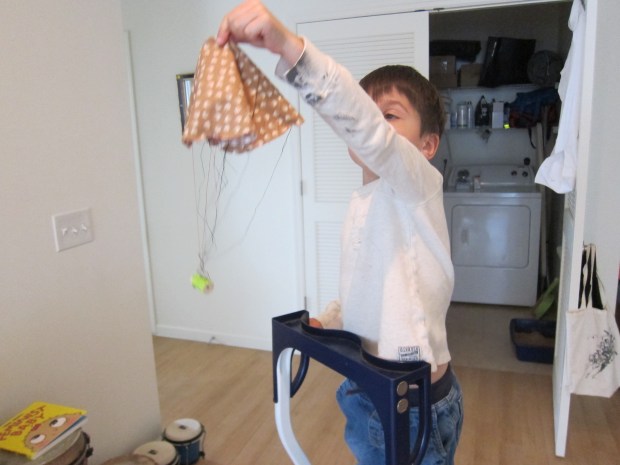
Travis and I recently made fabric parachutes that were a bit complicated and tangled easily while soaring down. Today we wanted something simpler, because the goal wasn’t so much about the parachute itself as it was to test how to make a parachute fall faster.

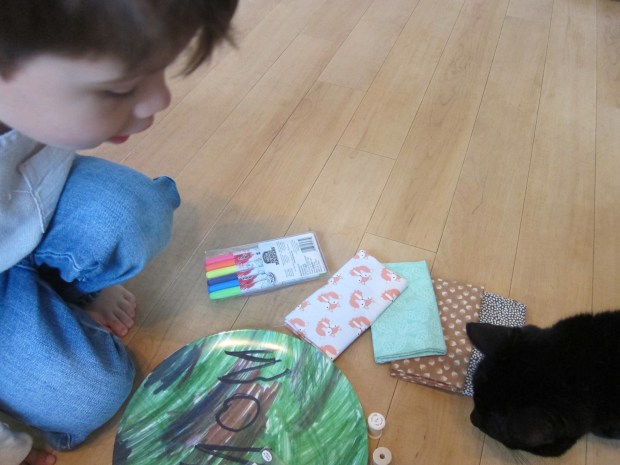
For our experiment, we quickly put together paper napkin parachutes.

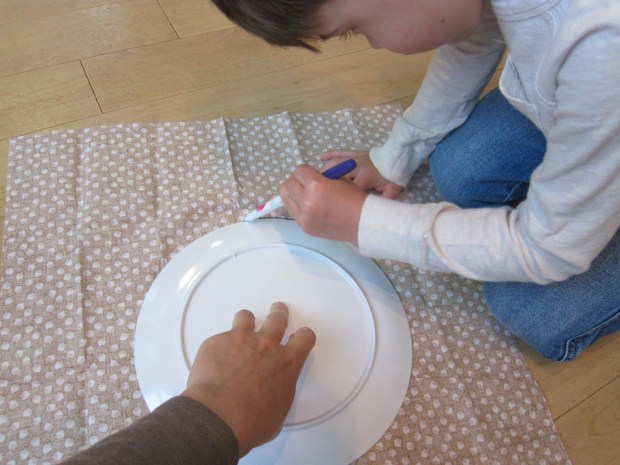
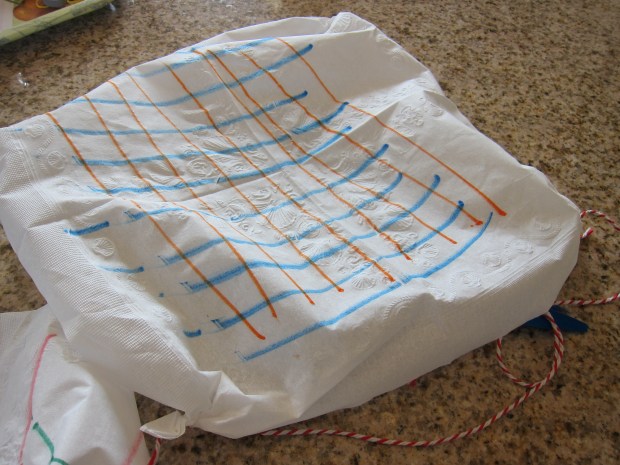
Decorate your napkins with markers first.

Paper Parachutes (1)

Travis quickly learned that you need to be gentle drawing on napkins, and was proud when he got the hang of it!

Paper Parachutes (4)

Cut 4 equal lengths of string for each parachute, and tie around the napkin corners.

Paper Parachutes (2)

Gather the four lengths of string together in the center, and tie around any small object. Our “contestants” were a feather and a rock. But if you want, multiple toys can get in on the action; this game would be great with Lego people!

Paper Parachutes (5)

Travis made his hypothesis: that the rock parachute would fall faster than the feather one.  So we headed outside to test it out! A fenced-in overlook made the perfect launch site.

Paper Parachutes (6)

Even in a still photo you can see the feather parachute lazily drifting down as the rock plummets to the ground.

Paper Parachutes (7)

The difference here was extremely stark, of course. As mentioned, your kids might want to do multiple launches with items closer in weight. Enjoy the discoveries!

Fabric Parachutes

Fabric Parachute (9).JPG

It was on a Memorial Day a few years back that Travis first saw parachuters and he’s been obsessed ever since. Here’s a cute craft you can put together to take flight right at home!

Trace around a large dinner plate with felt-tipped markers on fabric; we had lightweight fabric swatches from the craft store that were perfect, and I let Travis choose his favorite pattern for the parachute.

Fabric Parachute (1)

After he traced, cutting out the circle out was a mommy step, since fabric is still tough for my preschooler’s fingers.

Fabric Parachute (2)

Note: Travis thought the fabric markers were so neat he wanted to color on the scraps after we cut out the circle!

Fabric Parachute (4)

Mark 8 dots with pen evenly spaced around the parachute. Cut pieces of thread that are about 12 inches long and and sew these to each of the 8 dots.

Fabric Parachute (5)

I let Travis have a turn with the needle and thread which made him feel so important!

Fabric Parachute (6)

Stretch the threads to a wooden bobbin and secure with masking tape. Bright green tape added a fun pop of color.

Fabric Parachute (7)

Now it’s time to launch!

Fabric Parachute (8)

The higher you stand, the better the parachute soars (more time to catch the wind). First I had Travis try climbing on top of our step ladder. It worked great, but was extremely short-lived.

Fabric Parachute (10)

So next we headed to the playground, and launched from the highest platform!

Fabric Parachute (11)