Finger Paint with Pudding Cups

Edible Paint with Pudding Cups (4)

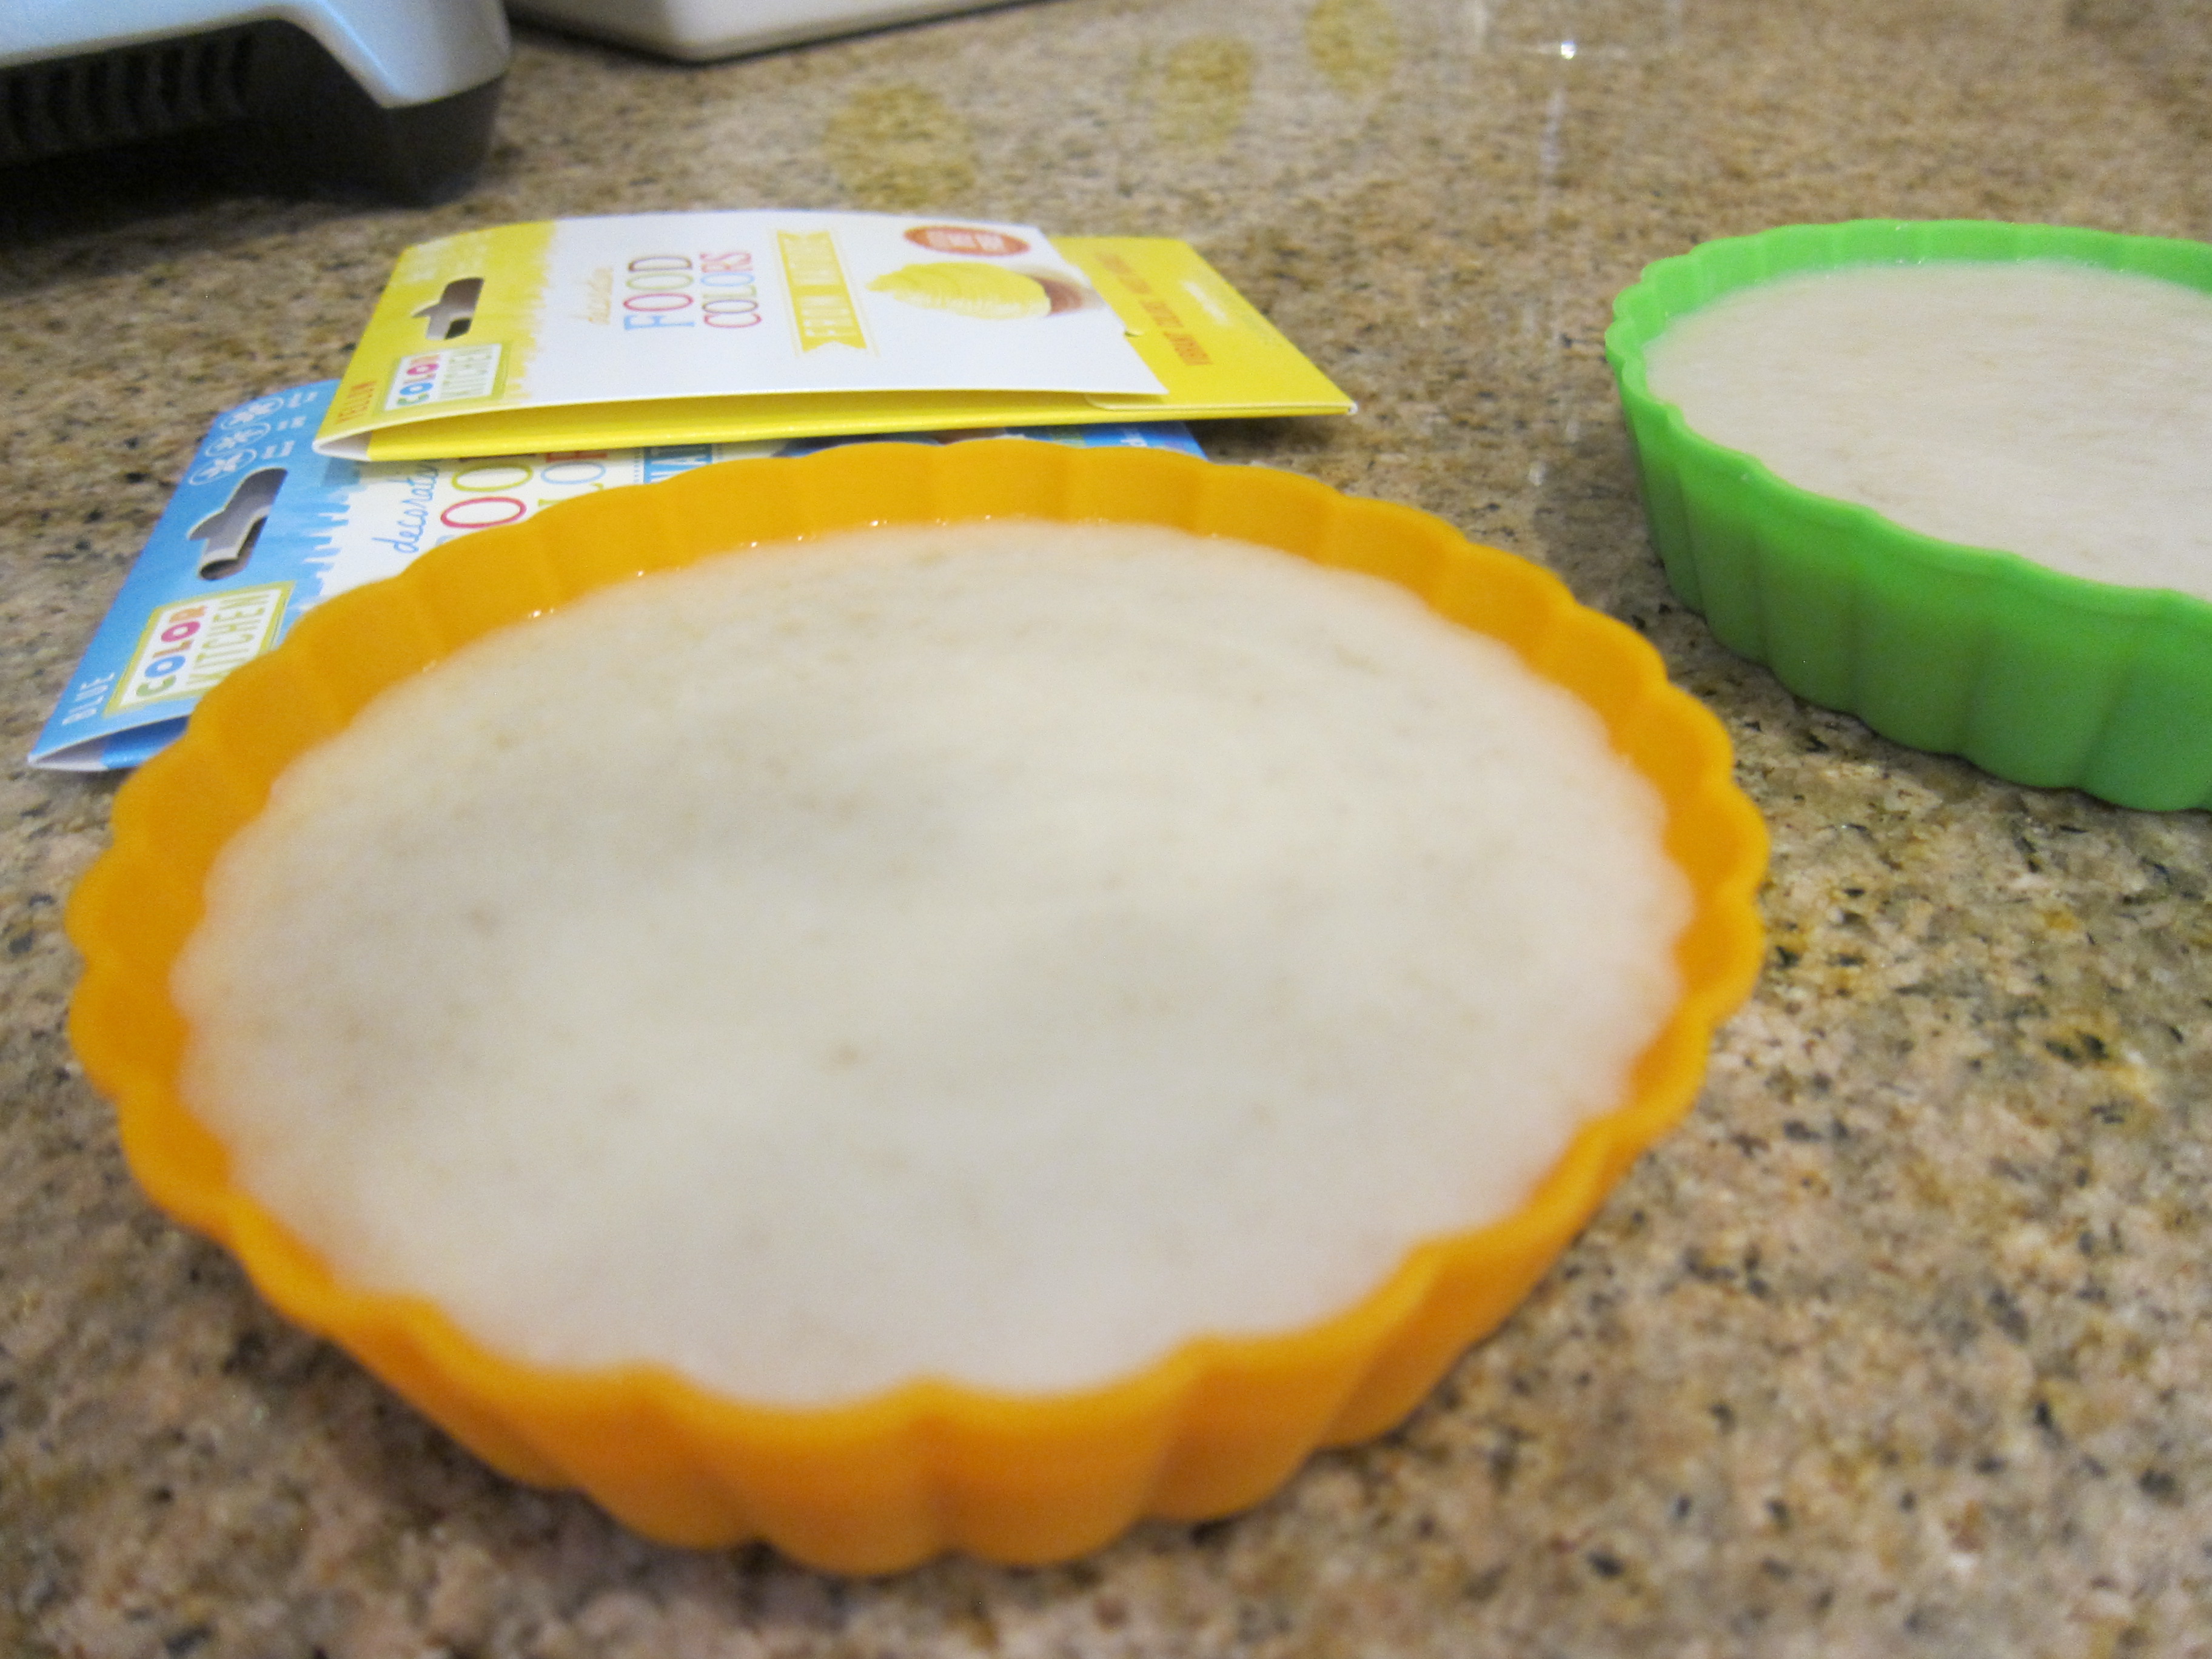
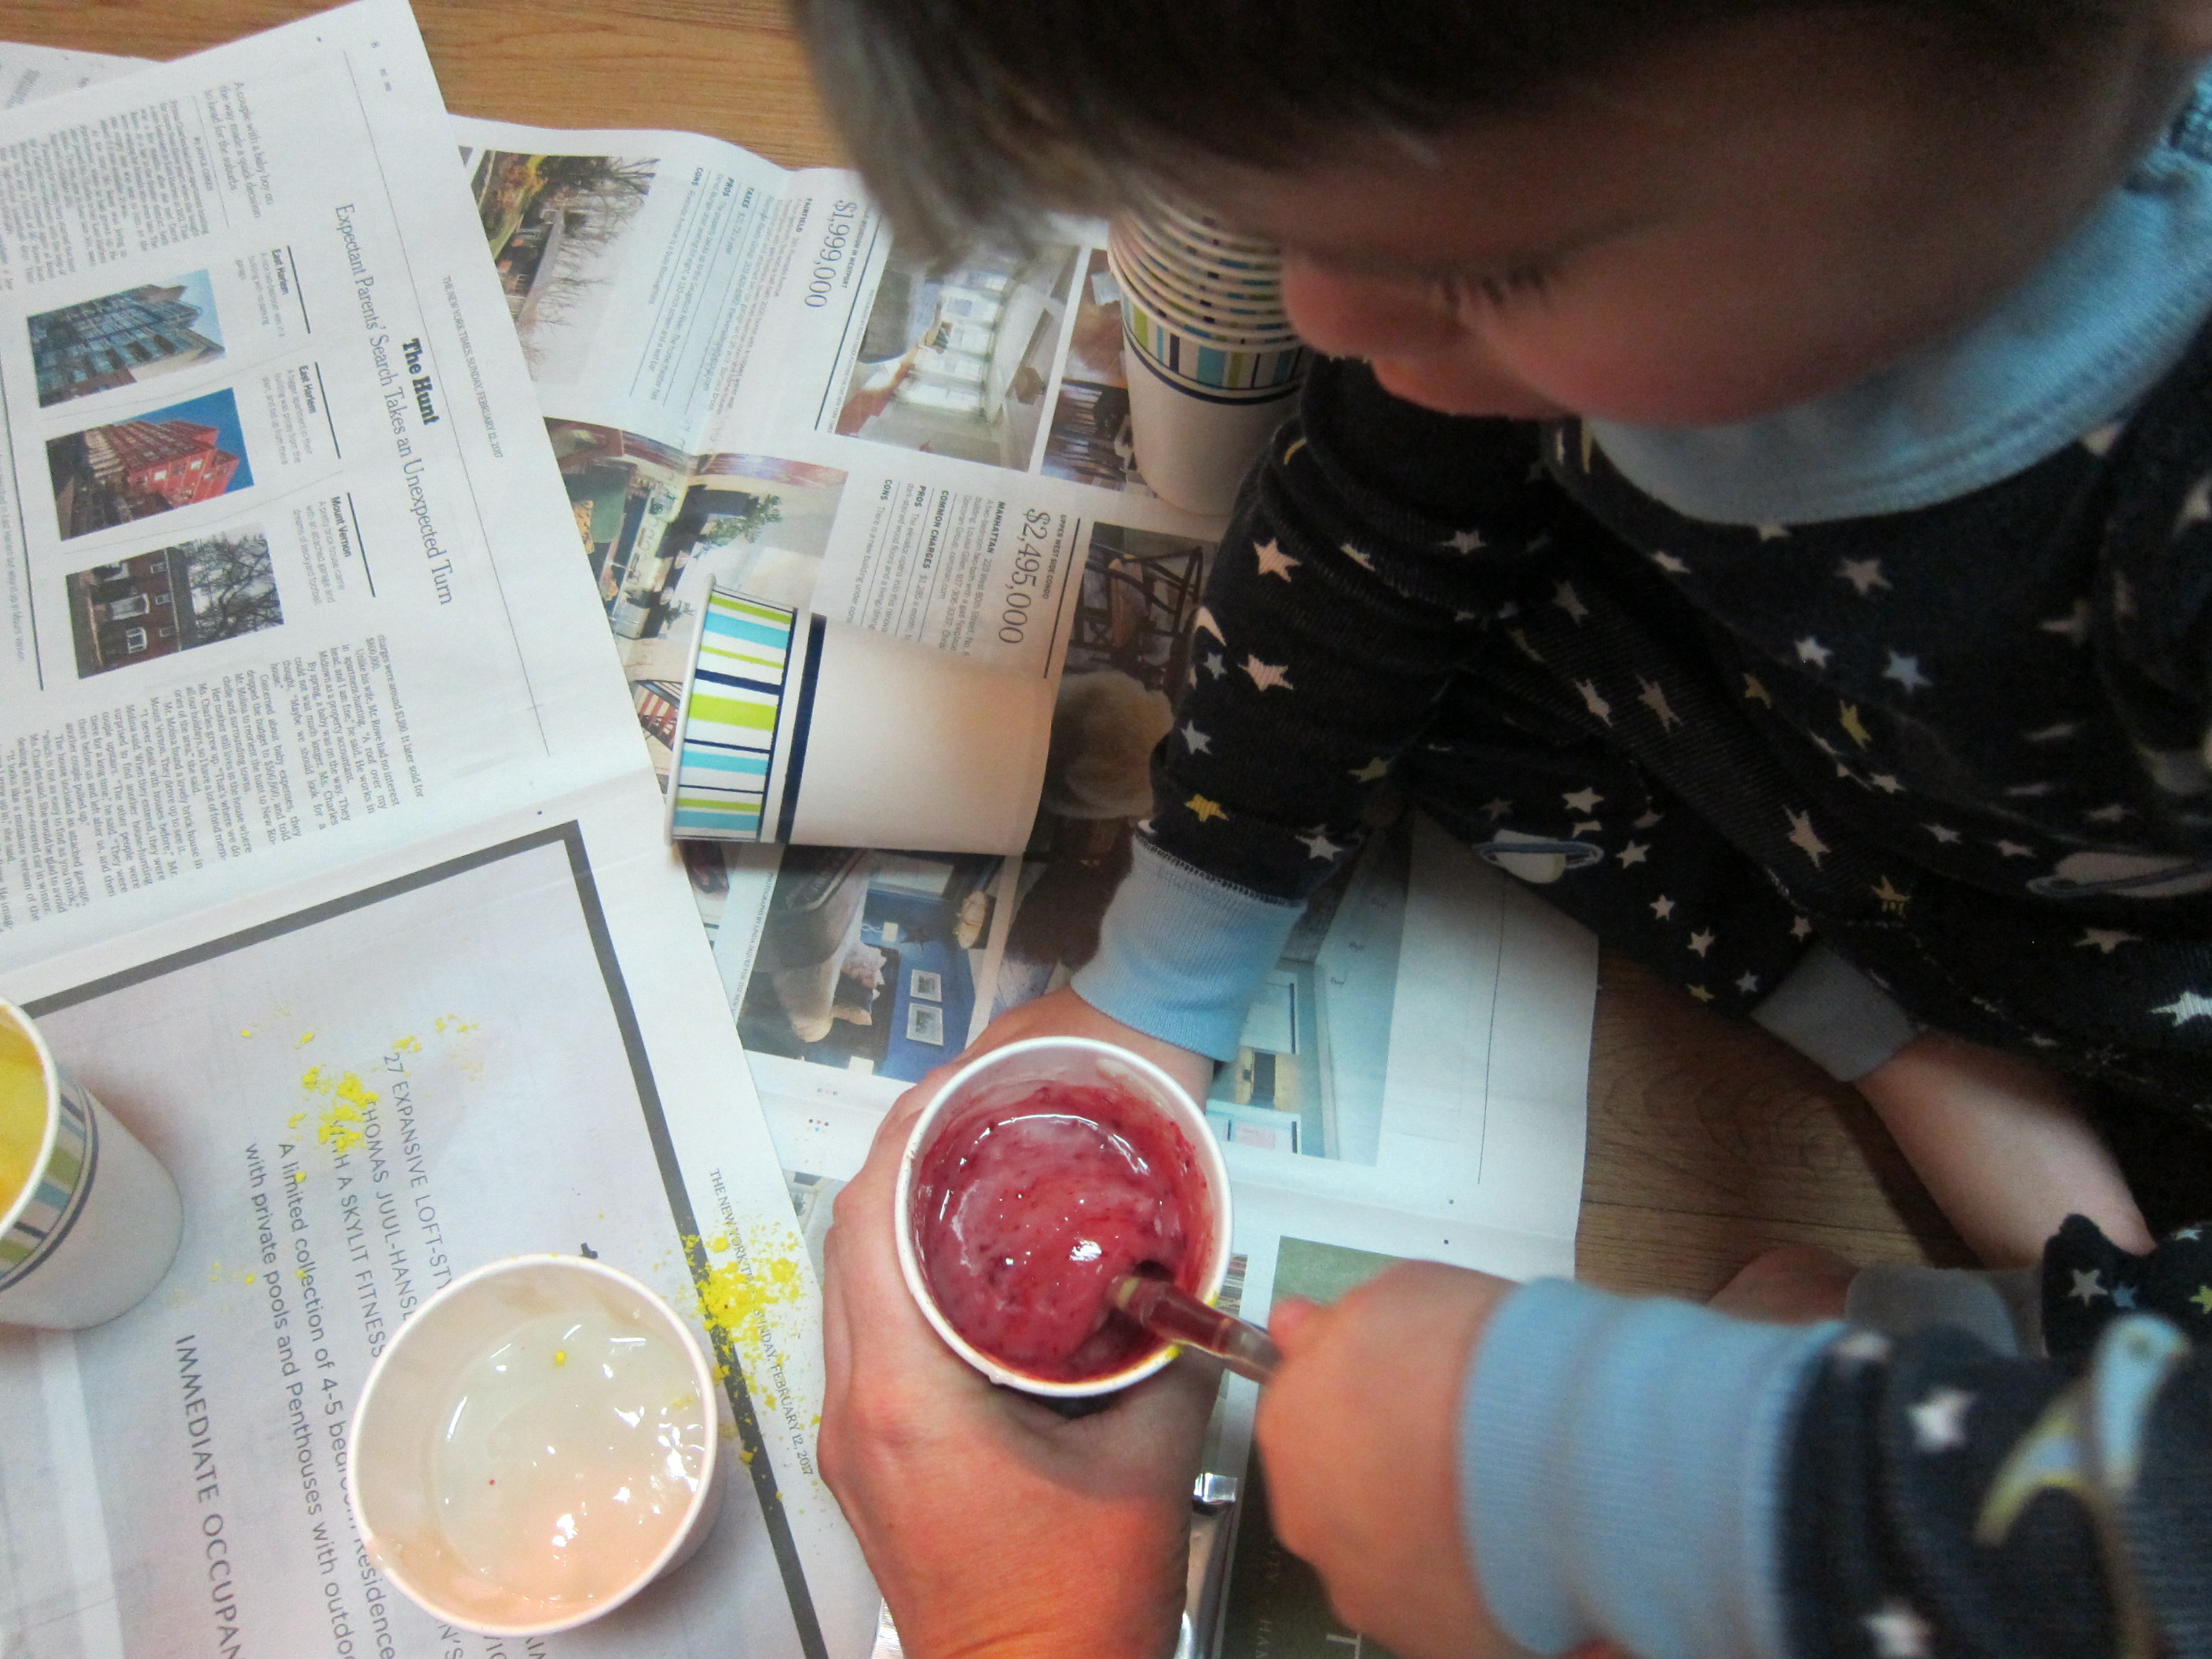
We love making “paint” that’s good enough to eat, and today’s version was super-quick. Use store-bought vanilla pudding and the cups themselves make the perfect paint pots!

Zen company makes vegan pudding cups, though in a pinch, you can whip up a homemade batch and divide among ramekins. Still, I preferred store-bought here because of those individual pudding cups.

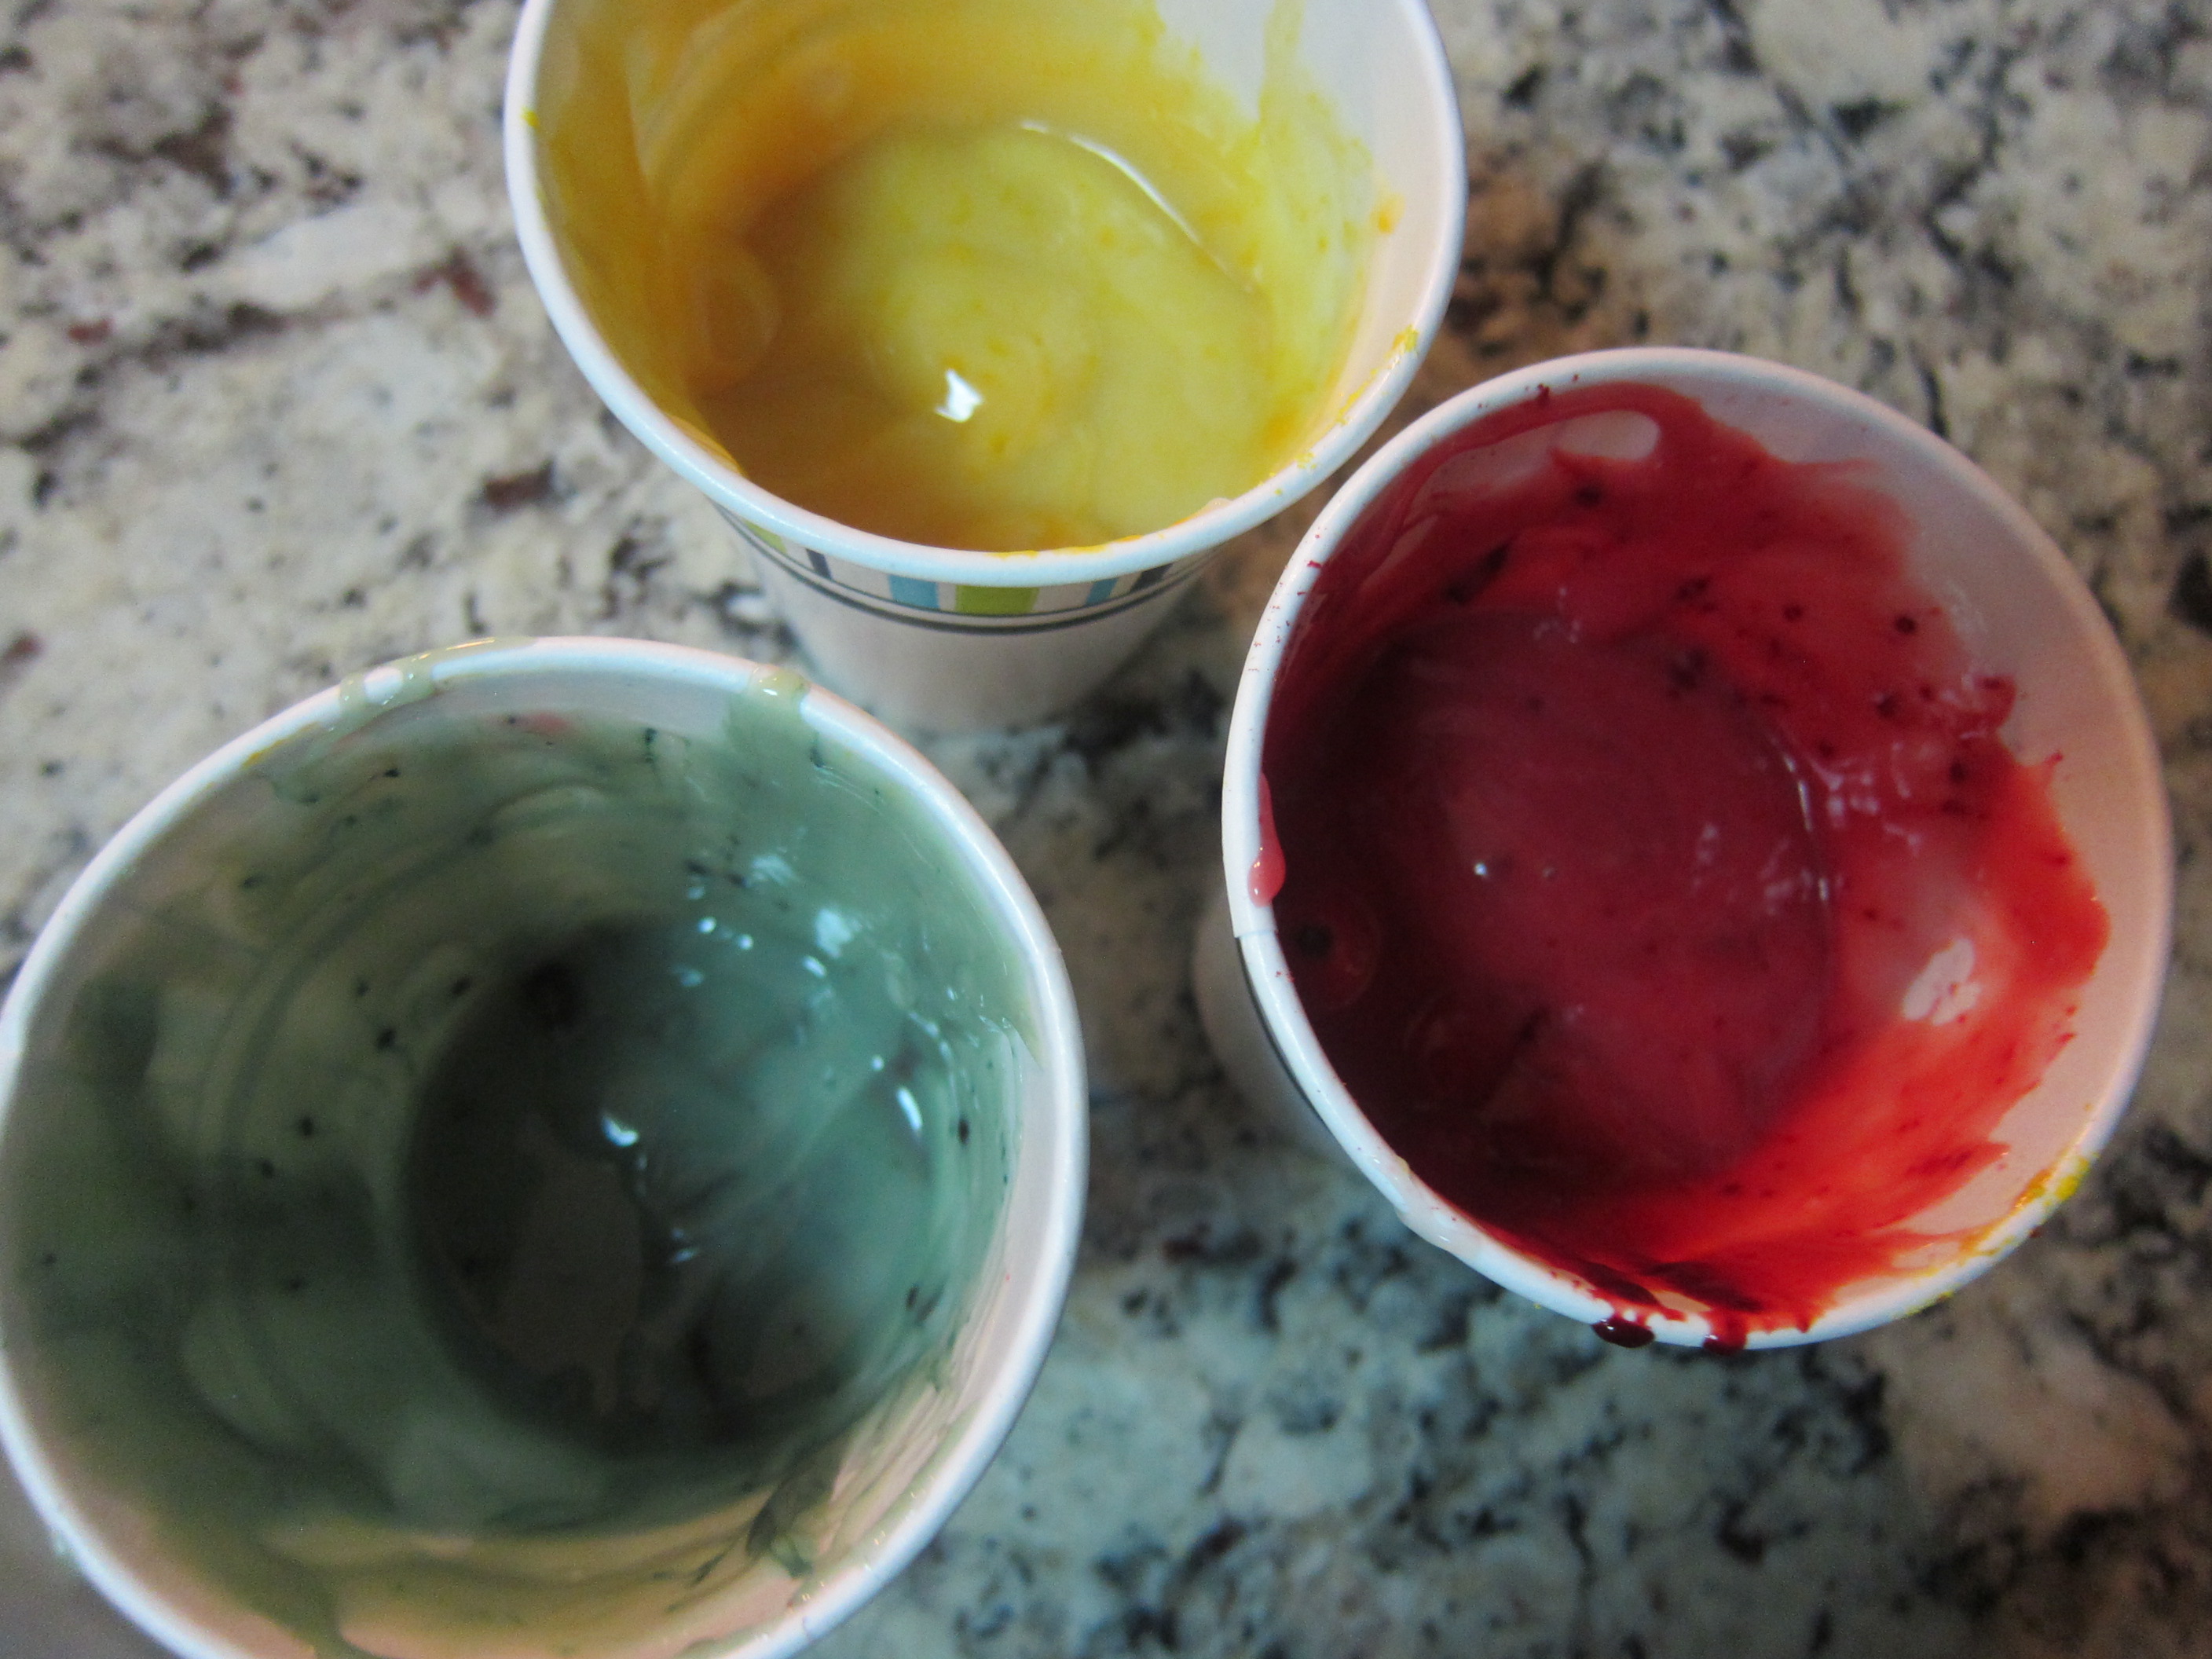
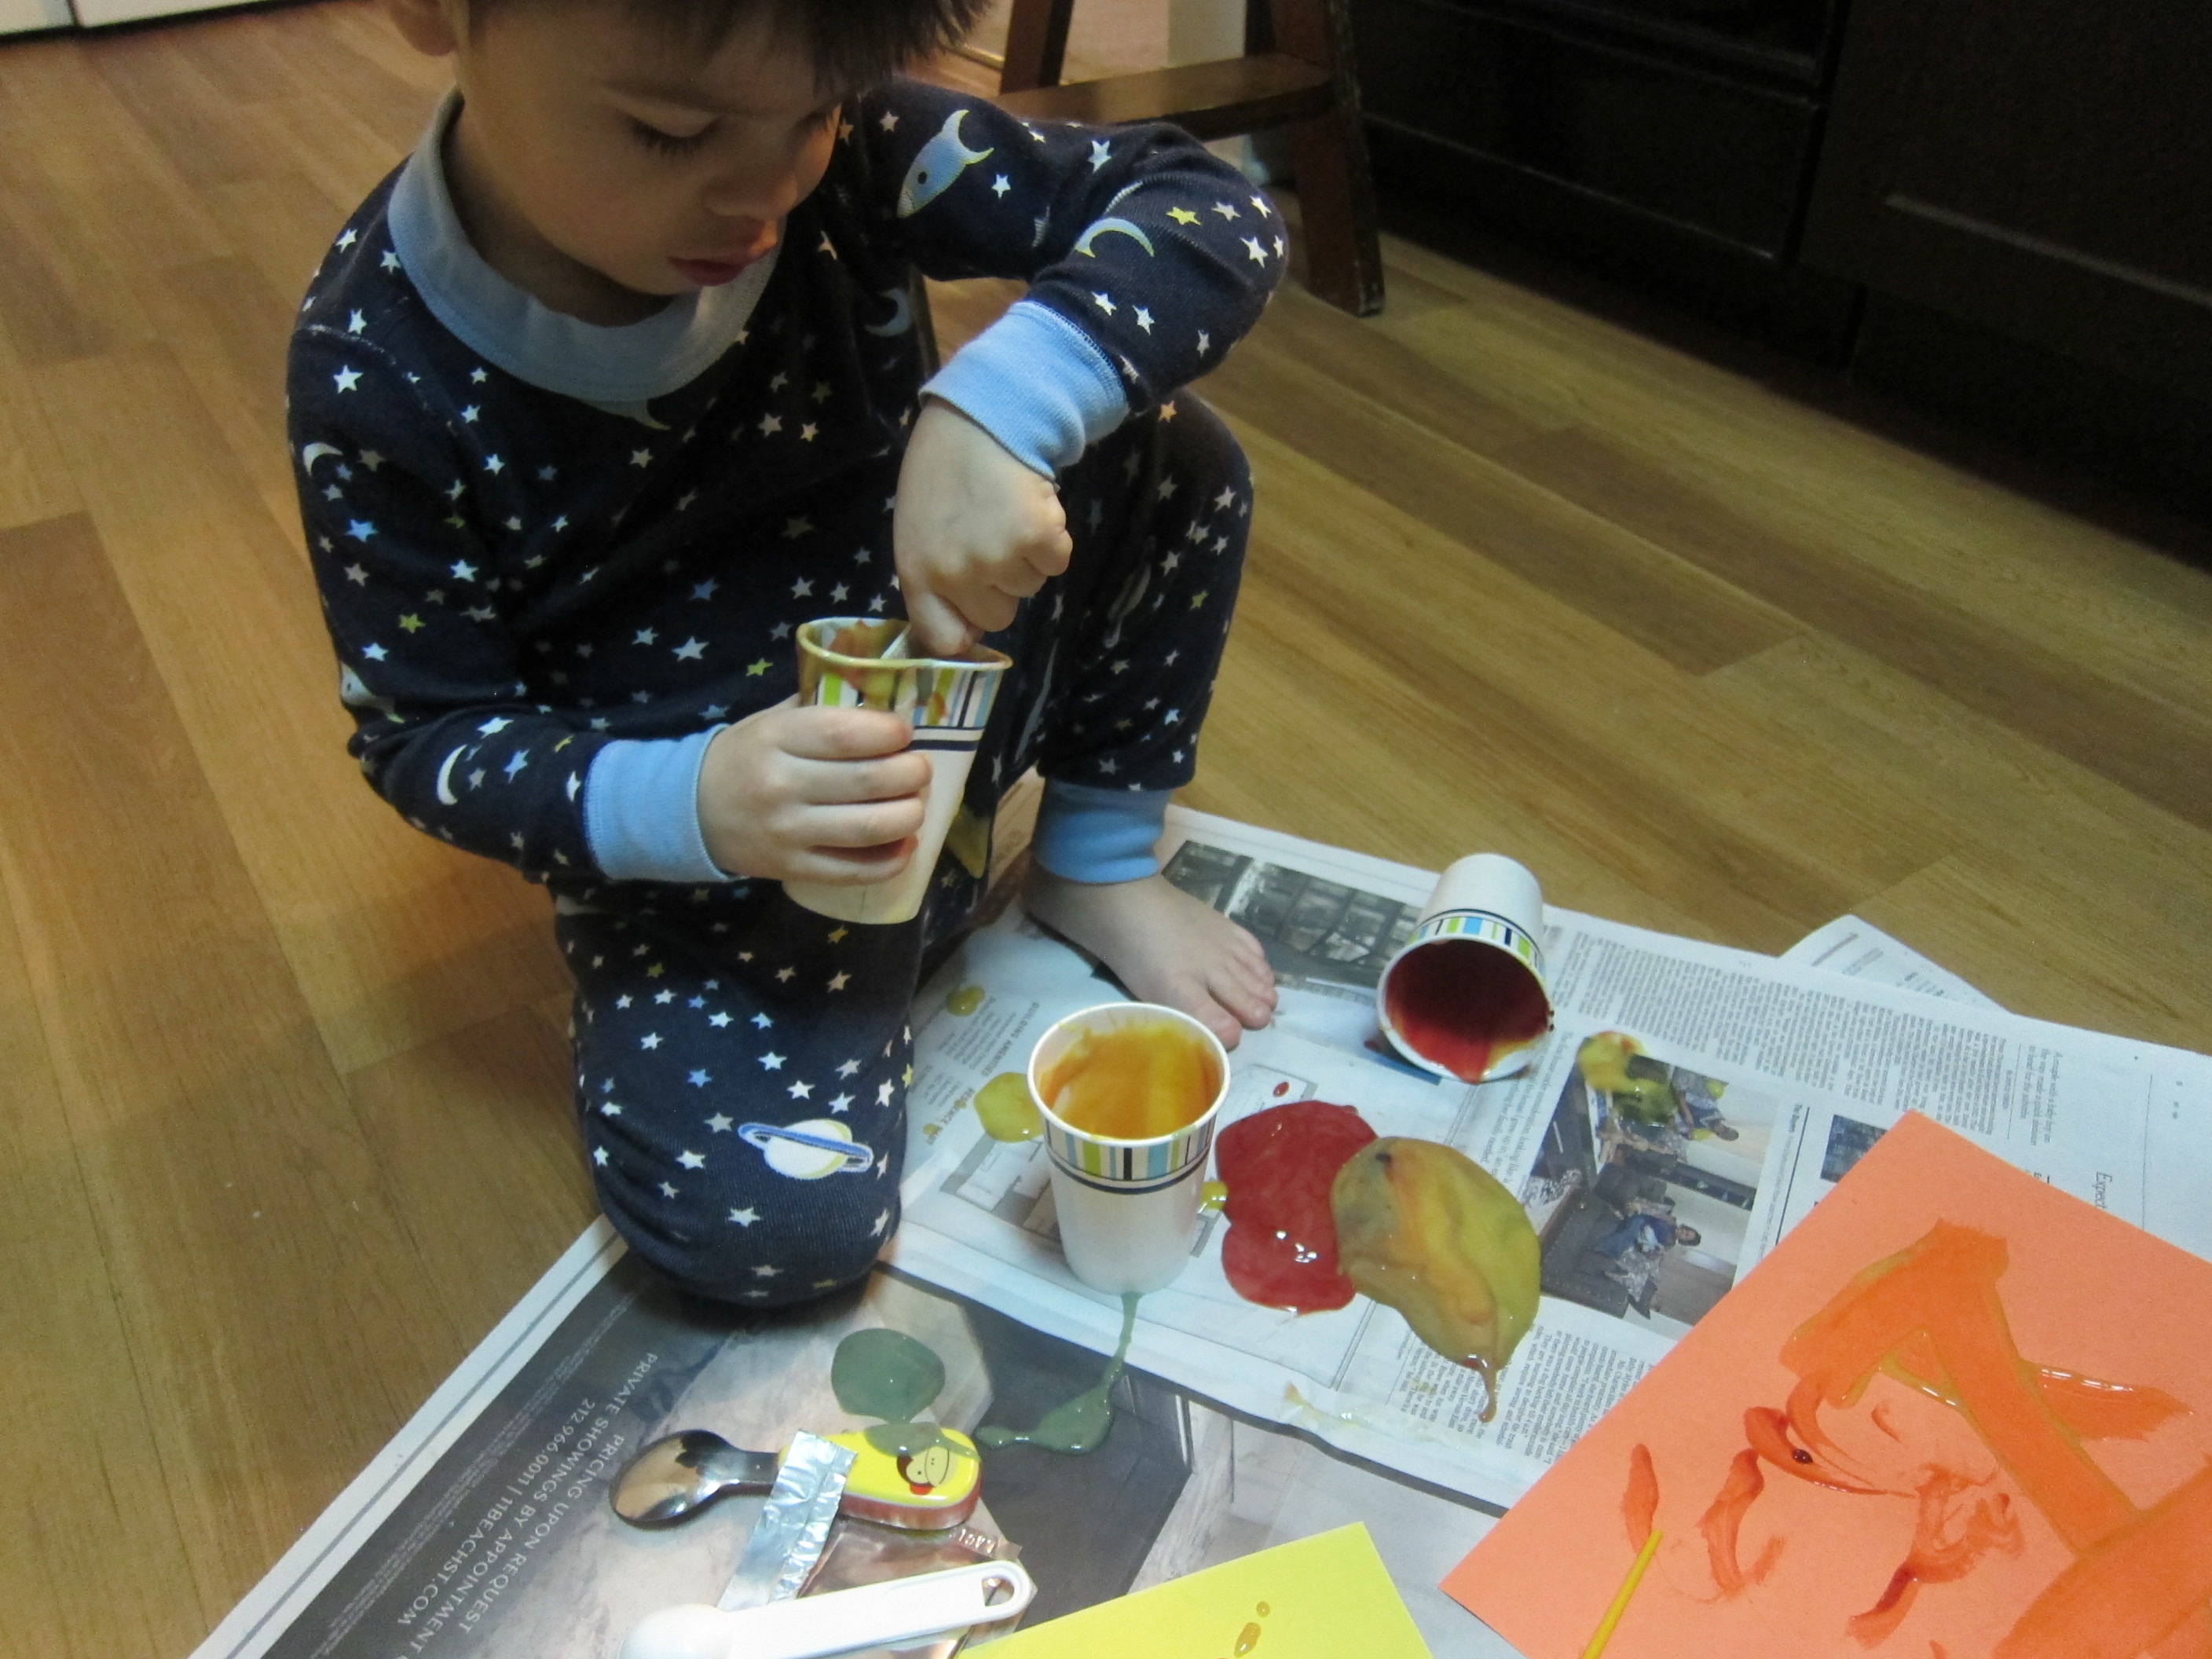
I wanted rich, deep colors for the paint, so used 20 drops of food coloring for each pudding cup. For purple, mix 10 drops of red + 10 drops of blue.

Edible Paint with Pudding Cups (1)

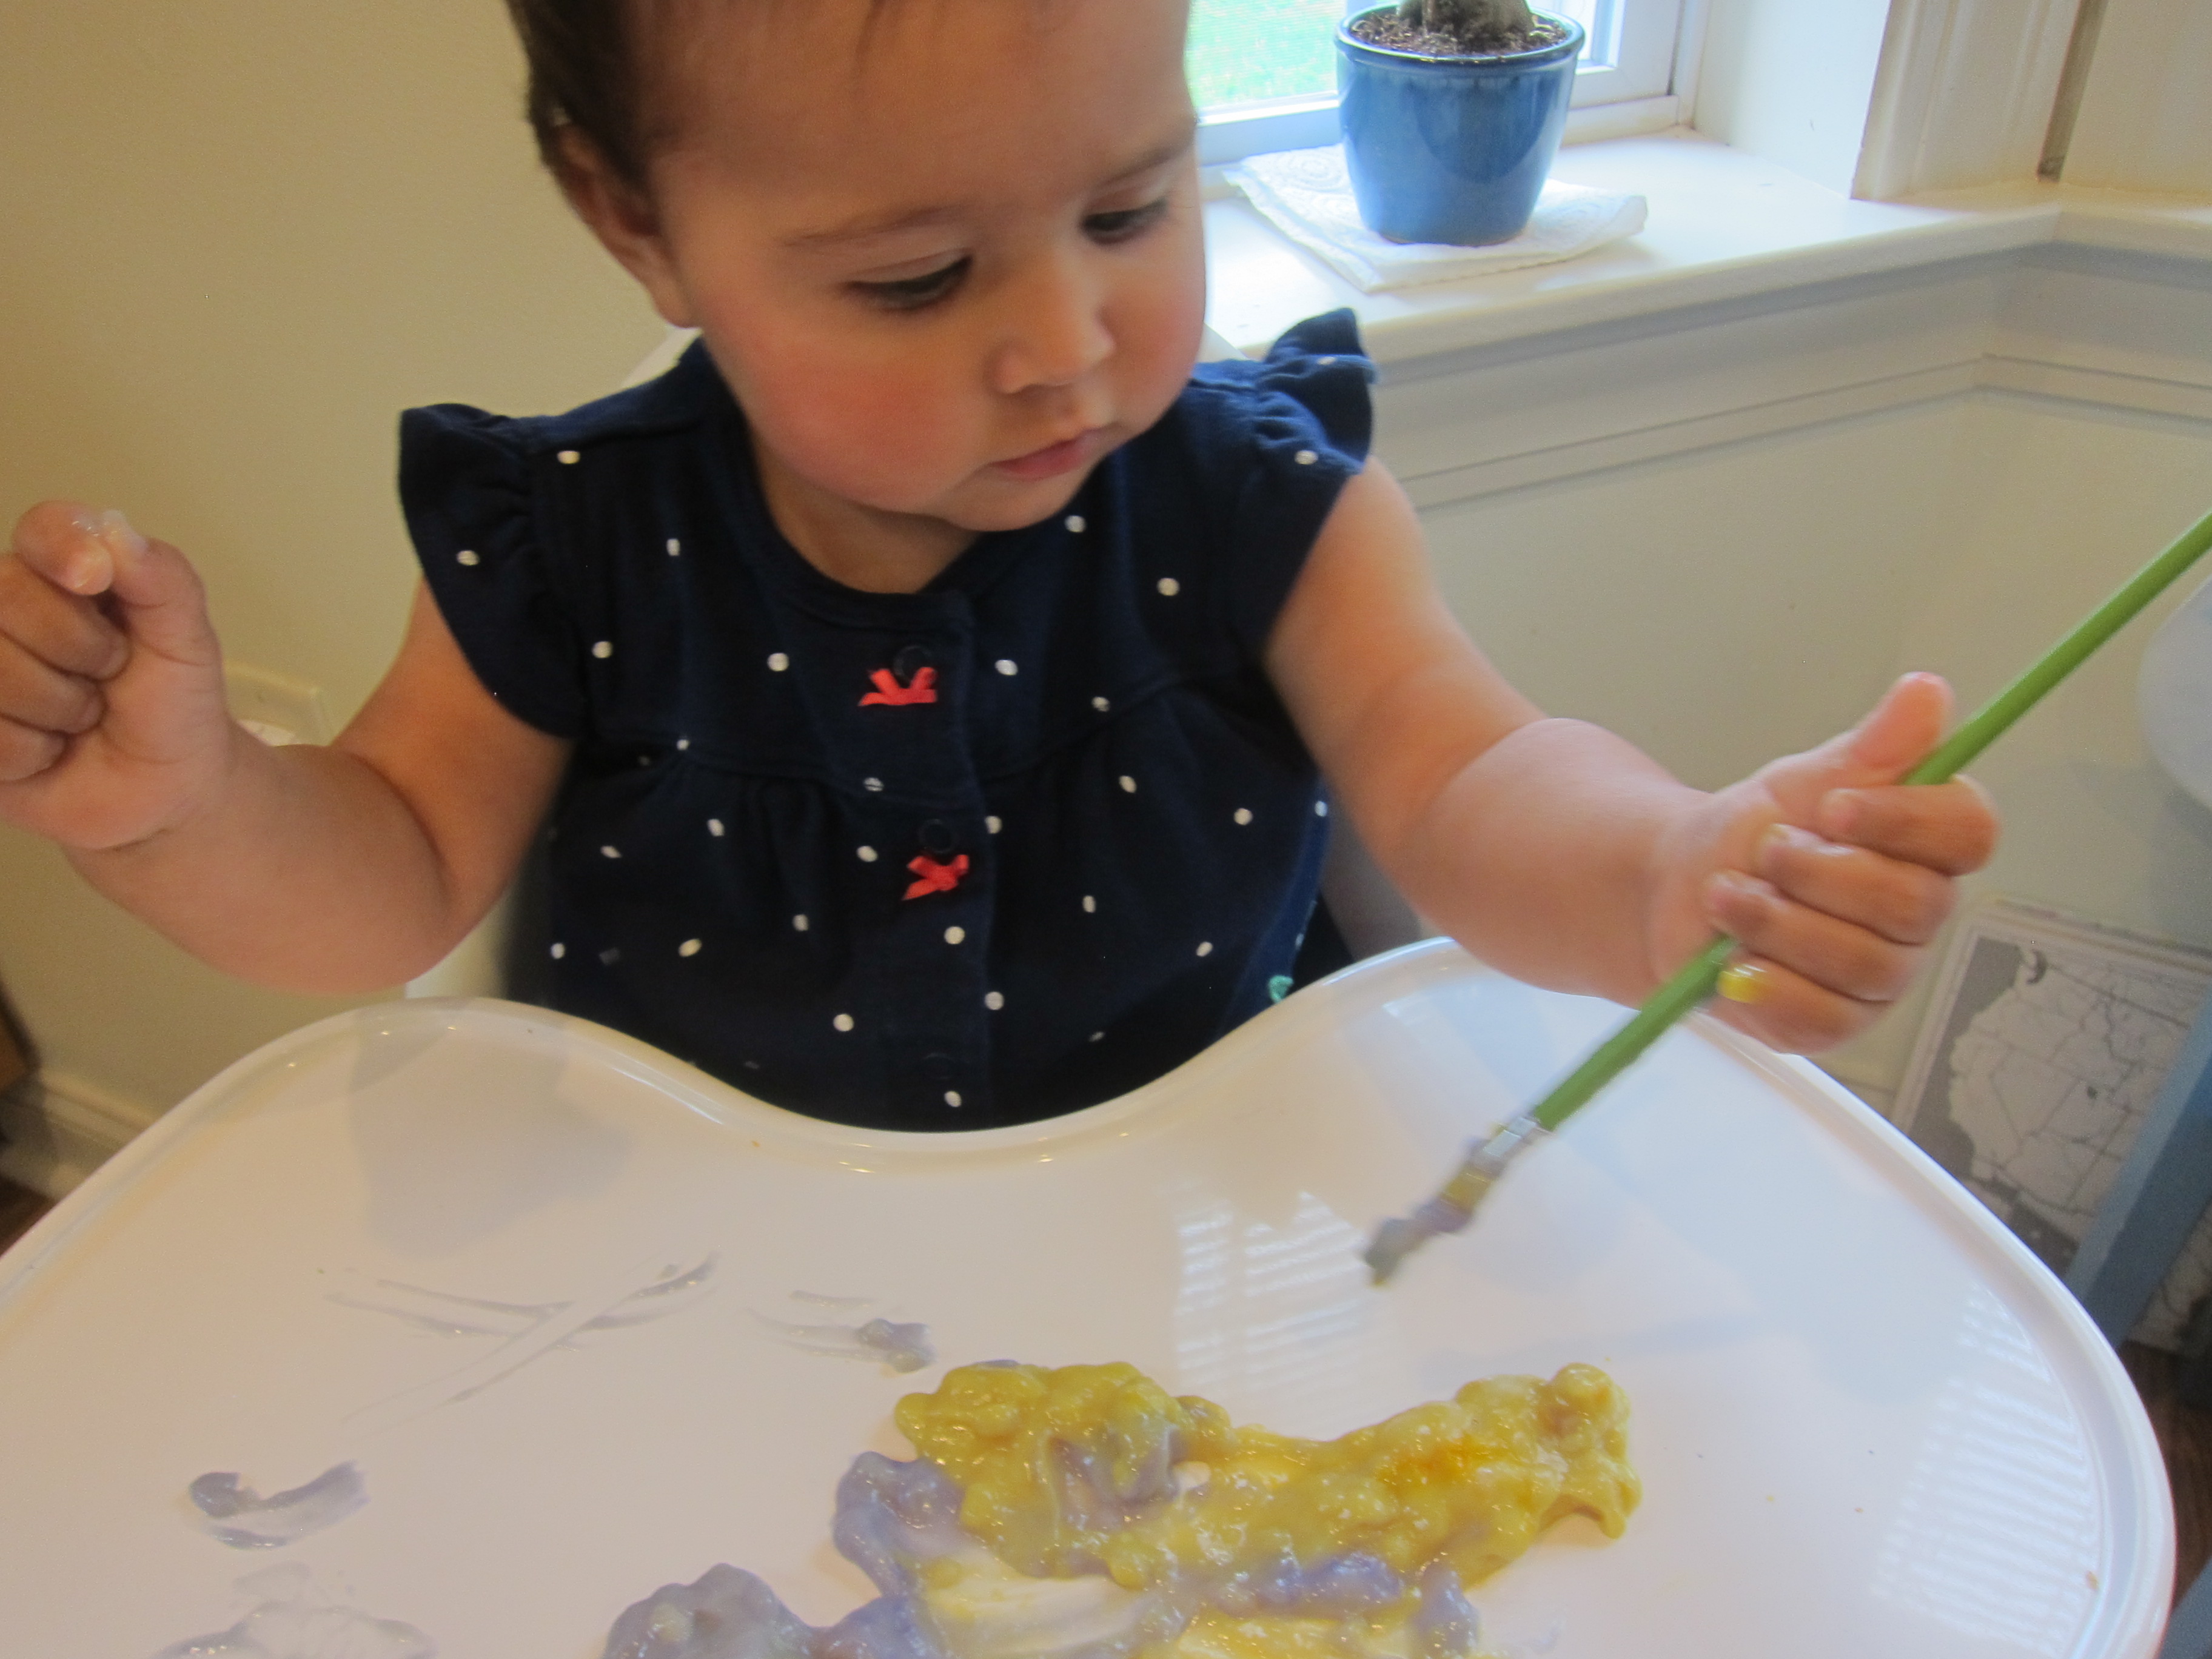
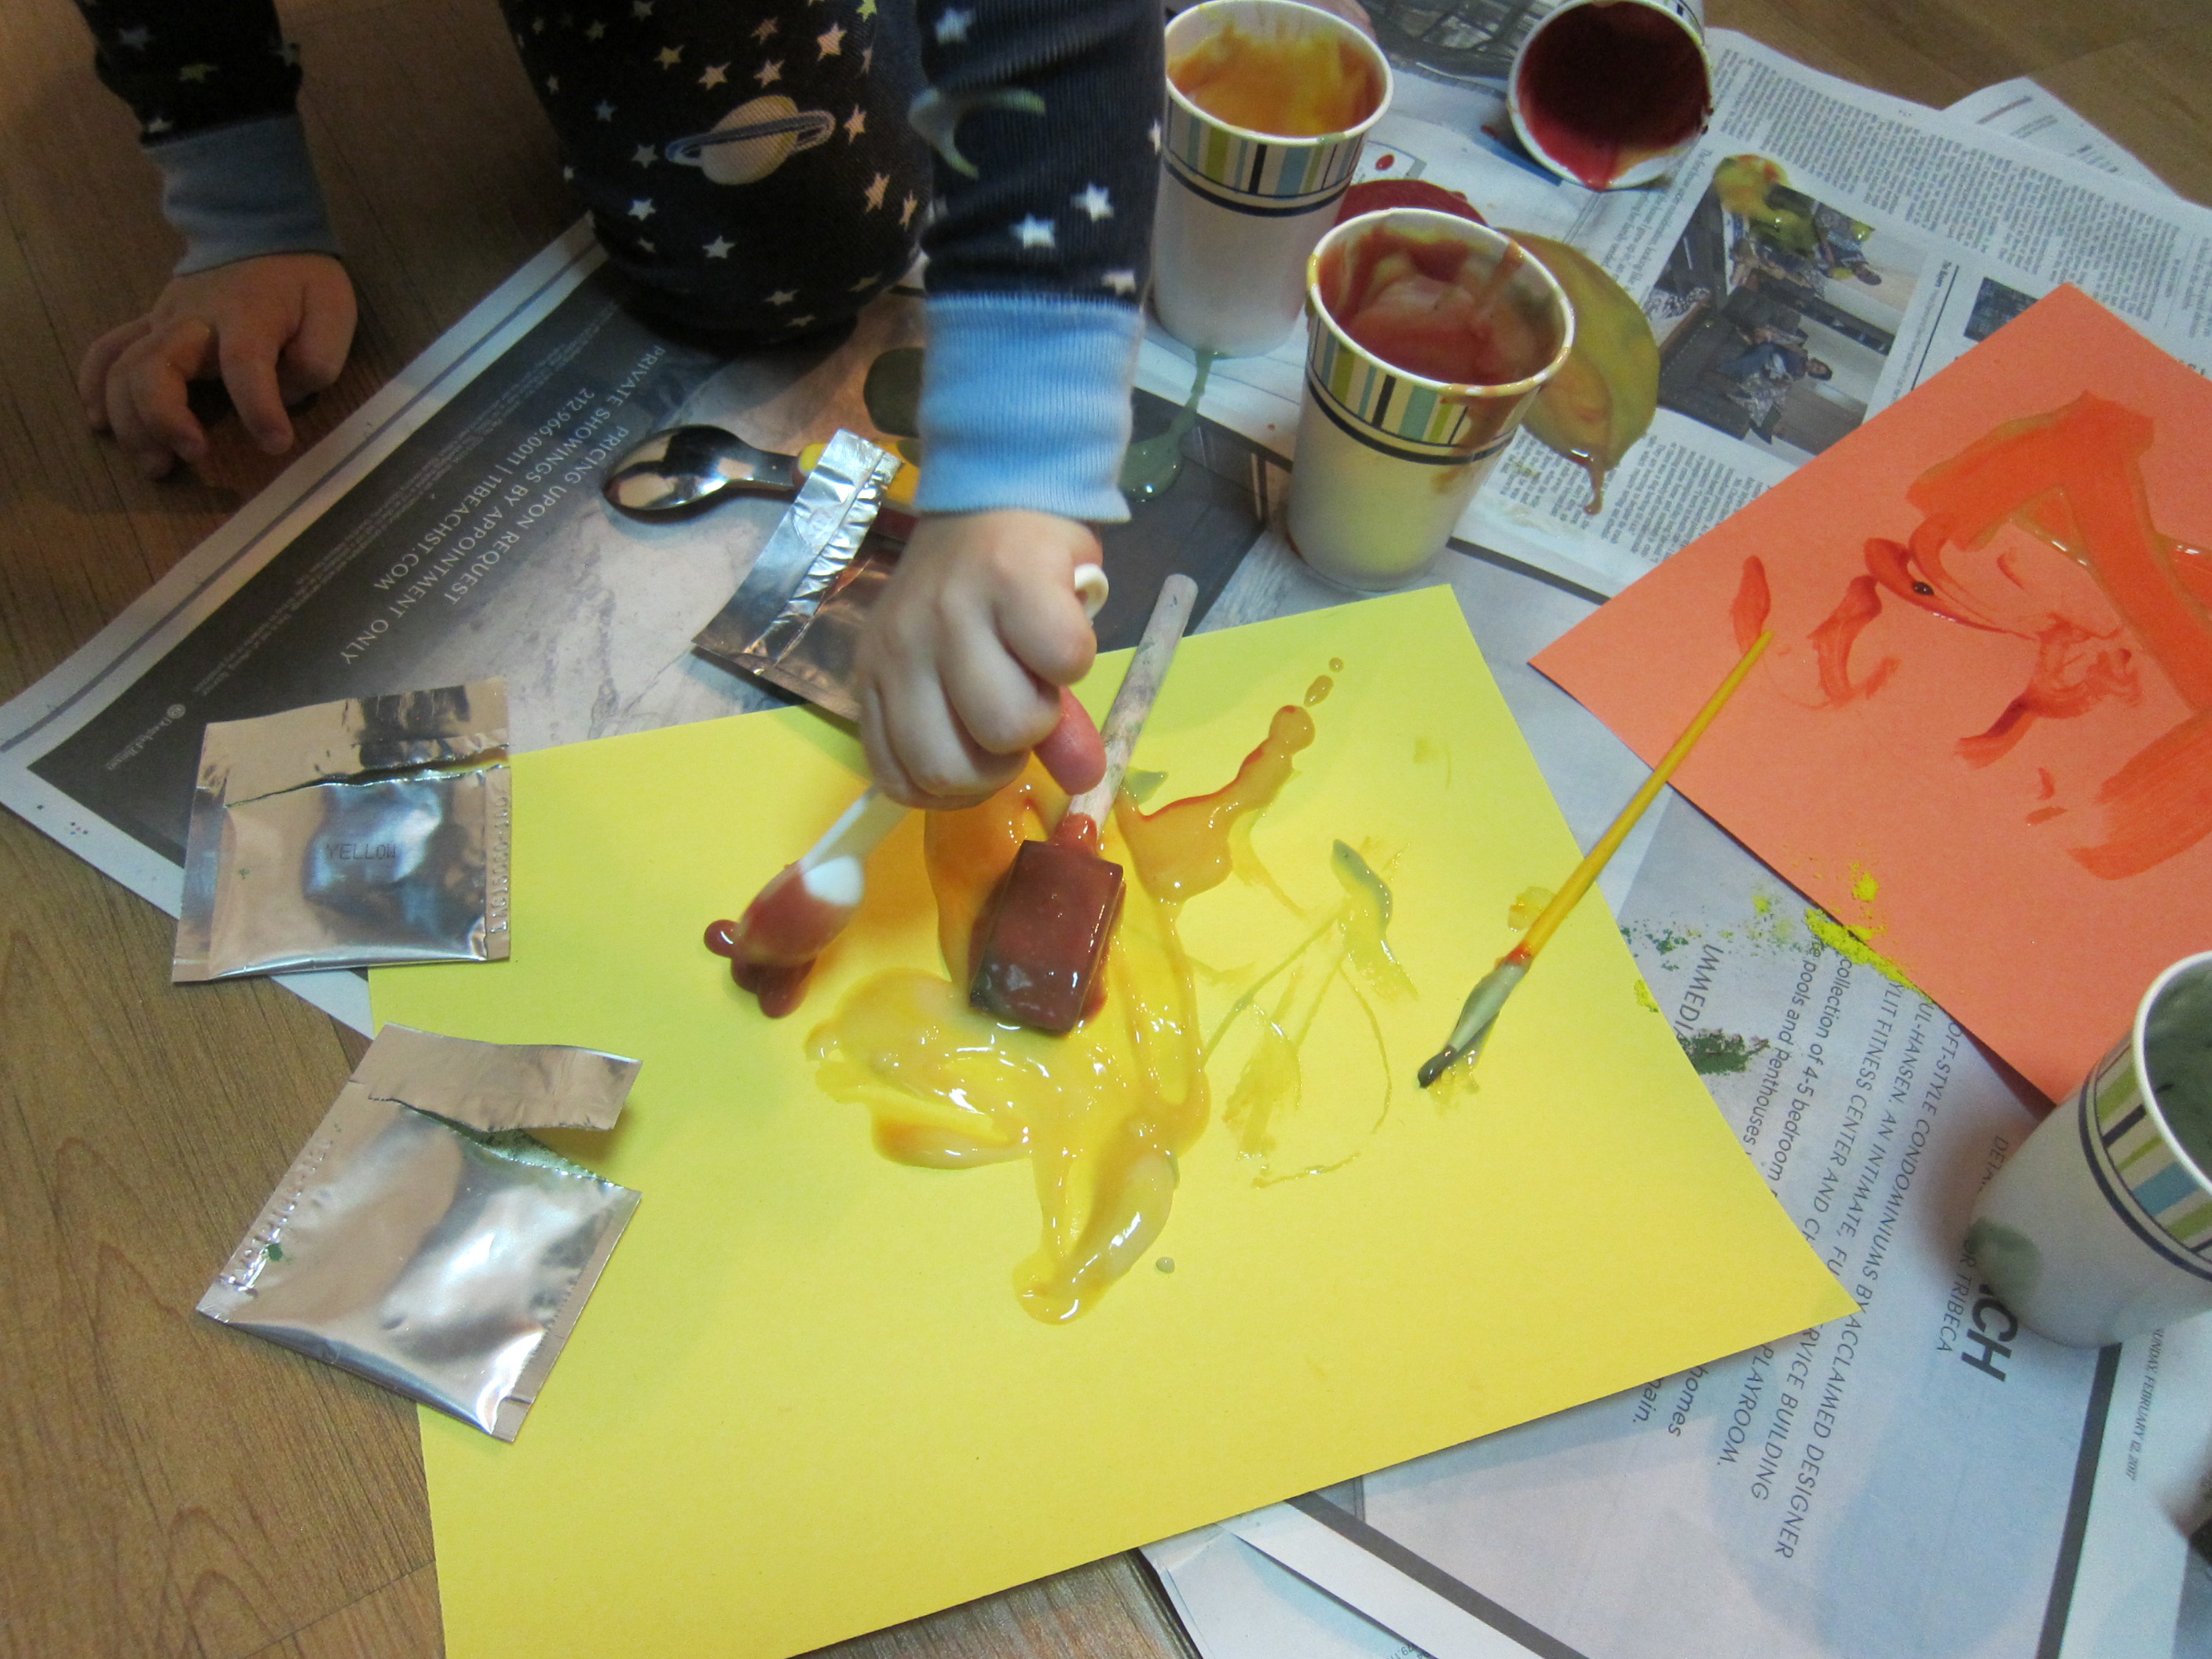
I then laid down a big sheet of craft paper as Veronika’s canvas and set the pots around my little artist.

Edible Paint with Pudding Cups (2)

She instantly asked, “Can I eat it?” Needless to say, the eating of the paint was way more fun than the painting with it. I quickly switched from paint brushes to spoons once I realized she wasn’t going to stop taste-testing.

Edible Paint with Pudding Cups (3)

I did show her how to draw a few images with the paint, like flowers and a blue sky, but snacking won out.

Edible Paint with Pudding Cups (6)

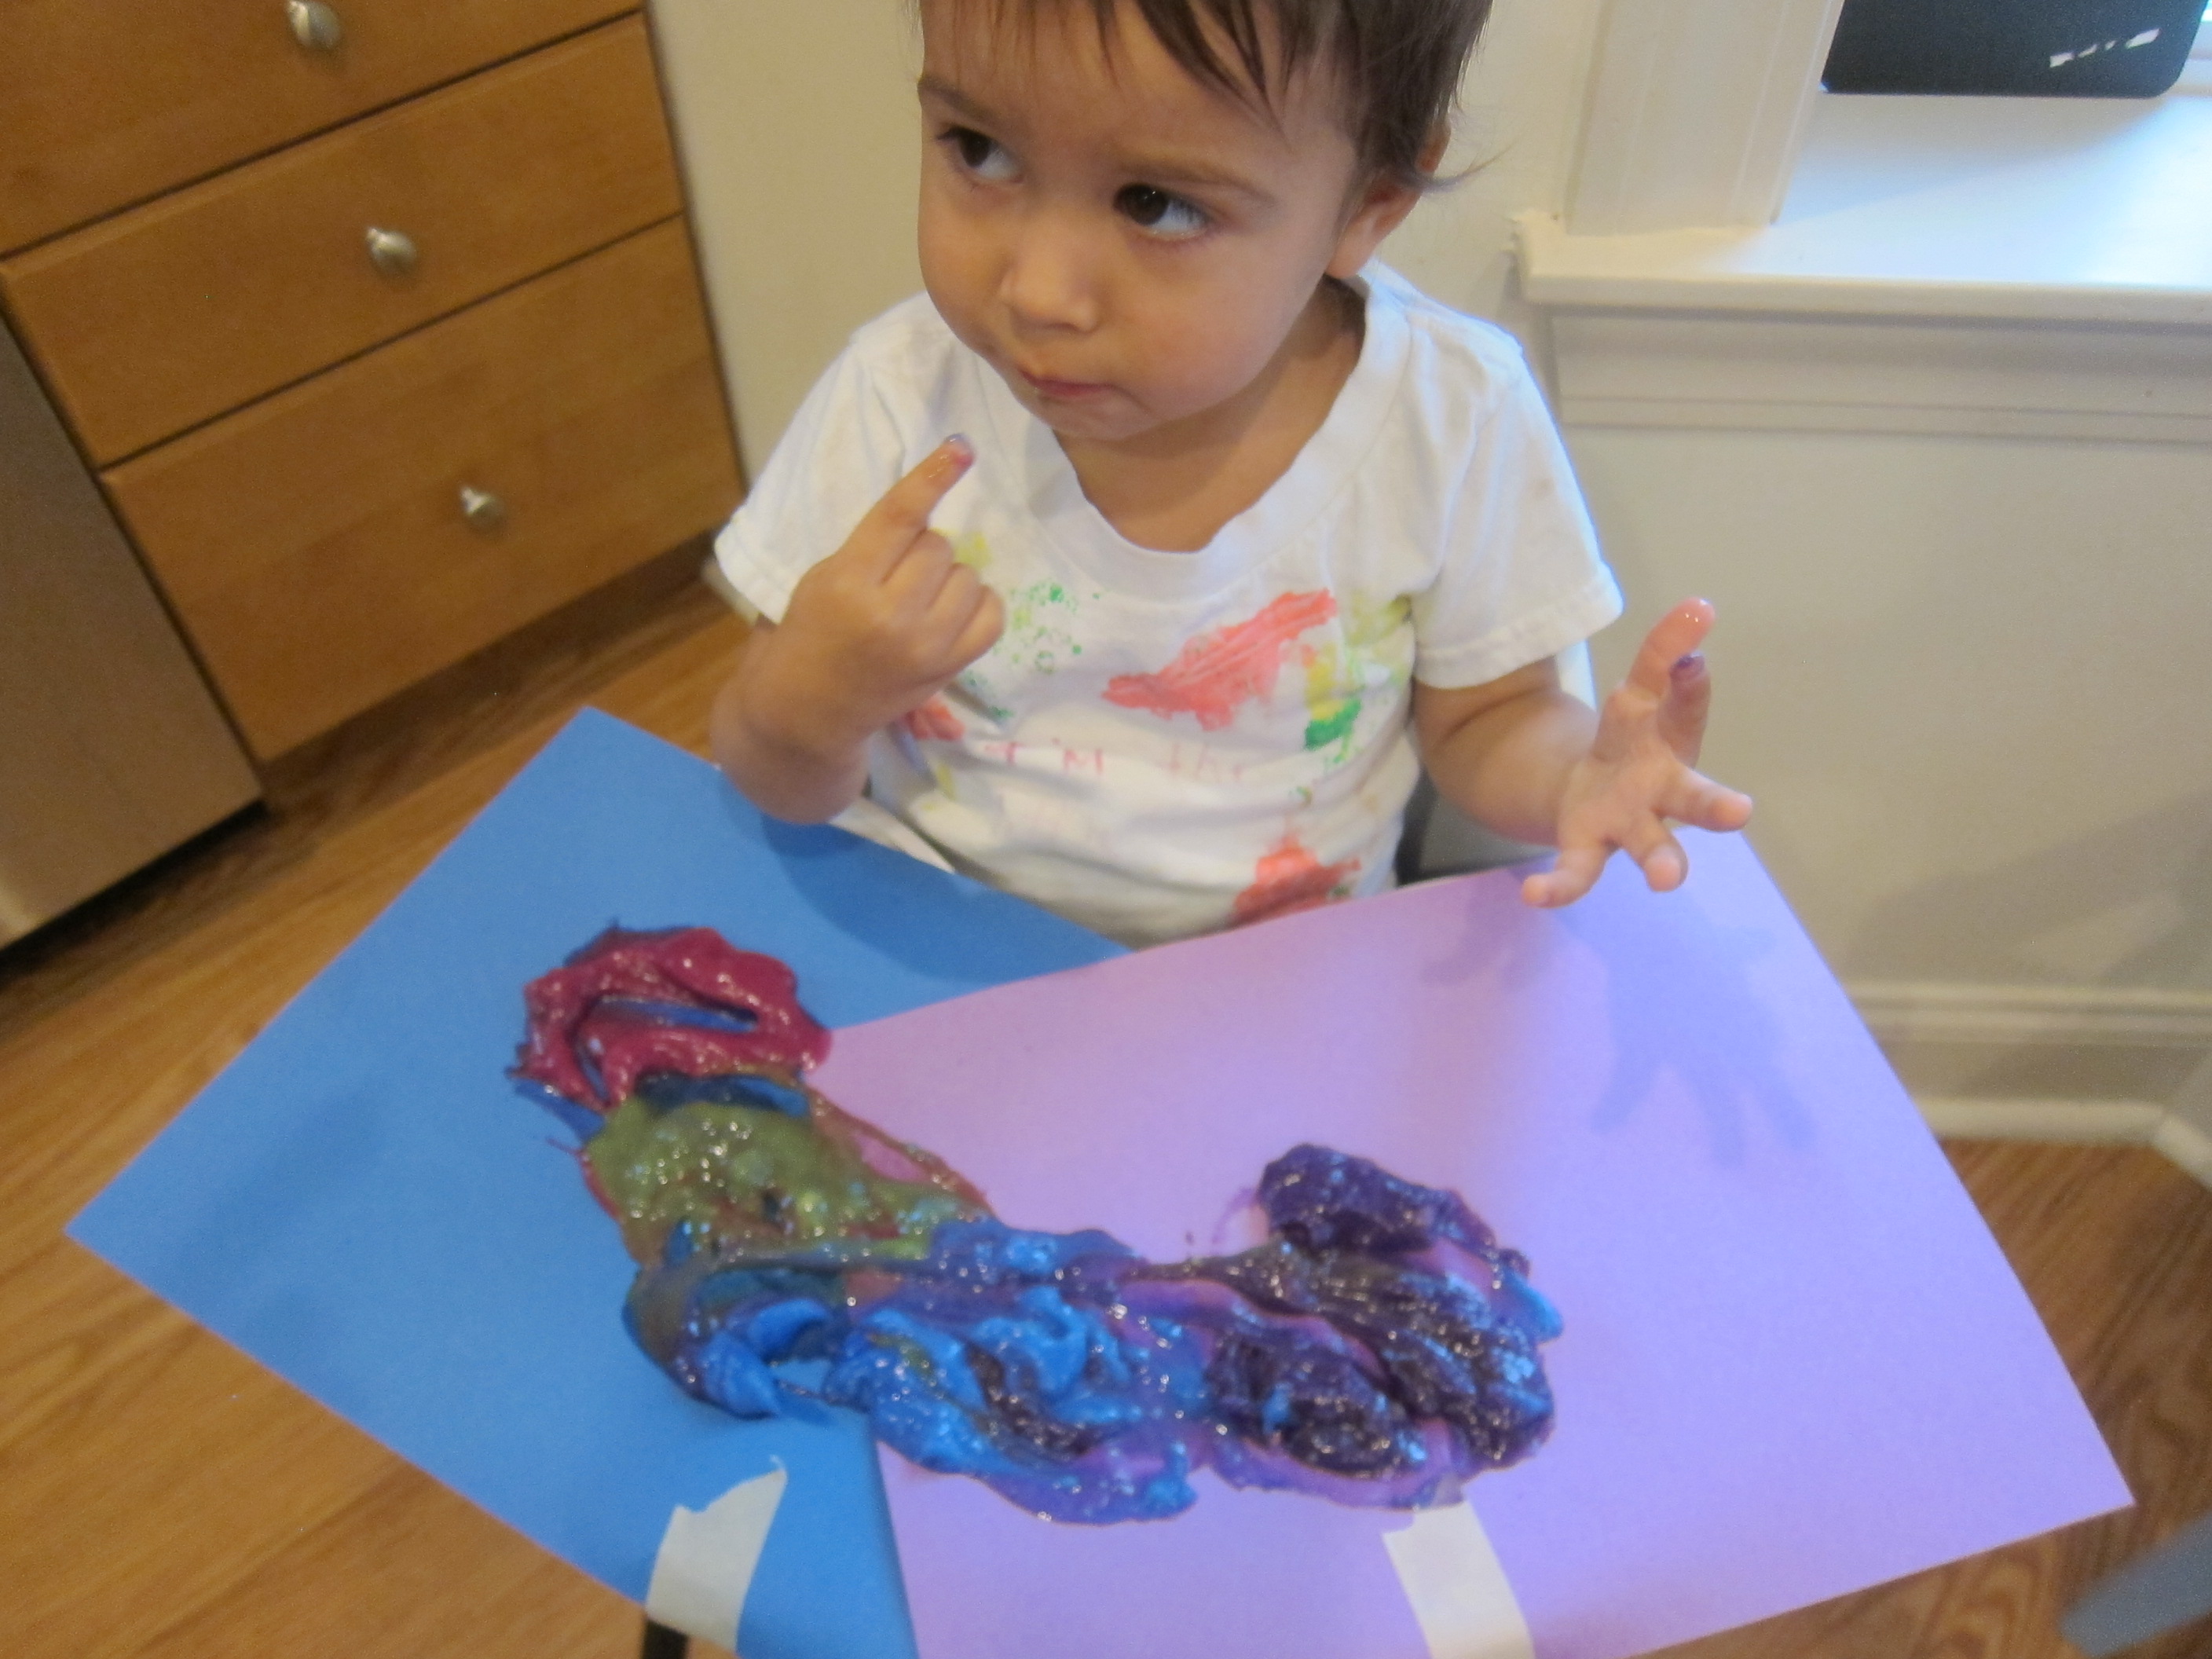
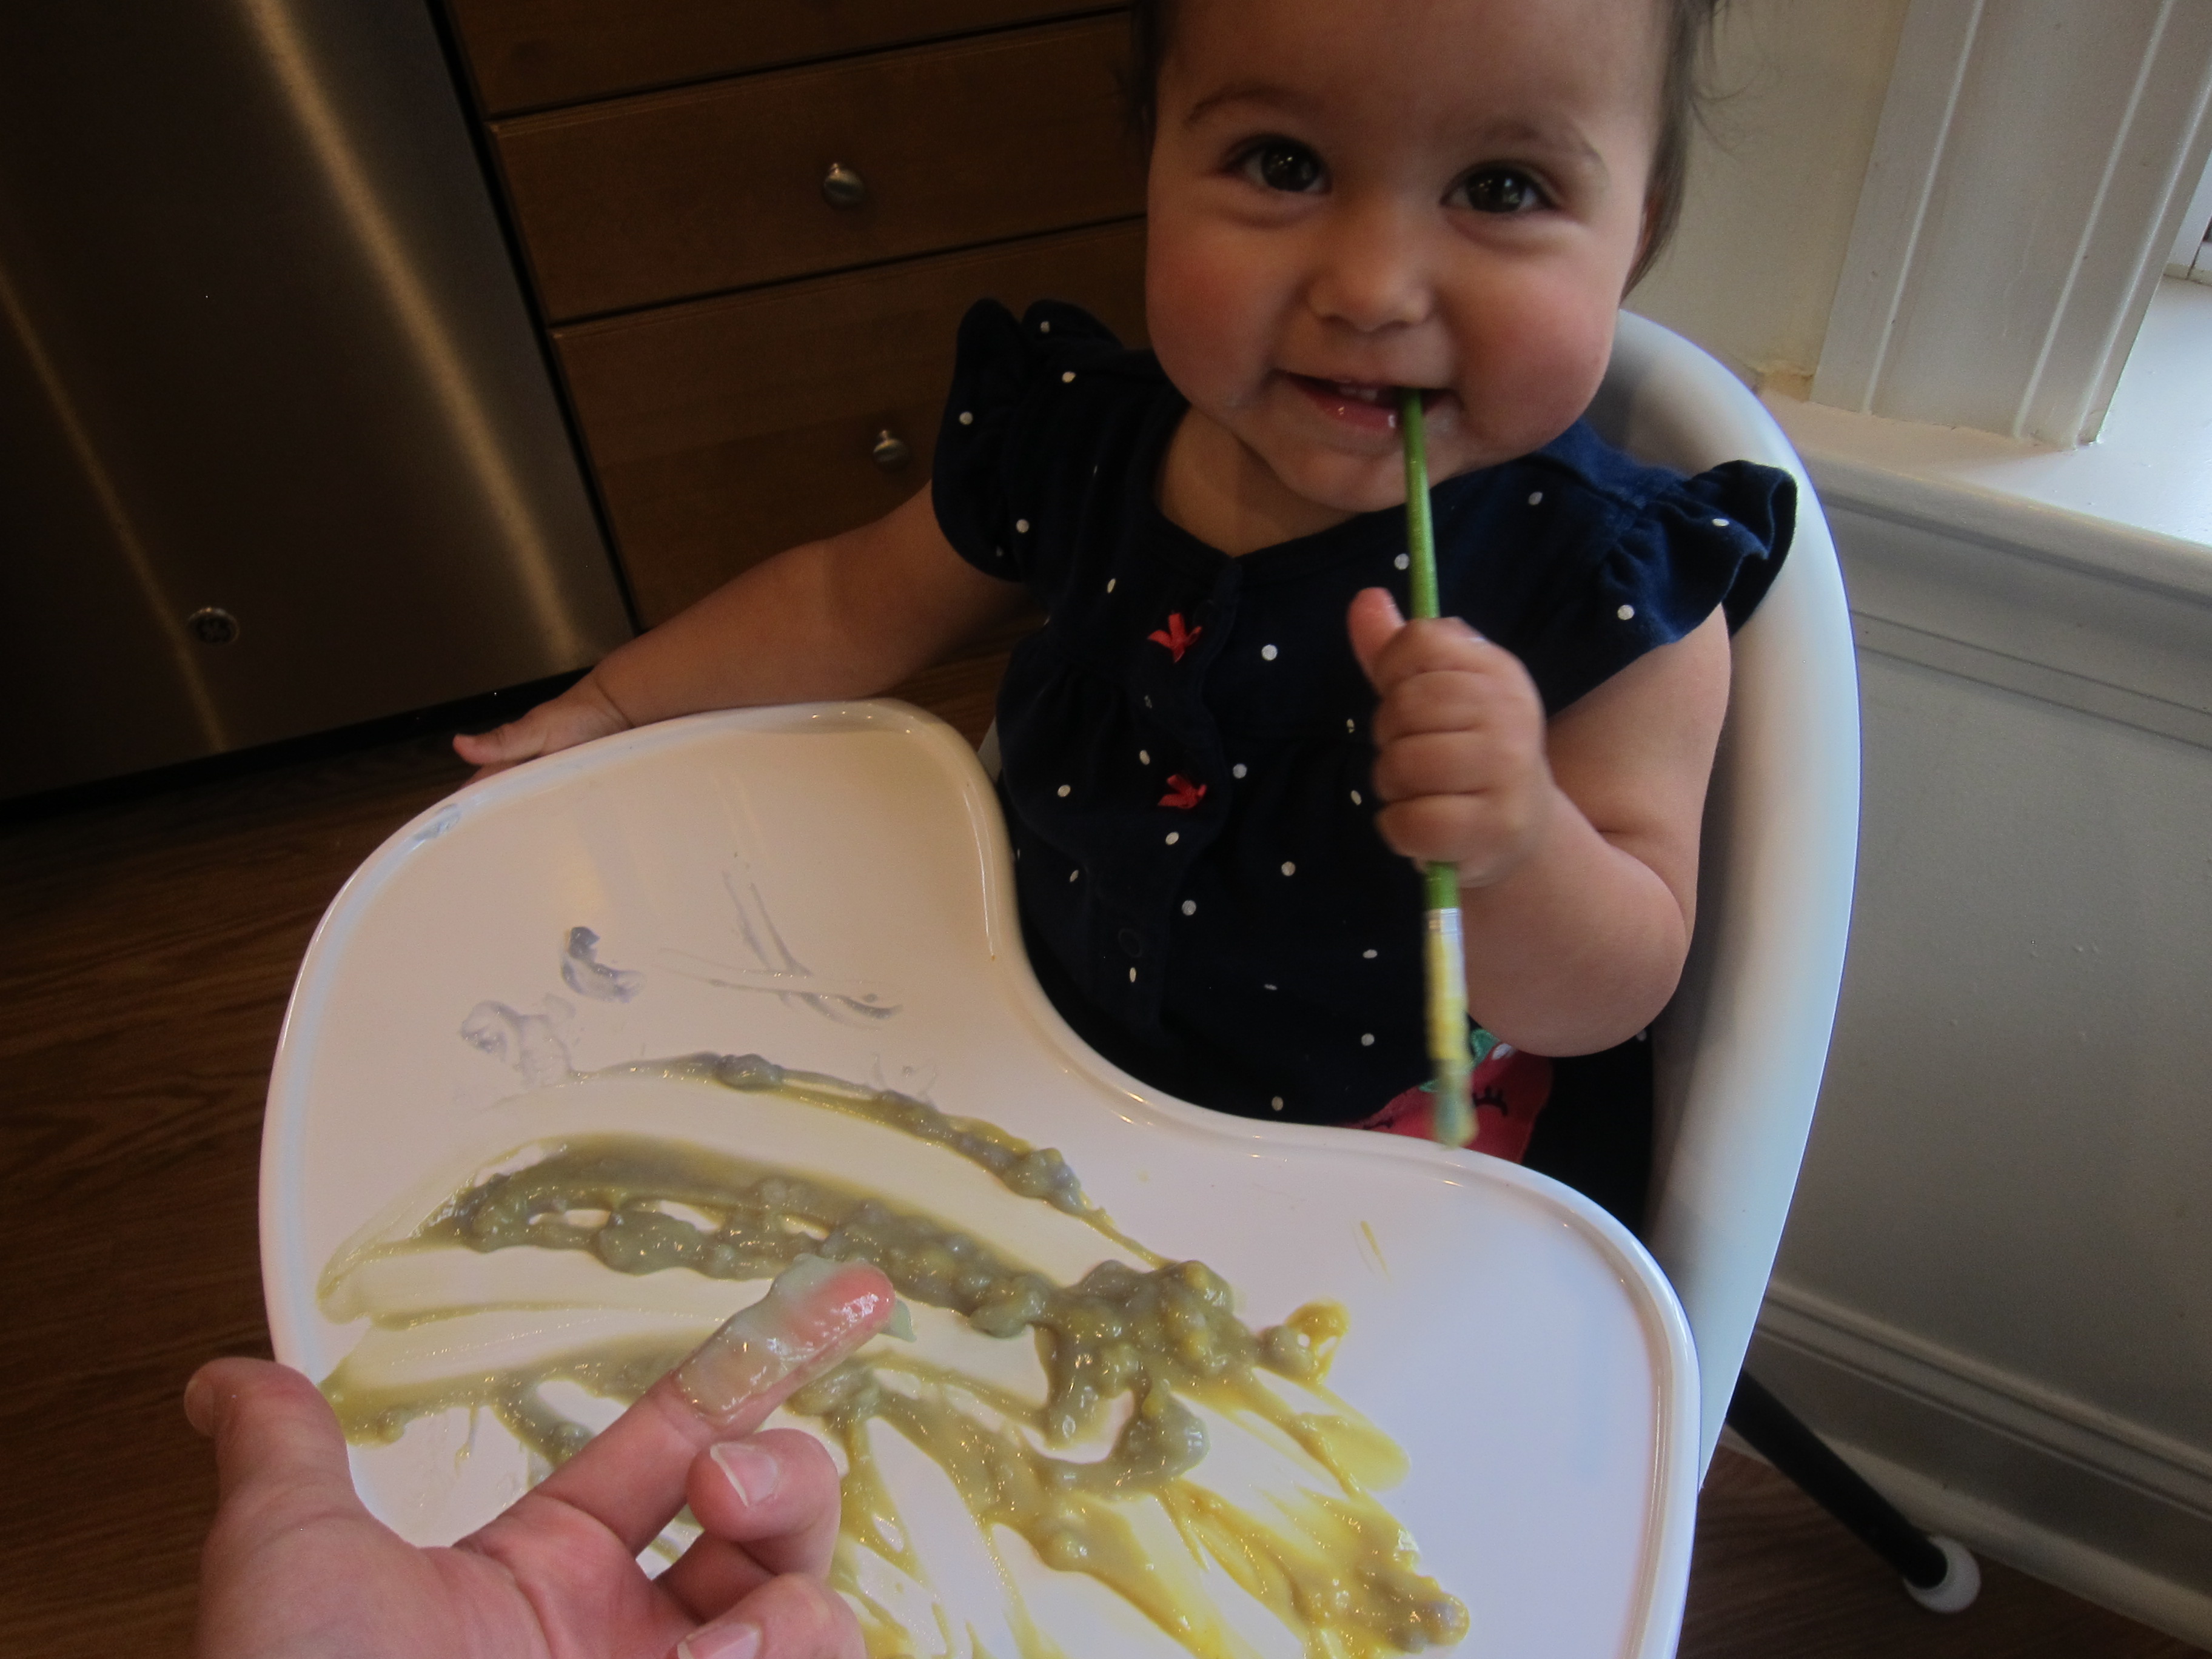
To mix it up, next I taped construction paper to the high chair tray, and this time I poured on blobs of the pudding paint.

Edible Paint with Pudding Cups (7)

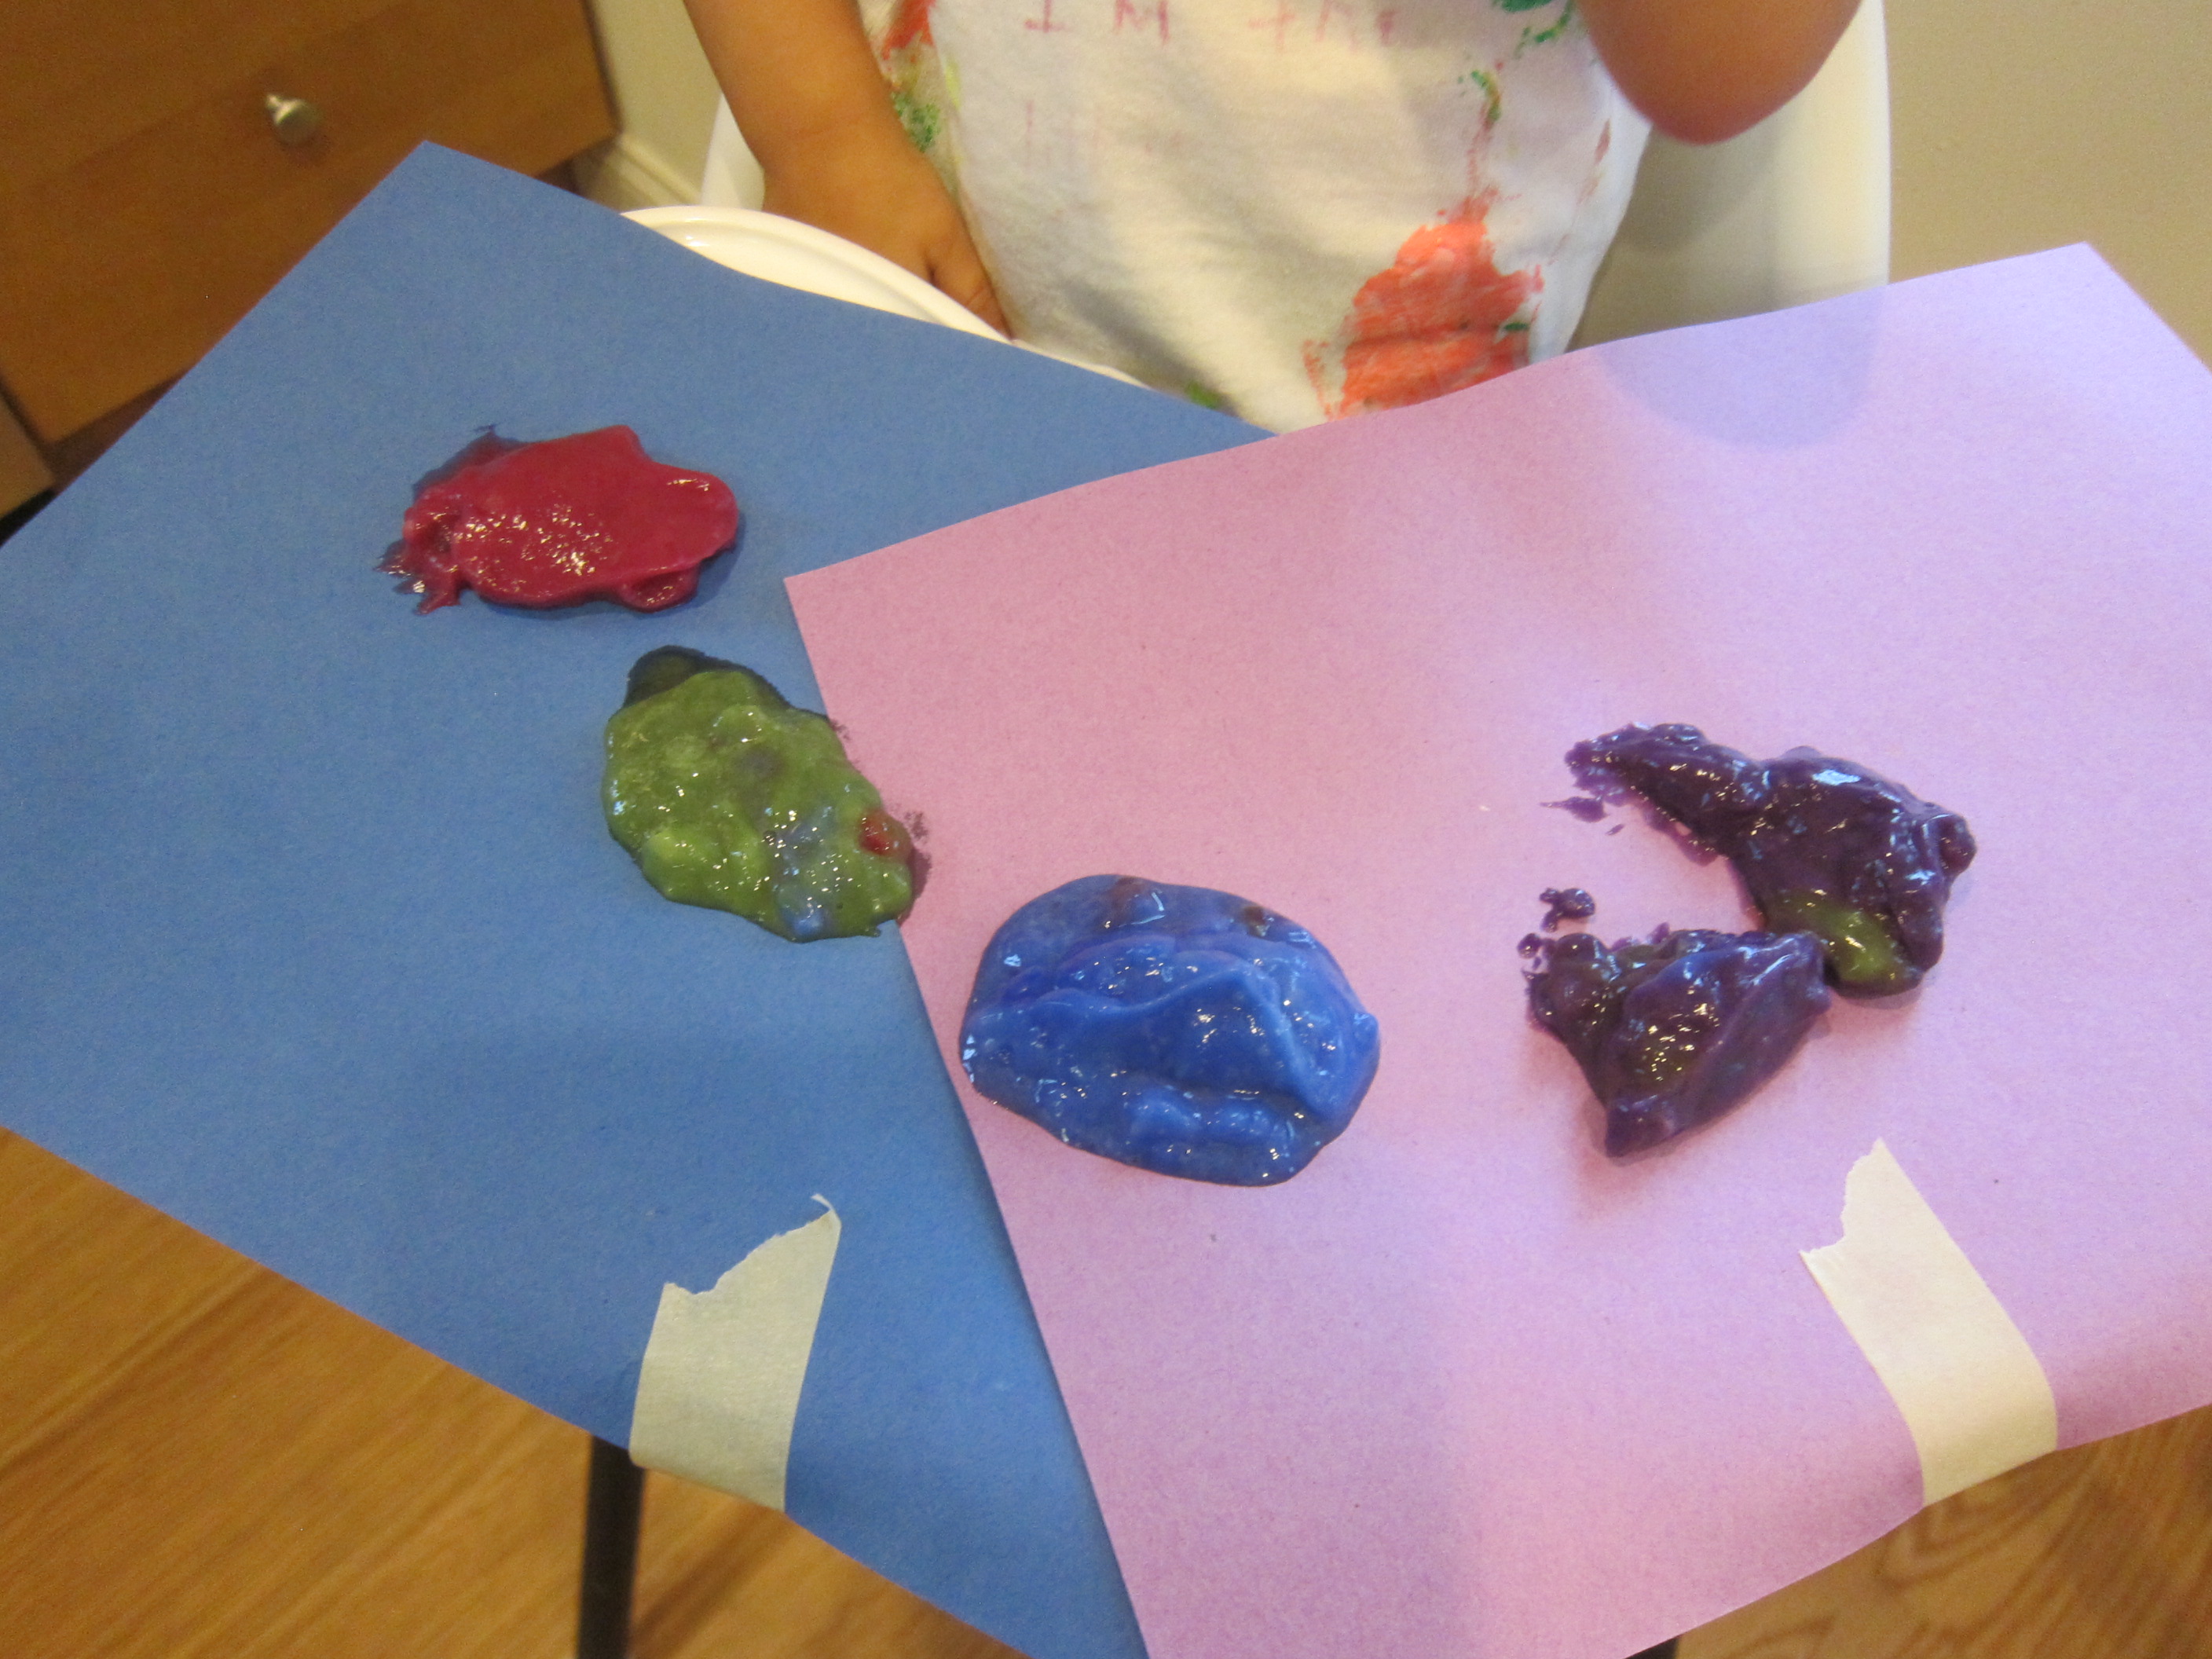
She dipped her hands in and did some swirling around.

Edible Paint with Pudding Cups (8)

Needless to say, though, she still preferred to snack than to paint! So this was a delicious activity, if not a terribly artistic one.

Edible Paint with Pudding Cups (9)

Earth Science Pudding

Earth Puddings (11)

Is this project a healthy snack for your kids? Absolutely not. But when Travis declared mid-way through the activity that he was in paradise, I knew I’d brought some magic into a summer morning.

The idea was to show all the layers of the earth, using just about the most amount of sugar imaginable.

Earth Puddings (1)

I laid out a tray with all of the supplies, and we talked about each layer of the earth as we worked, filling clear plastic cups with each step. First up, we needed bedrock, which I explained was the solid rock deep underground. We used a mix of mini chocolate chips and crushed ginger cookies. The crushing is half the fun; place the cookies in a zip-top bag and smash with a rolling pin until you have big crumbs.

Earth Puddings (2)

On top of this, we spooned the “subsoil” (a dense layer of clay and and iron). Chocolate pudding was perfect of course.

Earth Puddings (4)

You’ll notice my taste testers had wasted no time and were busily crunching into cookies and spooning into pudding. They couldn’t believe I was letting them have this free-for-all!

Earth Puddings (3)

Next we needed topsoil. I explained that this is the dirt we see as we play: dirt, bugs, and minerals. Now we needed oreo cookies, but not the creme filling. I showed the kids how to scrape out the creme with a craft stick so we could crush the chocolate cookies.

Earth Puddings (7)

“Can I eat the frosting?” Travis asked. I nodded. “Plain??” This is when he declared the activity paradise.

Earth Puddings (5)

We sprinkled on our crushed “topsoil” and then added a few “worms”. It’s easy to find gummy worms at the store but most contain gelatin. Instead, we sliced pieces of licorice in half to be our worms.

Earth Puddings (9)

Finally, top with green sprinkles for grass, twigs, and leaves. I wasn’t able to find green sprinkles at the store, but a few drops of food coloring on white sprinkles was a quick fix.

Earth Puddings (10)

Now it was time to dig into the Earth.

Earth Puddings (12)

Veronika plunged her spoon right in and began snacking. It made her so happy she began to do a sugar-fueled dance around the kitchen.

Earth Puddings (13)

Travis loved working his way carefully down the layers, almost like he was excavating. He wanted to stop and talk about which strata we were in, and carefully selected which bite should come next. He was ecstatic when he’d gone deep enough to reveal the pudding under the topsoil!

Earth Puddings (14)

Welcome to paradise on Earth, and thanks to Raddish Kids for this great lesson.


Pudding Painting

Pudding Paint (6)

Veronika is almost old enough to start making her first works of art, but there’s one problem with this girl: everything goes in her mouth! The solution, if your baby is the same, is edible paint.

Pudding Paint (1)

Today, I whipped up a batch of vanilla pudding (Whole Foods 365 is vegan). Let the pudding chill in the fridge, then add food coloring for “paint” colors.

Pudding Paint (2)

I gave Veronika a paint brush, which instantly made her look so proud; she’s seen big brother paint, and now it was her turn.

Pudding Paint (4)

Turn a little of the pudding paint out onto a highchair tray (or tape down paper, if you prefer) and let your little artist go to town.

Pudding Paint (5)

First she just made a few smears. Then she wanted to focus more on the paintbrush. Once the tip of it got in her mouth and she discovered the pudding was yummy…

Pudding Paint (7)

…her smile was priceless. Then she really got her hands into the mix.

Pudding Paint (11)

I showed her how to make circles and squares, plus a few letters.

Pudding Paint (8)

Soon we had green, where or blue and yellow “paints” had mixed.

Pudding Paint (10)

This was a fantastic foray into the world of art, as she nears 10 months old!


Pudding Paint (9)

Berries-on-the-Bottom Chia Pudding

Berries Chia Pudding.JPG

Whip up these breakfast puddings the night before, and all you have to do on a sleepy morning is open the fridge and grab one out.

Ingredients:

  • 1 and 1/2 cups raspberries
  • 1/4 cup maple syrup, divided
  • 3 and 1/2 cups vanilla coconut milk
  • 1 cup chia seeds
  1. In a bowl, mash together the raspberries with 2 tablespoons maple syrup. Divide evenly among 6 (8-ounce) ramekins or jars.
  2. In a second bowl, whisk together the remaining 2 tablespoons maple syrup, coconut milk, and chia seeds, whisking for about 1 minute, or until slightly thickened. Divide evenly among the ramekins.
  3. Cover and refrigerate overnight. We left ours ungarnished, bur you could add more fresh raspberries or toasted coconut on top for a pretty presentation, if desired!

Pudding Paint

pudding-paint-2

Travis has surprised me recently, more into messy, hands-on activities than educational ones, but I’m more than happy to indulge him. What could be a better, more rewarding mess for tots than pudding paint? When you’re done playing, you’ll have a portion left over for a tasty snack!

I made vanilla pudding from European Gourmet Organic’s mix. It was easy to whip up in the evening, and then I let it chill overnight.

When we were ready to play, Travis helped me divide the pudding into 4 containers – 3 to color and 1 to set aside for snack time! He was practically shaking with excitement when I asked him to help me add food coloring – we used the yellow, red, and green from Color Kitchen.

pudding-paint-1

To my surprise, he was way more into just playing with the pudding than painting with it, even though I laid down paintbrushes and paper.

pudding-paint-3

Instead, he loved pouring the pudding from one cup to the other and seeing what colors he made, scooping it out with a teaspoon, and stirring it.

pudding-paint-5

Inevitably, he also dipped his fingers in!

pudding-paint-6

When this led to clean-up in the bath, we decided why not… and brought in the remainder of the pudding paint to paint the tub. It was easy to rinse off with water and a quick wipe after!

Finally, it was time to enjoy the final pudding portion as a snack, resulting in huge smiles. A great activity all around. If we do it again, I’ll be curious to see if he’s more into the painting itself!

pudding-paint-4

What does your child like to do with pudding paint? Please share in the comments!