Make Your Own Jigsaw Puzzle

Make Your Own Jigsaw (4).JPG

Travis had so much fun with the puzzles in his latest Kiwi Crate that we decided to make a few of our own!

Download and print out any puzzle template from online. We found ones we liked showing a teddy bear and a butterfly (and if anyone can find the Steve the Kiwi template from kiwico.com/puzzles, let us know!).

Make Your Own Jigsaw (1)

Coloring in was half the fun. I warned Travis that if he made his butterfly all orange, it was going to be very hard to put back together.

Make Your Own Jigsaw (2)

Soon he branched out to other colors, and added blue so that the butterfly was flying over the ocean. Glue your template to an old cereal box and let dry completely.

Make Your Own Jigsaw (3)

Now it was time to cut up the pieces! Word of caution: This task is quite time-consuming for a 16-piece puzzle. For that reason, and because I worried the 16 pieces would be quite a challenge for Travis, I cut his butterfly into fewer, larger pieces.

Make Your Own Jigsaw (5)

Now puzzle! As mentioned, the butterfly came together quickly.

Make Your Own Jigsaw (6)

Between uneven pieces and tricky outlines, the teddy bear nearly stumped us!

Make Your Own Jigsaw (7)

What would your child make a puzzle of? Please share in the comments!

Make Your Own Jigsaw (8)

Playing with Puzzles Kiwi Crate

Kiwi Puzzles (27).JPG

Kids will love the puzzles and brain games in this crate from Kiwi Co, which features projects ranging from engineering to art and back again. And parents will go wild when they realize the game you build is based on classic Tetris!

Kiwi Puzzles alt

Travis was perplexed as we worked through the first project, wondering what exactly we were making, and I’ll be honest, so was I. In retrospect, I would tell him first that the goal was to engineer a dispenser that let out one playing tile at a time. That way the process of engineering would have been more inherent to the project, instead of just following the steps. But with that preamble aside…

…the first project was to make a Shape-Stacking Puzzle. To make the game board, fold the plastic stand along the line in the middle so it stands upright.

Kiwi Puzzles (1)

Attach the provided grid paper to the provided wooden frame using a clip in each corner. (Travis liked these clips so much he was bummed there weren’t extras!). Set the frame on the stand and set aside.

Kiwi Puzzles (2)

Preparing the shape dispenser was much more complicated and a touch delicate (our foam tore in a few places, so it didn’t always work correctly). Slot together wooden pieces as side panels and secure with elastics.

Kiwi Puzzles (3)

Slip the green “doors” into the slots of a foam piece. This goes into the wooden frame and is secured in place with sticky foam dots.

Kiwi Puzzles (4)

Now add one playing tile to each green door.

Kiwi Puzzles (7)

As you pull out the bottom green door (and this is key) the tile will fall (thanks to gravity). It won’t work, obviously, if you pull a door near the top, because then the playing piece would only land on the green door below.

Kiwi Puzzles (8)

Now it was time to Play a Puzzle Game! I loved watched Travis assemble the resulting Tetris board on his game grid.

Kiwi Puzzles (12)

I remember my brain doing the same quick thinking as a child, deciphering which direction a piece could rotate so it fit just right.

Kiwi Puzzles (11)

The goal is to have the least number of blank squares possible. Travis counted up his squares each time, and his record was 4!

Kiwi Puzzles (13)

With all that engineering done, it was time for the A part STEAM: making Puzzle Pictures. Arrange some of the playing tiles on the provided foam mat. You can make random designs or follow the suggested pictures. Travis chose a robot!

Kiwi Puzzles (28)

Cover with paper and rub with a crayon to reveal your image.

Kiwi Puzzles (29)

After using the tiles, we tried rubbing over other items, like yarn and coins, and testing which came out best.

Kiwi Puzzles (30)

You can also challenge your child to copy the booklet’s designs for a car, dragon, and even Steve the Kiwi, but these were tough for Travis.

We weren’t done yet because Explore magazine had lots of brain games to test his gray matter. First up: Cup Confusion. Fill 3 clear plastic cups with water and place them next to 3 empty cups. Can you make a pattern of full-empty-full-empty-full-empty by touching only one cup?

Kiwi Puzzles (14)

I was so proud of Travis that he immediately knew to pour water, rather than shuffling cups around.

Kiwi Puzzles (16)

And clearly he was proud, too!

Kiwi Puzzles (17)

Next we did a Connect-the-Shapes challenge in which lines can’t cross…

Kiwi Puzzles (24)

…followed by Fish Sticks. Rearrange these 8 toothpicks so the fish…

Kiwi Puzzles (21)

…changes direction. The catch is that you can only touch 3 toothpicks.

Kiwi Puzzles (22)

He needed a bit of a guiding hand, but our fish turned.

Kiwi Puzzles (23)

Finally, play Shape Shifter: see if your child can tell which of these pictures isn’t made with two trapezoids.

Kiwi Puzzles (25)

Travis guessed, and then we tested it out!

Kiwi Puzzles (26)

You can also print out a set of tangrams and try to fill in the outlines drawn in the magazine.

Kiwi Puzzles (20)

This task was advanced for my kindergartner, but he could look at the answer key and then build the puzzle with our set.

Kiwi puzzles (32)

A camel!

Kiwi puzzles (33)

Explore magazine didn’t have any recommended reading this month, but I picked up two fantastic puzzlers from the library. CDB by William Steig had him laughing out loud as he read the letters on each page to decipher a full sentence.

Kiwi Puzzles (19)

We finished up with The Eleventh Hour, a puzzle mystery book I read in my own childhood!

Kiwi Puzzles (18)


Tricky Triangles

Tricky Triangles (5).JPG

These fun foam triangles are a homemade version of a tangram puzzle! We followed a template from Highlights magazine, which made for great puzzling on a Saturday morning.

First, follow the lines provided to divide a large sheet of craft foam into 8 triangles. Big kids can help with the lines and the cutting, but this was more of a craft that I set up for Travis than one we prepared together.

Tricky Triangles (1)

Soon I had 3 sets of triangles for him, in orange, green, and yellow foam.

Tricky Triangles (2)

We looked at the shapes in the magazine and he wanted to make the fish first: green triangles! Tangrams are wonderful for helping children think spatially and translate what they see on the page to a real model.

Tricky Triangles (3)

Travis needed help with the orientation of a few triangles, but mostly could see how the fish came together.

Tricky Triangles (4)

Next up was an orange fox! I had Travis point out where the biggest triangle went first as a starting point, and we worked our way outward from there.

Tricky Triangles (6)

He was quite proud when he saw the fox take shape.

Tricky Triangles (7)

Finally, he made the yellow cat. Add big googly eyes to any or all of these, if you have them!

Tricky Triangles (8)

As your child becomes skilled at copying the provided designs, branch out and make up your own! Next time I’m going to cut up a smaller version since these would be perfect to slip in a zip-top bag and turn into a take-along toy for car rides or waiting rooms.

Chalkboard Painted Block Puzzle

Chalkboard Puzzle (6).JPG

Travis has been home sick from school this week, so we’ve been looking for quiet, indoor games. Puzzles are a fantastic way to keep a child entertained when under the weather, engaging their mind while letting their bodies rest. A little leftover chalkboard paint helped us make up a craft-y version, as well!

While Travis rested, I painted wooden cubes (available at craft stores) with chalkboard paint on all sides. For the least mess while drying, paint 3 sides and let dry, then flip over and paint the remaining 3 sides.

Chalkboard Puzzle (2)

Ideally I would have used larger cubes, but the small ones I had on hand worked just fine. Once the paint dries, take turns with your child making drawings in chalk, and having the other person assemble.

Chalkboard Puzzle (4)

To wit, I designed a car and flower for Travis.

Chalkboard Puzzle (7)

He was briefly into the puzzles, but more intrigued with the idea of chalking all over the squares.

Chalkboard Puzzle (3)

Even more fun was how easily they can erase with just a swipe of a wet paper towel, when you’re ready to change the design.

Chalkboard Puzzle (5)

Here he is making a puzzle for mommy – hope I can figure out the right way to put all those green squares together!

Chalkboard Puzzle (9)

The perfect activity for any time you need to lie low.

Farm Land

Farm Land (7)

Farming is naturally on our minds this time of year, with local farmstands around us beginning to brim with late spring and early summer produce. This project is a neat visual if you are doing a unit at home about farming, about where food comes from, and about different landscapes children might see on a farm.

To get the most out of the craft, I recommend first looking at a book with a good visual of farmland, or finding a few pictures online. Although not very vegan-friendly, my son loves the description of farm life year-round in Gail Gibbon’s Farming.

Farm Land (1)

We talked about the different portions of land he saw in the picture, starting with what was up top – sky – and what was on the bottom – garden dirt.

Next I cut paper into 4 pieces, and we took turns painting them in color blocks just like in the picture: blue for sky, green for grass, yellow for hay or wheat, and brown for the vegetable patch.

Farm Land (2)

Let your colors dry, then come back to add details. For added fun, we raided mommy’s bathroom cabinet and used cotton balls for clouds:

Farm Land (4)

… and q-tips to paint details like flowers in the meadow and brown wheat in the yellow section. Let dry again.

Farm Land (5)

The final step was to use a glue stick to put it all back together again on a large piece of construction paper. This is neat because it will be almost like a puzzle for the kids. Don’t worry if a few sections get mixed up along the way.

Farm Land (6)

If you can, cap things off with a trip to a local farm; lots of places have pick-your-own veggies and berries getting underway now that we’re almost to June!


Playground Crate

koala playground (9)

What fun! We discovered that our Koala Crate this month had a big emphasis on gross motor skills – something we definitely need more of around here. Of course there were also crafts and learning thrown in. And as always, you can replicate these projects with materials from a craft store.

Before we jumped into those gross motor skills, though, we put together the Balancing Seesaw. I loved that this was a math lesson disguised as playground play, since what is a seesaw really if not a balance scale?

koala playground (4)

Travis enjoyed the mechanics of building it, sliding wooden pieces together and securing with foam buttons.

koala playground (5)

Next we decorated the provided wooden beads with felt stickers to be little animals (Travis particularly loved the googly eyes).

koala playground (8)

The challenge was to put the animals on and observe what made the see-saw lean one way or the other, and if we could balance it. Neat!

koala playground (7)

For extra fun, we placed two paper cups on the see-saw’s posts instead. Fill with coins or other items around the house, and again challenge your child to find the balancing point.

koala playground (22).JPG

Travis was not very into the second activity, a playground scene Jigsaw Puzzle. Aside from a few crayon scribbles, he left mama to color in the rest.

koala playground (3)

But he did later take some time to piece it together.

koala playground (17)

The next day we followed the kit’s suggestion and taped a coloring book page to a cereal box; cut into pieces and voila, you have a homemade jigsaw puzzle!


IMG_0002

Finally, it was time for the aforementioned gross motor skill fun: an Indoor Playground. This involved using the provided washi tape in orange and blue to set up various obstacle courses or challenges. Of course the washi tape itself was a huge hit.

koala playground (1)

Travis was not very into the long jump…

koala playground (10)

…but he did some neat moves along the lines I set up on the ground, following the kit’s suggested movements like jump, tip-toe, walk backwards, or dance.

koala playground (15)

There was also a miniature inflatable ball to make part of the games; we set up a “maze” with the washi tape and had fun kicking or rolling it through.

koala playground (2)

We ran out of washi tape (the rolls aren’t big) by the time we got to the spiderweb suggestion… so plan on having some extra masking tape on hand! Travis absolutely adored this challenge of going over and under the sticky strands…

koala playground (13)

and loved ripping off the sticky tape after!

koala playground (14)

The Imagine magazine included even more ways to get moving, dancing to the rhythm of your favorite song like you are jumping rope, swinging from monkey bars etc.

As a final project, we put together the suggested DIY jump rope – a simple trick of straws and duct tape! Ideally use nylon cord as the thread, but a piece of twine worked just as well.

First, have your child stand on a length of the cord or twine, so that it stretches armpit to armpit. Here is a slightly-skeptical Travis wondering what we were up to.

Jump Rope (1)

Knot one end, and wrap around the knot with duct tape for the first handle.

Jump Rope (2)

Cut plastic straws into pieces about 2 inches long and thread onto the cord until nearly filled. Knot the other end and secure with a second piece of duct tape. Jump away!

Jump Rope (5)

Overall, I loved the way this crate got us moving. Now it has us even more eager for outdoor spring weather and a big playground to run around on!

koala playground (16)

Numbered Photo Puzzles

Number Puzzle (5)

This craft turned out to be the perfect diversion when rain hampered our outdoor plans for a summer day – it takes several hours from start to finish, which suddenly made the afternoon indoors far less daunting!

First, we needed to select photos to become our puzzle pieces, making this a great activity to talk about relatives you haven’t seen in a while, or about your child’s favorite memories.

Make sure it’s a photo you don’t mind cutting up though! Adults: Cut the photo into pieces the width of the craft sticks you will be using. We made 8 piece puzzles, but you can go bigger or smaller.

Number Puzzle (2)

Next we applied a layer of Mod Podge to the craft sticks and adhered our photo pieces. Travis didn’t like how messy his fingers got pressing the slim pieces of photo on so precisely, so soon he was involved with his own (slightly) cleaner Mod Podge game while I finished up the photo gluing.

Number Puzzle (1)

And p.s. YES, Mod Podge is vegan! How have we never used this stuff before?

We had to let the project dry, and then we applied a second layer of Mod Podge on top of the photos to set them completely, which meant another round of waiting for it to dry.

But finally it was puzzle time! Adults: Number the sticks of each puzzle with a sharpie in order 1 through 8. (Or, you know, reverse your 1 and 2 by accident, like I did in the photo below).

NUmber Puzzle (4)

Your child will easily be able to form the image by following along in number order.

Number Puzzle (6)

Travis loved the way each puzzle came together, and was so proud lining up the numbers. A fantastic way to make counting into a game.

Number Puzzles alt.JPG

P Week!

p-week-16

This week was all about the letter P, as Travis and I continue our journey through the Letter of the Week curriculum. The timing was perfect for fall-themed favorites like pumpkin pie, so consider holding your P week in the autumn, too, if you can!

puppet-s16

Puppets: We had so much fun making various puppets that I devoted a separate blog post to it. Whether you make puppets or use those you already own, pull them all out for a great big puppet show. Travis especially loved returning to our penguin puppet all week – another perfect P word.

p-week-7

Pigs/Ponies: I combined these two animal words for fun with our Little People barn set, giving Travis only the pigs and ponies to play with. To take things a step further, we set up a great farm sensory bin, filled with yellow split peas (a.k.a. “corn”), tractors, pigs, and ponies. Travis loved “feeding” corn to the animals and raking through the box with a fork. Great for sensory play and imagination!

p-week-8

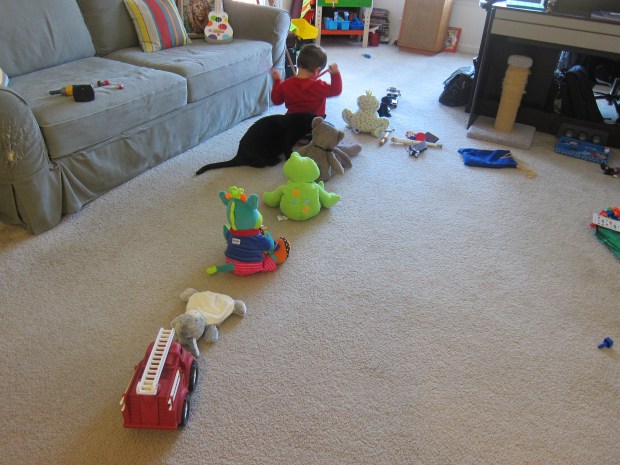
Parade: Put Sousa marches on your computer, line up all your stuffed animals, give them each an instrument, and have a parade! If stuffed animals aren’t your child’s thing, line up cars or trucks instead.

p-week

We added a policeman as parade marshal.

p-week-15

Picnic: Far and away the most magical moment of our week, we took advantage of the warmest day to head to the park. A picnic basket, blanket, and beach ball are the only ingredients you need for a beautiful picnic. Travis loved having a snack outside before playing in the fall leaves!

pumpkin-patch-5

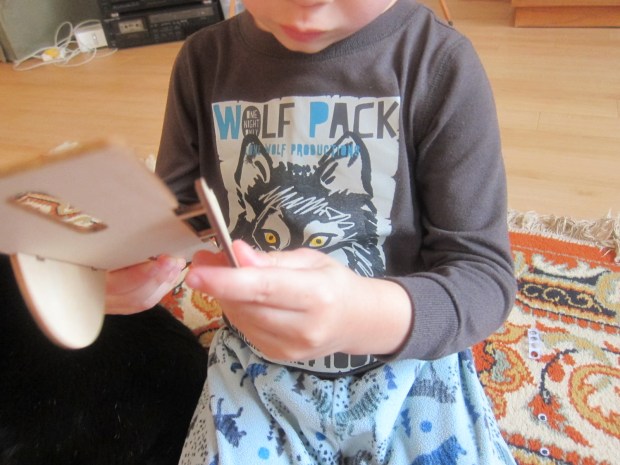
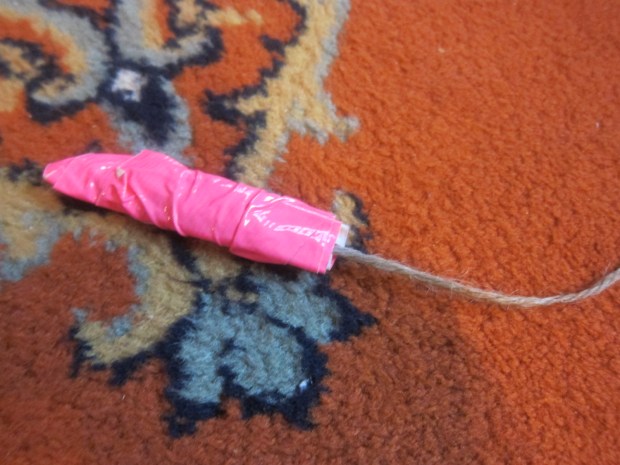
Pumpkin: Halloween is past but fall is still pumpkin season! We baked mini pumpkin pies early in the week, a great hands-on experience. We also made a pumpkin patch: Stuff brown paper sandwich bags with crumpled newspaper, leaving a little room. Tie off the end with ribbon to be the stem, and then use orange paint to cover your pumpkins. We ran out of orange midway, which was the perfect opportunity to show Travis how red and yellow combine to make orange. Once the paint dries, play with your pumpkin patch!

pumpkin-patch-6

(Hint: Add your pigs and ponies here, too).

p-week-13

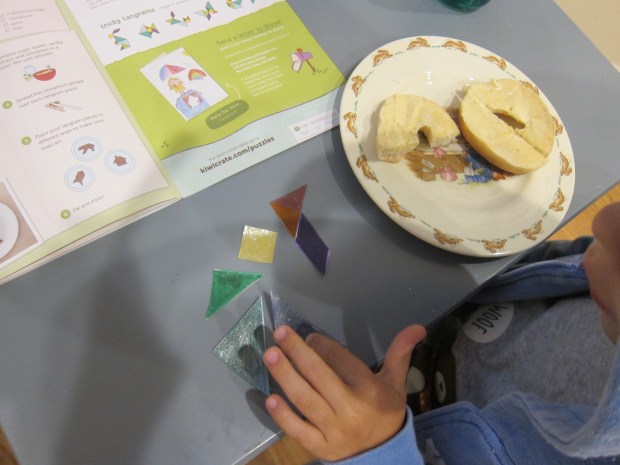
Puzzle: An obvious one: Pull out all your puzzles and leave them out all week so your child has ample time to puzzle over them.

p-week-12

Piano: Whether you have toy pianos or a real one at home, this is likewise a great opportunity to leave it out so your child can return to it over the course of the week.

After those theme words, here are a few more ideas:

Fine art: Work those fine motor skills by crafting toy food from playdough. But not just any playdough… Pumpkin Pie Playdough! To make this easy at-home batch, combine the following in a saucepan over low heat:

2 and 3/4 cups flour

1 cup salt

4 teaspoons cream of tartar

2 tablespoons pumpkin pie spice

6 tablespoons vegetable oil

2 cups water

Orange food coloring

Cook until the mixture thickens and looks like mashed potatoes. Let cool before kneading and giving to your child for play.


p-week-17

The dough smells fantastic, and is technically edible, but you’ll want to discourage any salty bites! Travis made mini pumpkin pies and cookies for his toy oven.

pumpkin-dough-3

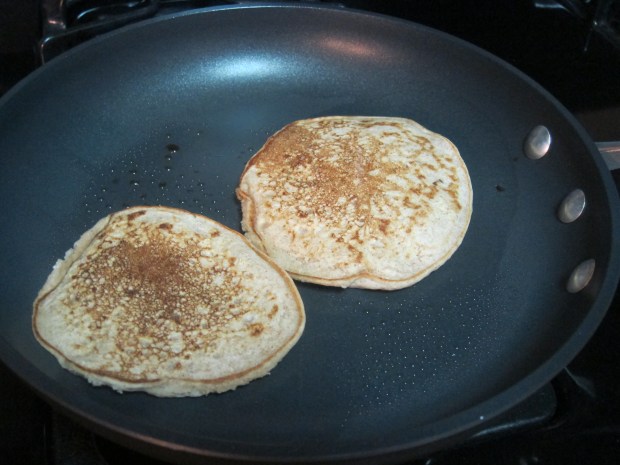
Food: We had to start one morning with pumpkin pie-spiced pancakes of course! There are so many P foods you could probably eat P items and nothing else all week if you wanted to. In addition to pancakes we had: peaches, pickles (which got a surprised and firm “no!”, pretzels, parsnips, pizza, pudding, pears, and pineapple.

p-week-2

Books: The clear favorite from the library this week was The Perfect Pony, by Kimberly Brubaker Bradley. Travis also enjoyed Clifford and the Big Parade, by Norman Bridwell, Penguin Says Please, by Michael Dahl, and The New Puppy, by Laurence Anholt. And of course, read any potty books you have!

p-week-18

Song: A cute one to listen to is Way Down Yonder in the Paw Paw Patch. I also set Pachabel’s Canon to play in the background while we were home one afternoon; Travis barely noticed, but it’s one of my all time favorites and osmosis can’t hurt!

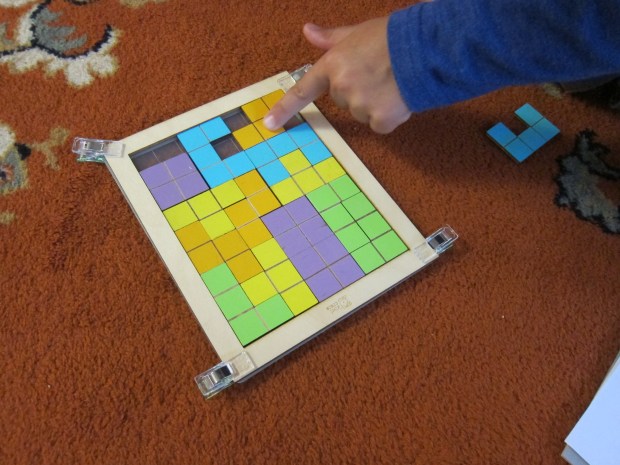
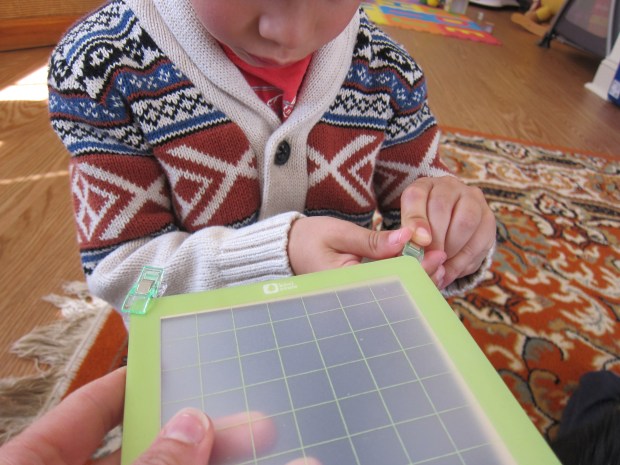
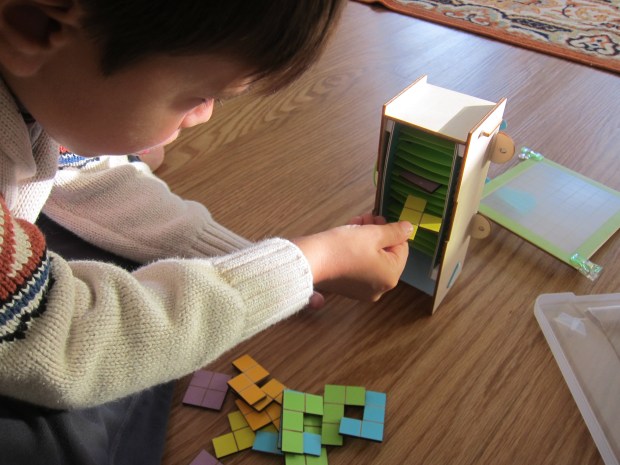
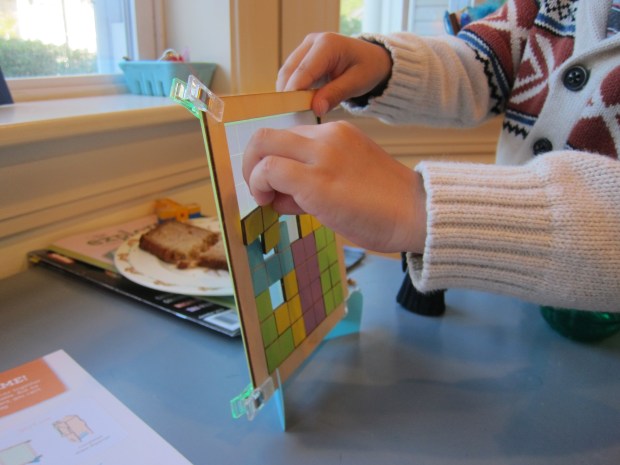
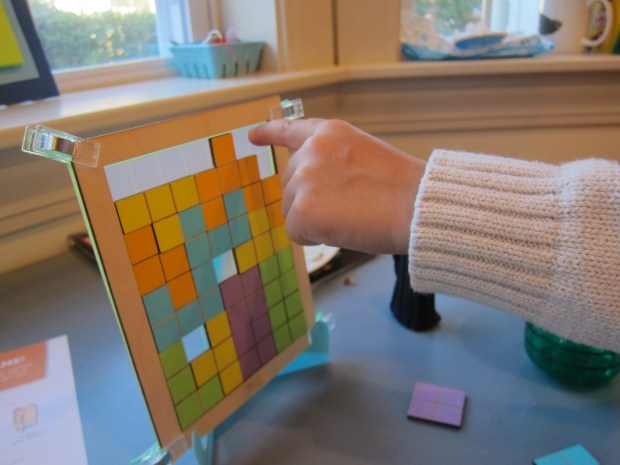
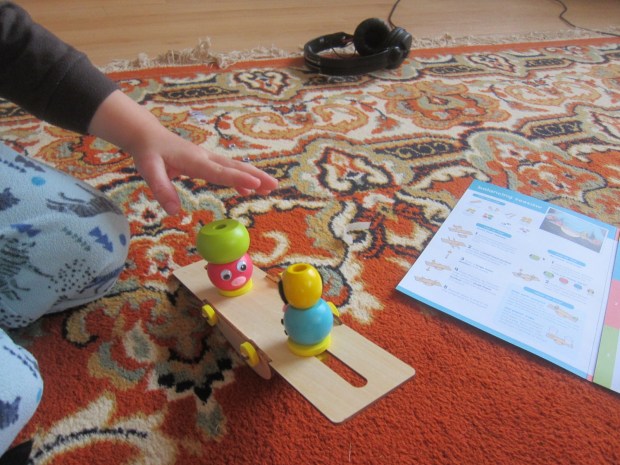
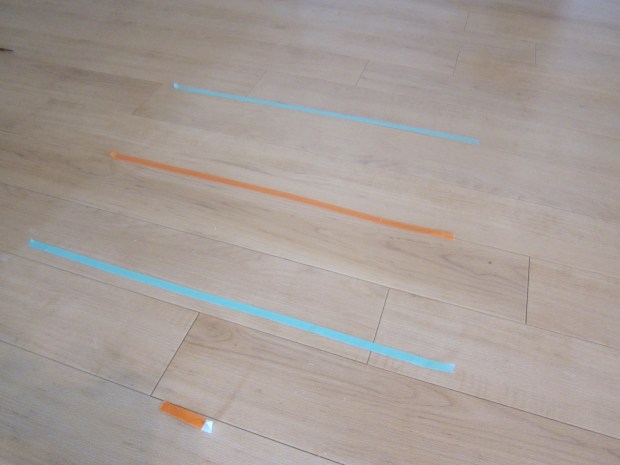
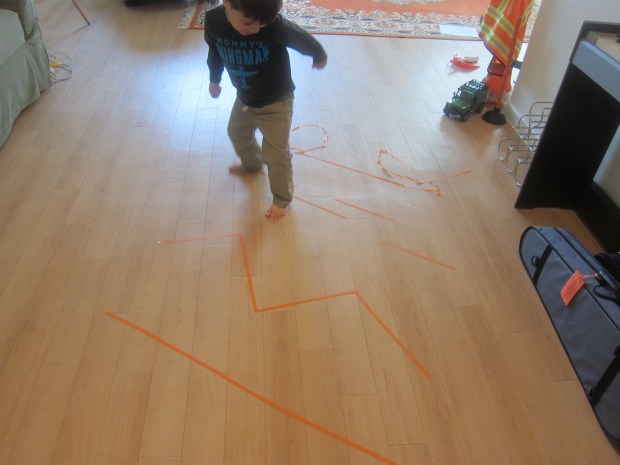
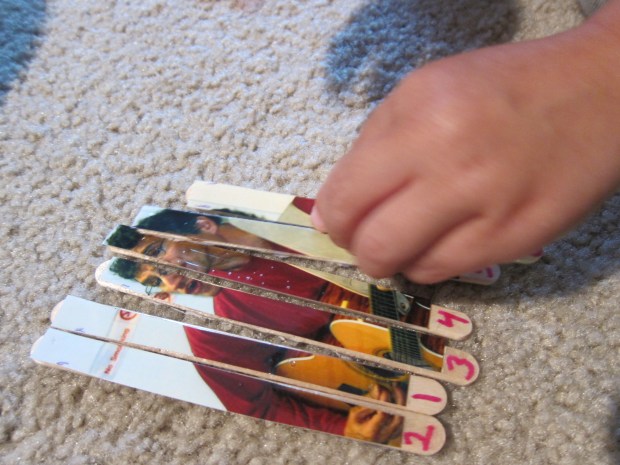
Math: Introduce patterns. Children’s peg boards with pattern cards are a great skill-builder. Your child can copy the pattern cards that come with the peg board, or you can demonstrate something simpler, like a row of red-green-red-green. These toys are fantastic to have around anyway, so consider investing in one.

p-week-4

That’s all for this week!