Take Learning Outside

Fall weather provides ample beautiful weather to get out in nature and toss some learning into the mix! Here were three fun ways Travis did just that with recent nature projects.

Nature Art

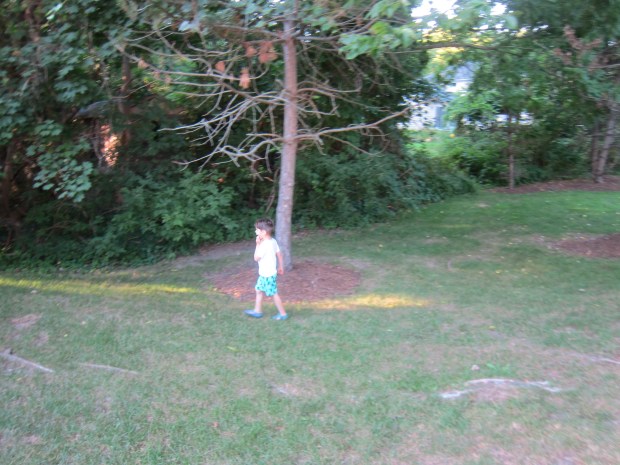
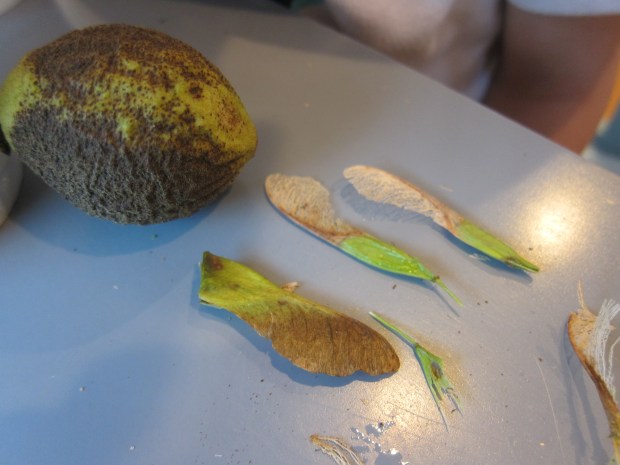
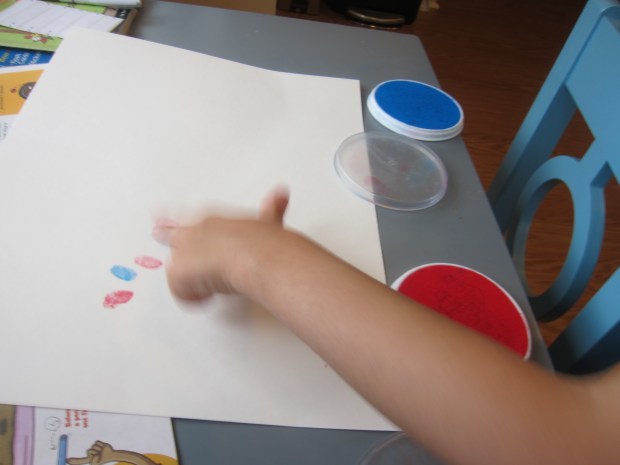
First up was a standard nature walk, equipped with a baggie to collect treasures. Travis took such pride in finding just the right leaf, stick, flower, and more to add to our collection. I loved how intent on nature he was on this particular afternoon, pausing to marvel at birds in the marsh or bees on the flowers.

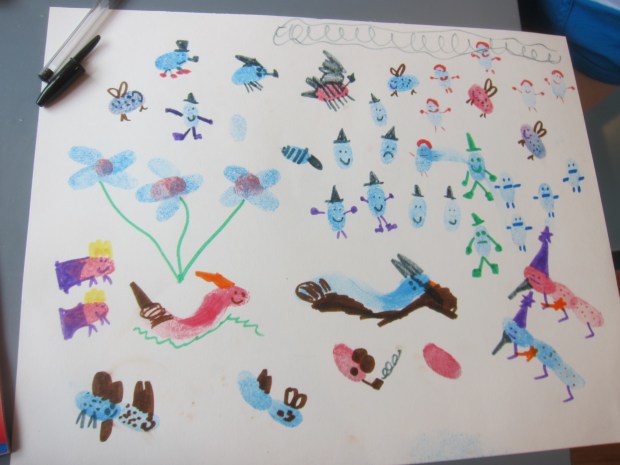
By the end of your walk, aim to have a variety of textures, colors, and items, so your child can make a fantastic collage once home.

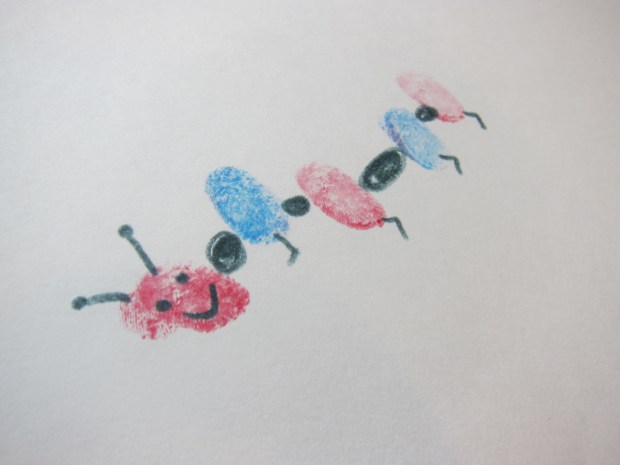
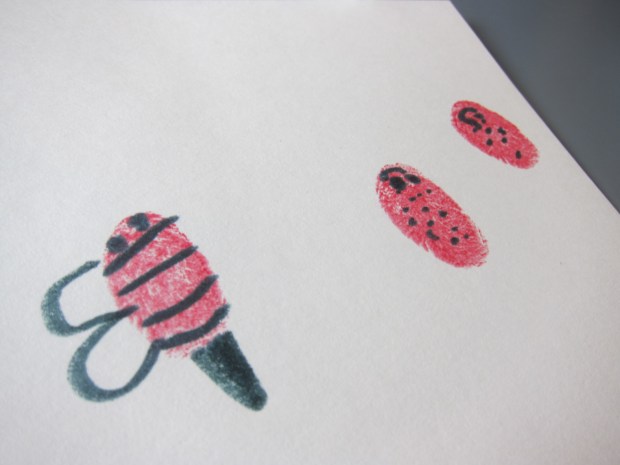
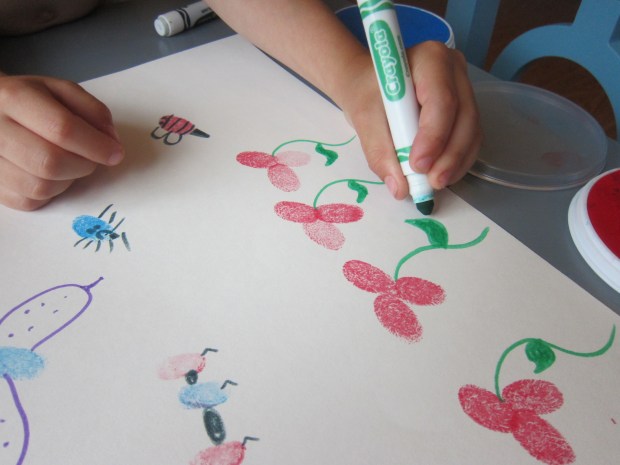
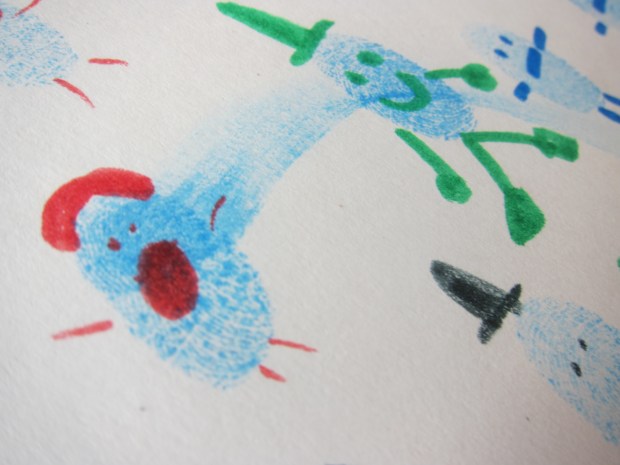
After sorting through the items, Travis left the process of gluing down to little sister Veronika…

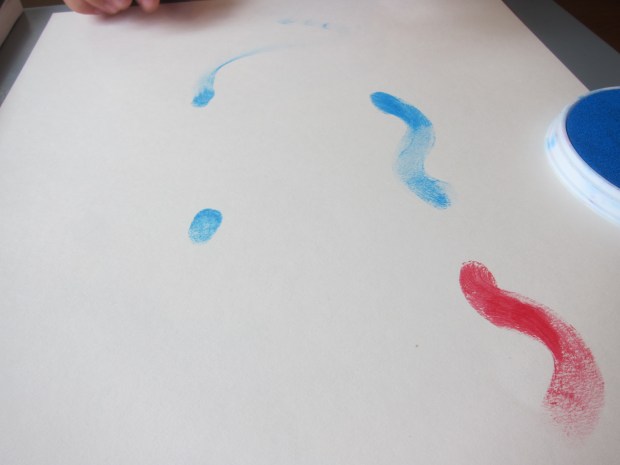
…who happily obliged and wanted to add splashes of paint, too! I loved that this turned into a sibling collaboration

Grow a Plant

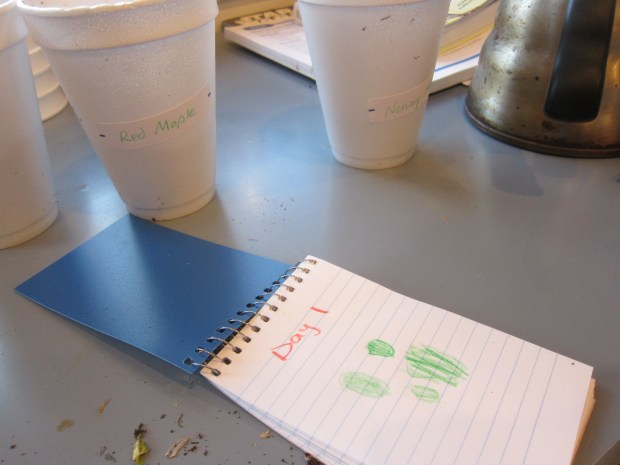
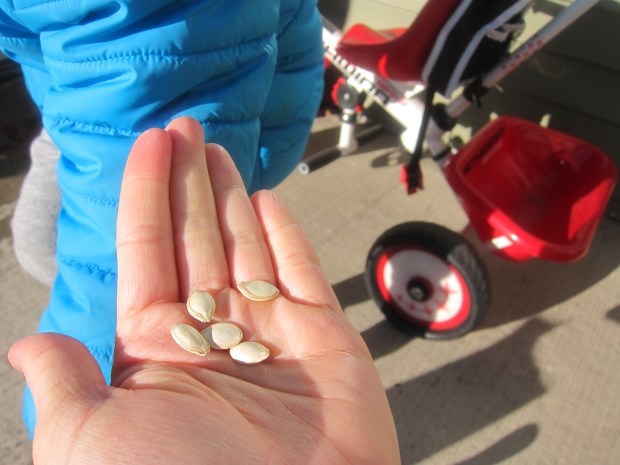
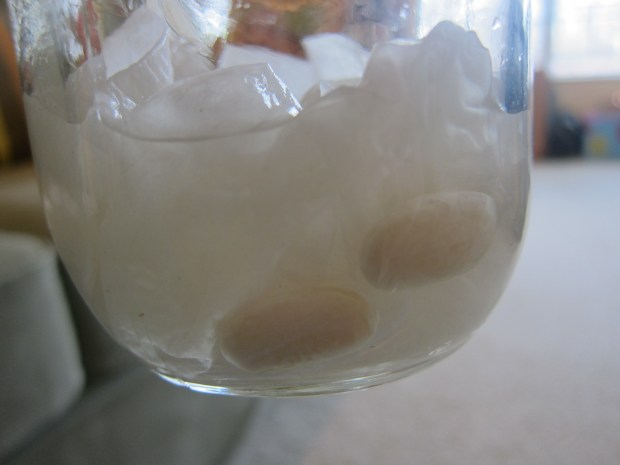
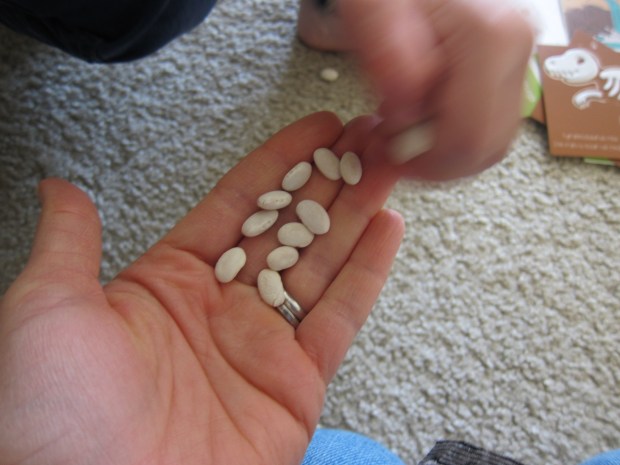
We don’t always have luck making things grow around here, since my kids are handicapped by mom’s lack of a green thumb. But a potting project with a dose of magic thrown in was one we could definitely get behind! I found a kit for “magic beans” (beans with words and images that show up after they sprout), which were the perfect seeds to plant after reading Jack and the Beanstalk.

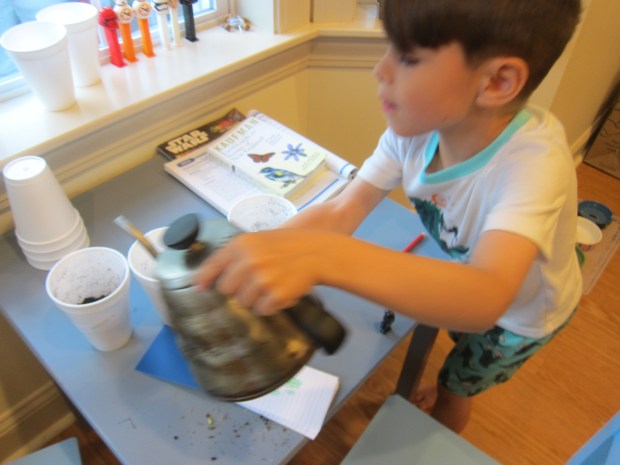
To start, we needed to get crafty. Travis painted the provided white pot with bright paints.

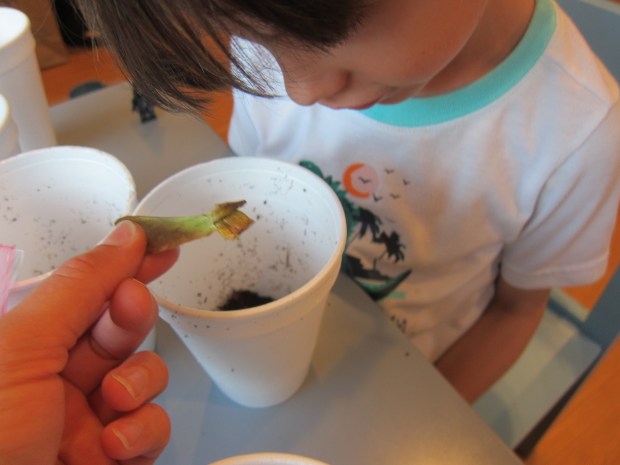
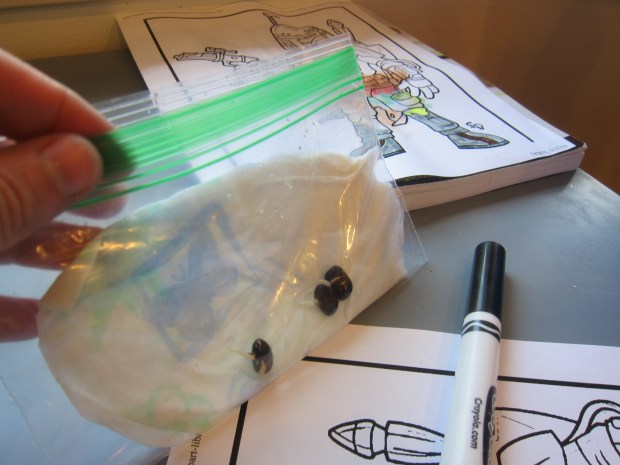
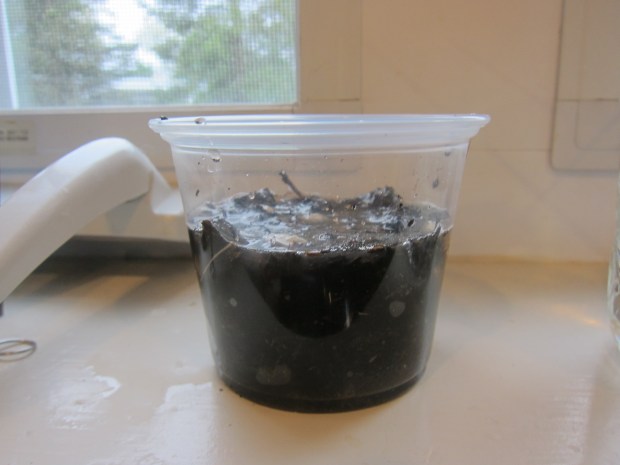
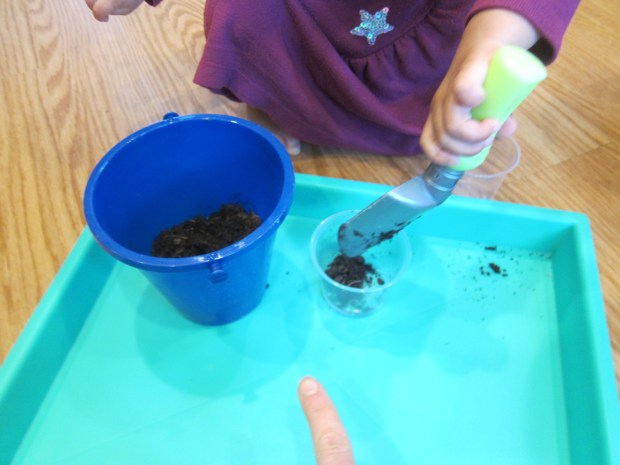
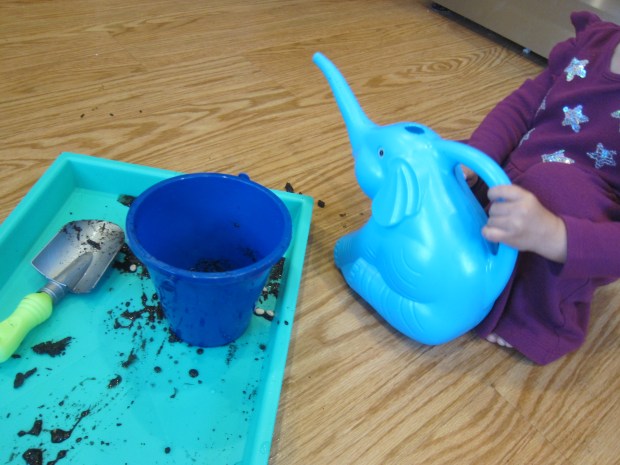
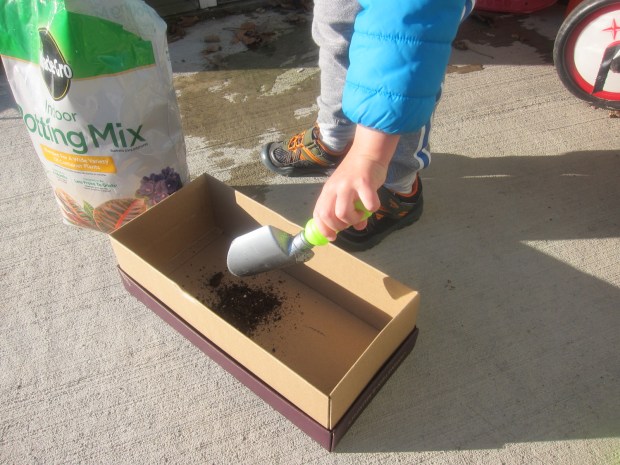
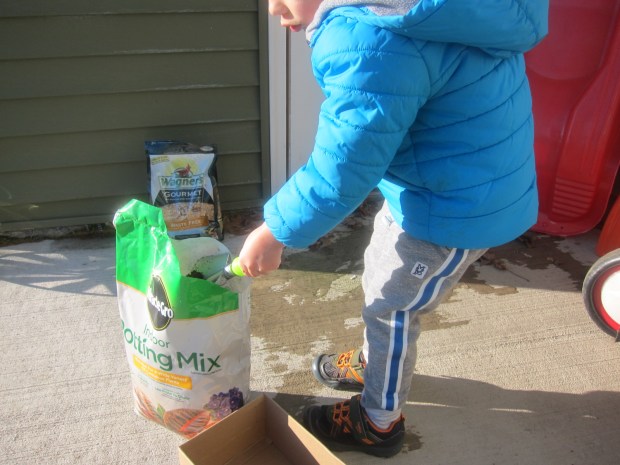
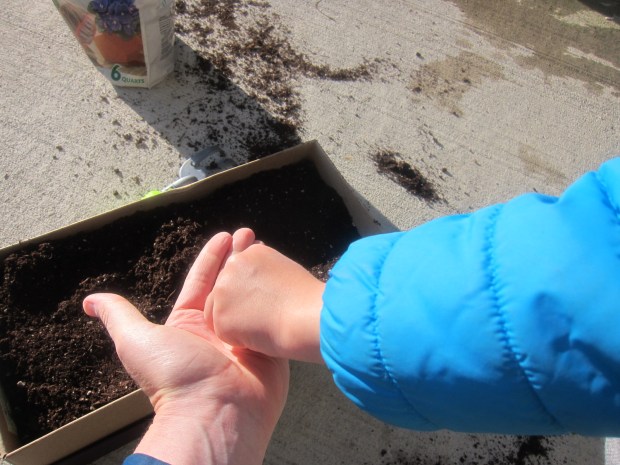
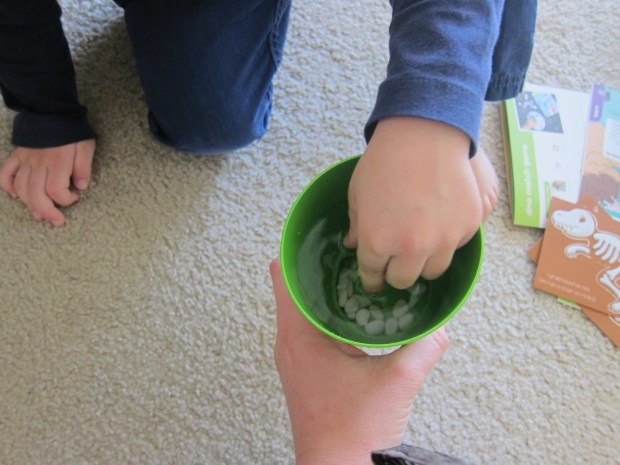
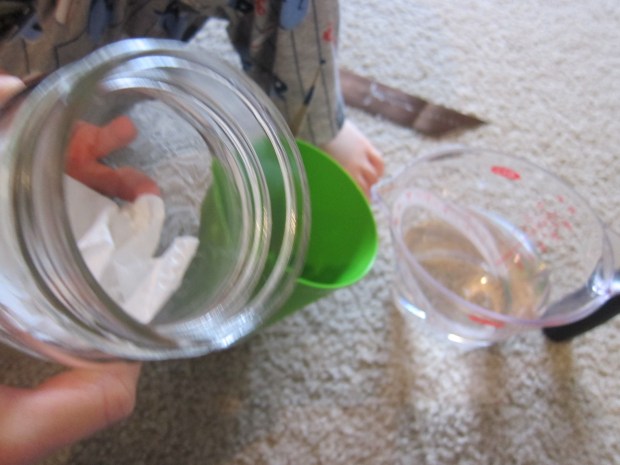
Once the paint dried, it was time to set the magic beans to work. Travis filled the pot with soil, then each kid made a wish as they pressed a bean into the dirt. Add water until saturated, and set your plant some place that gets bright sunlight for at least half the day.

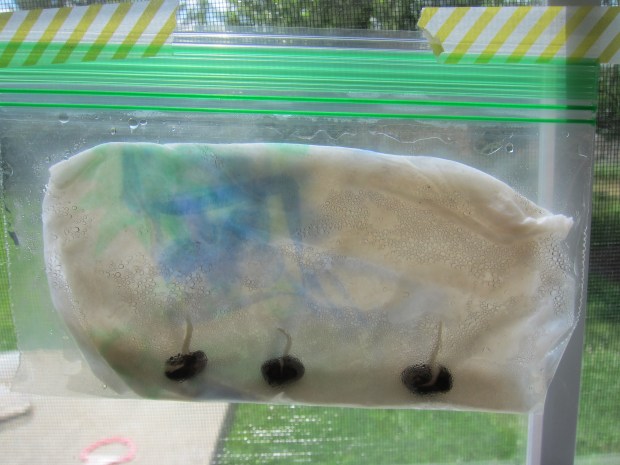
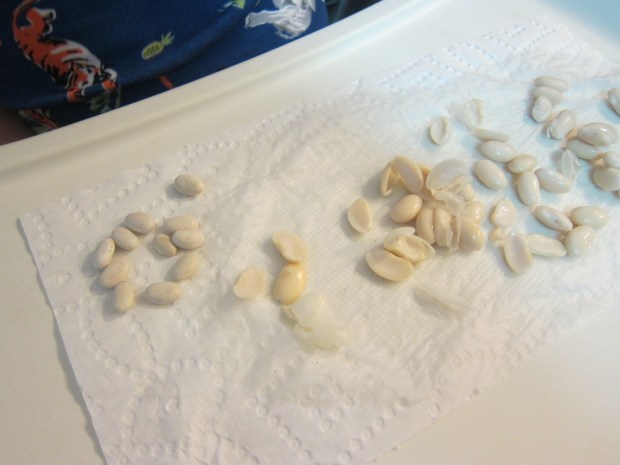
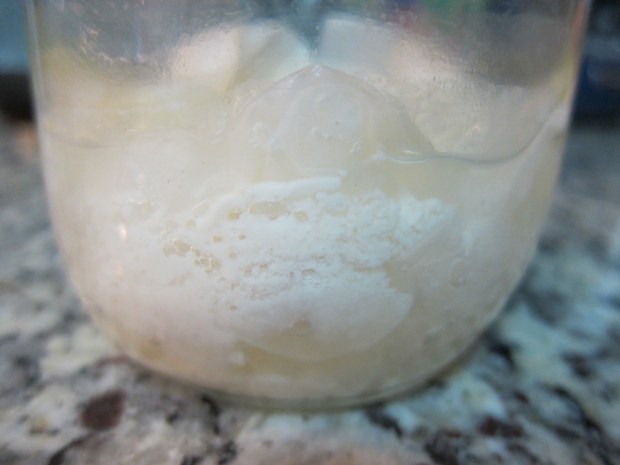
Three days in, the magic beans were sprouting. After a week, we had a beanstalk worthy of Jack’s attention!

Although there’s always something “magic” about watching a seed turn into a new plant, we loved the added wow factor in this project.

Nature Word Sort

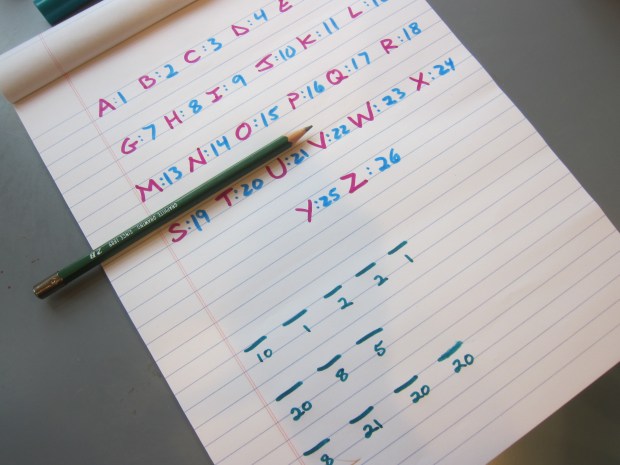
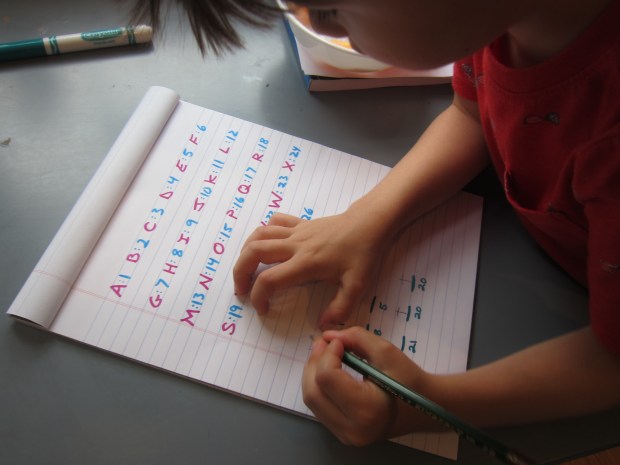
Finally, we headed to the park, where Travis sat on a bench and I challenged him to write down everything he could see…but didn’t tell him why yet. He proudly scribbled in the dugout.

At home, we looked at his list and came up with three different ways to sort the words. One obvious answer was natural vs. man-made, but I was proud of Travis choosing to also sort them by color and sport.

This was a great quick activity to get him thinking about sorting.

What are your fall outdoor adventures so far? Please share in the comments!

Sprout Some Beans

Sprout Some Seeds (5)

Spring is the classic time of year when elementary school kids learn about gardening, parts of the plant, and the process behind sprouting seeds. Although we’ve planted seeds in the past, Travis and I tested out a step-by-step method this year for a scientific spin on the activity.

To start, soak kidney beans in a cup of warm water for about 3 hours. Drain.

Travis selected a few of the beans to place on a wet paper towel. Fold the towel up over the beans, then place inside a zip-top plastic bag and seal. We set this inside a cabinet for 2 days. (Note: Any similar warm dark place will work fine).

Sprout Some Seeds (1)

Two days later, we checked to see if the roots had started to grow.

Sprout Some Seeds (3)

They sure had! Travis was amazed at the curly root we could see coming from each bean.

Sprout Some Seeds (4)

Now, plant the seeds in a bit of dirt with the root pointing down. Set some place sunny and add a little water each day. Then just watch the plants grow!

Sprout Some Seeds (6)

In addition to the hands-on portion of the activity, I had Travis write down a few things about the experiment, to work on conceptual knowledge. First, he listed all the supplies that were needed. His list included:

Dirt

Cups

Paper Towel

Plastic Bag

He also answered conceptual questions, like what happened after each consecutive step, or his observations at the end. A perfect project for a budding (ha) scientist.

Start a Tree

Start a Tree (6)

Unlike a tree sapling we planted earlier in the summer, today Travis conducted more of a science experiment; could he start a tree sapling from seeds we collected outside?

After dinner, we headed off on a pajama walk (one of the best parts of these long summer nights!) in hunt of seeds. You’ll want ones that you can easily plant in a cup, so think maple keys, acorns, or walnut seeds.

Start a Tree (1)

Once home, we investigated all of our finds, talking about their similarities and differences. Travis was especially fascinated by the black walnut pod we brought home, and then cracking it open to get to the seeds inside!

Start a Tree (2)

We then spooned a little potting soil into each of 3 foam cups, and added our tree seeds. Cover with a little more soil and water.

Start a Tree (3)

We labeled the cups and Travis sat down to begin a nature notebook, jotting down how the seed pods had looked on Day 1. The goal is to continue until we see little saplings grow!

Start a Tree (4)

To conclude the project, be sure to talk about the various ways that seeds can move to a new place. Travis laughed imagining seeds that could get up and walk, but then we reviewed some of the real methods (like wind, rain, or hitchhiking on animals!).

Summer Boredom Bucket List: Day 2

Boredom 8 l

As promised, here’s a second day’s worth of ideas to combat summer boredom. If you missed it, be sure to read the first four ideas here!

Idea 5: Plant Seeds. This boredom suggestion came at just the right time, since Travis was assigned a summer library challenge to help “Jack” grow the beans for his beanstalk.

Boredom 7 b

We germinated dried black beans overnight in a little water. The next morning, place a damp paper towel inside a zip-top plastic bag. Add the beans and tape in a sunny window.

Boredom 7 a

It was fun to watch these sprout over the course of a few days, even though we won’t have a garden to transplant them to when all is said and done.

Idea 6: Create Doodles from Ink Fingerprints. This idea was so fantastic it nearly merits its own post. Travis was really in a mood, so we started out simple: If he made a fingerprint with ink, I asked him, what could it be? He decided on bugs. One fingerprint could be a bee or a beetle.

Boredom 8 a

Two dots together were a butterfly. Five in a row made a caterpillar.

Boredom 8 b

Now Travis was getting the idea! He started to add details, like spots to ladybugs or wings to flies.

Boredom 8 f

He loved adding 8 legs to my spider. Our “garden” was soon so pretty Travis wanted to do it again on a second sheet of paper. Hmm… How to keep the game fresh?

Boredom 8 e

We tried dragging our ink fingers in a line for worms. These ended up looking a little silly…

Boredom 8 h

Well so now we needed silly bugs! What didn’t we have in the glorious work of art and imagination that followed? There were wizard caterpillars with gentlemen bugs with pipes and tophats:

Boredom 8 i

There were wizard bugs with beards and wands:

Boredom 8 j

There was even a king and queen with crowns! Then we drew a cloud, with fingerprint “raindrops” coming down… and then the raindrops came to life with smiles and hats.

Boredom 8 k

Travis worked on the details for nearly an hour! By the end we even had fingerprint bugs spitting water at each other. Who knew a doodle fingerprint could lead so far.

Boredom 8 n

Idea 7: Write a Rap About Your Pet. This prompt was hard for Travis, who declared himself not a singer and wasn’t initially interested. Aha, but could he be the DJ in charge of the beat for our rap song?

Boredom 9 a

Pretty soon he was playing around with an old keyboard, testing out demo beats and drums. Travis discovered he could increase the tempo and get the drums exactly as he wanted them.

Boredom 9 c

The kids had so much fun mixing and matching melodies and drum beats. You’ll notice little sister joined in and did some dance moves!

Boredom 9 d

So did we exactly follow the prompt to write a rap about our cat? No, but this sure busted boredom! How’s this for a quick solution:

Krishna, Krishna he’s our cat,

And we think that he is all that!

Idea 8: Create a Code. Here’s another prompt that was tough for Travis, since he’s just learning to read English, much less create a code in it. Instead, I created a code he had to crack.

Boredom 11 a

Each letter of the alphabet corresponded to its number. Hunting through the code, he then had to search for which letter lined up with the numbered spaces.

Boredom 11 b

He was so proud to solve it, revealing the answer of “Jabba the Hutt”, of course!

Boredom 11 c

Plant a Seed

Plant a Seed (8)

Although toddlers won’t grasp the idea of a plant life cycle yet, or how a single seed can grow into a full plant, toddlers do love the components of gardening, namely: water, dirt, and seeds. So today Veronika “planted” her first seed, partly as a sensory experience, and partly for a little science.

Plant a Seed (1)

First I set out a little cup of dried beans for her to play with, simply to explore. She loved transferring these back and forth between two cups.

Plant a Seed (2)

Using a little dirt from the yard outside, we began scooping dirt into one of the cups.

Plant a Seed (4)

I filled our watering can with just a little water so she could make the dirt damp but not soaked. Of course I knew this would turn into lots of play scooping dirt and pouring water, and that’s exactly what happened. But that was half the fun! A little bug even hitchhiked its way in with the dirt, and she loved watching it on the tray.

Plant a Seed (7)

Before she could tire of the game, I showed Veronika how to sprinkle a few of her bean seeds into the dirt, and press them in gently.

Plant a Seed (5)

We gave them a little extra water as a finishing touch.

Plant a Seed (6)

I don’t expect these to really sprout, since we didn’t germinate them properly). But the cup is in a sunny spot on our windowsill, and Veronika looks at it proudly! Either way, the whole process is a fantastic intro to gardening.

Note: If you want to include a little art, use a paper cup instead of a plastic one and have your toddler draw on it first. Or you could even decorate a proper clay pot!

Green Time: Plant a Vegetable Garden

Plant Garden (2)

Yes, here we are planting seeds with our winter coats on. Hopefully from here on out April feels like April, not January! Needless to say, we were eager to turn to this month’s Green Time from Ranger Rick Jr. without waiting for the weather to cooperate!

Ideally, you’ll have a plot of land in which you can truly plant vegetable seeds. Those of you who have followed this blog for a long time know that we used to only have a balcony, and how excited I was when we graduated to a patio with access to a small patch of grass. We still have no true yard, so our “garden” for this project is in a shoebox… which means likely our plants will crowd one another and not grow very tall. Still, I wanted Travis simply to enjoy fresh air and the tactile feeling of dirt and seeds, even if we don’t end up with edible veggies. If you have a real garden, please share your results in the comments!

So, back to our shoebox garden… First we needed to buy seeds. We headed to the garden store for one pack each of the magazine’s suggestions: tomatoes, beans, carrots, zucchini, and peas.

Plant Garden (3)

The first novelty for Travis was seeing the difference in size – pea seeds much bigger than tomato ones, for example.

Plant Garden (6)

Even mommy didn’t know what carrot seeds looked like!

We filled our shoebox with a nice layer of soil.

Plant Garden (1)

Next, we carefully dug a small hole for each veggie and placed two or three seeds in each hole.

Plant Garden (4)

Travis loved the planting, and patting the dirt back over the holes.

Plant Garden (5)

A little bit of water (which we’ll do each morning), and now we wait!

Plant Garden (7)

Travis had so much fun with it that I let him play indoors with the leftover bean seeds with his shovel and some old flower pots.

Plant Garden (8)

I’ll update this post if our veggies manage to sprout in their shoebox conditions!

Update: We have veggies! Travis is thrilled when we go out each morning now to water the plants, all of which our coming up – tiny zucchini leaves, tiny carrot tops, little bean curls… Exciting!

Plant a Garden alt


Exploring Seeds

Exploring Seeds (6)

My goal with this project was to show Travis the life cycle of a seed, from dried and hard, to sprouting its first green shoot. Alas, it didn’t entirely work out, but we still had fun!

We started out simple, feeling the bean seeds both before and after we soaked them in water for about an hour.

Exploring Seeds (2)

It was very cool how quickly the skins become wrinkly.

Exploring Seeds (1)

The next morning, the beans were soft enough to split apart with a finger. Travis was really interested in how the soaked beans looked compared to a new set of dried ones – much softer and nearly twice the size.

Exploring Seeds (4)

Select several of your soaked seeds to sprout (not any of the ones you have split in half). Line a mason jar with a paper towel on the bottom, and add about 1 inch of water, swirling to soak the paper towel. Repeat until the paper towel is completely wet and you have about 1 inch of water above it. Add your seeds, placing them between the wet paper towel and the side of the jar.

Exploring Seeds (5)

Now place it some place sunny and wait!

Whether because we’ve had very gray weather and little direct sunlight or because I have no green thumb and drowned our beans, I can’t say… but one way or another, our beans disintegrated instead of sprouting. I will try a different method next time, but this was still a neat nature lesson for a toddler!

Exploring Seeds (7)