Banana Marshmallow Slime

Banana Marshmallow Slime (6)

I’ve long known that Jell-O is not vegan, so we don’t bring it into our kitchen for projects. But believe it or not, the company’s pudding contains no gelatin! I was so glad to learn the fact since it meant we could put together this amazing edible slime from Crafts4Toddlers. The banana smell is fantastic, the texture is so fun, and it will no doubt lead to lots of slime play in the kitchen.

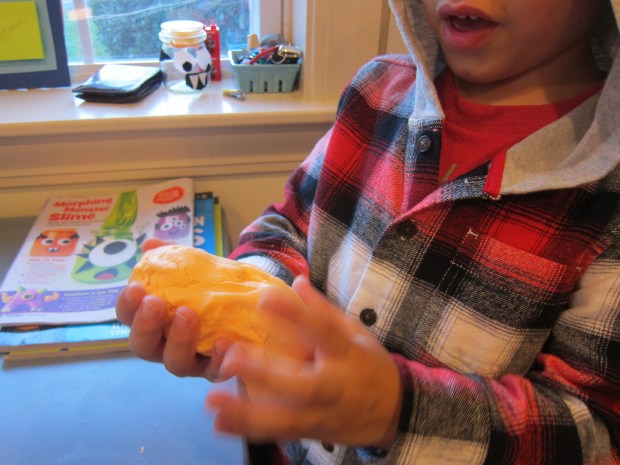
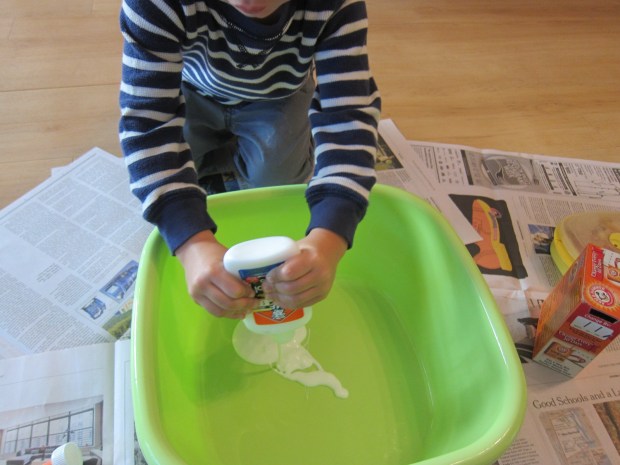
To start, combine 1/2 cup cornstarch and 1/4 cup banana pudding mix in a bowl. Add 1/3 cup warm water, stirring to combine, then add an additional 1/2 cup cornstarch, mixing with your hands. Note: I found I needed to add just a touch more water, too, or the mixture was too crumbly. Once you can squeeze it enough to come together, you have banana slime!

Banana Marshmallow Slime (1)

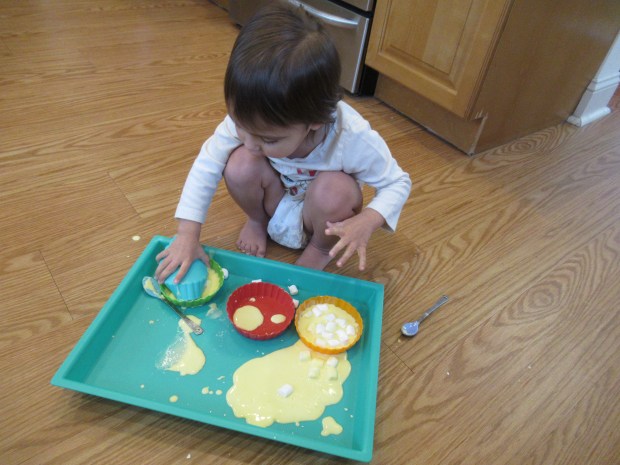
For a final touch, stir in a few mini Dandies marshmallows. I then set the slime down in a tray, along with little cups and spoons, and a few extra mini marshmallows. These double not only as an extra sweet treat to nibble on, but also a fun element to add into the slime as your toddler plays.

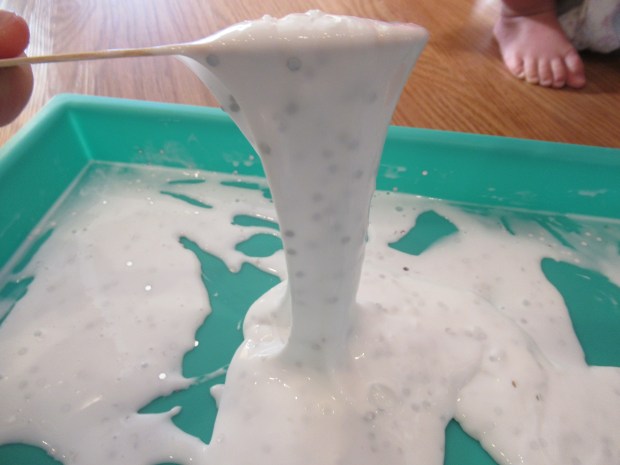
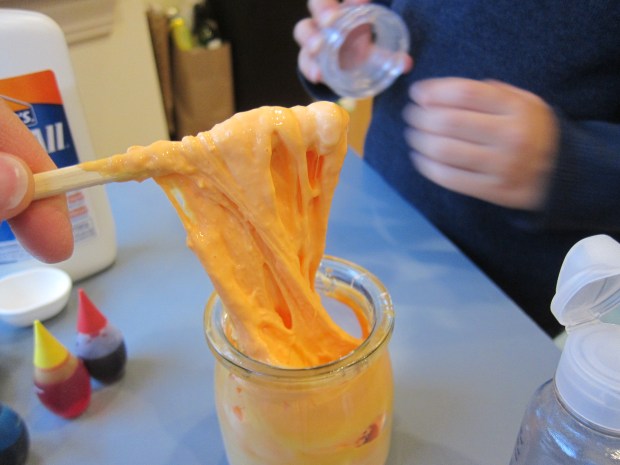
Interestingly, our mixture was almost like ooblek, going back and forth between solid and liquid states depending whether we squeezed it…

Banana Marshmallow Slime (2)

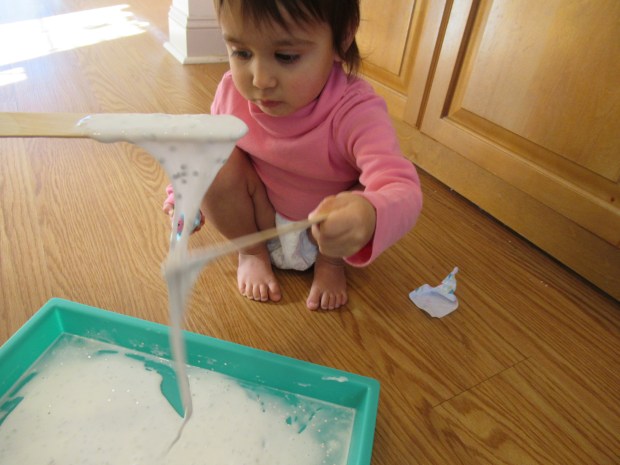
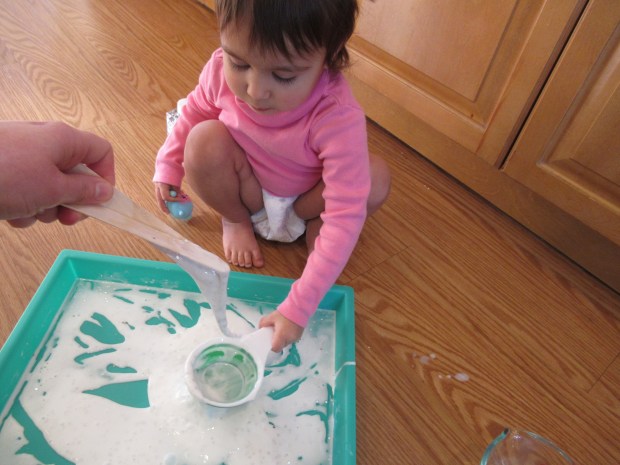
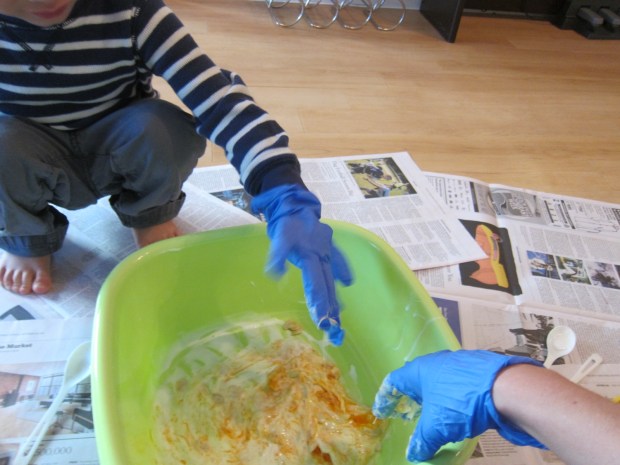
…or let it ooze down into containers. Crafts4Toddlers appears to have a mixture that was closer to playdough, so fool around with water-to-cornstarch ratio and see where yours ends up! Meanwhile, Veronika adored the stuff and loved spooning it up…

Banana Marshmallow Slime (4)

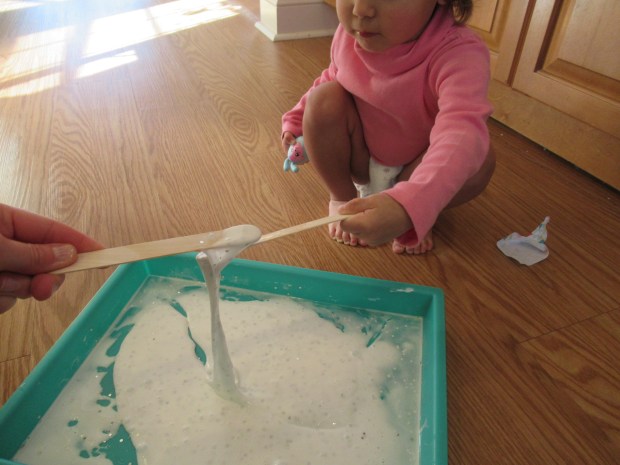
…and then watching it dribble back down.

Banana Marshmallow Slime (3)

She kept quite busy pouring it from container to container.

Banana Marshmallow Slime (7)

The marshmallows were great because she could press them into the slime, leaving an indent, then lift up and watch the indent quickly close back up again.

Banana Marshmallow Slime (5)

Inevitably, she wanted a nibble. She looked so confused after trying the slime, which no doubt tasted strongly of cornstarch, but a marshmallow quickly solved the yucky problem!

Banana Marshmallow Slime (8)

Winter Snowflake Slime

Winter Snowflake Slime (7)

We don’t make slime often, so this winter snowflake version today was a real treat for Veronika! I did use borax powder for this particular slime recipe, but there are lots of alternatives (including saline solution or liquid starch) if you’d rather not. Since I knew Veronika would be using craft sticks to play with the material, and not her hands, I felt comfortable about the borax.

To make the slime, combine 1/2 cup white glue and 1/2 cup warm water in a bowl or tray.

Winter Snowflake Slime (2)

Next, add silver glitter: lots! I used large flakes of silver to make it look like snow in the wintry white slime. You could also search for glitter in the shape of actual snowflakes at the craft store! Finally, dissolve 1/4 teaspoon borax powder in 1/2 cup hot water. Add this to the glue mixture and it will seize up instantly.

Winter Snowflake Slime (3)

Our mixture turned out almost like ooblek, running back towards a liquid when we didn’t touch it, but seizing up as soon as we stirred or scooped. Needless to say, Veronika was fascinated. She loved watching me lift up big handfuls of it.

Winter Snowflake Slime (4)

She would stir with her craft stick and then lift it to pull up big globs before watching it dribble back down.

Winter Snowflake Slime (6)

If we touched our two craft sticks together, the mixture was so sticky!

Winter Snowflake Slime (5)

And of course the silver glitter and white color made us think of sparkly snow. If you want, recite your favorite word play or nursery rhyme about snowflakes while your toddler plays and stirs.

Winter Snowflake Slime (8)

Here’s one we like, which you can say as you flutter your fingers like snowflakes.

Softly, softly, falling so,

This is how the snowflakes go.

Pitter-patter, pitter-patter,

Pit pit pat,

Down go the raindrops

On my hat.

Winter Snowflake Slime (9)

Morphing Monster Clay

Monster Clay (3)

Yesterday Travis made monster slime. Today, we morphed it into monster…clay!

You’ll need to start with the slime recipe, whether or not you’ve made a monster jar to hold it in. As a reminder, that’s stirring together 1/2 cup glue, 1 tablespoon baking soda, and a few drops food coloring of choice. Add 1 teaspoon contact lens solution.

Monster Clay (1)

Place the slime in a large bowl. Add 2 tablespoons white vinegar and 1 tablespoon vegetable oil

Monster Clay (2)

Travis loved that we were dissolving the monster – scary! Begin adding 1 and 1/4 cups cornstarch (that’s 20 tablespoons!) 1 tablespoon at a time. Eventually you’ll have a clay you can work and mold with your hands. This comes out exactly like the model magic you can buy at the store!

Monster Clay (4)

Travis loved the non-goopy texture since he doesn’t always love sticky and slimy projects. Soon he was rolling up monster snakes.

Monster Clay (5)

And he told me this was a mummy!

Monster Clay (7)

Have fun making multiple colors and see what spooky Halloween monsters your kid will create.

Monster Slime

Slime Monster (8).JPG

The slime craze isn’t over yet, and it seems like there’s always a way to make it new and novel for kids. Travis went bananas for this slime monster he could trap in a jar!

To make the slime, stir together 1/2 cup glue, 1 tablespoon baking soda, and a few drops of food coloring. We decided on an orange monster, so mixed together some red and yellow drops.

Slime Monster (2).JPG

Add 1 teaspoon contact solution and your slime will seize up right away.

Slime Monster (3)

Travis loved watching it stretch. And even better, capturing the beast in its jar!

Slime Monster (4)

To add monster facial features, we cut out shapes from white and black felt and glued on.

Slime Monster (6)

Eek, a monster!

Slime Monster (5)

If you like, make a whole batch of these and decorate a windowsill for the upcoming holiday.

Slime Monster (7)

Ooey Gooey Pumpkin Slime

Pumpkin Slime (6).JPG

True slime enthusiasts and experts will probably cringe at this post, so my apologies in advance! But Travis and I weren’t aiming to make the perfect slime ball, just to have some oopy, goopy, gooey, messy Halloween fun!

We’ve largely skipped the slime craze because I was hesitant to use liquid starch or borax, two ingredients normally called for to pull together a slime solution. Just in time for this Halloween project though, I learned you can use contact lens solution (a buffered saline solution) instead. If you’re looking for a good cruelty-free option, check out Clear Conscience contact solution.

To make the base of the slime, we dumped two small bottles of white glue into a plastic bin. I’m sure there is an exact amount to use, but this seemed to give us about 1/2 cup, which looked about right. Sprinkle your glue with 1/4 teaspoon baking soda and stir.

Pumpkin Slime (1)

Now begin adding the saline solution one spoonful at a time; you’ll see it seize up almost right away. Only a few spoonfuls are necessary.

Pumpkin Slime (2)

Now came the real goopy part; stir in leftover pumpkin guts and seeds from pumpkin carving!

Travis was hesitant to get his hands in the stuff at first, but wearing a glove helped.

Pumpkin Slime (3)

His favorite part was when we added glitter. We started with a bit of gold, but he soon decided we needed silver and green as well.

Pumpkin Slime (5)

After that he wanted to squeeze in more saline. To our great delight, this really made the mixture seize up, until you could left it cleanly up out of the plastic bin. Then it stretched back out like long snotty spider webs.

Pumpkin Slime (7)Perfect for Halloween, in sum.