Special Tree

Special Tree (2)

This post is really the beginning of an adventure that I hope will be with us for quite some time. I’ve long wanted to plant a tree with my children, but we’ve never had a yard of our own in which to do so. At last I found a solution: a bonsai cutting that can grow and bloom with our family!

You can plant a tree any time of course, but it’s also nice to time it around a special event or birthday. With our 9th (willow) wedding anniversary in July, planting a willow bonsai felt just right.

The kids loved helping scoop potting soil into a large pot and arranging the tree cuttings, root sides down. Veronika seemed particularly interested in the feel of the trunk, and we talked about the various textures (bark versus soil, etc.).

Special Tree (3)

Make sure to read a book about trees, too, like The Giving Tree, to round out the day.

Special Tree (4)

Watering the tree has already turned out to be a big hit.

Special Tree (5)

Both kids want a turn with the watering can!

Special Tree (6)

Here are some future plans we have for our tree: To compare the kids’ growth with the tree’s (who will grow more inches in a year?); to name the tree (right now we’re thinking Wendy); to play and sing around the tree; and to take lots of pictures along the way. Does your family have a special tree? Please share in the comments!


Happy New Year, Trees!

New Year Tree (8)

Who knew? Trees get to celebrate new years too! The Jewish holiday of Tu B’Shevat, which falls on February 9th this year, is all about honoring trees. Travis helped mark the occasion with this craft from Highlights magazine.

First we needed a base. I challenged Travis to think of how he might arrange craft sticks to make a sturdy foundation for our tree.

New Year Tree (1)

A double-layer of craft sticks proved best, and because he didn’t want to wait for craft glue to dry, I made quick work of it with a hot glue gun.

New Year Tree (4)

For the trunk of the tree, twist together brown pipe cleaners. We had some that were sparkly, as well as varying shades of brown and tan, which gave the trunk a pretty, mottled look. Travis got the hang of twisting after I demonstrated!

New Year Tree (2)

Spread out the tops and bottoms to be the branches and roots. I hot glued this to our base.

New Year Tree (5)

For the leaves, Travis helped cut shapes from green cardstock (great scissor practice). These were then glued onto the branches, along with little green “olive” pompoms.

New Year Tree (6)

All in all, this was a cute craft. Travis enjoyed olives and oranges (two fruits from trees!) as a snack to finish our celebration of the holiday.

New Year Tree (9)

Science of Trees Kiwi Crate

Kiwi Trees (1)

Travis’s crate from Kiwi Co. this month was about the way trees and plants take nutrients from the roots upwards, in seeming defiance of gravity. Travis loved every element of this “capillary action” crate… and for good reason!

First, we needed to see capillary action in, well, action, with Capillary Action Art. Using the provided double-sided tape dots and clear slides, Travis attached on three string stems and 3 coffee filter paper flowers.

Kiwi Trees (8)

He added the provided binder clips on either side of the slide’s bottom, and two additional clips to hold everything in place. Clever: now the blender clips meant the slide could stand upright over the provided paint tin.

Kiwi Trees (9)

He dripped liquid watercolors into three of the compartments. There was red and yellow watercolor, and his booklet suggested combining them in the third compartment to make orange.

Kiwi Trees (10)

Almost instantly, the color was bleeding up the stems.

Kiwi Trees (11)

Travis was practically shaking with amazement as he watched this, especially because of how fast it happened.

Kiwi Trees (4)

When it reached the tissue “flowers,” he was ecstatic.

Kiwi Trees (3)

Kiwi must have known this would be a big hit; there are enough materials to do the project twice. Needless to say, we repeated it instantly.

As a nice finishing touch, you can use additional double-sided tape dots to place the slides into a cardboard frame, and save your artwork. Talk about STEAM!

Kiwi Trees (15)

The second activity was to Build a Balancing Tree. This required slotting together two wooden pieces as the trunk, and inserting that into a wooden base.

Kiwi Trees (23)

Wood leaves and roots allow your little engineer to tip the tree one way or another.

Kiwi Trees (18)

At first, Travis seemed disappointed. But then we put the tree to the test in a Tilting Tree Game. Roll the dice to add leaves or roots to one of the four quadrants… but if you roll the (!) symbol, there’s a natural disaster! This can be a tornado (blowing on the tree), earthquake (shaking the box it sits on), or forest fire (removing the leaves from certain colored sections).

Kiwi Trees (19)

Travis cackled every time we thought our tree was nearly complete but then disaster struck.

Kiwi Trees (20)

Okay, so this isn’t perhaps the nicest way to teach kids about natural disasters, but it sure had him thinking about the stability that a tree’s roots provide, and was a ton of fun.

Kiwi Trees (22)

We concluded with two additional activities from the booklet. First, you can demonstrate the most mundane capillary action of all with a paper towel. Pretend to spill a little water or juice on the table (Travis thought it was quite funny that mom made a mess on purpose) and then quickly place a paper towel over it. The fibers act just like the root system of a plant!

Kiwi Trees (6)

Next, we repeated a classic flower-dyeing experiment, but with a slight twist. Use any white flowers for the game, such as carnations or roses. Trim the stems at an angle, then carefully slit the stems down the middle.

Kiwi Trees (12)

Fill two cups with lukewarm water and add 20 drops food coloring (in different colors) to each cup.

Kiwi Trees (13)

Arrange two flowers so that the halved stems dangle one into each cup. I found it useful to use a paper clip to hold them in place, so the flowers didn’t tip.

Within just an hour or two, we could already see a pretty tint… on each half of the flower!

Kiwi Trees (16)

By morning, the colors were vibrant and split evenly down the middle, a fantastic visual of capillary action.

Kiwi Trees (17)

We finished with two fun suggested reads: The Tree Lady by H. Joseph Hopkins and Tell Me Tree by Gail Gibbons. In sum, we loved this crate!

Birch Tree Tape Resist Picture

Birch Tree (8).JPG

We haven’t done tape resist art in a long time, so it seemed like the right moment to return to an old idea in a new form. A cold winter blast has me thinking of lovely winter birch trees, always my favorite, and tape resist is the perfect way to create these white tree trunks.

First, create the outline of trunks and branches on white paper by covering with tape. Any masking tape or patterned washi tape will work fine – you’re going to remove it at the end. Travis was surprised when we made our trees blue to start (but shh, don’t spoil the surprise for your child yet!).

Birch Tree (1)

Next we painted over the tape and the rest of the paper for a blue sky background. We used tempera paint, but you’ll get a more wintery, softer feel if you use watercolors.

Birch Tree (2)

Let the paint dry, then it’s time to peel back the tape for the big surprise – white-trunked trees!

Birch Tree (3)

Travis was so excited to see our birches, and helped sketch on little black lines in the bark.

BIrch Tree (4)

As the finishing touch, decorate your trees – we used buttons and little leaf cutouts.

BIrch Tree (6)

He told me the first picture was done, but then got more impish with the second, layering on big piles of glue and buttons… Love watching this kiddo’s creativity!

Birch Tree (7)

Four Seasons Tree Pictures

Tissue Paper Tree (6)

The buds are on the trees, and we’re discussing the annual cycle of a tree and the seasons a lot this week! It was the perfect time to make a beautiful picture showing all the stages of a tree throughout the year.

To set things up, I cut 4 trunks from brown construction paper (preschoolers can help with this step!) and glued them down to poster board.

Tissue Paper Tree (3)

Then it was time to rip up tissue paper for our 4 different trees – Travis was an eager participant for this part! We used pink for spring flowers, green for summer leaves, and orange and yellow for the fall. I had intended to use white tissue paper for winter snow, but we decided cotton balls would be more fun!

Tissue Paper Tree (1)

I set out a dish of glue, and showed Travis how to wad up each piece of tissue paper, dip in the glue, and then apply. So he wouldn’t get confused, we worked on one season at a time, starting with bright pink flowers for spring.

Tissue Paper Tree (5)

He was definitely proud to determine where each leaf or flower should go, and very seriously told me, “I’m all done!” when finished with one season and moving on to the next. A very cute way to talk about the seasons.

Tissue Paper Tree (7)

T Week!

t-week-16

Letter T stands for so many things that Travis loves anyway that we barely had time to touch upon all the words I hoped during this week. I’ve listed highlights below, but further suggestions at the bottom of the post may suit your child’s interest more. Either way, T week was Terrific!

t-week-1

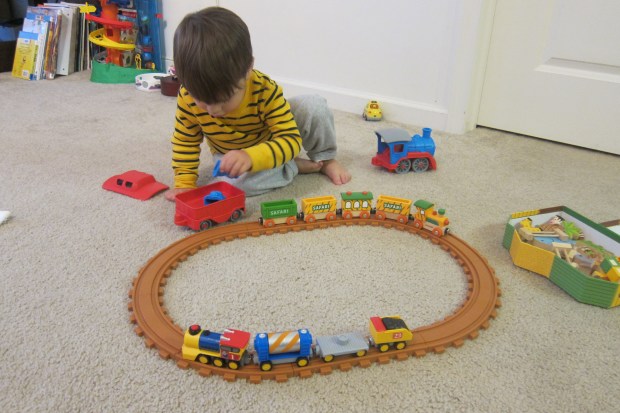
Trains: We play with train sets all the time, so to keep things fresh, I pulled out old toys that had been relegated to the “baby bin.” It had been long enough that he was delighted with an old plastic train, Thomas the Train “rail rollers” and more. We live in a town with a real train station, so took a stroll by the platform (and got to see a freight train pass!). You might consider a field trip to your local station or even a short ride from station to station if you have time.

t-week-3

Telephone: Much as with old trains, a few baby toy phones had been put away, but he showed renewed interest when I pulled them out early in the week. Aside from just letting your child press buttons and dials, phones make for great games. Bring a toy phone in the car and ask your child to call the place you’re going, or ask them to “call” a family member and see what he or she says!

t-week-2

Teddy Bears/Tea Parties: I’m listing these two together because how could we not have a t-errific teddy bear tea party and listen to the song Teddy Bear’s Picnic? Travis adores the song, which I’ve played a few times in the past, so we recreated the fun with our own picnic. He played games of Ring Around the Rosie with teddy…

t-week-12

…And we even crafted teddy bear ears for him to wear, a simple craft of crayons, paper, yarn, and a stapler.

t-week-8

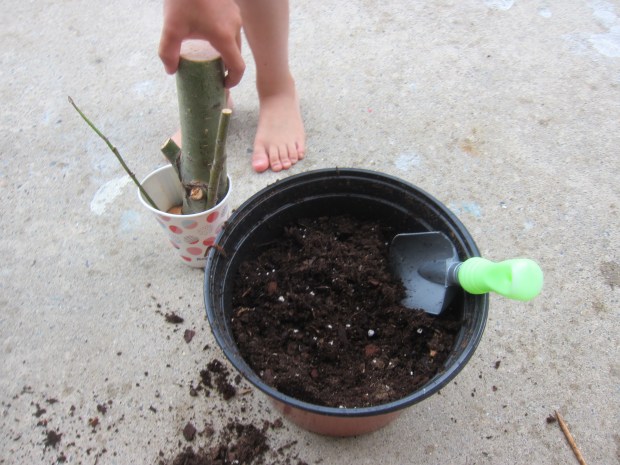
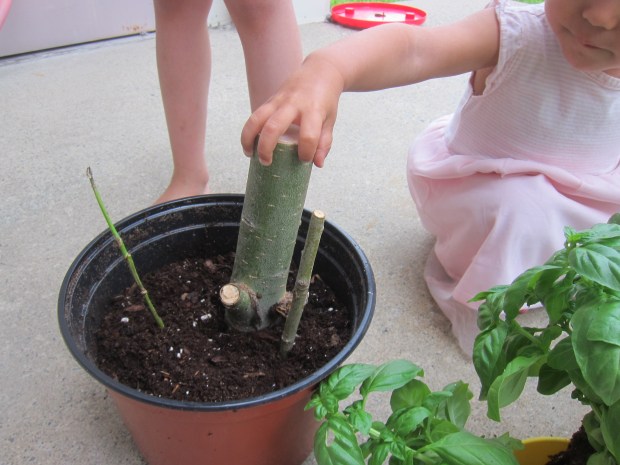
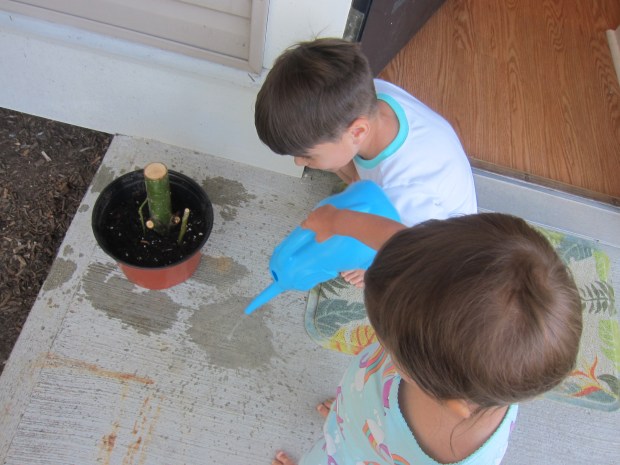
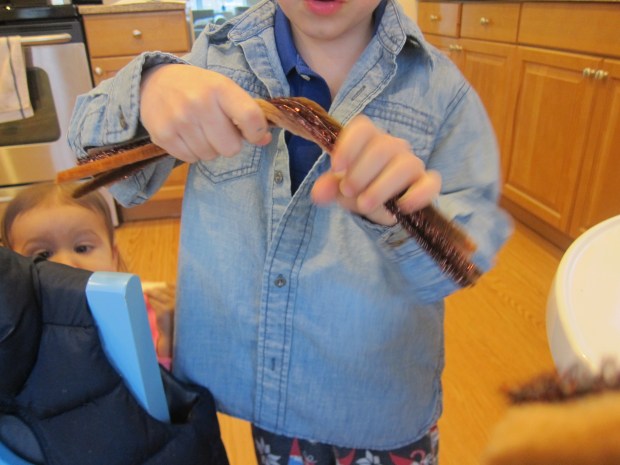
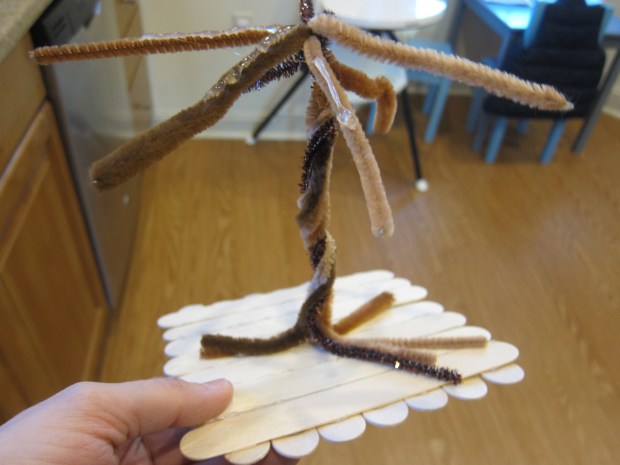
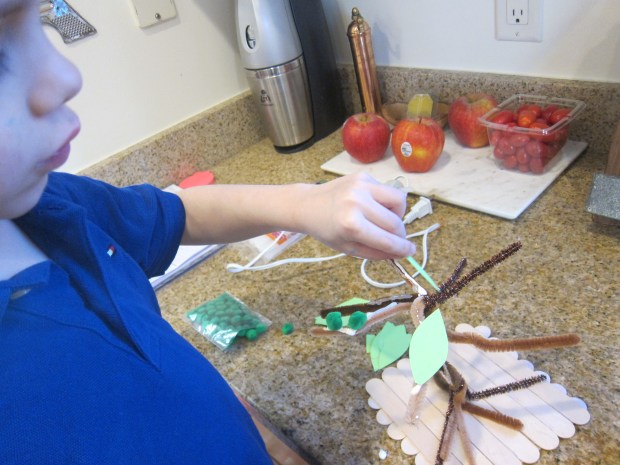
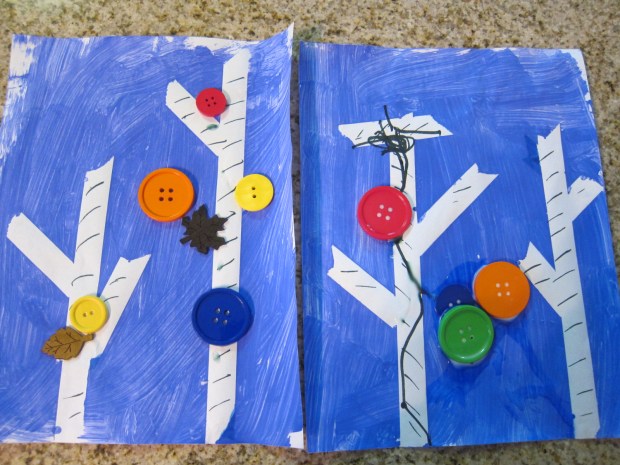
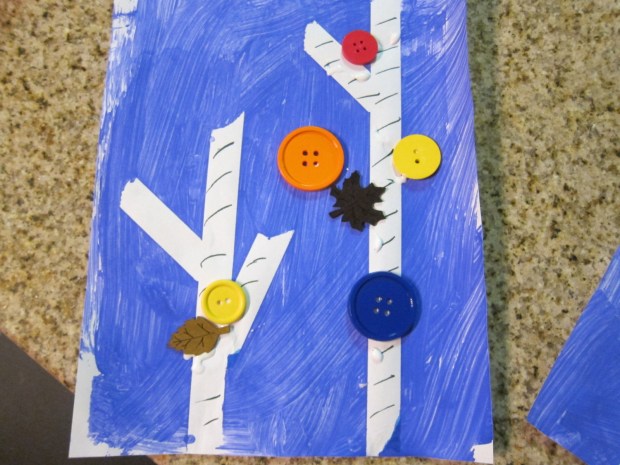
Tree: Our T week overlaps with the beginning of autumn and fall foliage in our area, a nice coincidence! We attended a beautiful program for toddlers on Monday morning featuring a nature walk through the trees. Travis was fascinated that he could step on trees in places where the roots poked through the ground. Look for similar nature programs in your area, or just head outdoors for a walk and talk about the trees!

t-week-5

Trucks: Another everyday favorite that we paid a little extra attention to this week. To keep things novel, I pulled out bubble wrap and taped it to the kitchen floor so our trucks could pop and vroom over the bubbles. Don’t be surprised if your child wants to then jump on the bubbles with bare toes! And of course trucks were great for loading up and carting toy tools.

t-week-14

Tent: There’s lots you could do with this word, depending on your child’s age. Preschoolers may enjoy an overnight “camping” out in the living room with a toy tent (or makeshift tent of blankets), but Travis is too young for that. He did love helping me construct a tent using old baby blankets. We even had a handy campfire set (thanks to Koala Crate!) to play with underneath.

t-week-18

Tennis: For gross motor play, introduce the idea of this racquet sport, using toddler-friendly paddles. Attach a wooden stick to a paper plate, then have a rally with balloons! I wish I could have gotten some action shots, as this was the most magical moment of our week, but Travis was moving too fast!

A few final ideas:

Fine art: We put together a double-T project: tissue paper triangles! This was a little advanced for Travis, but I’m glad we stuck with it. After originally wanting to smear glue everywhere, he got the concept of spreading glue only inside the triangle. You can stick on the tissue paper with a neat trick: wrap around the end of a pencil, then stick the pencil on the glue and pull up, leaving the tissue paper behind. After watching my example, he tried it himself and got quite good at it! Our final creation wasn’t perfect, but perfection was not the point of course.

t-week-10

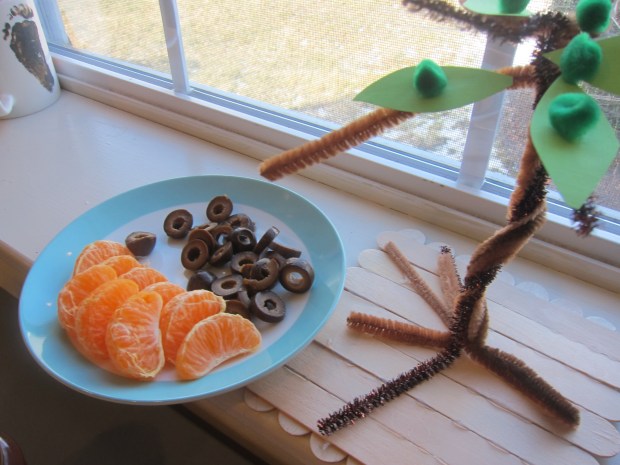
Food: We enjoyed a few T-treats: tangerines at breakfast one morning, tomato toast for a snack, and a tofu taco at dinner one night!

t-week-17

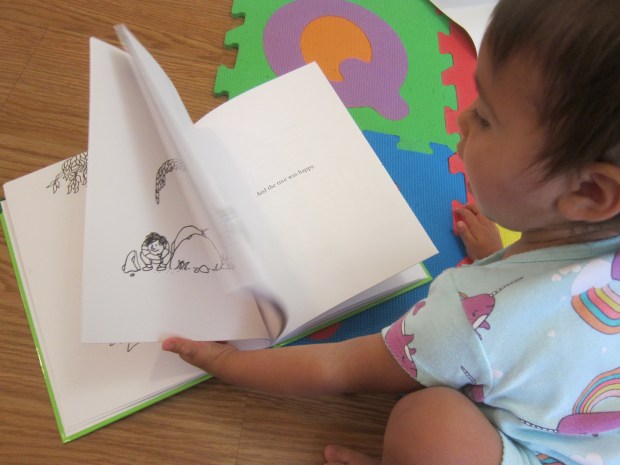
Books: I used very few books from the library this week, as favorites like Little Blue Truck by Alice Schertle and train books live at home already. Travis also enjoyed Trucks by Anne Rockwell and The Tree by Dana Lyons.

Songs: Aside from the aforementioned “Teddy Bear’s Picnic,” Travis loved watching Twinkle, Twinkle Little Star. He has a toy star that he “twinkled” along as we watched. “I’m a Little Teapot” was fun to sing during our tea party, teaching him the actions for handle and spout.

Math: Triangles of course! We did so many triangle activities that I compiled them into a separate blog.

As mentioned, there are many great T words we couldn’t get to. You might also want to play with any toys/books you have featuring tigers or turkeys, or play a Turtle game!

We’ll S-see you for S week…