Tic-Tac-Toe

I’ve always felt that tic-tac-toe is a great first turn-taking game for toddlers. Simple to follow, and easy to win (especially if a grown-up “doesn’t notice” the three-in-a-row about to happen), the game is sure to be a hit. This particular version from High Five magazine even allows toddlers to craft the game before they play it!

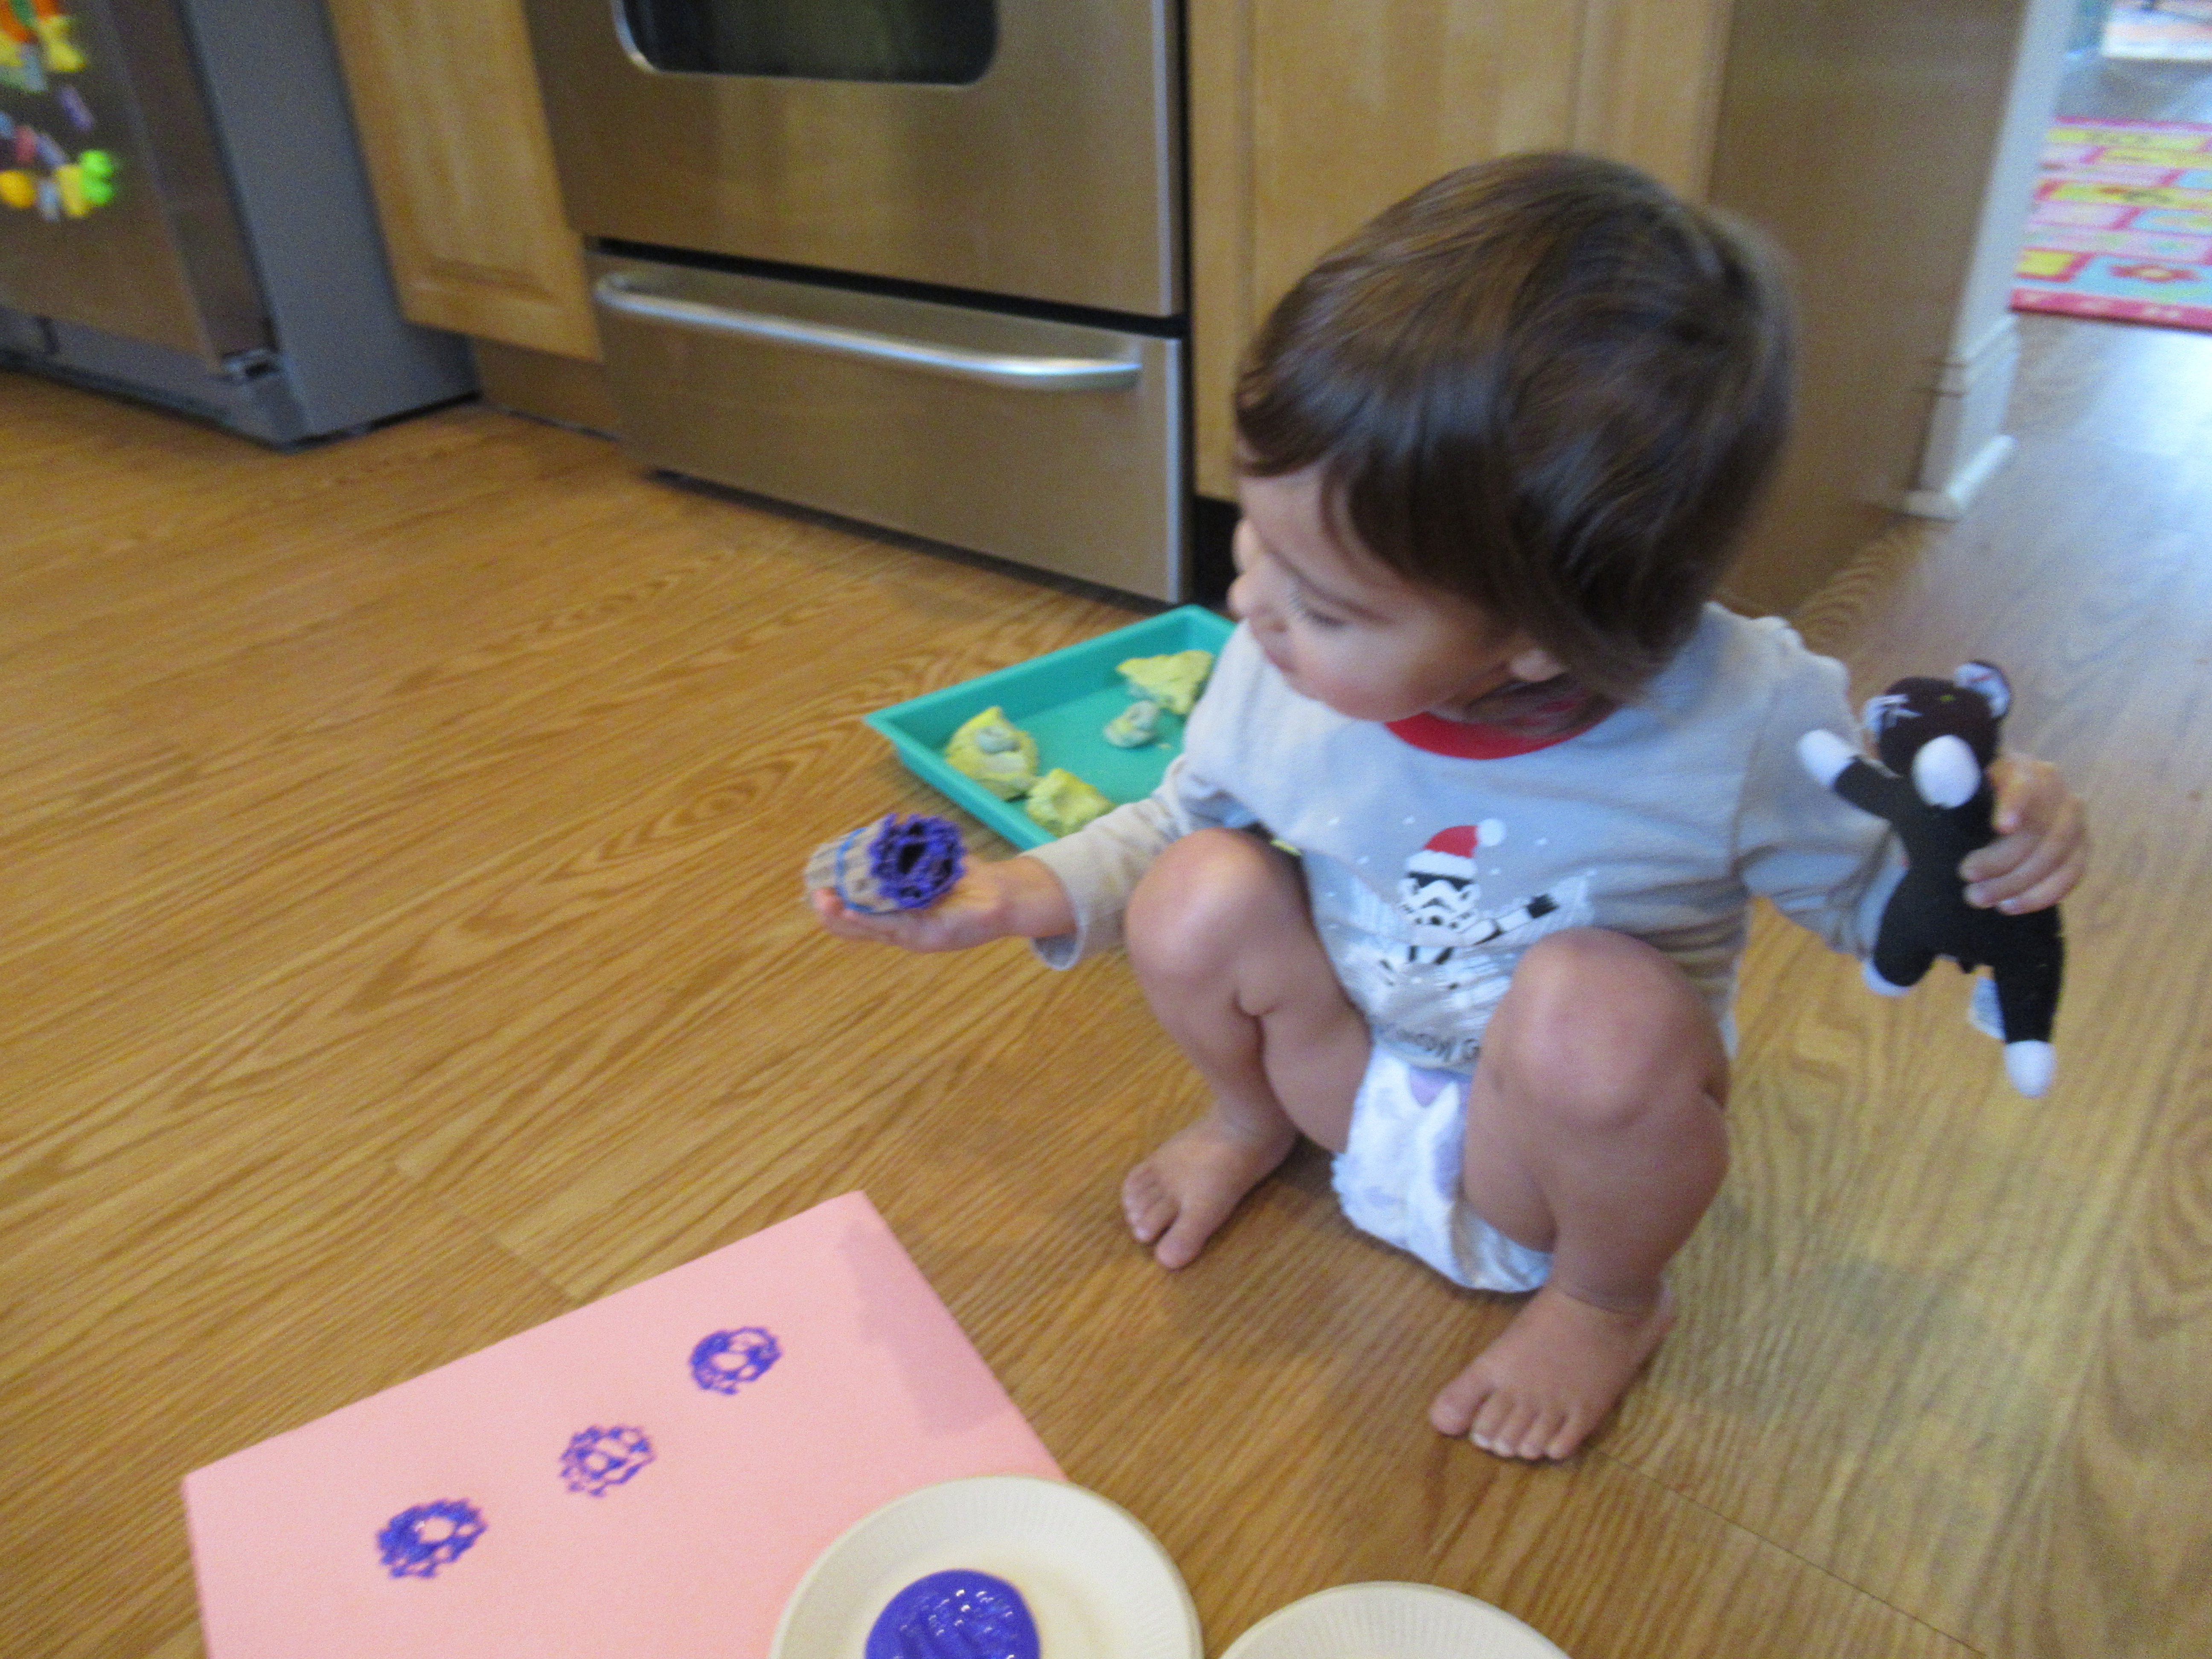
I wanted Veronika to have lots of ownership over this project, so after I cut up the compartments of an upcycled egg crate, I asked her what color we should paint them. She chose purple! Make sure to paint only half of your playing pieces (5) and leave the other 5 blank.

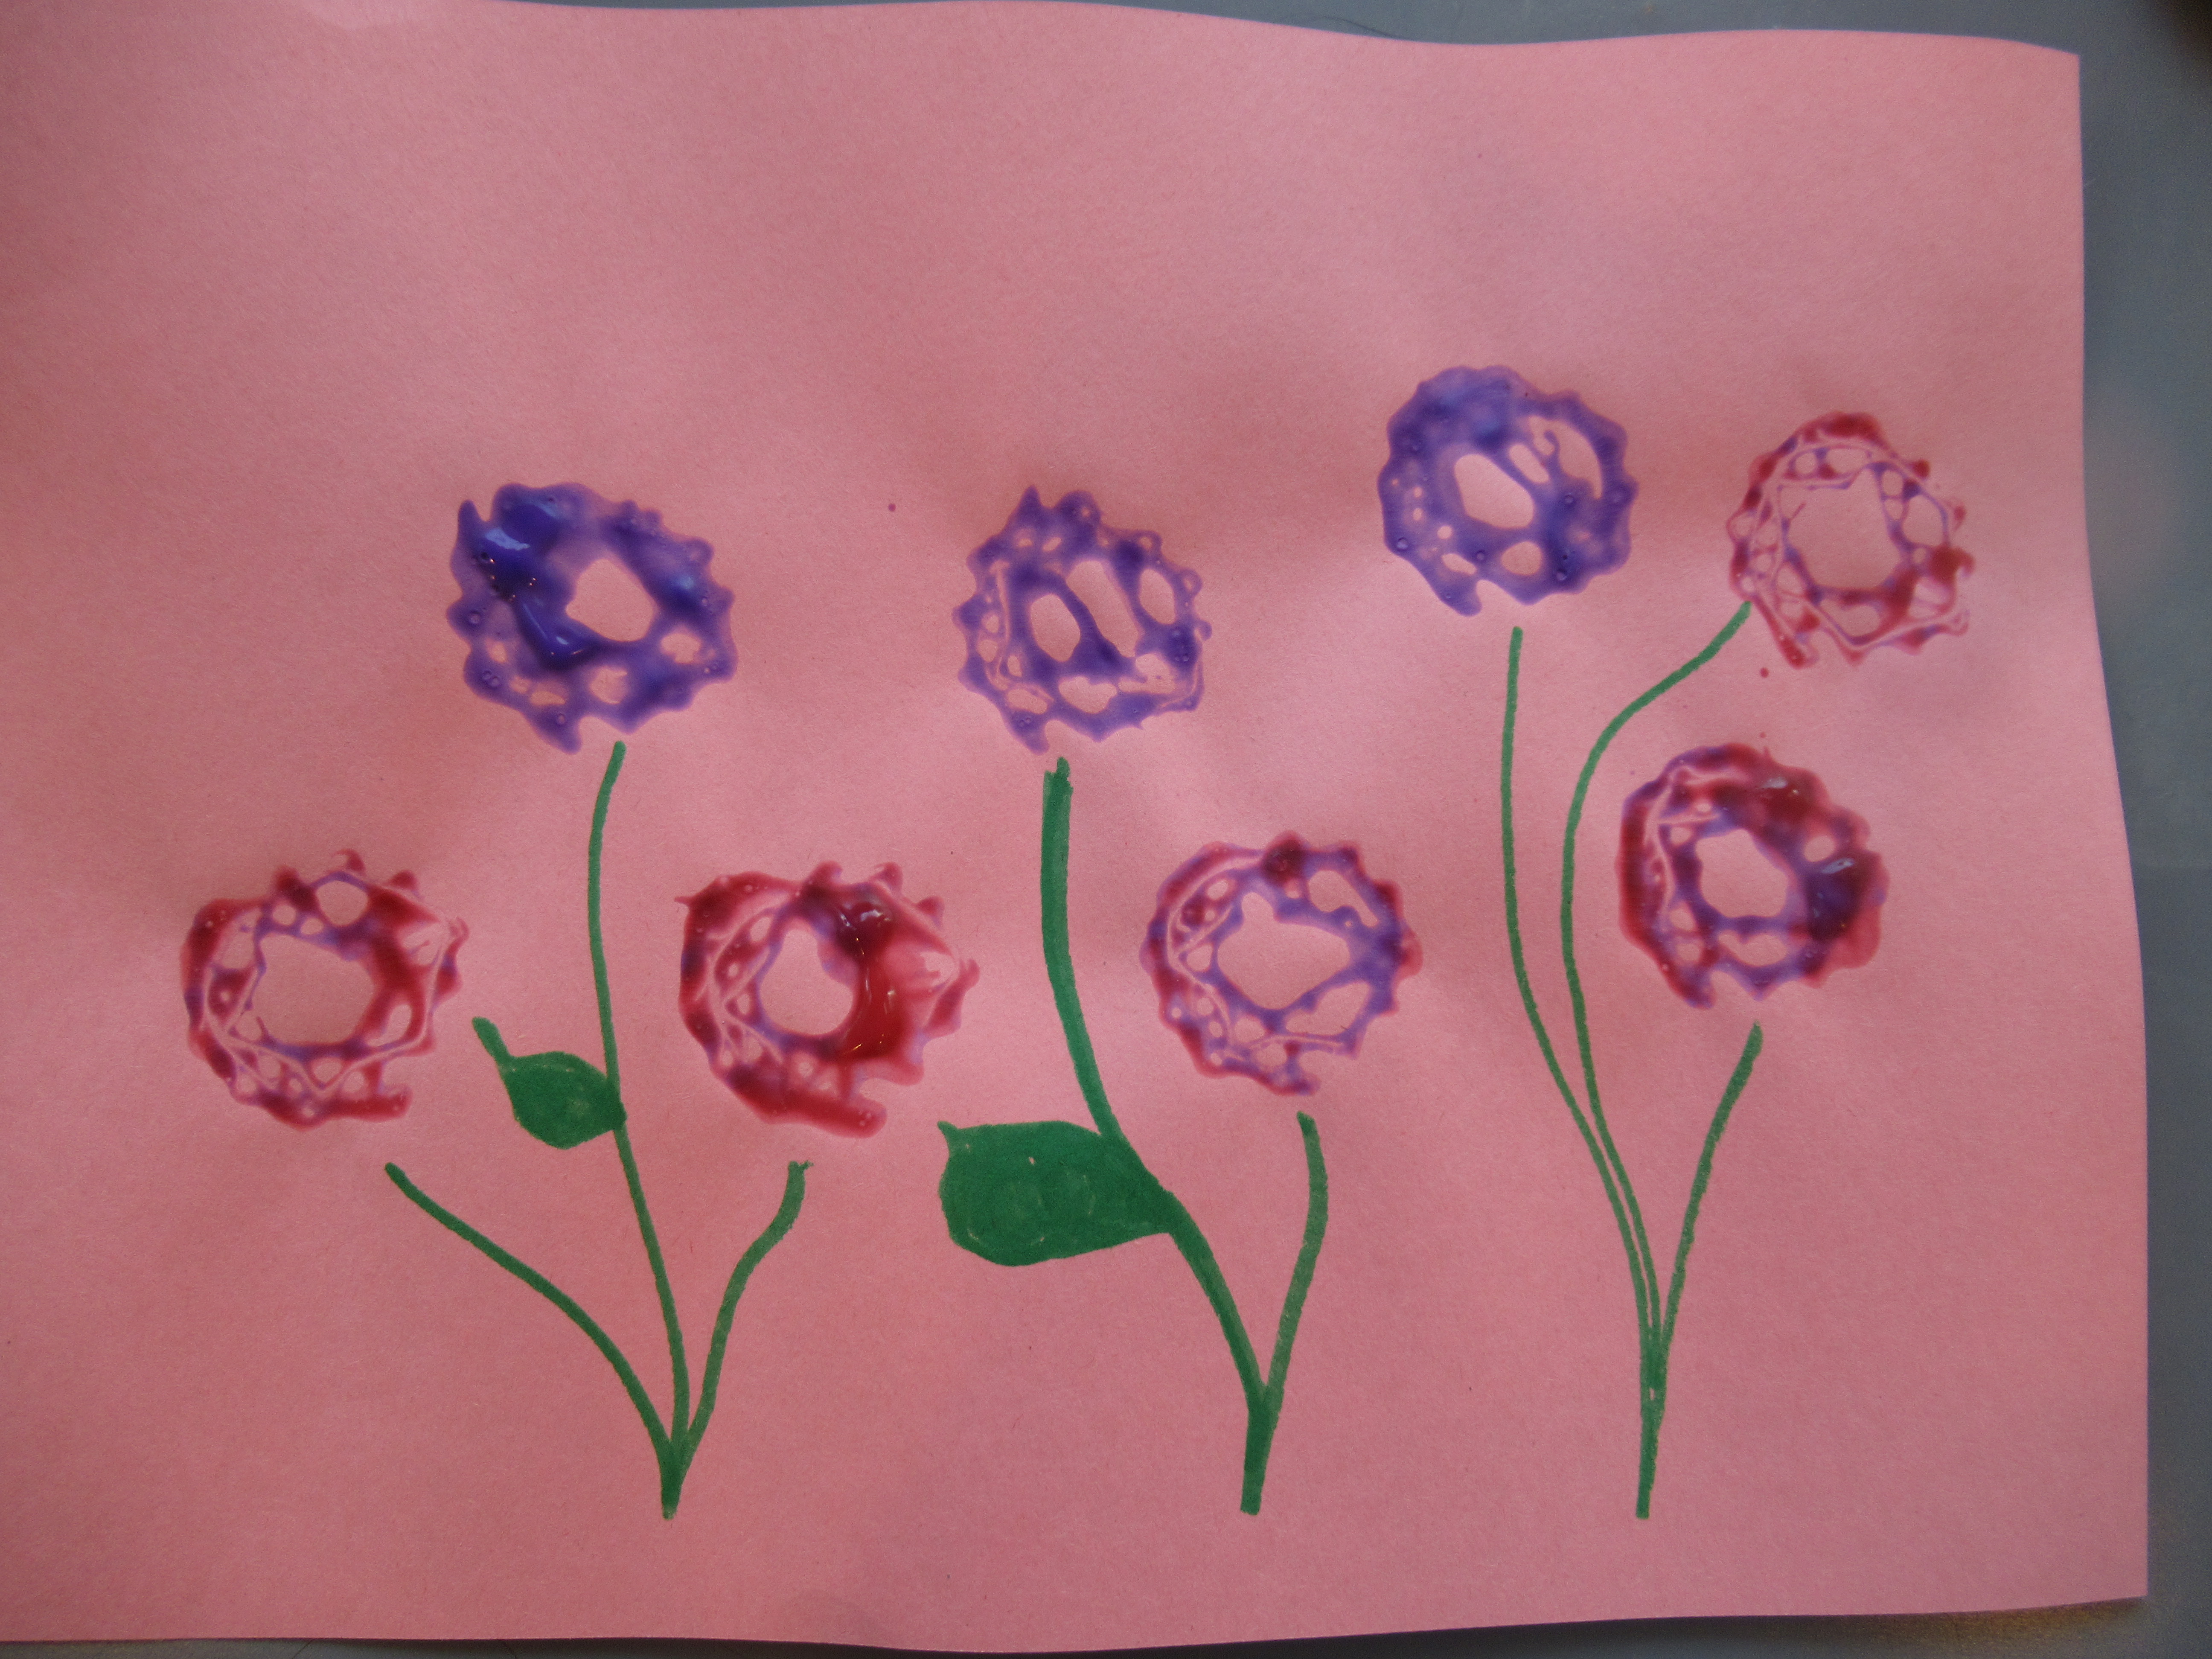
Give the egg cups a generous two or three coats of paint and let dry completely. In the morning, I asked her if she wanted to be Xs or Os, and she chose the former. She watched me mark her 5 pieces with an X, and preschoolers can do this step by themselves in paint.

Then she wanted to help out to mark the Os. As a result, our O team was a bit scribbled, which was just fine!

To make the playing grid, tape four straw together with two vertical and two horizontal.

At first, she simply thought it was fun to stack the pieces together.

But once I started to coach her step by step, but she started to get the idea of placing an X piece in one of the squares, then watching me place an O and so forth. She soon had three in a row.”Tic-tac -toe!” we said in delight.

This was a great intro to a classic.

Chicky Chili

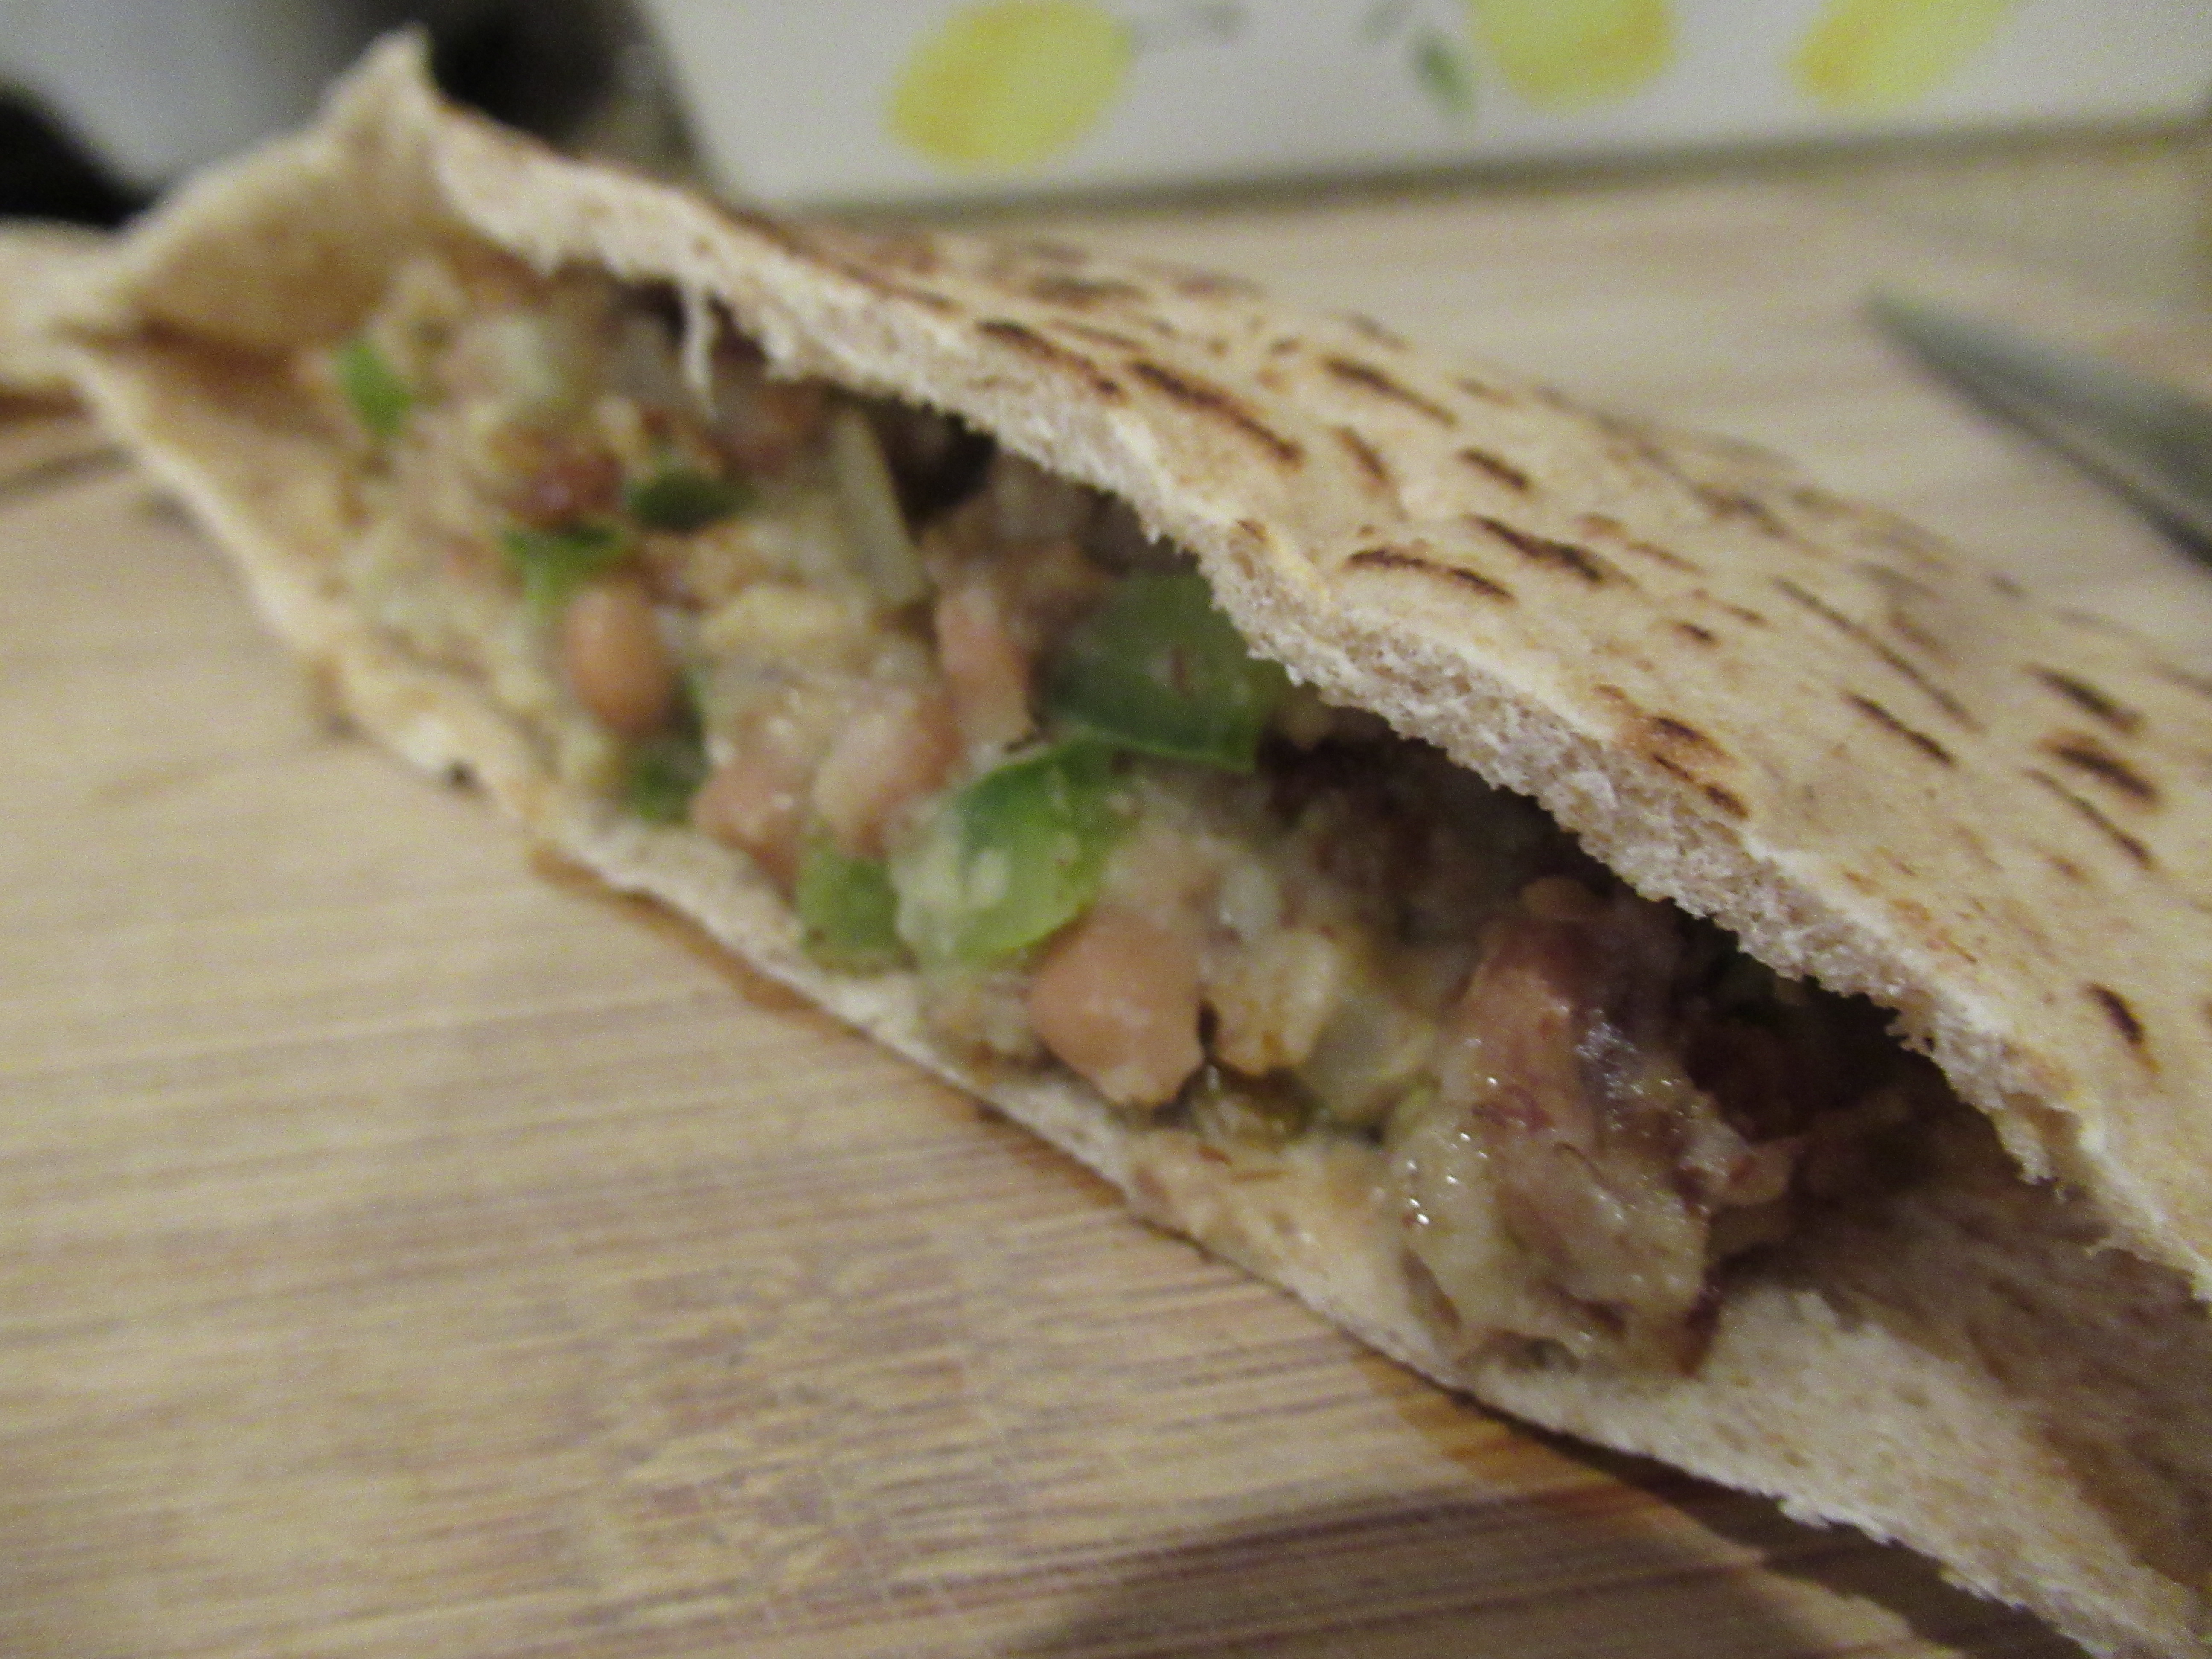
My kids have dubbed this “chicky” chili, thanks to the combo of chick‘n and chickpeas in every bite!

Ingredients:

  • 1 tablespoon canola oil
  • 1 onion, chopped
  • 2 minced garlic cloves
  • 1 (15-ounce) can corn, drained
  • 1 (15-ounce) can cannellini beans, drained
  • 1 (15-ounce) can chickpeas, drained
  • 1 (4-ounce) can mild green chiles
  • 1 cup Gardein chick’n, cooked and chopped
  • 28 ounces vegetable broth
  • Shredded non-dairy jack cheese, for serving
  1. Heat the oil in a large pot over medium-high heat. Add the onion and garlic; saute for 5 minutes.
  2. Add the corn, cannellini beans, chickpeas, chiles, chick’n, and broth. Continue to simmer for 20 minutes.
  3. Ladle into bowls and top each serving the jack cheese to taste.

Quickie Cookies

Similar to a one-dish recipe like Dump Cake, these are cookies the whole family can help make! To wit, Veronika loved helping stir the ingredients, and big brother Travis took over for the final steps.

To start, combine just these three ingredients in a bowl:

1 package yellow cake mix

1 Ener-G egg

1/2 cup Earth Balance butter, softened

Veronika loves stirring everything together with a big spatula, although you’ll probably need some adult muscle power to combine the ingredients fully.

Shape the dough into 1-inch balls and arrange on baking sheets. Bake at 350 degrees F for 10 minutes.

Meanwhile, there’s always just enough dough left over for Veronika to practice rolling and cutting. I hadn’t expected how proud Travis would be to swoop in and show Veronika how to make heart- and tree-shapes with cookie cutters, though. He insisted we bake these shapes up as a final batch!

You can leave the cookies plain or add decorations, as we did with a few Unreal candies.

Cardboard Flower Prints

Don’t toss those latest bxoes from Amazon just yet! Flaps of corrugated cardboard curl up to make a print that looks just like a flower, letting even a toddler paint a full spring bouquet or garden! This trick from The Toddler’s Busy Book is so simple to put together, with lovely results.

To start, cut flaps from boxes that are ideally about 10 inches long by 6 inches tall. Rip the cardboard slightly to reveal the corrugated ribs inside, if needed. Don’t worry if it isn’t exact; as long as the corrugated groves are evident along the 10-inch edge, the project will work.

Roll up tightly and secure with a rubber band. You can see already how the cardboard is now the shape of a pretty rose!

I set out paint for Veronika in red and purple, and then showed her how to dip the rolled edge of the cardboard in the paint before pressing onto construction paper.

“Flowers!” she said with such delight. She experimented with one color or mixing them, and soon had a field of blossoms.

Once the paint dried, I connected them together with green marker for flower stems, and she was so proud to see the garden take shape up on our fridge.


Pond Play Dough Redux

This is an activity I did when Travis was a toddler. Today it was Veronika’s turn, but it looked so fun that Travis wanted a repeat, too!

To make the play dough, place the following in a bowl (do not stir):

2 cups flour

1/2 cup salt

1 and 1/2 tablespoons cream of tartar

3 tablespoons canola oil

3 drops tea tree oil

Add 1 cup boiling water, pouring directly over the salt. Knead the dough until smooth, adding about 2 tablespoons more flour if it feels too sticky.

We divided our dough into 3 portions to color it the various hues of a pond landscape. Some was green for grass, some was blue for the water, and some was a yellowish-brown for stones or earth.

I set out all three colors on a tray, adding a few plastic frogs and lizards, and Veronika immediately came to see what it was all about. And Travis too!

Veronika loved just moving the toy animals around on the dough.

She clearly enjoyed the sensory elements, whether the way it smelled (the tea tree oil is so authentically earthy!) or the feel of pulling large portions of play dough into small pieces.

Travis enjoyed the imaginative elements that this particular play dough lends itself to. He made little “rocks” from the yellow dough, and set out the turtles and lizards to “sun”.

Next, he built a tree for a frog to hop up! I loved seeing his creativity.

In sum, this simple homemade play dough will be a hit for all ages.

Pinto Bean Burgers

These veggie burger patties are delicious, but don’t hold their shape that well out of the pan. The solution I’ve found is to tuck them into pita bread pockets for an easy hand-held meal.

Ingredients:

  • 2 tablespoons olive oil, divided
  • 1/2 green bell pepper, minced
  • 1/2 onion, minced
  • 2 minced garlic cloves
  • 1 (15-ounce) can pinto beans, drained and rinsed
  • 1 tablespoon ground flaxseed
  • 3 tablespoons water
  • 1/2 cup fresh bread crumbs
  1. Heat 1 tablespoon olive oil in a large skillet over medium-high heat. Add the bell pepper, onion, and garlic; saute for 5 minutes.
  2. Transfer the vegetables to a large bowl, along with the pinto beans; mash with a potato masher.
  3. Whisk together the flaxseed and water, and add to the pinto bean mixture, along with the breadcrumbs. Stir until combined. Note: At this point you can store the mixture in the fridge until ready to shape at cook the patties, which makes it a great make-ahead option for busy nights.
  4. Heat the remaining tablespoon olive oil in a skillet over medium-high heat. Divide the pinto bean mixture into six portions, shaping into patties, and add to the skillet. Cook for 4 to 5 minutes on each side.

Funnels & Tubes

A few simple items were all I needed today to engage Veronika in great water play, no fancy water table required. To set up, I simply set out a bin filled with water and asked Veronika what color we should make it. She requested blue!

I then set out a funnel, as well as two lengths of tubing. The latter were about 1 and 1/2 feet long and 1/2-inch in diameter. (Note: you can get these for mere pennies at a hardware store, cut to size).

Although my original intention was for the tubing to fit over the end of the funnel, Veronika was completely untroubled by the fact that they stayed unattached. She could fill the funnel and then watch the blue water trickle down.

She used it to fill the tubes, or to let it rain right down on her hand.

She also enjoyed filling the tubing directly from the basin, then lifting it up to watch the water slosh back and forth before dumping it out.

Pretty soon she decided that a few toys needed to take a bath. “They’re in the tub!” Veronika said with delight.

It was her idea to go trotting over to our marble run set and bring pieces over. I didn’t even realize she’d done so until I heard her call out, “It turns green!”

Sure enough, the yellow plastic in the blue water made the water appear greenish. She tried other segments, including a wheel that could spin when she poured the funnel over it.

Thanks to a towel underneath to catch any drips, this was fantastic water play with easy clean-up to boot.

Outdoor Obstacle Course

A gorgeous spring day was the perfect chance to test all those gross motor skills in the backyard. For this game, we pulled out just about everything we could think of, including the following:

First up was a slide to climb up and go down.

Next, I stretched a jump rope between two cones for the kids to hop over.

Next, we arranged stepping stones (we have a great set made to look like turtle shells!) in a wavy line.

This area was by far the biggest hit of the whole set-up, and the kids often just played back and forth along the “turtles” for a while!

Next they had to land in hula hoops…

…before crawling through our play tunnel. At the end were a few pool noodles to jump over.

The kids loved completing the course, then racing back to start it again!

We ended the day’s “competition” with an Animal Run relay game! Place stuffed animals in a pile in one hula hoop (or similar target area).

Each kid picked a stuffed animal and placed it between their knees, then made their way to a second hula hoop to drop it down.

First one to clear all the animals in his or her pile wins!

Candy Color Sort

With lots of leftover Easter candy still in the pantry, I decided to sneak in a little learning (colors and mathematical sorting) while Veronika nibbled on a sweet snack!

I poured candy out onto a paper plate, making sure we had every color of the rainbow thanks to a mix of Giggles chewy candies and chocolate candies from Unreal.

I then set out a muffin tray, and put a few of each color in the muffin cups to get her started. “Where should this blue one go?” I asked, and she dropped it in with the blue.

Of course there was much snacking amidst the sorting, but she enjoyed the process! Every once in a while, I would trick her by deliberately putting a candy in the wrong cup. She very quickly spotted a yellow lurking among the green, and moved it to the correct place. Talk about a sweet way to taste the rainbow!

Earth Day Art: Caterpillars, Snakes, and Worms


Earth Day is just around the corner, and I wanted the kids to engage with the Earth using land art to mark the holiday. We needed an activity that would be simple enough for Veronika as a toddler to follow along, and what could be easier than lines in the dirt? We set off on a walk looking for ways to turn items into nature’s creatures that also come in long linear form: think caterpillars, snakes, and worms.

The game is great because kids can make long lines out of almost anything. First we tried pine cones. Veronika loved helping gather and arrange these.

Big brother Travis pitched in, too!

Next up we made a snake, and for this one we gathered sticks. We left it on a rock to greet the next family that wandered by!

Rocks looked a bit like a cute caterpillar, with a furry tail made from pine needles.

Sometimes, we found elements of nature that already looked like snakes or caterpillars, as with this root. We simply decorated it with some pine needles!

What will your kids use to make earth art this holiday? Please share your in the comments, and happy Earth Day!