Birthday Celebration

Birthday Celebrate (5)

It’s Veronika’s birthday!

Whether you’re celebrating with lots of family and friends or just a few close loved ones, if you have been following along on this first-year journey, then happy birthday to your little one, too.

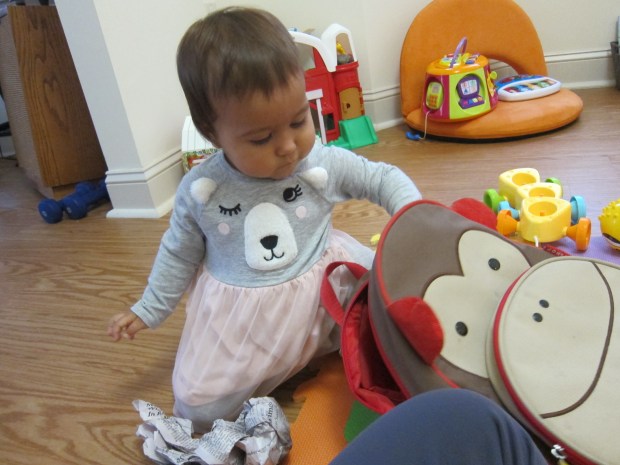
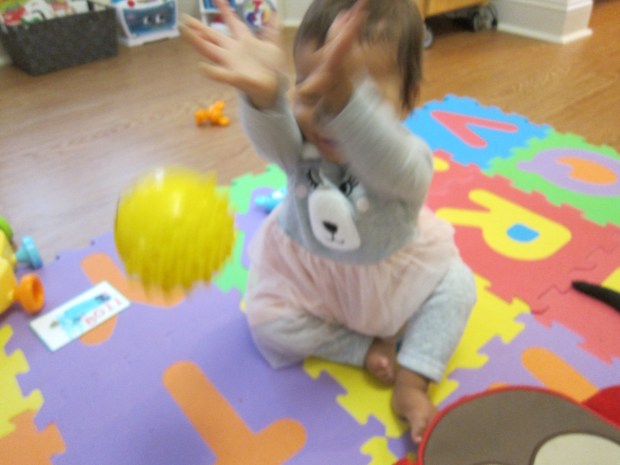
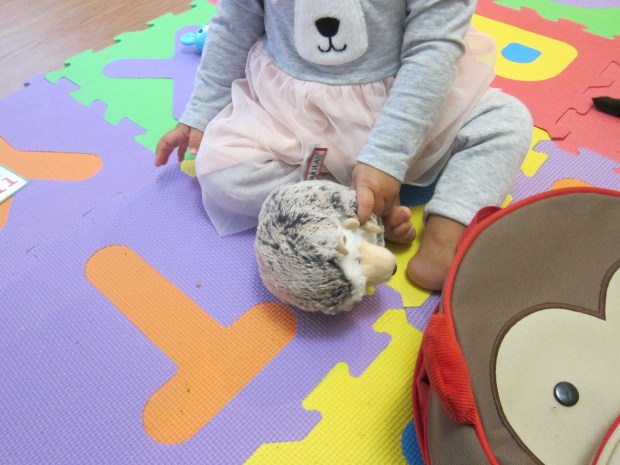
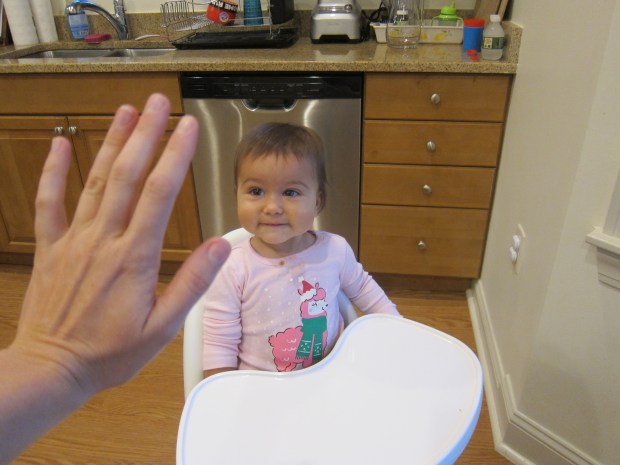
Veronika seems to know she’s one now, no longer acting like a baby. She wants to walk, is full of impish personality, and tries out new sounds, words, and ideas daily.

A few ways to make this day special, even though your little one won’t understand the hype:

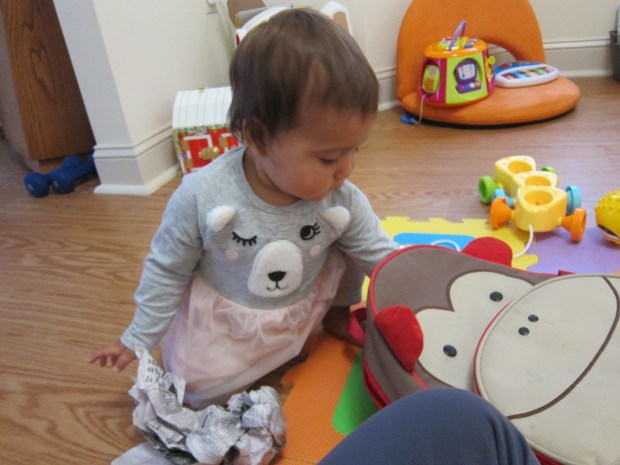
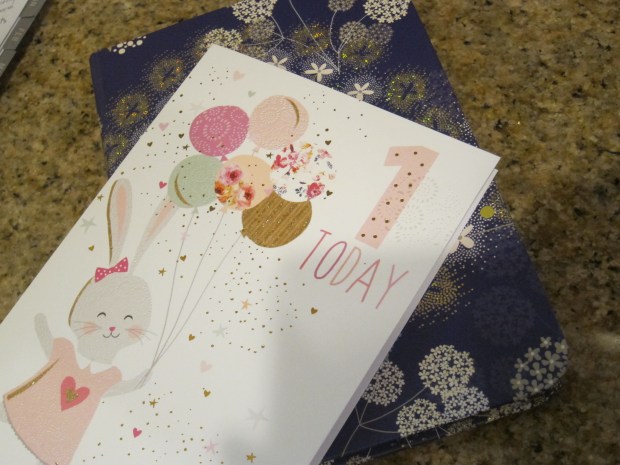
When big brother and I entered her room this morning, we came bearing balloons and a gift she could open right in the crib. She might not know what a birthday is, but she certainly understood this was different from our usual routine!

Birthday Celebrate (3)

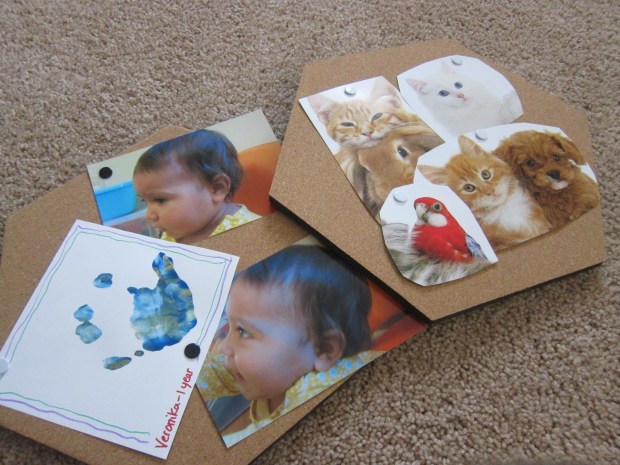
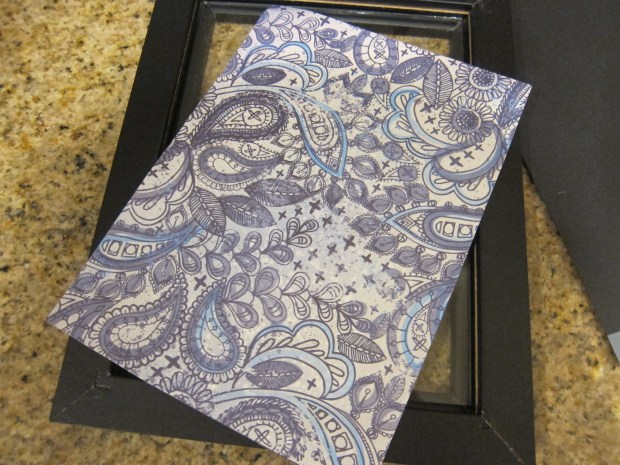
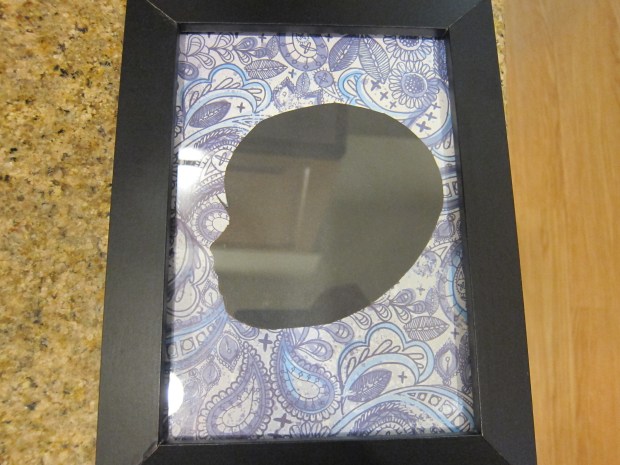
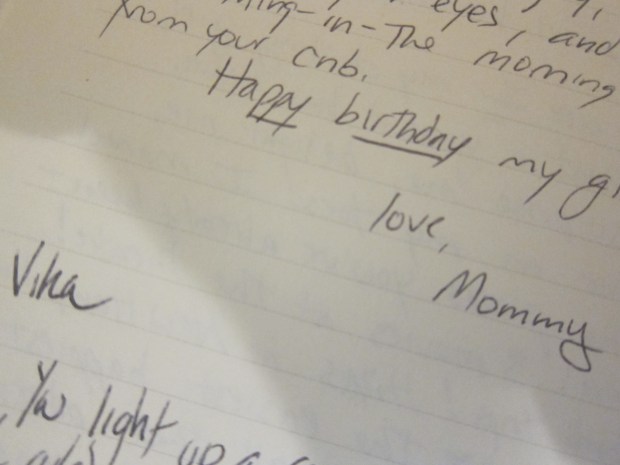
I also took the time to pen Veronika a letter in a journal. Hopefully this is a ritual I will continue to follow each year, for a treasured collection of words she can look back on.

Birthday Celebrate (4)

You might also consider taking a trip to the bank together to open an account in baby’s name. Chances are your baby will receive a gift or two in the form of cash. Whether it’s a regular checking account or something more forward-thinking like a 529 or UTMA, this will be a birthday gift that keeps on giving!

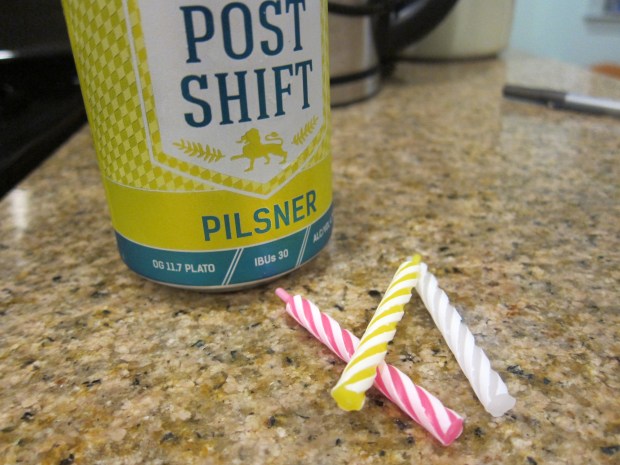
Finally, take a moment, at this milestone, to celebrate yourself as parents. You made it one year!

Birthday Celebration (1)

Here is to treasured memories for the year ahead.

Advertisement

Personalize Your Baby’s Space

Personalize Space (3)

On the eve of Veronika’s first birthday, I wanted to give her room a personal touch. I’m limited because we don’t own our home, otherwise might have considered more permanent decoration like a painted border of her favorite things (school buses, musical instruments, etc.).

Instead, I found easy-to-mount cork boards and simply tacked up pictures. Cats are a clear favorite of hers, so I found a few pictures and included other animals she likes (she says “ca ca” for a duck’s quack and a little “ffff” for a dog’s woof).

Personalize Space (1)

Now she can smile up at these decorations while she plays in her room. I also tacked up recent photos and handprints to add a personal touch to the space.

Personalize Space (4)

She makes her likes and dislikes and personality more known each day! What does your baby love at one year old? Please share in the comments!

Personalize Space (5)

Feely Bags

Feely Bag (9)

It’s been a while since I focused on a texture game with Veronika. To keep a one-year-old intrigued, you need more than just objects with texture: Make them a surprise with a reach-inside feely bag.

Fill a small child’s backpack with a few items, choosing ones that vary considerably in texture. First up, a crumpled piece of newspaper. This was crinkly and soft, I told her as she kneaded it in her hands.

Feely Bag (2)

Next up: a knobby sensory ball. We talked about how it was squishy and bumpy.

Feely Bag (3)

And best of all bouncy!

Feely Bag (5)

Then she pulled out a soft and fluffy stuffed hedgehog.

Feely Bag (6)

This was followed by a jingly set of toy keys.

Feely Bag (7)

Finally, I included a wooden block, using words like “hard” and “smooth” to describe it.

Feely Bag (8)

Meanwhile she had lots of fun simply filling the bag up with items, taking them out again, and repeating… A soon-to-be-toddler favorite activity, as I recall.


Paper Spinner

Paper Spinner (3).JPG

This easy project will engage your baby’s senses in multiple ways! To make the fun twirling spinner, use any piece of patterned paper. Draw a large spiral and cut out along the lines; use a hole punch to make a hole in the center. Tie a string, then simply hold it up!

Paper Spinner (2)

This can be great outdoors if the wind is blowing. Indoors, give it a gentle blow to make it spin.

Paper Spinner (1)

Veronika loved looking at it from on her back…

Paper Spinner (4)

…and sitting up. Though then she was tempted to grab it, too!

Paper Spinner (5)


First Birthday Silhouette

Bday Silhouette (4)

Here is my gift to my baby girl on her first birthday, a silhouette that might not mean much now, but hopefully that she cherishes for years to come.

To start, cut a piece of patterned paper to fit a picture frame; I chose one that was 5×7 inches.

Bday Silhouette (1)

Have a photo printed that shows your baby in silhouette. You’ll probably need to orchestrate this carefully, and if needed, zoom in and enlarge so that the face fills nearly the entire photo print. Place underneath tracing paper and carefully trace the silhouette.

Bday Silhouette (2)

Cut out the tracing paper, transfer to black cardstock, and cut out the shape. Glue the cardstock onto the patterned paper and insert into the frame.

Bday Silhouette (3)

I doubted my ability to get this to come out right, but she looks adorable! What a moment in time to capture and frame.

Hands of Love

Hands of Love (6)

With only a few days left before her first birthday, it was time for another set of hand prints with Veronika. I haven’t done this since she was nine months old and those little hands have grown.

Anyone who follow this blog knows that handprints with Veronika are a risky endeavor. I had plates of paint ready, along with a thick soft paintbrush, and wet wipes right next to me.

Hands of Love (1)

Gently brush paint over your baby’s palm. She seemed to like the soft sensation!

Hands of Love (2)

I pressed her hand firmly down on a small canvas tote bag. The idea was to make gifts for upcoming holidays! Other fabric like t-shirts or hand towels would be fun, too, if you use acrylic paint.

Hands of Love (3)

You can also just press the prints onto thick paper for pretty commemorative artwork. Add a border with marker, and don’t forget to add the date!

Hands of Love (7)

Now compare these prints to your older sets and marvel at how much your baby has grown.

Hands of Love alt.JPG


Shape Sounds and Have a Chat

Have a Chat (3).JPG

No doubt you’ve been talking to your baby from the start. Having full conversations and exposing babies to the words and rhythm of conversation helps immensely with language development. But now there’s an exciting new development; Veronika isn’t just babbling nonsense, she’s saying real words back.

My soon-to-be one year old has 3 words officially under her belt. Her first word is “cat”.

Have a Chat (5)

She pronounces it more like “dat” but there’s no mistaking what she means; she says it whenever our cat walks by, or when she presses the cat button that meows on her musical piano, or when holding a toy cat.

Have a Chat (4)

She’s also just started making a “ffff” sound when I say “woof” or she hears it on her toys. Listen for these moments, being aware of the word your baby is trying to shape or say.

Have a Chat (6)

Her second word was diaper. She started signing this word to me during diaper changes. I realized she also thinks it means having your pants off in general on the day I tried on a new pair of jeans. Seeing my pants come off, she dropped her toy and signed diaper and said “dai!” in glee. I guess mommy needed a change, to! Again, be in tune with what your baby is saying, as the words won’t quite be like yours yet. I get down at eye level and sign and say “diaper” back to her so she can practice further.

Finally, she signs “bus” and says “ba” whenever the bus brings big brother home from school. Knowing the sign for bus helps me understand that’s what she means, to differentiate from the thousands of other words that start with “ba”. But there’s no mistaking her little pull-down of the arm (like you’re pulling a bus chain for the next stop).

Have a Chat (7)

She also signed this when she saw the UPS truck in town, so we had our next chat about a new word: Truck!

Be on the alert for these signs of early language. “All done” is more of a “ahda”, but in context I can understand it.

Have a Chat (1)

I chatted with her about what she might want instead, and we settled on banana.

Have a Chat (2)

I can’t wait to see what word she learns next!

Colored Foods

Colored Foods (3)

Here’s a fun way to introduce your baby to rainbow order: with snack time!

Colored Foods (1)

I set out a little plate for Veronika with bite-sized pieces of nearly all the colors of the rainbow. We had:

Red: tomatoes

Yellow: soft peaches

Green: avocado

Blue: blueberries

I placed the foods on her tray in rainbow order, and pointed out the name of each color and food to her. Which would be her favorite?

Colored Foods (2)

Blueberries got a tentative try.

Colored Foods (6)

Peaches were the clear winner!

Colored Foods (4)

For extra fun, we watched a song about the rainbow while she snacked.

Colored Foods (5)

Set Up a Book Corner

Book Corner (8).JPG

Veronika’s big brother loved books from the earliest age, engaging directly with them and sitting still for story time. Veronika has way more of her own agenda, which means I often find myself reading solo while she crawls around the room. But she does love to pull out a book and flip through pages on her own.

To encourage this early “reading”, I set up a cozy book corner that can be her own special space. Think: blankets, pillows, and anything else that makes the nook cozy.

Book Corner (1)

Next, add a dedicated book basket. You can decorate it, but I had a hunch Veronika would just view the decorations as invitation to tear them off, so left the basket plain.

Now fill it! I put in copies of her Hello magazines, as well as books that engage with more than just pictures: tactile elements, jigsaw puzzle books, you name it.

Book Corner (4)

Imagine my delight, then, when I saw her scoot over to the corner, pull books from the basket and “read” to herself.

Book Corner (6)

Veronika does this with a little drone or humming noise, almost like she’s pretending to read the words as I do.

Book Corner (7)

She loved the big flaps of one book, and was quite content to read for a while.

Book Corner (3)

This is definitely our new go-to story spot! Do you have a story nook in your home? Please share in the comments!

Book Corner (5)

Squish Bags

Squish Bags (2)

I made a floor sensory bag for Veronika some time back; today I added two twists for a new version of the game!

In the first, I added 1/2 cup water and then various small items from our craft bin: translucent pony beads, buttons, and wiggle eyes all fit the bill. I got the idea after noticing how much she loved a drum with floating beads under the plastic at music class.

Squish Bags (1)

I taped the bag firmly to the floor on all four sides, almost like framing it. Now she could squish the items inside, but not move the whole bag.

Squish Bags (3)

The second version was even squishier! This time, instead of water, I squirted in a generous dose of shaving cream. I sprinkled in even more beads and buttons, using lots so they showed up through the thick cream. This one, too, I taped firmly down on all four sides.

Squish Bags (5)

Veronika loved pressing her fingers in! Or scooching her whole body across.

Squish Bags (7)

She could move beads and buttons with one little finger or a whole hand pressed down, and the visual effect was dazzling.

Squish Bags (4)

If you make these while your baby is still young enough to need tummy time, it’s a sure way to keep them entertained!