Make Homemade Scented Play Dough

I love this play dough recipe because it come together quickly, and because even a toddler can help out with some of the steps. That means double the play: half the fun is in making it, and more fun is to follow once the play dough is complete.

The first part of the recipe is definitely a grown-up step, though. In a saucepan, combine the following:

1 cup water

1 cup flour

1/2 cup salt

1 tablespoon canola oil

1 tablespoon cream of tartar

Cook over medium heat for about 5 minutes, stirring constantly. It will begin to stick together and pull away form the sides of the pan, and that’s when you know it’s ready. Knead a few times as the play dough cools down, adding a little extra flour as needed.

Once the play dough was cool enough for Veronika to handle, I divided it into two portions and set them down on wax paper in front of her. Now you can customize it, in terms of both scent and color! We made one portion that had a few drops of vanilla extract and red food coloring…

…and a second version that had almond extract and yellow food coloring. I was delighted to find that the recipe is incredibly forgiving, too. I accidentally spilled out way more almond extract than needed, and worried the dough would become sticky and unworkable. But with a little kneading, it was still just fine!

Veronika was involved in all these steps, first smelling the extracts, and then picking the colors. Then I invited her to get her hands right in there. “I’m getting red!” she said with delight, peeking down at her hands.

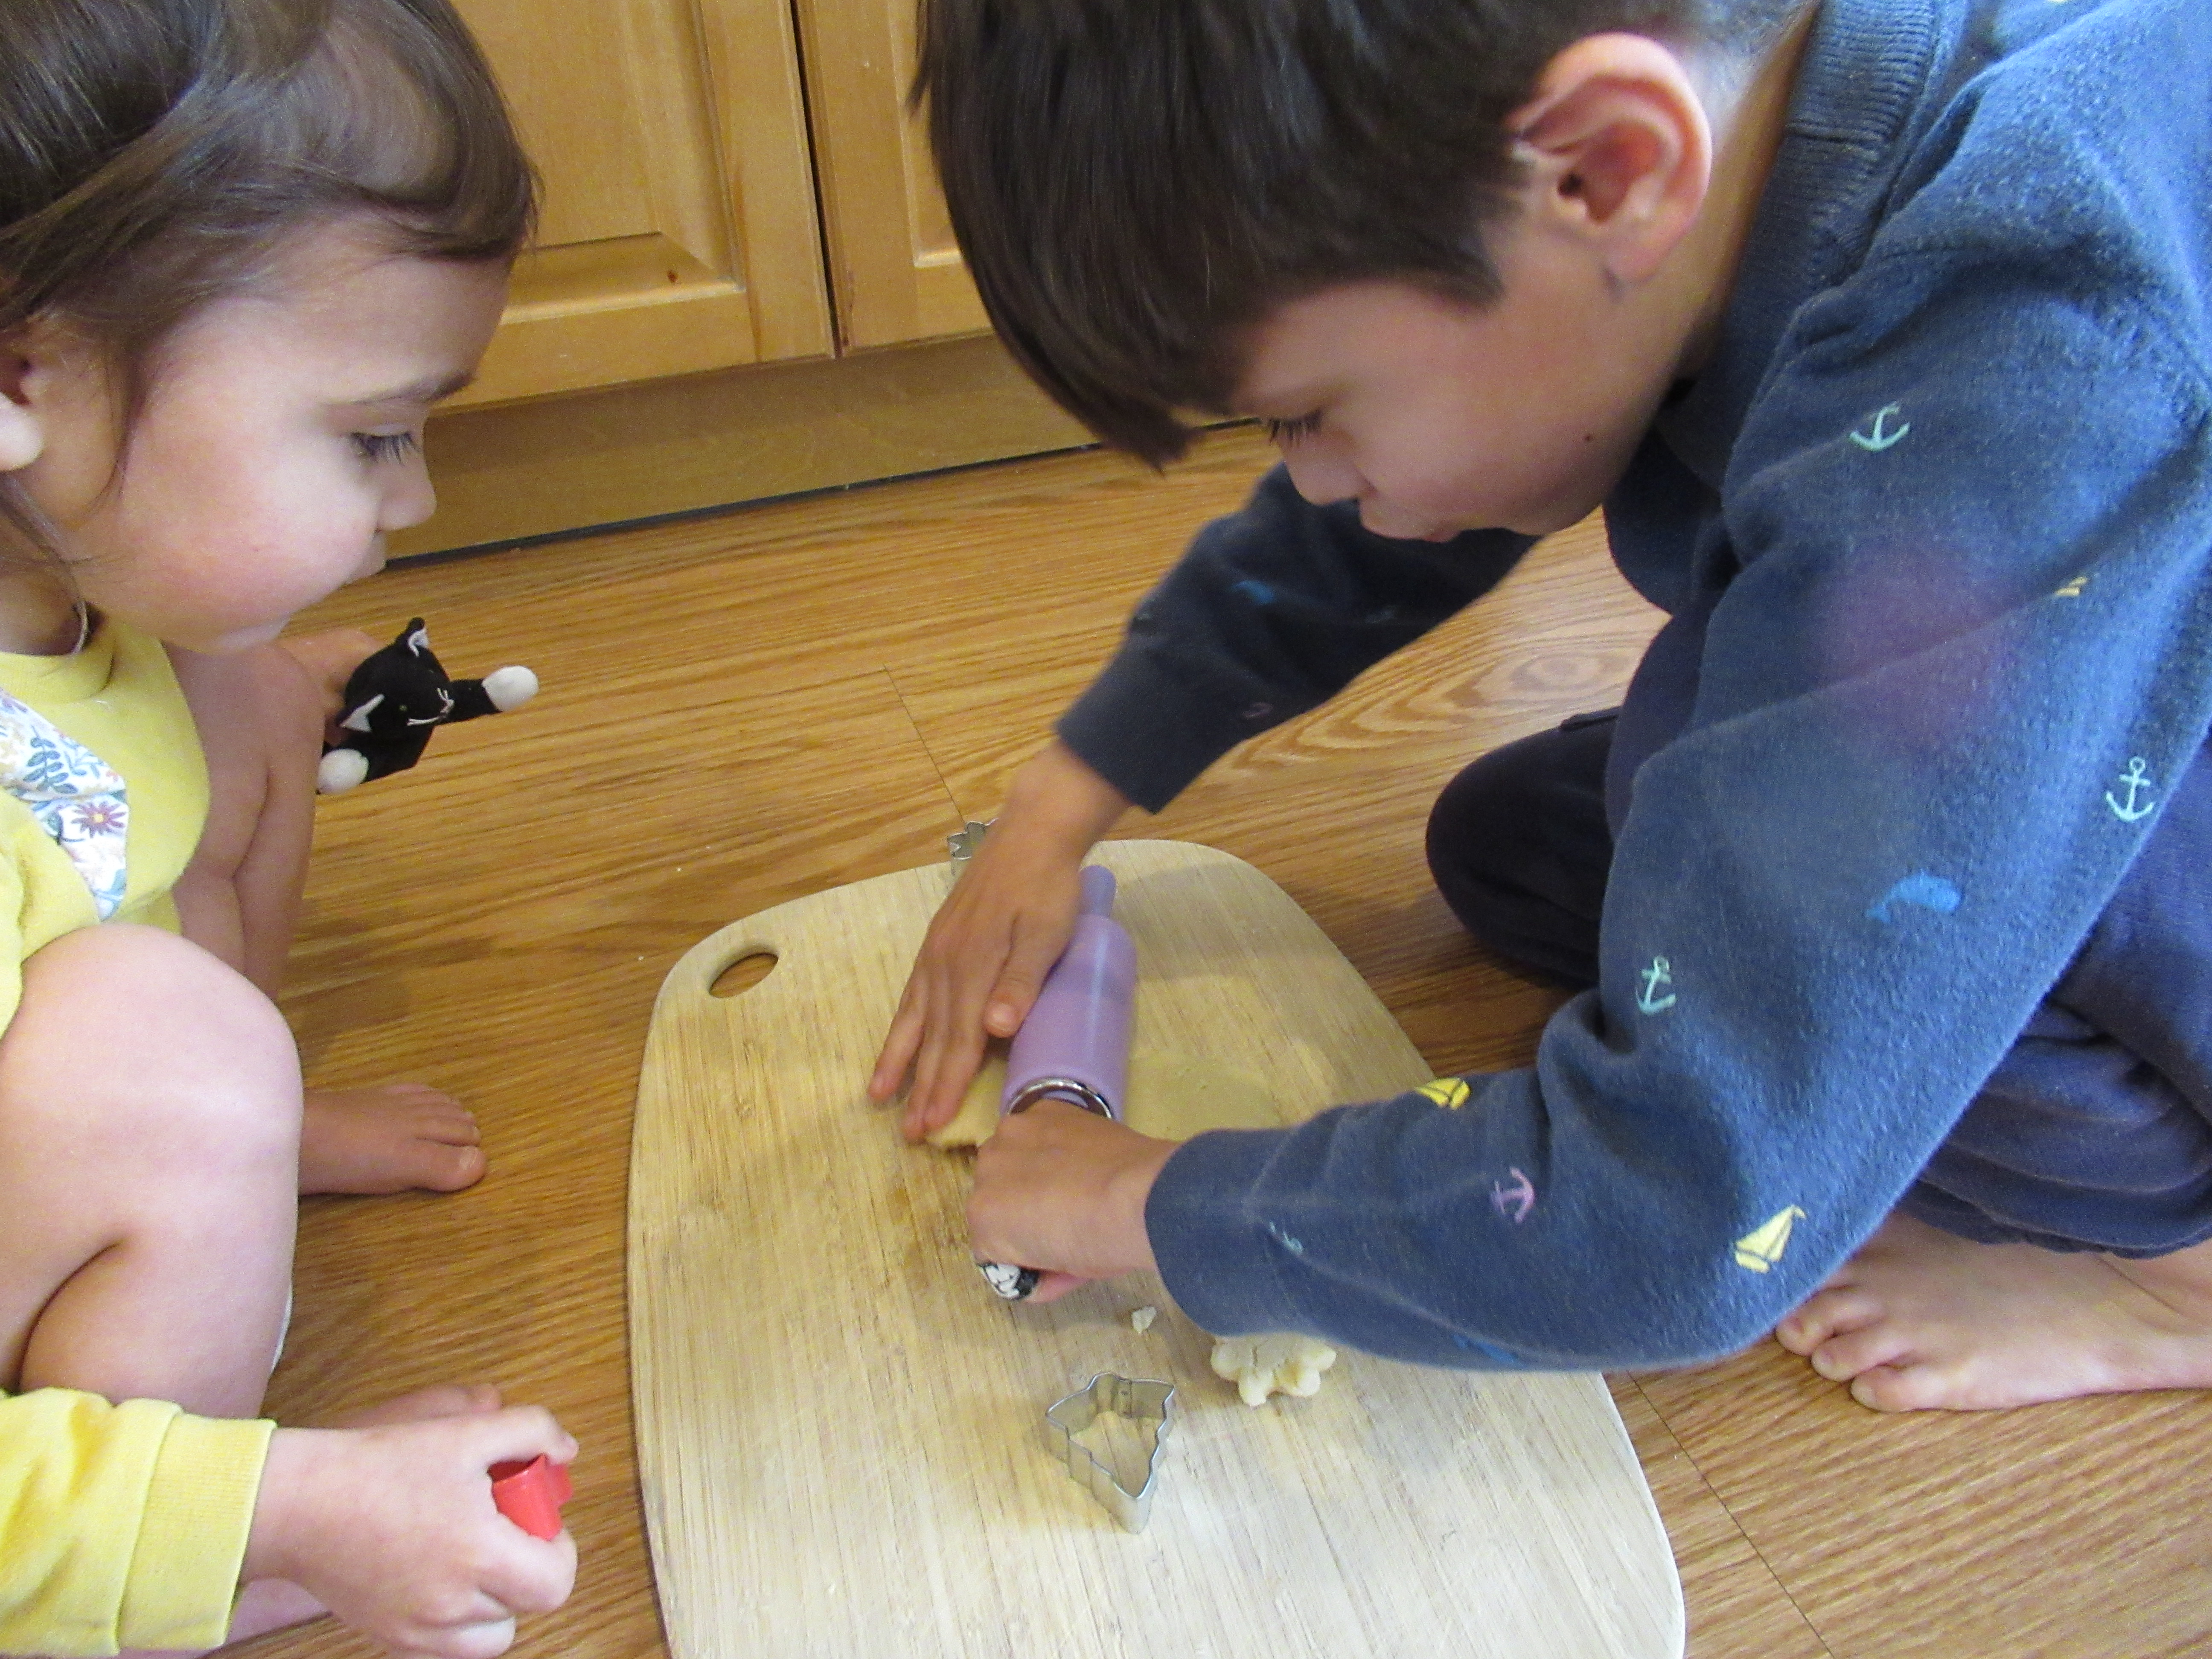
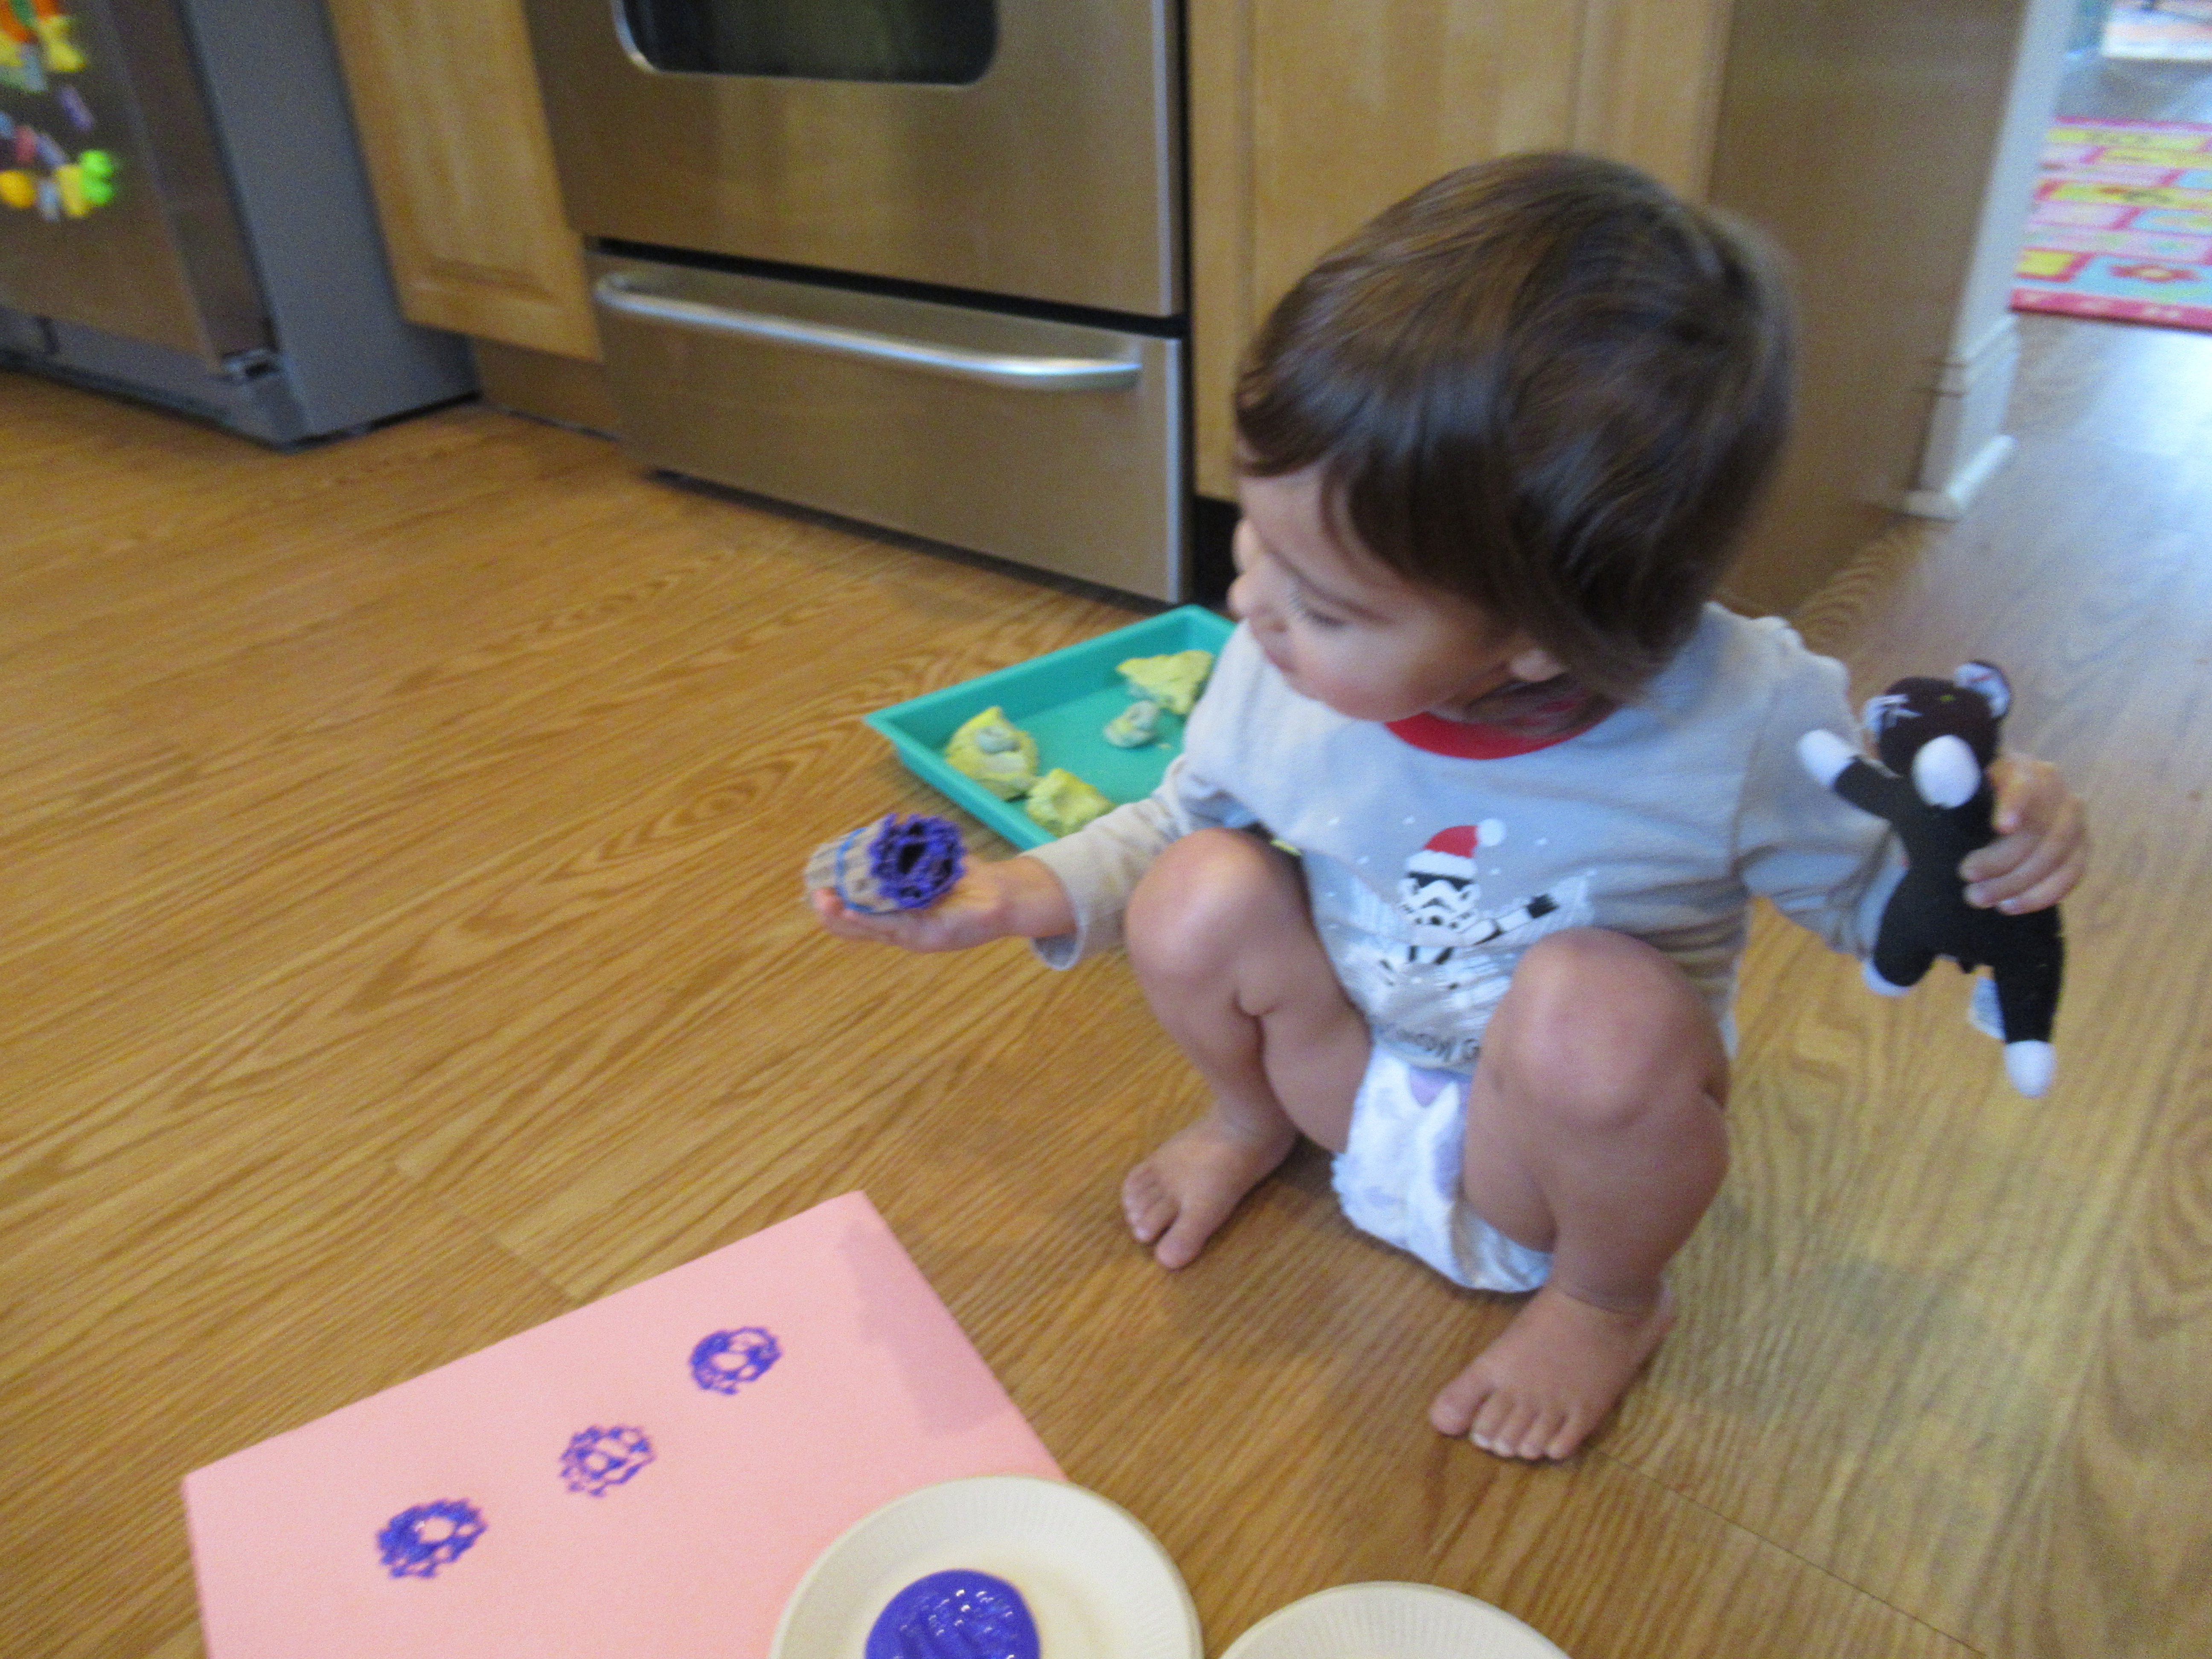
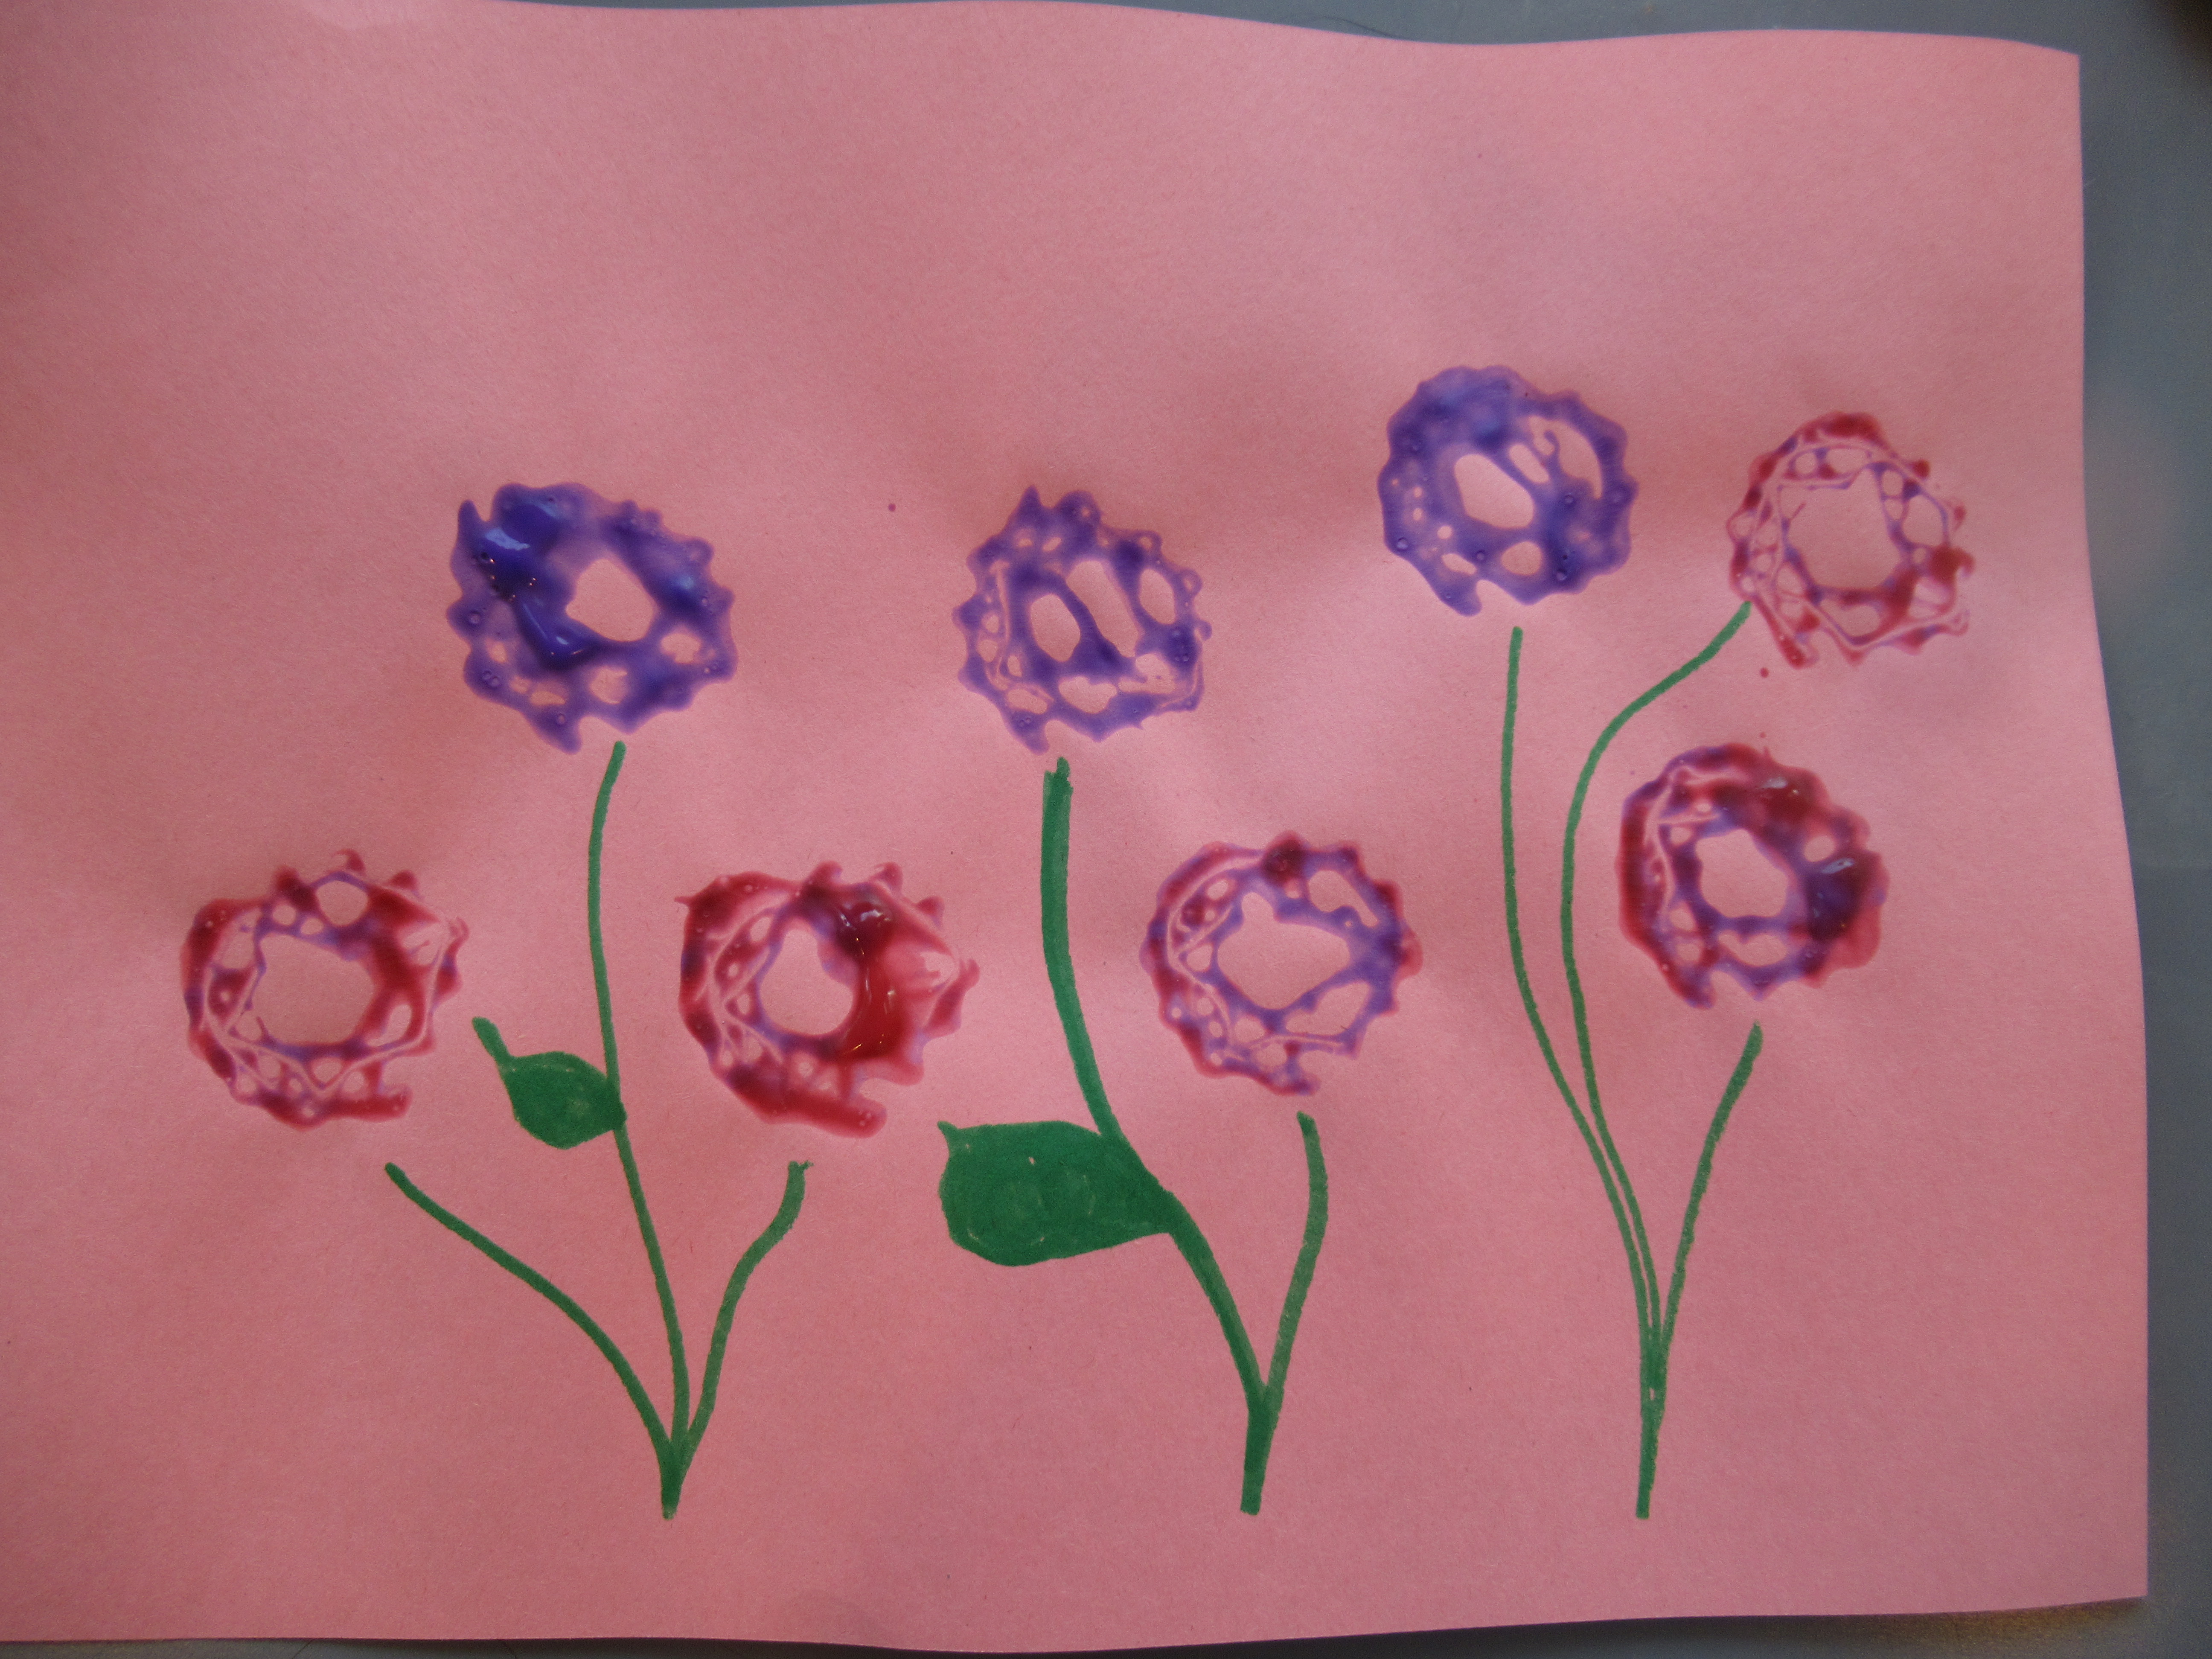
We’d already had so much fun, but now playtime could begin! Veronika quickly brought of lots of plastic toys, and delighted in seeing their footprints.

We decorated a play dough snowman, made play dough tea party cookies, and more.

You can store the play dough in an air-tight plastic bag so it doesn’t dry out between uses. That said, no sooner had I packed it away than Veronika was asking me to take it out again!

Toddler Triangle

This musical idea (from the Toddler’s Busy Book) was one of those reminders that sometimes the best ideas are the simplest ones. It can be hard for Veronika to make beautiful pinging noises on our triangle instrument, because she always holds the metal of the triangle itself, which stops the vibration. But this at-home version is the perfect hack for making beautiful music!

Simply tie a length of colorful yarn to a three-inch long screw. (Note: You can use nails of the same length, too, but be sure to tape over the sharp end).

Now hold onto the yarn, and tap the first screw with a second one. Ping ping ping!

This brought instant delight to Veronika’s face. She even wanted to help her toys “play” the triangle, showing them how to make music on it just as I had shown her! This was the perfect way to make music on a rainy afternoon.

Building a Bird’s Nest

This beautiful activity can help toddlers (or older kids!) engage with nature in springtime, in particular the way birds build their nests. After gathering nature treasures, seal the whole “nest” together with mud, talking all the while about the amazing way birds construct their homes with just beaks and feet…no thumbs!

Of course first up is the chance for a nature walk, collecting items that a bird might use for a nest like twigs, grasses, and flower stems. Once home, we arranged all these in a couple of shallow cardboard boxes.

I told Veronika that birds also used mud for the walls of their nests, to hold everything together, and that now it was her turn to make mud! You can use dirt from the yard, but we actually used potting soil mixed with water until it was nice a goopy. Veronika loved stirring with a stick!

We poured the mud all along our sticks and flowers, resulting in beautiful little nests.

It turns out these nests didn’t just stay for the birds! It wasn’t long before Legos and other toys were playing in their springtime nests, too.

Simple Shakers, Two Ways

Veronika and I made two versions of homemade maracas today, all from upcycled items!

The first suggestion came from the Toddler’s Busy Book, where the author originally suggests filling old film canisters with beads, buttons, or similar small items (pebbles, dried beans, etc.). But who has film canisters anymore? But the toy medicine jars from Veronika’s vet set are nearly identical to this throwback, in terms of shape, size, and color. The perfect vessel to be our shakers!

I filled one jar with beads and another with buttons, for contrast, and put the lids on firmly. We loved having an early morning dance party and shaking along!

The second version was the perfect way to upcycle plastic Easter eggs. I used six eggs total and three different items (beads, buttons, and pennies), adding each item to two eggs. Hot glue the eggs shut, then set out. Now it was a bit of a guessing game! The trick is to see if your toddler can find the “match” for each egg by listening to the different sounds. To make the task easier, both eggs with buttons were blue, both eggs with beads were pink, and so forth.

The easiest for her to distinguish were the pennies, since they made such a loud clang. Buttons and beads were harder to tell apart.

But no matter what was inside, these sure were fun to shake!

Painted Toast

Here’s a cute way for a toddler help make his or her lunch! Before assembling a sandwich, your child gets to “paint” their own toast.

To set up, I poured 2 tablespoons non-dairy milk into each of two small dishes, and added food coloring to each. Veronika chose blue and green.

Using clean cotton swabs (or a clean paintbrush, if you have one), we dipped in the milk mixture and then onto slices of bread. Veronika loved seeing colors appear! I encouraged her to make dots and swirls. Meanwhile, I showed her how we could also draw more detailed pictures, like a smiley face.

Or a letter V for Veronika!

Once the design is to your child’s liking, toast the bread for 1 to 2 minutes in the toaster and the image will set. Prepare your tot’s sandwich of choice, and set out this happy lunch!

Kitchen Tool Bath

Veronika loves bathtime, but has seemed bored of her usual toys lately. So for novelty, we threw in the proverbial kitchen sink… almost literally! Because it turns out that old items from the kitchen can make fantastic bath toys.

Plastic utensils such as whisks were perfect. I also added silicone measuring cups and an old ice cream scoop. Veronika quickly switched into her bathing suit and hopped in for some fun.

The whisks were great for stirring through the water. If she whisked fast enough, it even made bubbles!

She spent some time pouring from one measuring cup to another. Then she began pouring water over other items like the whisk or ice cream scoop, and was amazed that the water trickled straight through, nothing to hold it in. The scoop was also great for ladling up a little bit of water, then pouring it over knees or elbows or toes. Be sure to name body parts as your pour over each one.

Mostly, though, I just let her splash around and have fun until the water started to get cold, and then it was time to come out.

Rainy Day Recycled Rainbow

Veronika loves rainy days lately, because she’s on the hunt for a rainbow! While we waited for a real one to appear, we made this upcycled version at home, the perfect use for the last few sheets from a pack of construction paper. If you don’t have construction paper, use up any leftover bits of scrapbook or patterned paper from your craft bin. We actually didn’t have any green paper left, so thinking quickly, we scribbled green marker onto white paper.

Tear the paper into pieces (and invite your child to help!), then draw the outline of a rainbow on a large piece of cardboard.

Working with one color at a time, Veronika helped dot glue all along that color, then press down the paper bits that matched.

She loved the process, whether shouting out “gluey gluey!” as we dotted the glue on first, or proudly selecting which paper piece to add. She enjoyed sliding the paper pieces through the glue, too, watching the way this smudged the marker line underneath.

We worked our way up from purple, and she was thrilled when she had to step across the rainbow to work on yellow, orange, and red at the top.

When the rainbow was complete, she wanted to keep going. I gave her a sheet of paper and the remaining paper scraps to design her own rainbow. I loved this toddler-take on the craft!

Pretty soon we’ll head outside to find a real rainbow for the perfect finish to a rainy day.

Tic-Tac-Toe

I’ve always felt that tic-tac-toe is a great first turn-taking game for toddlers. Simple to follow, and easy to win (especially if a grown-up “doesn’t notice” the three-in-a-row about to happen), the game is sure to be a hit. This particular version from High Five magazine even allows toddlers to craft the game before they play it!

I wanted Veronika to have lots of ownership over this project, so after I cut up the compartments of an upcycled egg crate, I asked her what color we should paint them. She chose purple! Make sure to paint only half of your playing pieces (5) and leave the other 5 blank.

Give the egg cups a generous two or three coats of paint and let dry completely. In the morning, I asked her if she wanted to be Xs or Os, and she chose the former. She watched me mark her 5 pieces with an X, and preschoolers can do this step by themselves in paint.

Then she wanted to help out to mark the Os. As a result, our O team was a bit scribbled, which was just fine!

To make the playing grid, tape four straw together with two vertical and two horizontal.

At first, she simply thought it was fun to stack the pieces together.

But once I started to coach her step by step, but she started to get the idea of placing an X piece in one of the squares, then watching me place an O and so forth. She soon had three in a row.”Tic-tac -toe!” we said in delight.

This was a great intro to a classic.

Quickie Cookies

Similar to a one-dish recipe like Dump Cake, these are cookies the whole family can help make! To wit, Veronika loved helping stir the ingredients, and big brother Travis took over for the final steps.

To start, combine just these three ingredients in a bowl:

1 package yellow cake mix

1 Ener-G egg

1/2 cup Earth Balance butter, softened

Veronika loves stirring everything together with a big spatula, although you’ll probably need some adult muscle power to combine the ingredients fully.

Shape the dough into 1-inch balls and arrange on baking sheets. Bake at 350 degrees F for 10 minutes.

Meanwhile, there’s always just enough dough left over for Veronika to practice rolling and cutting. I hadn’t expected how proud Travis would be to swoop in and show Veronika how to make heart- and tree-shapes with cookie cutters, though. He insisted we bake these shapes up as a final batch!

You can leave the cookies plain or add decorations, as we did with a few Unreal candies.

Cardboard Flower Prints

Don’t toss those latest bxoes from Amazon just yet! Flaps of corrugated cardboard curl up to make a print that looks just like a flower, letting even a toddler paint a full spring bouquet or garden! This trick from The Toddler’s Busy Book is so simple to put together, with lovely results.

To start, cut flaps from boxes that are ideally about 10 inches long by 6 inches tall. Rip the cardboard slightly to reveal the corrugated ribs inside, if needed. Don’t worry if it isn’t exact; as long as the corrugated groves are evident along the 10-inch edge, the project will work.

Roll up tightly and secure with a rubber band. You can see already how the cardboard is now the shape of a pretty rose!

I set out paint for Veronika in red and purple, and then showed her how to dip the rolled edge of the cardboard in the paint before pressing onto construction paper.

“Flowers!” she said with such delight. She experimented with one color or mixing them, and soon had a field of blossoms.

Once the paint dried, I connected them together with green marker for flower stems, and she was so proud to see the garden take shape up on our fridge.