Yogurt-Cup Cake

yogurt-cake-3

This hands-on recipe for kids doesn’t just contain the yogurt of your choice (we used coconut milk from So Delicious); the yogurt container itself becomes a foolproof measuring cup!

First, let your child spoon 1 (5.3-ounce) container of plain non-dairy yogurt into a large mixing bowl.  Clean out the yogurt cup and dry completely.

Next, your child can add the following: 2 “yogurt cups” of all-purpose flour, 1 “yogurt cup” of canola oil, and 1 and 1/2 “yogurt cups” of sugar. This recipe is very forgiving, so your child’s measurements don’t need to be precise, just ballpark.

yogurt-cake-1

Travis was extremely proud to be in charge of the yogurt cup, and continued to play with it even after the baking was done!

yogurt-cake-2

If baking with a toddler, adults can add the following ingredients: 2 vegan eggs (prepared from Ener-G egg replacer or flaxseed), 1 and 1/2 teaspoons baking powder, 1 teaspoon baking soda, and 1 teaspoon vanilla extract. Preschoolers will be able to help with these smaller ingredients, too! Now let your child mix it all together.

Pour the batter into a greased 10-inch round cake pan and bake at 350 degrees F for 35 minutes – the top of the cake should be golden and a pick inserted in the center should come out clean.

Let cool before serving.

Yarn Sculpture and Squiggles

Yarn Sculpture (2)

Yarn is a great 3-D medium for toddlers’ art, lending itself to a variety of projects. To wit, Travis and I had fun with these two activities on a recent morning.

To make a yarn sculpture, give your child a shallow dish of glue and pieces of brightly colored yarn. Drag the yarn through the glue and arrange any which way on waxed paper. Travis wanted to use a paintbrush to apply some of the glue as well, and was very excited when his “sculpture” momentarily adhered to the brush.

Yarn Sculpture (3)

Let the glue dry completely before removing the yarn from the waxed paper. The resulting creation could make a great mobile or decoration in your child’s room!

Yarn Sculpture (4)

Less permanent but equally fun is setting up a yarn “easel”. Glue sandpaper to a sturdy piece of construction paper and let dry, then give your child short pieces of string to arrange as artwork on the surface – the sandpaper will grip the yarn to help it stay in place.

Yarn Squiggles (1)

It took a few demonstrations before Travis got excited about the idea, but then he returned to his sandpaper “easel” a few times throughout the afternoon.

Yarn Squiggles (2)

His favorite was telling me that he’d made an ant!

Yarn Squiggles (3)

What other yarn projects have you and your child made? Please share in the comments!

Plastic Bag Kite

Plastic Bag Kite (2)

We are thankful that so far the only impact from Tropical Storm Hermine has been an increase in wind speed… Was surprised when we woke up to a lovely blue-sky day, even though the winds are starting to whirl. To get us outside before clouds or rain roll in, I decided it was the perfect day for a kite!

All you need for this fantastic craft is a plastic bag, scotch tape, plastic straws, and floss. I won’t walk you through it step-by-step, as I simply copied this easy-to-follow how-to video. The assembly of the kite is for adults, but your toddler will love watching, and the materials involved (straws, floss, tape) are sure to delight.

Plastic Bag Kite (1)

Kite in hand, Travis and I headed out to the courtyard, where the gusty breezes easily lifted the kite.

Plastic Bag Kite (4)

The wind was still gentle enough that Travis could take a turn holding the string!

Plastic Bag Kite (3)

Oh no, kite down!

Plastic Bag Kite (5)

Hard to take pictures while flying one-handed, but I managed a few good shots:

Plastic Bag Kite (6)

I never would have guessed a plastic bag could turn into something so whimsical.

Bathtub Fun

Wizard of Oz (1)

Don’t reserve the bathtub for actual bath time – you might find you have even more fun when the tub is dry!

To wit, these two simple games are sure to delight. Surprise your child by filling his or her tub with all the stuffed animals in the house. Travis’s eyes popped with amazement! He climbed right in of course… and then his favorite part was tossing the animals out.

Wizard of Oz (2)

He is also fascinated by the shower in the master bathroom, particularly the shower curtain. There’s no need to have watched the Wizard of Oz to understand why hiding behind the curtain before a big reveal is a fun game.

Wizard of Oz (3)

You can take turns with your toddler pretending to be the “wizard” while they pull back the curtain, and then vice versa. Or skip the wizardry and just make it a game of “peek a boo”!

Wizard of Oz (4)

Z Week!

z week (23).JPG

I’m embarking on a project, following letter-themed weeks that I’ve adapted somewhat from the thorough website Letter of the Week. My intention is to use each week to spark ideas and introduce new concepts through play, rather than to follow the “curriculum,” which is really geared for kids ages 3 and older.

I decided to work my way backwards, because the front of the alphabet always gets all the love! I’m glad I did, because having Z as a guiding theme gave fantastic novelty to our play all week. I can’t wait to see what comes next for Y!

So to begin the week, I hung a big poster of the letter Z. Travis noticed it right away. “What’s the letter of the week?” I asked him, pointing. “Z!” he read. Below is a sample of how we played along with our theme. Whenever a game or toy started with “Z” I’d direct Travis’s attention back to the poster and he was always thrilled to find out we were exploring a new Z word.

z week (1)

Zipper: Pull out anything you have that makes for fun practice; zippers are great for fine motor skill development. Travis loves zippering and unzipping my suitcase, as well as the vests he wore last fall. Make a game of it by trying on favorite jackets, or letting teddy bears and dolls model the clothes.

z week (5)

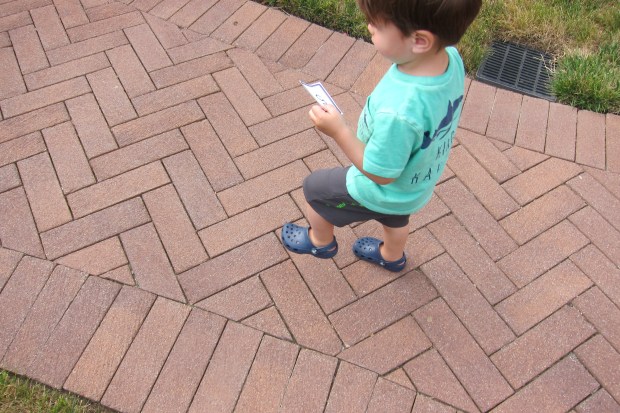
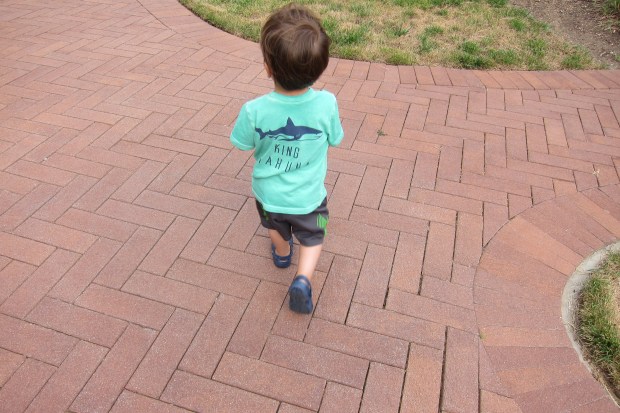
Zig zag: This vocab word lends itself perfectly to games that develop gross motor skills. Set up an obstacle course and have your toddler run through it in a zig zag order. Travis loved the word; later on as we colored he told me he was making “a zig and a zag” with a crayon by changing the direction he drew.

z week (6)

Zoom: The possibilities here are almost endless! Get out those toy cars, of course. We had gales of laughter zooming his cars through a tube, especially watching battery-operated cars zoom through at twice the speed.

z week (22)

Later in the week, we made a rocketship from a cardboard box, perfect for “zooming” through the air.

z week (12)

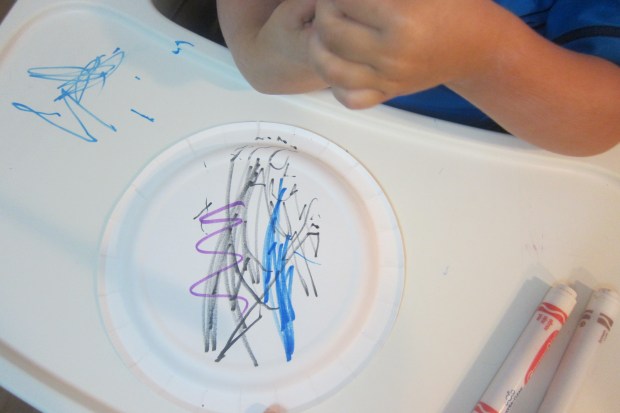
Zest: This was unexpectedly one of my favorites! Not only was it a new vocab word and a mini cooking lesson, but Travis was very intrigued by the zester (use close supervision, as the holes of a zester are sharp). He loved seeing what happened when I ran a lemon and orange over the grater, and wanted to play with the zest I left out on paper plates.

z week (10)

“I can eat it?” he asked. I warned him it would be bitter, but he very impishly took not one but three taste tests before declaring it “salty” and asking for milk!

z week (15)

Zoo/Zebra: No doubt you have animal or safari-themed toys that fit this category at home. Because I never plan to take Travis to the real zoo, I like introducing him to these magnificent animals through toys like our zoo Playmobil set. Make sure you pull out all your animal puzzles, too… bonus points for any featuring zebras!

z week (17)

Those Z words provided a nice guiding theme to our games all week, but we didn’t stop there.

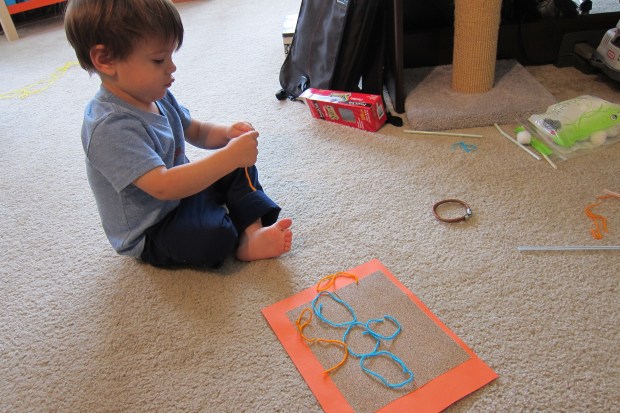
Fine art: Practice with a glue stick by letting your toddler glue black stripes onto white paper. We did this free form (because I can’t draw zebras!), but Travis loved that we were making a “zebra.”

z week (18)

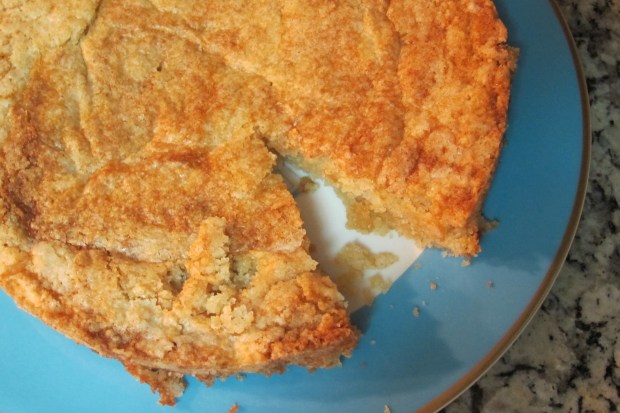
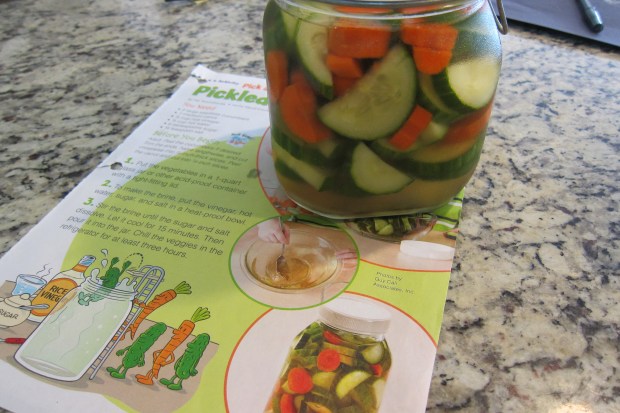
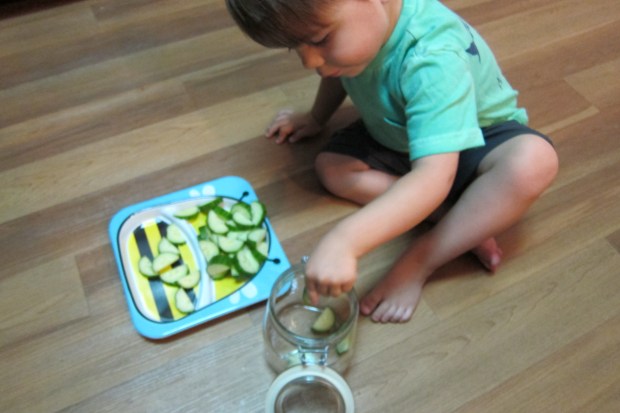
Food: Make sure to dine on zucchini one day this week. Even better, prepare zoodles! Our Z theme finally motivated me to try my spiralizer, which Travis loved watching, in order to make zucchini noodles (aka zoodles). Toss with a little marinara and you have an easy veggie hit for the 3-and-under set.

z week (20)

Books: Pick a few books with Z in the title. We selected the following four from the local library: Dear Zoo by Rod Campbell, Zoom Zoom Zoom! I’m Off to the Moon by Dan Yaccarino, Zorro Gets an Outfit by Carter Goodrich, and Zoom! by Diane Adams. Dear Zoo was the clear favorite, so we continued to read it each night this week.

z week (14)

Song: Listen to Zip a Dee Doo Dah! The video of the original feels outdated to me, but Travis was grinning for the cartoon animals and the silliness of the words. Make it your theme song for the week, to sing on repeat during car trips or diaper changes.

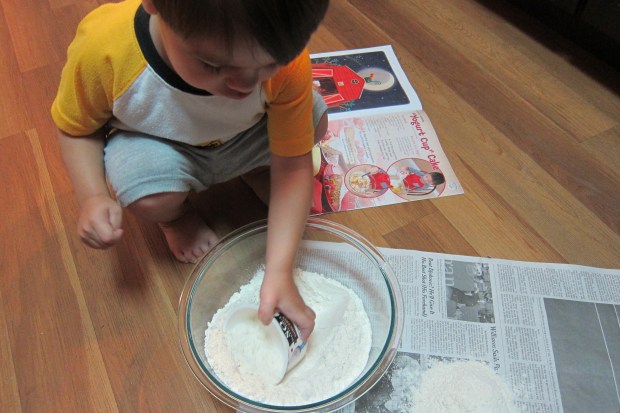
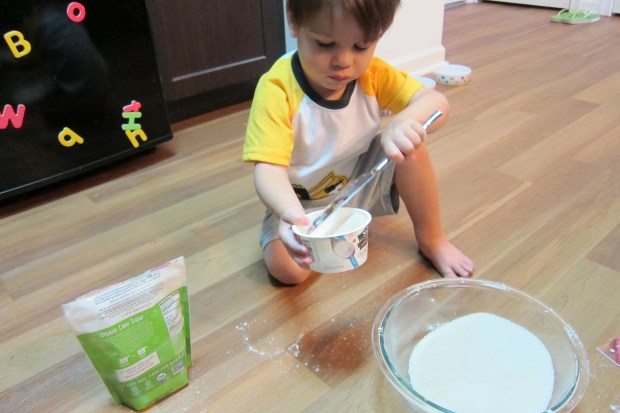
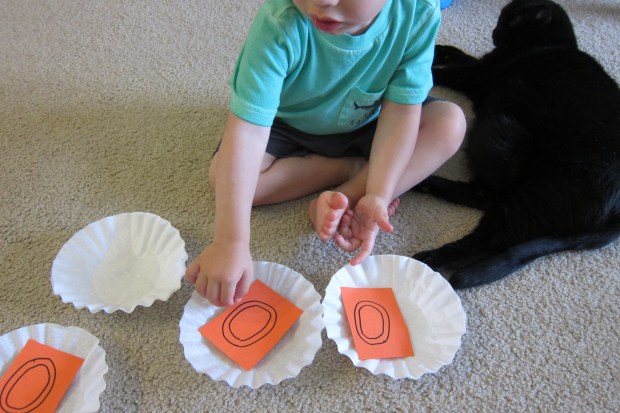
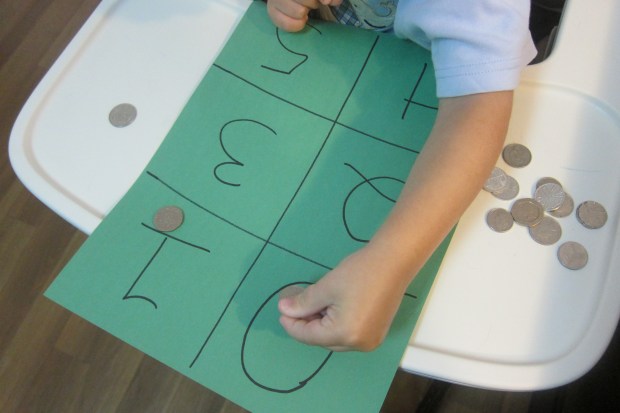
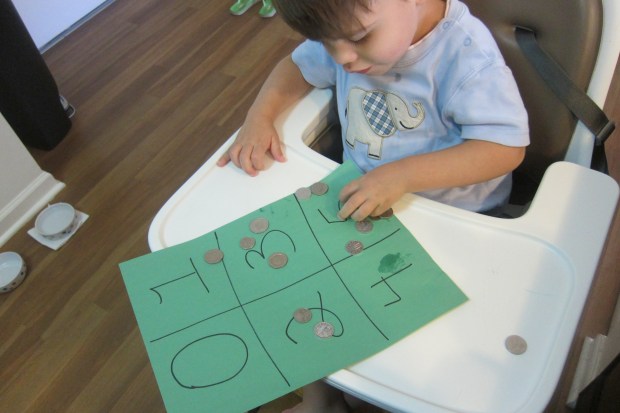
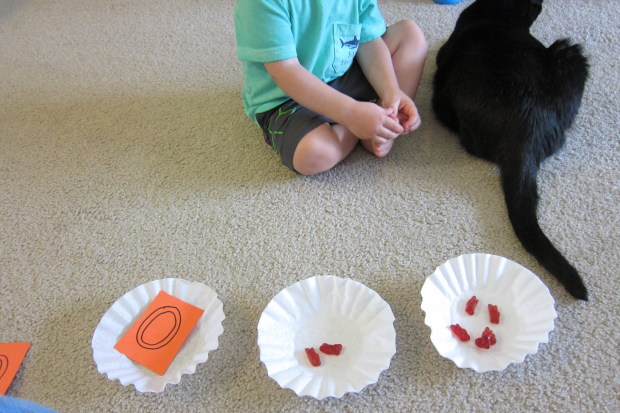
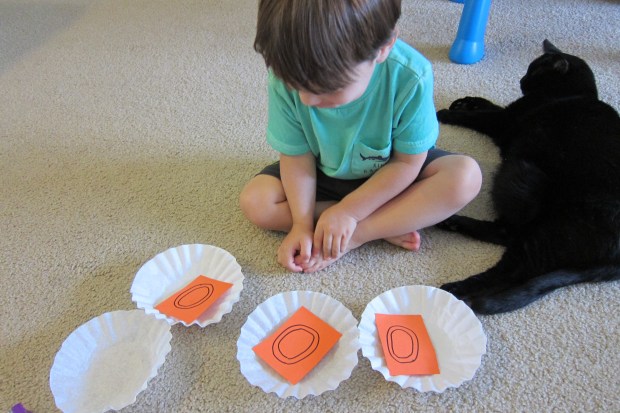
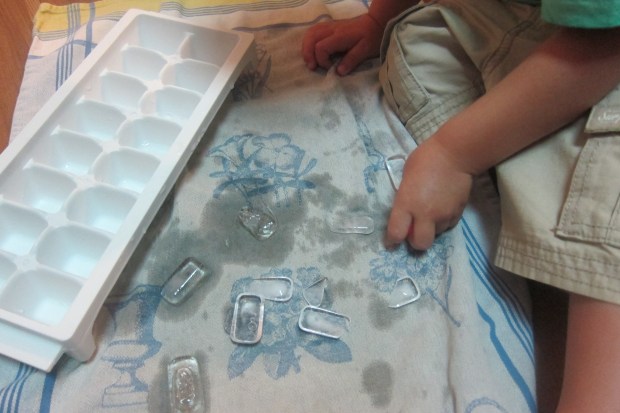
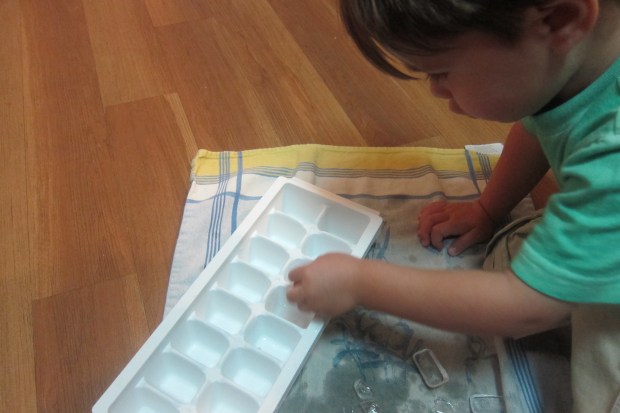
Math: Inroduce the concept of zero, of course! See my blog post for a thorough breakdown of the fun games we played.

z week (16)

We’ll see you next week for week Y!

Pickled Veggies

Pickled Veggies (2)

Thanks to High Five for this cute culinary idea! If you chop the veggies, your toddler can prepare nearly the entire rest of the recipe for quick pickles. It’s a neat way to introduce the idea of canning and preserving.

Adults, cut 1 large English cucumber in half, and then into 1/4-inch thick slices. Peel 1 carrot and cut into 1/4-inch thick slices.

Give your child the veggies and a glass jar with a tight-fitting lid. Travis was so proud to tackle the task of moving the veggies from plate to jar, doing so very studiously.

Pickled Veggies (1)

Next, prepare the brining liquid: Whisk together 3/4 cup hot water, 3/4 cup rice vinegar, 6 tablespoons sugar, and 1/2 teaspoon salt. Let stand for 15 minutes.

Help your toddler pour the brining liquid over the veggies. Travis was very careful to make sure all the vegetables were covered before we latched the lid. Now it’s time to wait! Let the veggies chill in the fridge for at least 3 hours before serving.


Introducing Zero!

zero games (4)

Travis and I had some toddler math fun this week, playing with the concept of zero.

He’s familiar already with “empty” and “nothing,” thanks to the age-old trick of hiding an item in one hand but not the other, and having a child guess which hand is full. Whenever I reveal the empty hand, I’ll splay my fingers and say, “I’ve got nothing!” He cracks up every time.

So it only seemed a small step from there to introduce the concept that nothing is another way of saying zero. To play with the idea, we did a few easy games.

zero games (1)

Label a piece of construction paper with 6 squares, numbered 0 to 5. Give your child pennies or other tokens, and see if he or she can put the correct number on each square. The 0 square should stay empty of course! Travis was great at leaving the zero blank, although his counting got creative on squares 4 and 5, still tougher concepts than 1 and 2!

zero games (2)

The second game involved eating Fruity Bunnies (no hardship there!) a favorite snack. Choose any treat or small candy that your child loves, and lay out 3 to 4 bowls, some filled with the snack, some without. Your toddler then gets to put a big 0 in the bowls that have no snack.

zero games (3)

As he continued eating, more and more bowls got a 0, making this a little introduction to the idea of subtraction, as well. Travis had so much fun laying down his orange 0 cards that he almost didn’t mind when the bunnies were gone!

zero games (5)

Finally, we played a game outside with cards numbered 0 to 5. If Travis drew a 5, he had to march 5 steps, and so on (his counting got a little creative here, too, of course!)

zero games (7)

But if he drew the 0, he had to… freeze! 0 steps. A cute movement-play way to introduce the idea of nothing.

zero games (8)

Water to Ice

Water to Ice (3)

Use this simple experiment to introduce your toddler to two of the basic states of matter – liquid and solid.

Using an eye dropper, let your child fill the compartments of an ice cube tray with just a thin layer of water per compartment. You could also simply pour in a small amount of water, but the eye dropper is great practice for fine motor skills!

Wait 10 to 20 minutes for the water to freeze, then ask your child if they’re ready to see the exciting results… Has your liquid turned into a solid?

Travis loved playing with the ice that we made, dumping it from the ice cube tray and putting it back in again, and watching with delight as rivulets of water melted off and got us wet. As we played, I talked about how water + cold = ice, and how ice + hot = water. He loved this simple equation, and repeated it to himself when he took his bath later in the evening.

Water to Ice (2)

For added fun, you might try adding food coloring to the ice. If you try this version, please let me know how it goes in the comments! If you’re interested in ice play for slightly younger toddlers, check out my previous post on why Ice is Nice.

Water to Ice (1)

Homemade Tambourine

Homemade Tambourine (4)

It’s easy to create your own musical collection at home without purchasing toy instruments. To wit, a paper plate and jingle bells from a craft store can turn into a tambourine in mere minutes!

To start, have your child decorate the backs of two paper plates with markers or crayons. After a little marker mishap, we switched to crayons for the other side! Good thing markers are washable.

Homemade Tambourine (1)

Once the decoration is complete, place the jingle bells on one plate, and cover with the other. You can use any number of bells, depending how jingly you want it, but I recommend at least 3.

Homemade Tambourine (2)

Seal the plates together with a stapler (or tape) and let your budding musician make some noise.

Homemade Tambourine (3)


Microphone Craft

Microphone Craft (5)

Encourage a budding rock star with this cute, easy craft!

To make the base of the microphone, have your child help wrap an empty toilet paper tube in foil. Travis immediately loved how shiny and crinkly our creation was.

Microphone Craft (1)

For the top of the microphone, the best bet is really a small foam craft ball. Since I didn’t have one on hand, we used a ball from an old baby toy, which I wedged into place and secured with a bed of duct tape.

Good enough for now, though I hope to buy a craft ball as a replacement! Now, is this thing on? Testing, testing, one-two-three.

Microphone Craft (3)

Travis latched right onto the idea that it was a microphone, and loved singing songs from our local music class. Wait, is that a microphone or an ice cream cone?

Microphone Craft (4)

All around, good fun. I might even make a few of these, and keep one in the car for road trip sing-alongs.

What’s your child’s favorite song to sing? Please share in the comments!