Foil Monster Truck Rally

monster-truck-2

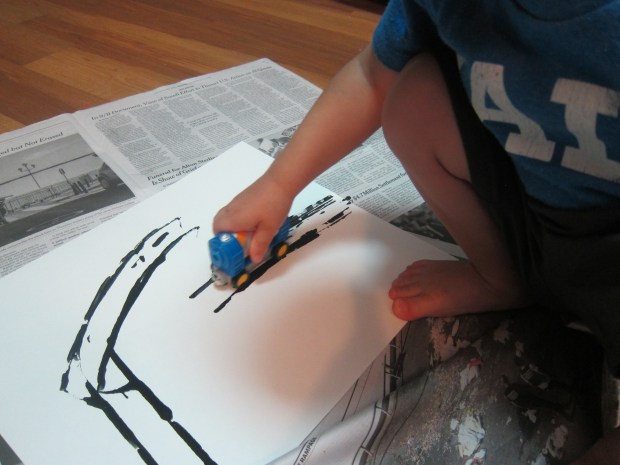
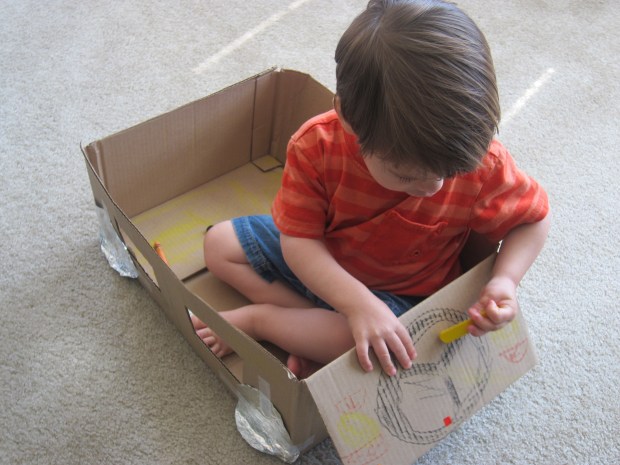
Travis has a “monster Jeep” that he loves, so when I saw this adorable way to play monster truck rally at home, I had to give it a try!

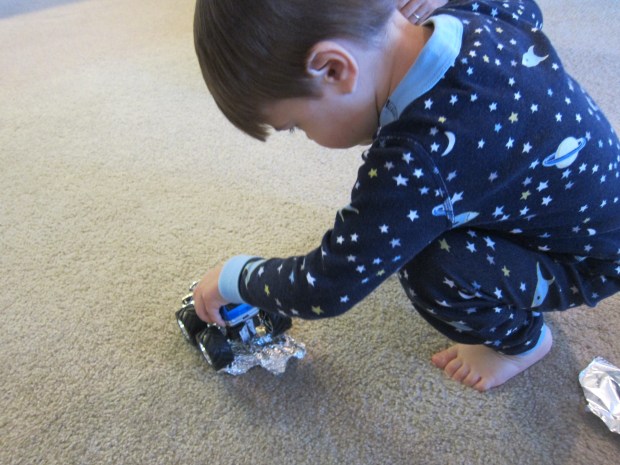
Wrap small cars (matchbox race cars are the perfect size) in foil to form an impression, then remove the car to leave the shape behind. This takes some practice, but don’t worry if your work is a bit sloppy – the cars are about to be crushed anyway!

monster-truck-5

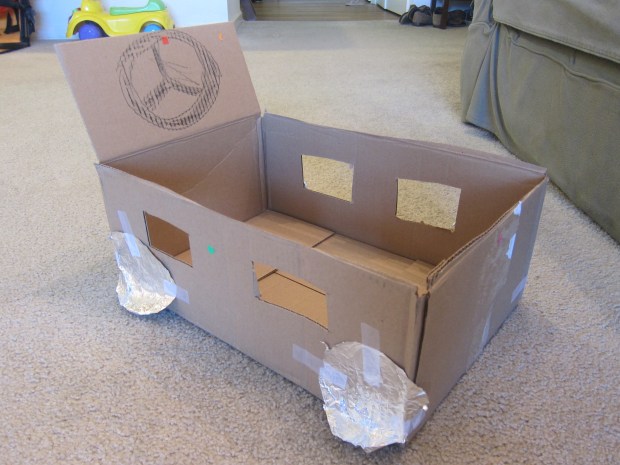
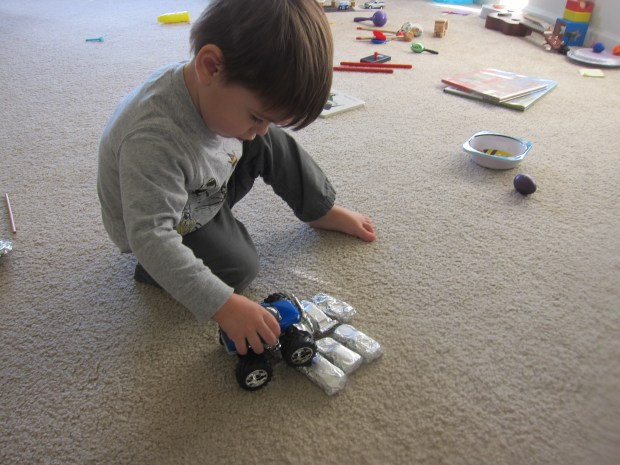
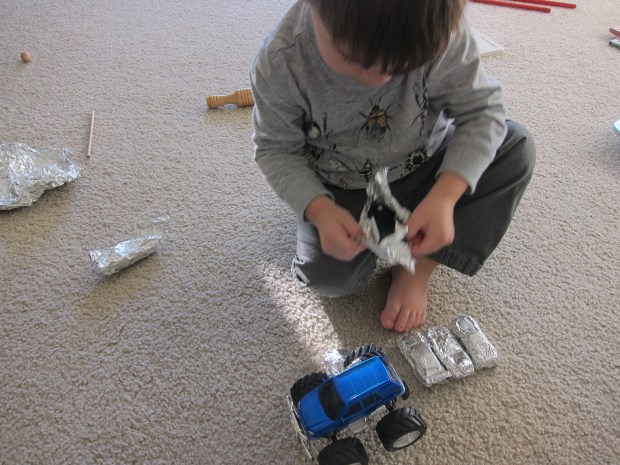
Line the “cars” up in a row; now it’s time for your monster trucks to wreak havoc!

monster-truck-6

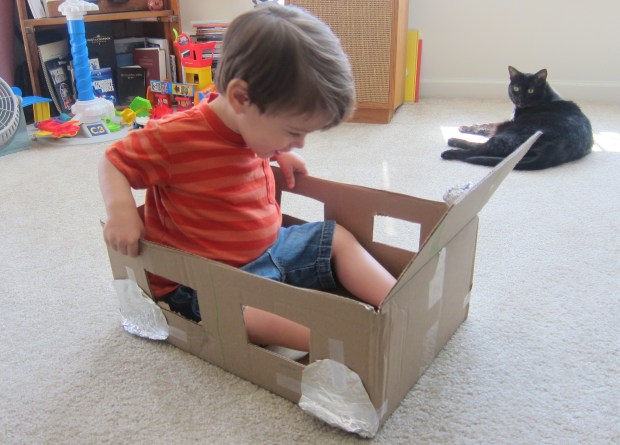
Travis was mildly interested in driving the jeep over the foil, particularly when he was surprised to see the cars get crushed instead of staying solid.

monster-truck-7

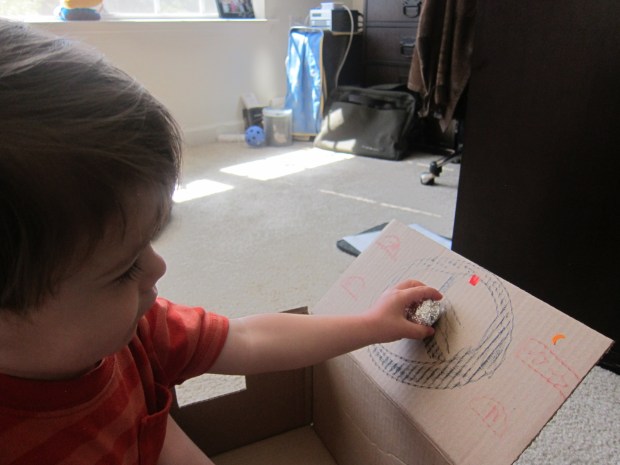
Even more so, he loved the general idea of wrapping cars in foil and then discovering which one was hidden inside. It’s yet another instance of setting up a game for him, only for him take it a new direction that he enjoys more. So why not!

monster-truck-4

Either way, you’re sure to have some fun with this one.

Rolling Wheels

Rolling Wheels (3)

I have yet to meet a little boy who didn’t love all things with wheels – buses, cars, trucks, bulldozers – you name it! So what better way to paint than to create “tire tracks” in your own home?

Tuck the paintbrushes aside for the day, and instead set a variety of small trucks and cars alongside paper plates or foil pie tins filled with a different paint colors. Black is an obvious choice, to make authentic-looking tire tracks, but we had fun with green and orange paint too. Sturdy construction paper or poster board are good for this project.

Rolling Wheels (1)

Travis loved dipping his cars in the paint, and seemed surprised every time he saw the resulting color on the page, after giving a vroom. “It’s green!” he would declare with delight.

Rolling Wheels (4)

For variety, try using cars with wheels of varying thickness. A Brio train made nice big tracks.

Rolling Wheels (5)

When we were cleaning up, Travis invented a new method of painting: he dipped a wet wipe in the paint trays and rubbed all over the newspaper we had layered on the floor – quelle artiste!

Rolling Wheels (6)

Toddler Car

Toddler Car (2)

We had lots of indoor play today in the wake of a little illness, but thank goodness we had a toddler-sized box at home from a recent package delivery – it turned out to be the highlight of the day!

Early in the morning, I cut four holes in the sides of the box and told Travis they were the four windows of our car.

I left one flap of the box at the front end to be the dashboard, which I then decorated with a crayon wheel. Travis took over with the crayons, and the box turned into a beautiful canvas for his art and imagination.

Toddler Car (1)

We added four circles of aluminum foil for the wheels, which I simply taped on. If you have a large enough box, consider stapling on foil pie tins for sturdier wheels. A wad of aluminum foil taped to the wheel was the finishing touch as the “horn.”

Toddler Car (3)

Travis loved his car so much that he was in it for over an hour in the afternoon! We had to take many vroom-ing rides across the living room carpet, and continued the decoration with more markers and stickers.

Toddler Car (5)

A sure sign that he’s feeling much better!

Toddler Car (6)