Crayon Color Sorting

Crayon Color Sorting (6)

Veronika is obsessed with colors right now, not just in English but Spanish, too (thanks to big brother’s Zoom class!). So when I came home with a big new box of Crayola crayons, she immediately wanted all los colores. I seized the perfect opportunity for a color-sorting game.

To set up, simply tape paint chips (available for free at hardware stores) to the individual cups of a muffin tin, and then encourage your toddler to add each crayon to the correct cup.

Crayon Color Sorting (2)

I pointed out the first few, using both English and Spanish words. “Where should you put verde green?” I asked her. “What about blue azul?”

Crayon Color Sorting (4)

She was great about sorting at first…

Crayon Color Sorting (7)

…though of course she soon also wanted to mix and match, or transfer the crayons back into and out of the box.

Crayon Color Sorting (5)

In sum, an easy and fun color game for toddlers.

Crayon Color Sorting (8)

Color Match

Color Match (7)

Veronika is showing great interest in colors now. She knows all the words of the rainbow, but adorably gets them all wrong. “Yellow!” she’ll say with confidence, holding a blue crayon. “Purple!” she calls out, to just about anything. So today we played this little game to help associate each color with the correct word.

I set out pairs of construction paper and crayons, sticking with only four colors so as not to overwhelm her. We used: blue, red, yellow, and green.

Color Match (5)

For each color, I showed her the crayon and said (for example), “Yellow. Can you find me the yellow paper?” I then directed her to the right sheet so she could draw yellow on yellow.

Color Match (2)

Repeat with the remaining colors, or reverse it: “Here is blue paper. Can you find me the blue crayon?”

Color Match (3)

After she’d scribbled for a while, I wrote the name of each color on the paper, using black crayon.

Color Match (6)

Don’t expect your toddler to get this “right” on the first try, of course, as that’s not the point. These early color games are all about introducing the concept.

Color Match (4)

And of course she loved just scribbling.

Leaf-Shaped Crayons

Leaf Crayons (5).JPG

Back-to-school plus a drop in the temperature around here has us thinking about all things fall, even though it’s not quite autumn yet. Making leaf-shaped crayons was the perfect way to kick off the season!

First, we dumped out all of our crayons and I asked Travis to help me select the ones in fall colors – browns, oranges, yellows, and reds. This was a nice reminder for him of the upcoming season and what we can expect to see on the trees.

Leaf Crayons (1)

Grown-up step: peel the paper from the crayons. (Note: making a slit with an X-acto knife first helps).

Travis was a big fan of helping to snap the crayons into small pieces!

Leaf Crayons (2)

We filled a leaf-shaped silicone mold (available at craft stores or Amazon) with the small pieces.

Leaf Crayons (3)

Place in the oven at 300 degrees for 15 to 20 minutes, until the crayons are completely melted. It will help to place your silicone mold in a larger baking dish, so you can easily remove from the oven.

Leaf Crayons (6)

Let cool completely, then pop the crayons from the mold and get drawing!

Leaf Crayons (7)

Water Art

wet-art-7

Need to add a dose of novelty to your child’s art projects? Simply add water and stir to see new results!

First, Travis and I tested out water on chalk. Have your toddler dip chalk into water before scribbling on dark-colored construction paper. Travis was very interested in the way the chalk darkened when wet…

wet-art-1

…although not as interested in the result on paper, which, admittedly, dried quickly.

wet-art-2

Next we added salt to our water, resulting in a cloudy mixture that Travis loved. Scribble with crayons on dark construction paper, and then use a paintbrush to apply the salt water solution over the paper – don’t let it get too soggy!

wet-art-3

The crayon will show through because the wax resists the water, and the paper will become somewhat sparkly where the salt is left behind after it dries… although the result was not as sparkly as I hoped it would be.

Finally, we made a paper bag “batik”. Travis loved dunking a brown paper bag in his bowl of water (cut the bag open so it can dry flat), and then crumpling it and squeezing out the excess water. This step was easily his favorite part of our entire water-arts endeavor.

wet-art-5

Once the bag dries, color with crayons any way you like.

wet-art-8

What other art projects have you and your toddler added water to? Please share in the comments!


Leaf Rubbing

leaf-rubbing-2

It’s Columbus Day weekend, and the perfect time of year for fall-inspired art. We took Travis on his first hike over the weekend, and returned with a few treasures for a craft at home.

Choose a variety of leaves, preferably in different shapes and sizes, and tape down to a sheet of construction paper (the bumpy veins should be facing up).

Cover with a second sheet of paper, then show your toddler how to rub crayons over the leaves to reveal the bumpy veins and stems underneath.

leaf-rubbing-1

Travis needed a bit of help, since his crayon squiggles weren’t always precise enough to reveal the leaves, but he loved the magic of it, lifting up the top piece of paper to check on the leaves underneath a few times. He was very excited every time our crayons “discovered” a new leaf.

leaf-rubbing-4

Make sure to hang in a prominent place on the fridge for the rest of the fall!

Update: The first time we played this game, Travis had a hard time getting the knack of holding a crayon sideways. Try it again in a few month’s time, and your little one might be better able to reveal the shape of the leaves!

leaf-rubbing-alt

Cupcake Crayons

Rainbow Crayons (6)

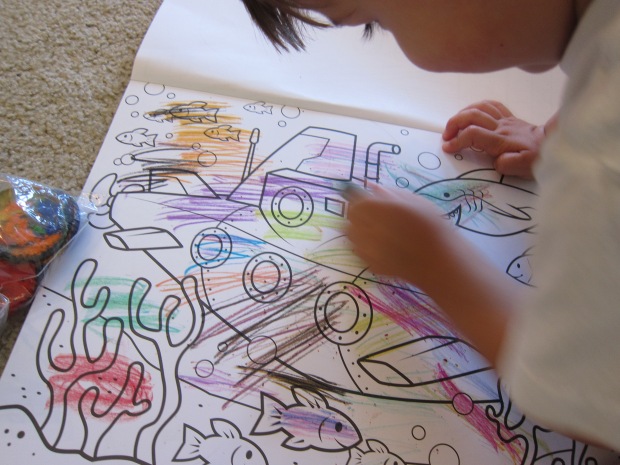
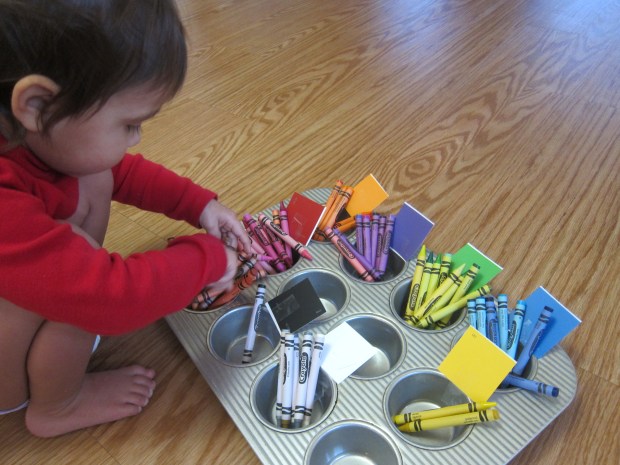
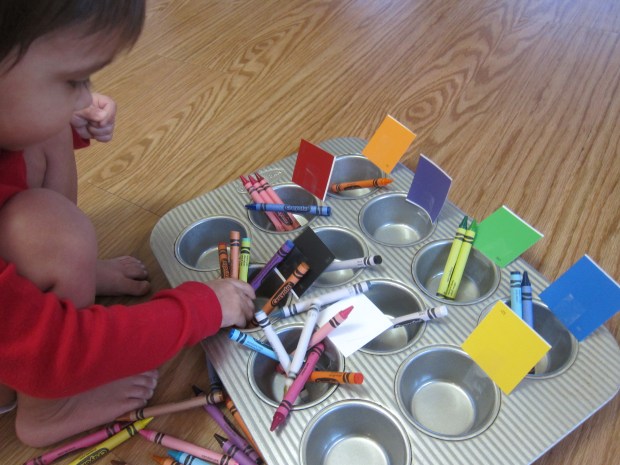
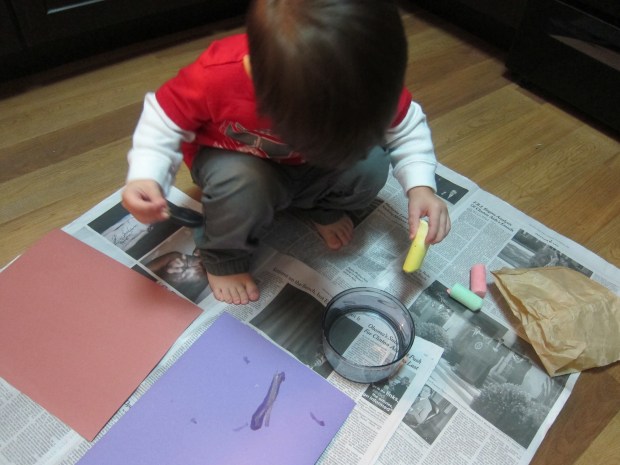
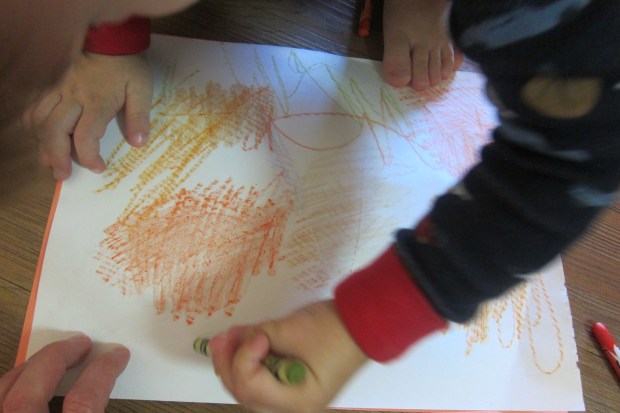
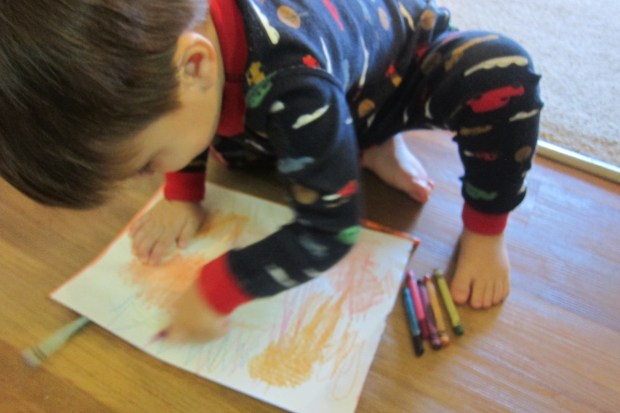
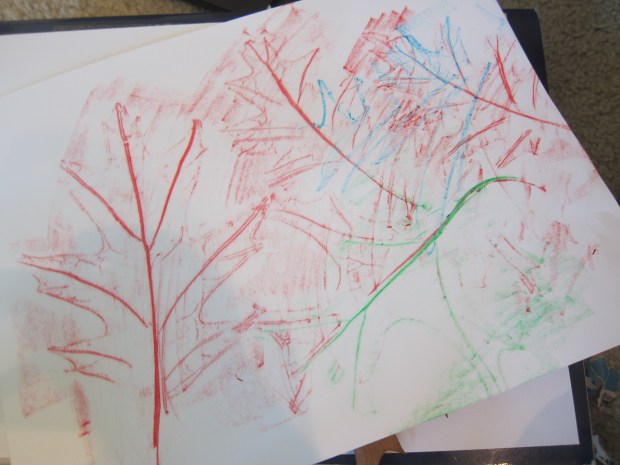
Ever wonder what to do with all the broken crayons a toddler seems to endlessly generate? I sure did! We had so many crayon pieces that I began compiling what we called our “broken crayon collection” – a plastic bag filled with all the bits and pieces. Travis even comes running now with a broken one, and watches with fascination as I add to our growing pile. It was finally time to do something about it!

Remove the paper wrappers from all the crayons. This is really an adult task, since I recommend making a small slit with an x-acto blade in each wrapper; this way, the two halves peel away easily from the crayon. Preschoolers can probably help with a bit of the peeling and unwrapping though!

Rainbow Crayons (2)

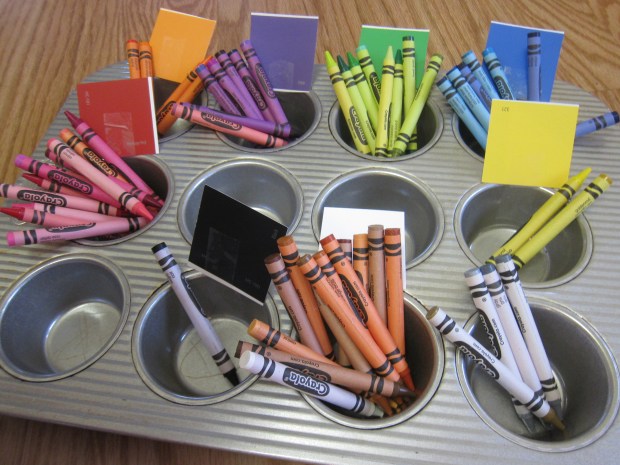
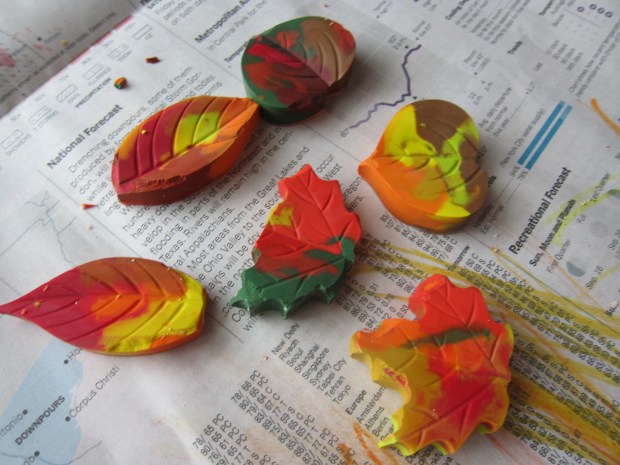
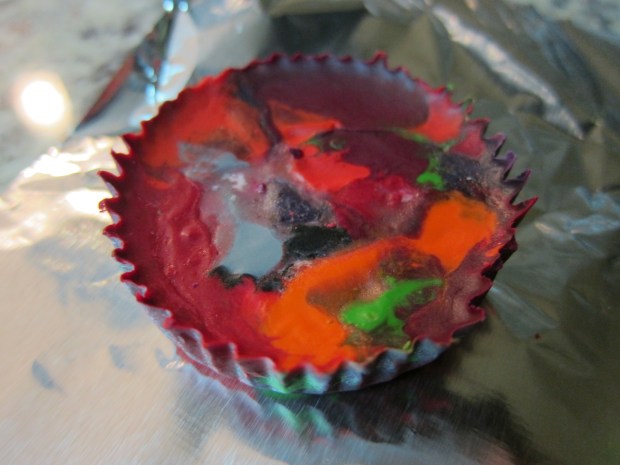
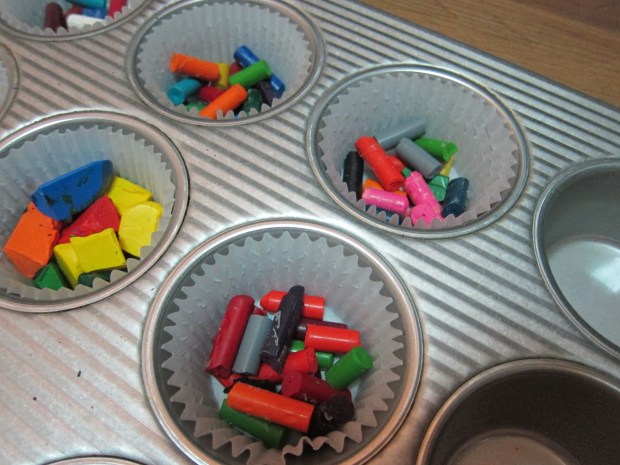
Break the crayons into small pieces, and arrange in muffin tins lined with cupcake liners – don’t fill the cupcake liners very high, just a layer or so of crayon pieces on the bottom of each.

Rainbow Crayons (3)

Bake at 170 degrees for 20 minutes, until the wax is melted. Cool completely, then peel away the liners.

Rainbow Crayons (4)

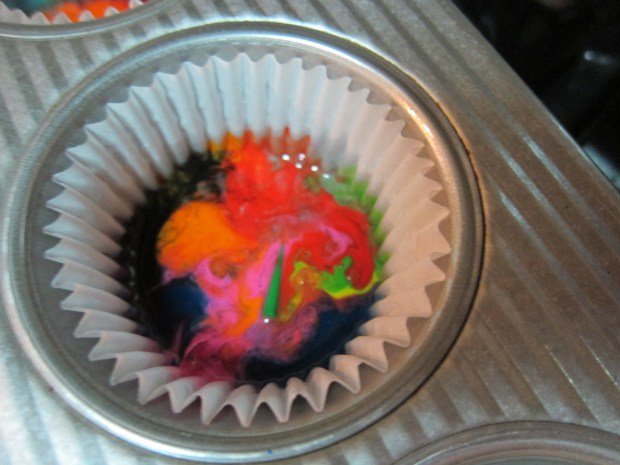
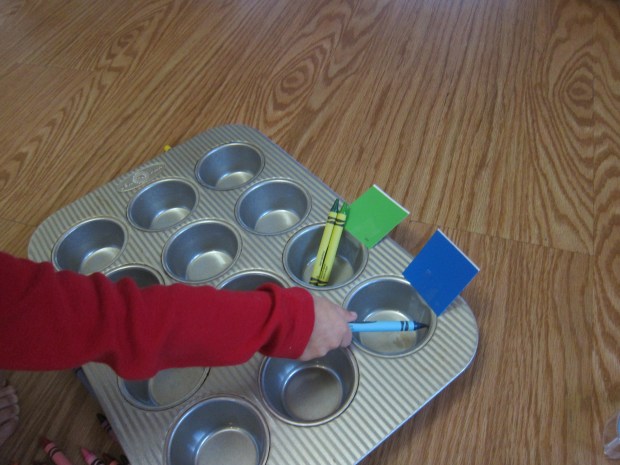
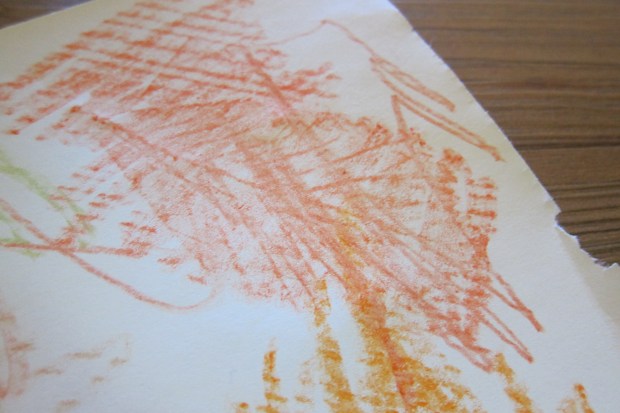
Kids will be fascinated  by the circular shape of these crayons, since they’re used to straight ones, and will love how each crayon produces a “rainbow” of colors, as they rotate it from side to side.

Rainbow Crayons (5)

To be 100% honest, Travis turned to me after a bit of exploration, and asked for his “pointy crayons” back. Can’t win ’em all!

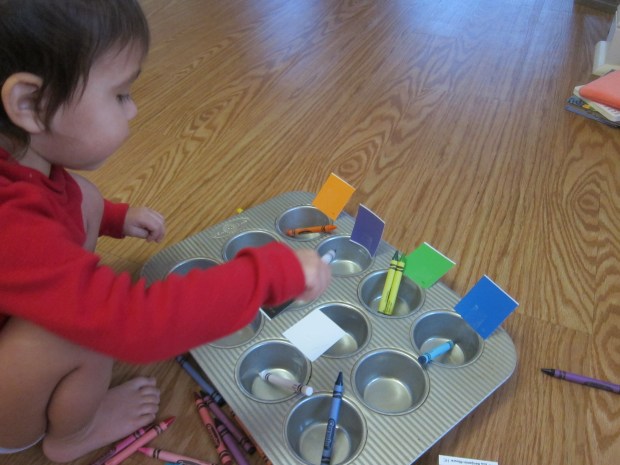
Update: Turns out the third time was a charm! When I pulled out our cupcake crayons about ten days later, Travis was suddenly fascinated. He loved the “magical” way that each crayon could change color. “It turned blue!” he would cry with delight. “It turned orange!” We also tested out what he needed to do if he wanted a particular color to appear on the page – perhaps he needed to rotate his wrist, or turn the crayon a certain way? In sum, wonderful exploration.

Rainbow Crayon alt