Stop and Eat the Flowers

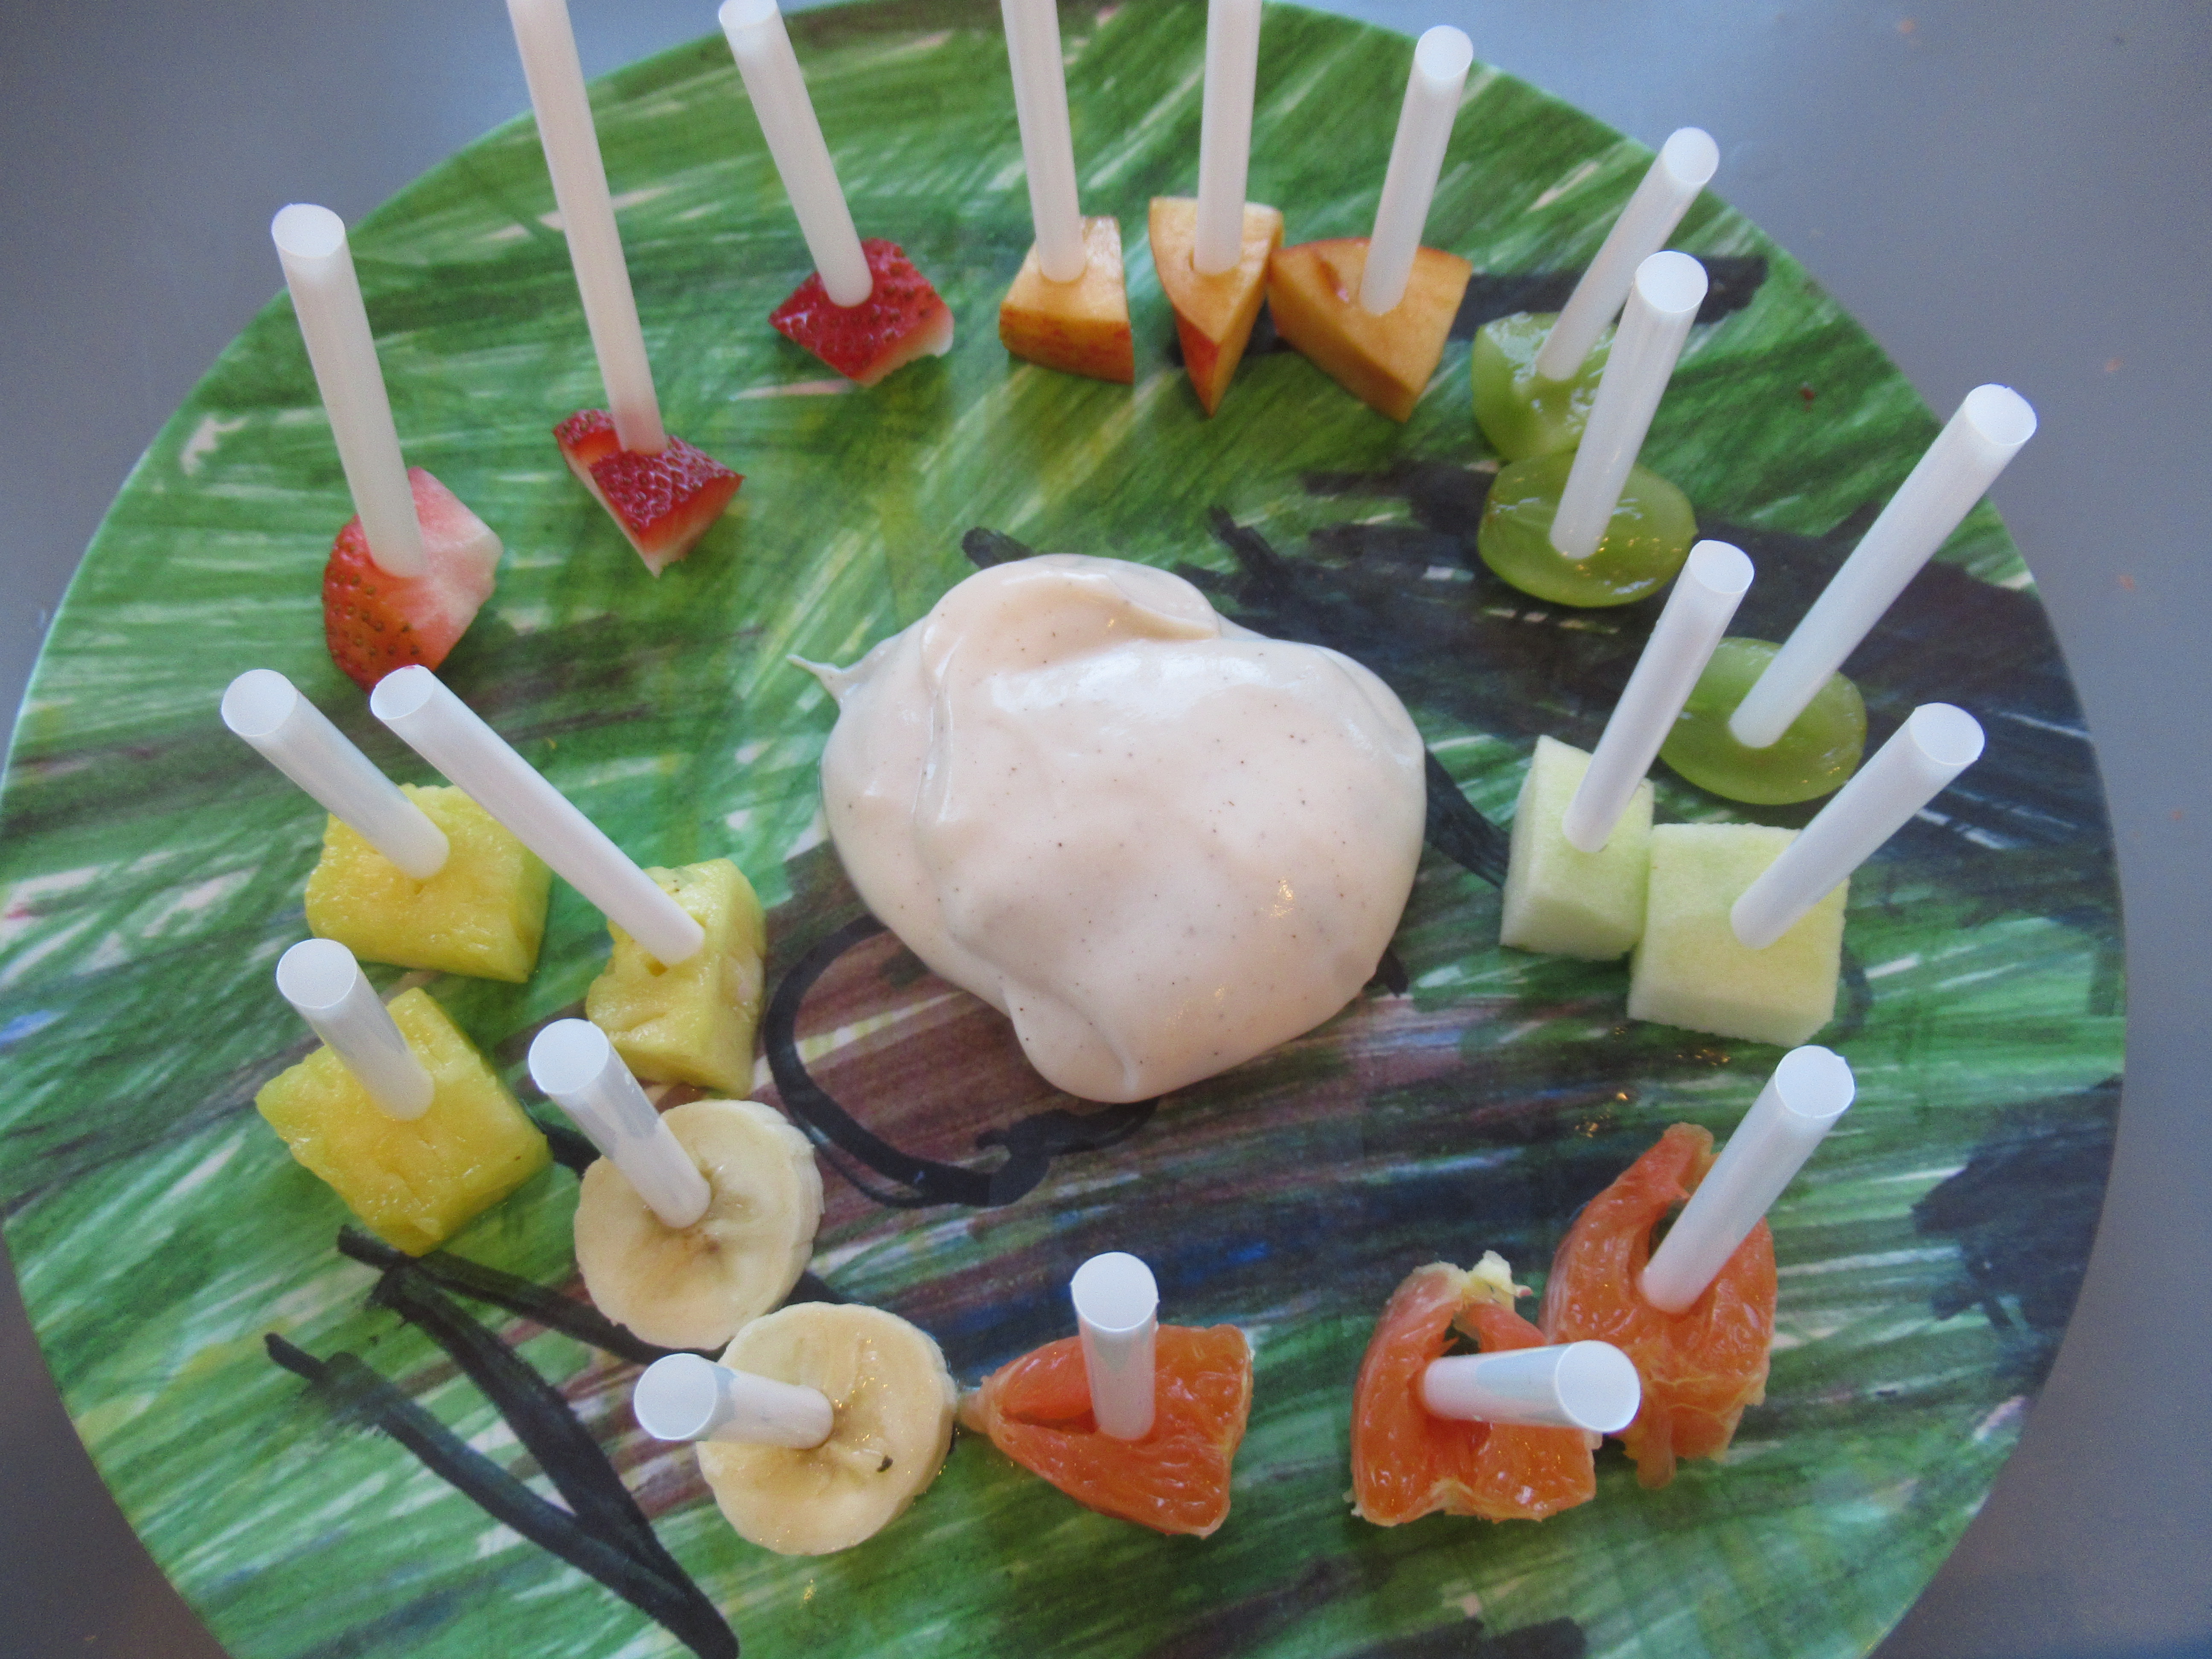
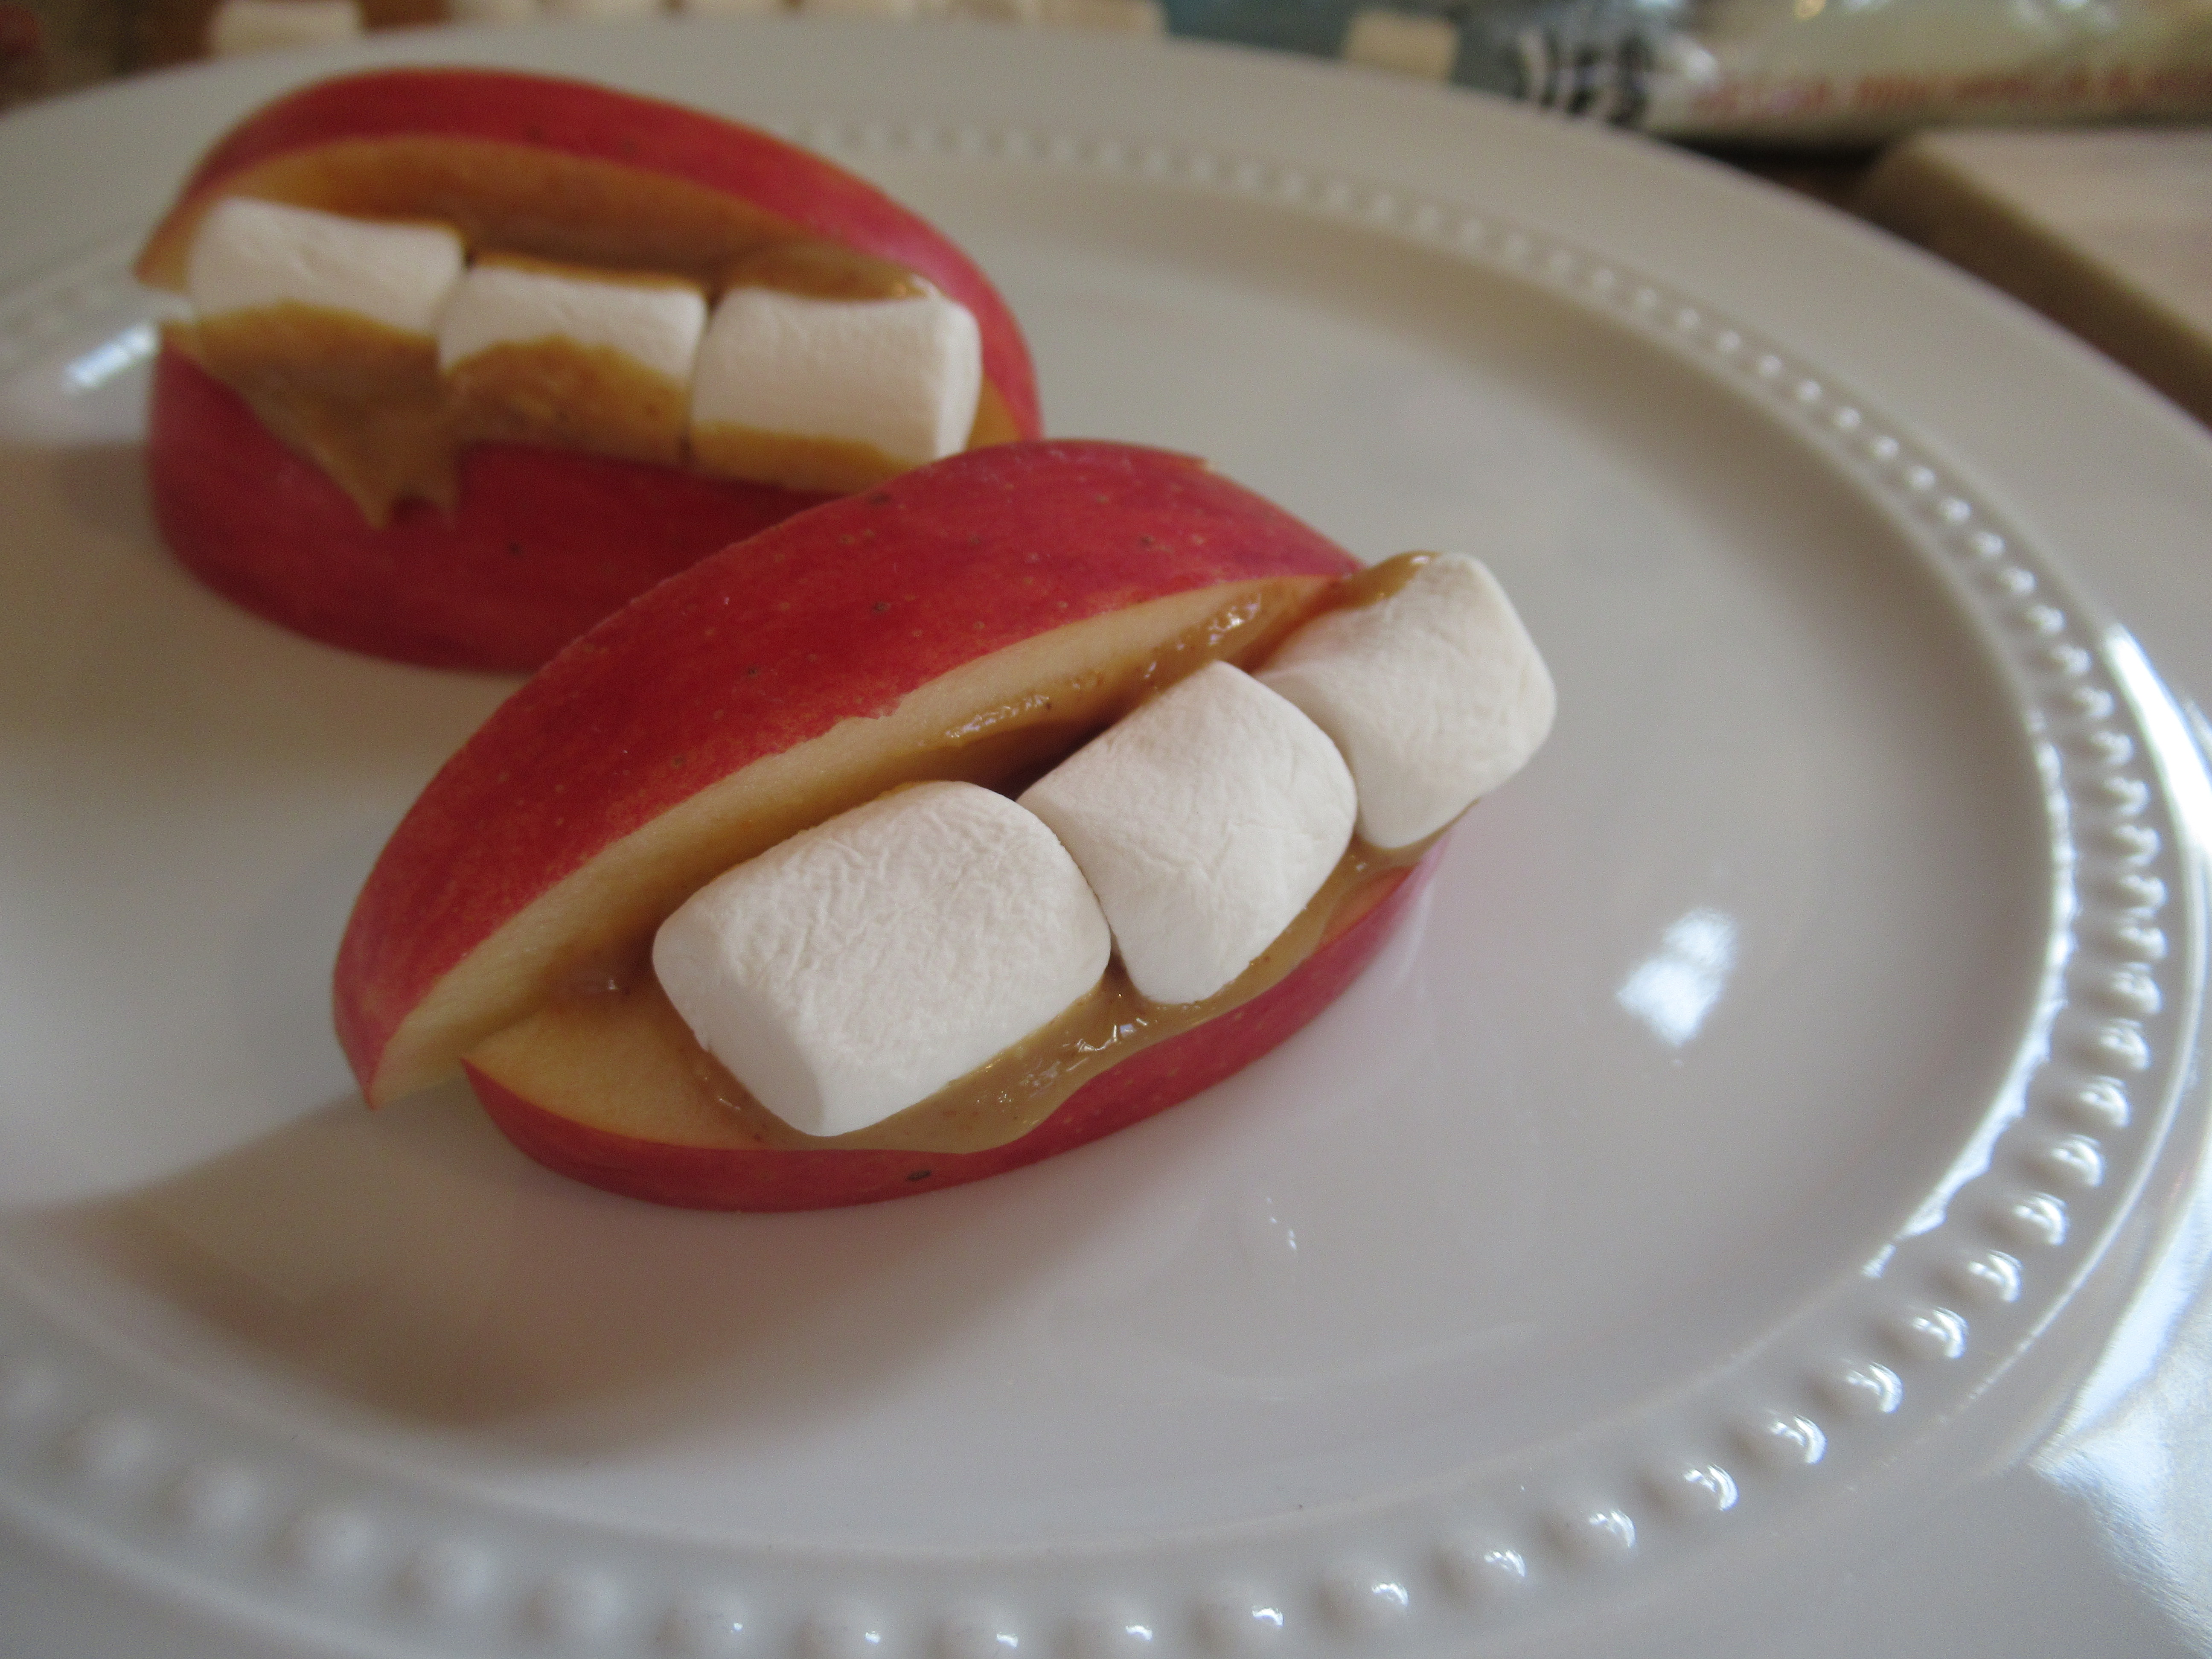
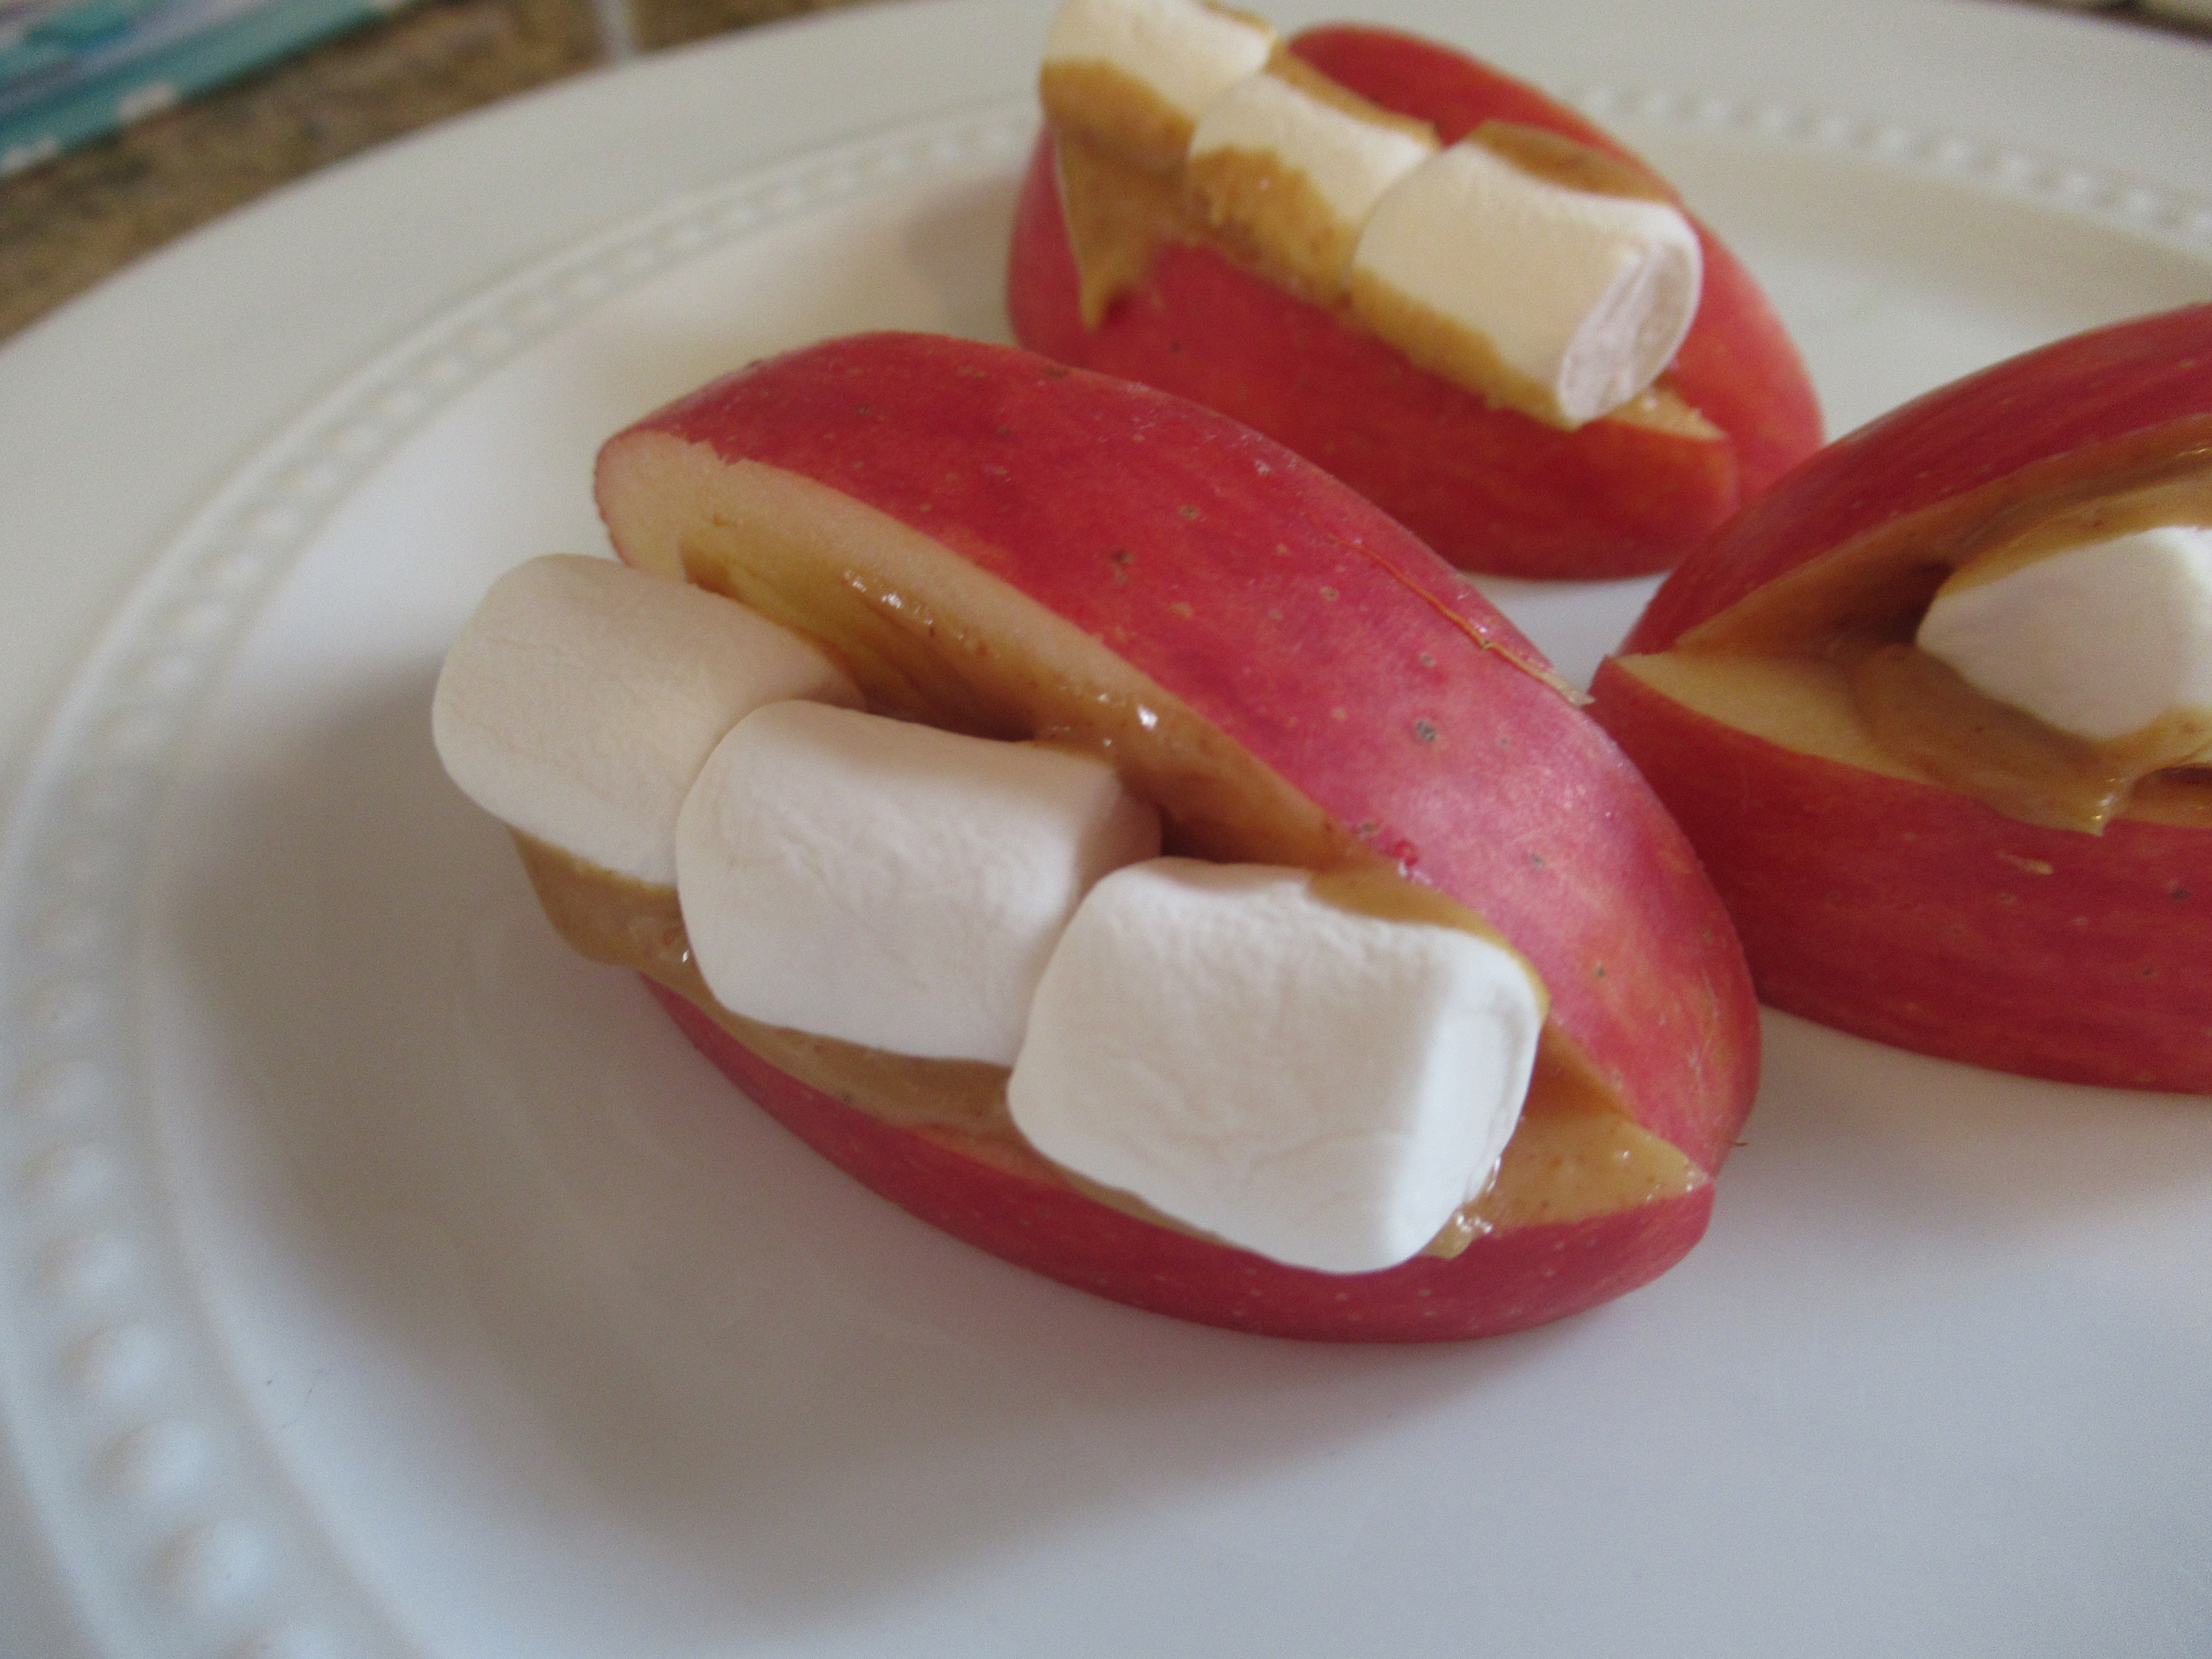
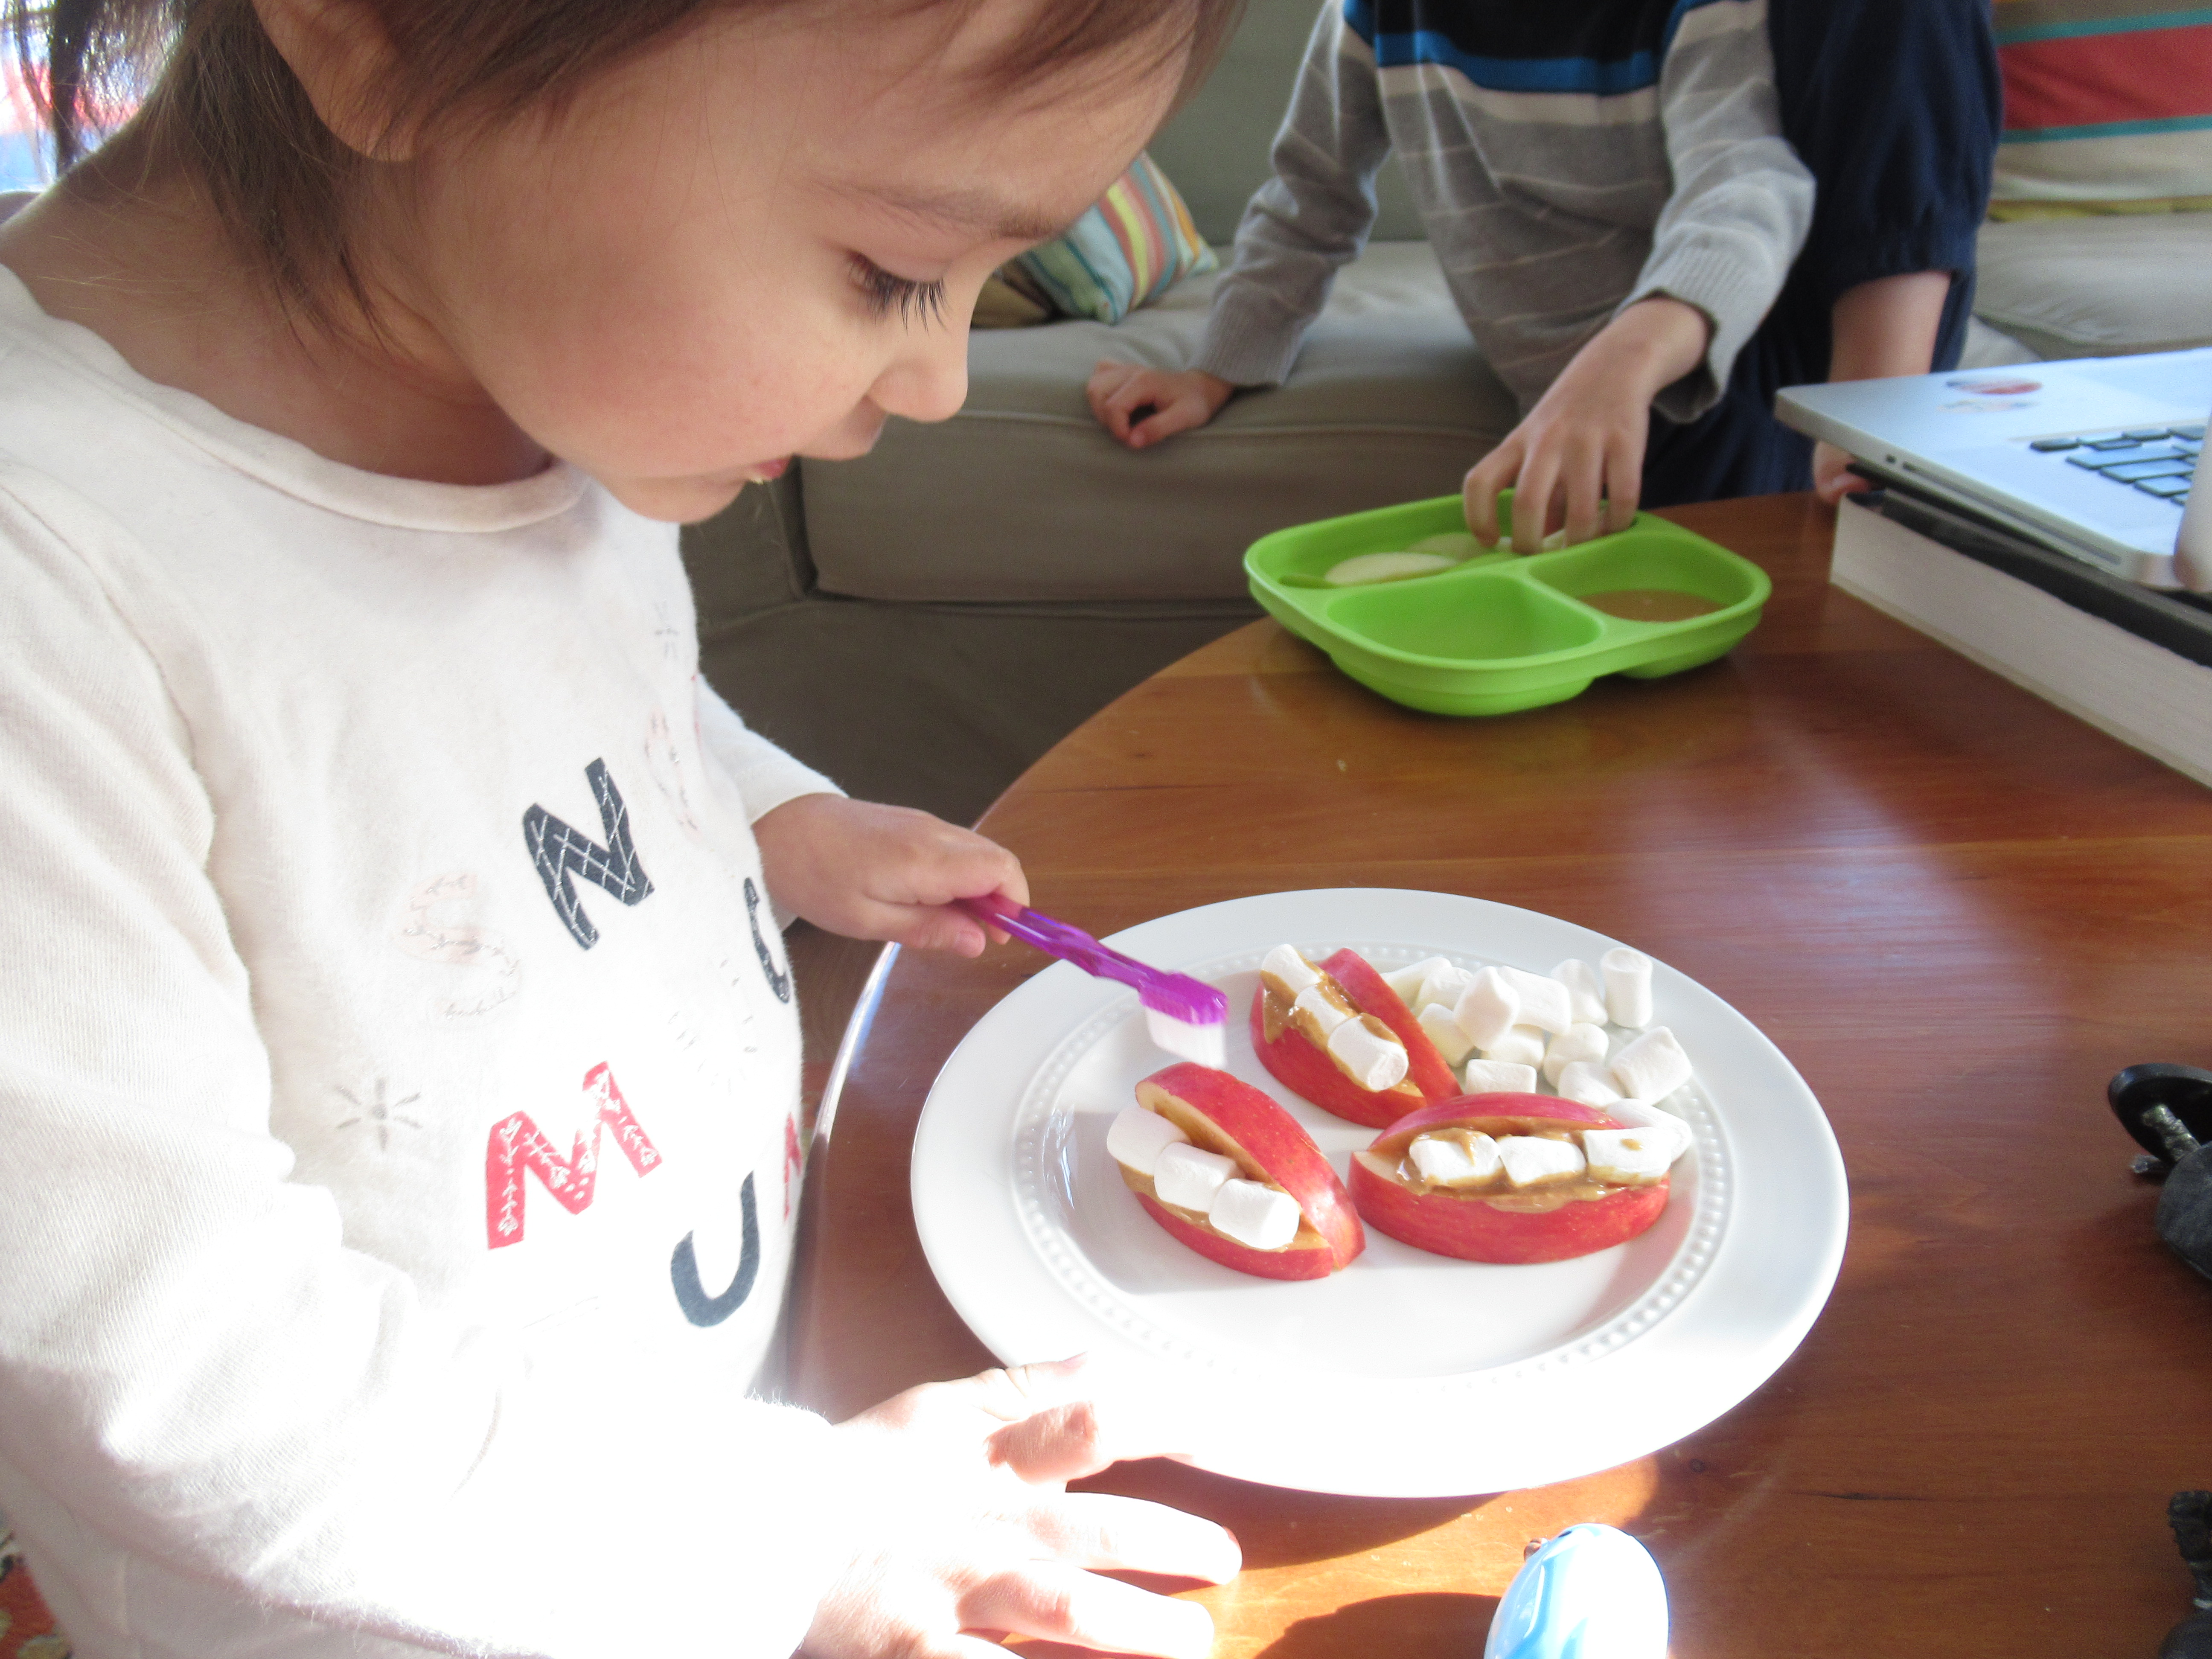
This adorable idea from Highlights is one of those times when it’s perfectly okay to let the kids play with their food.

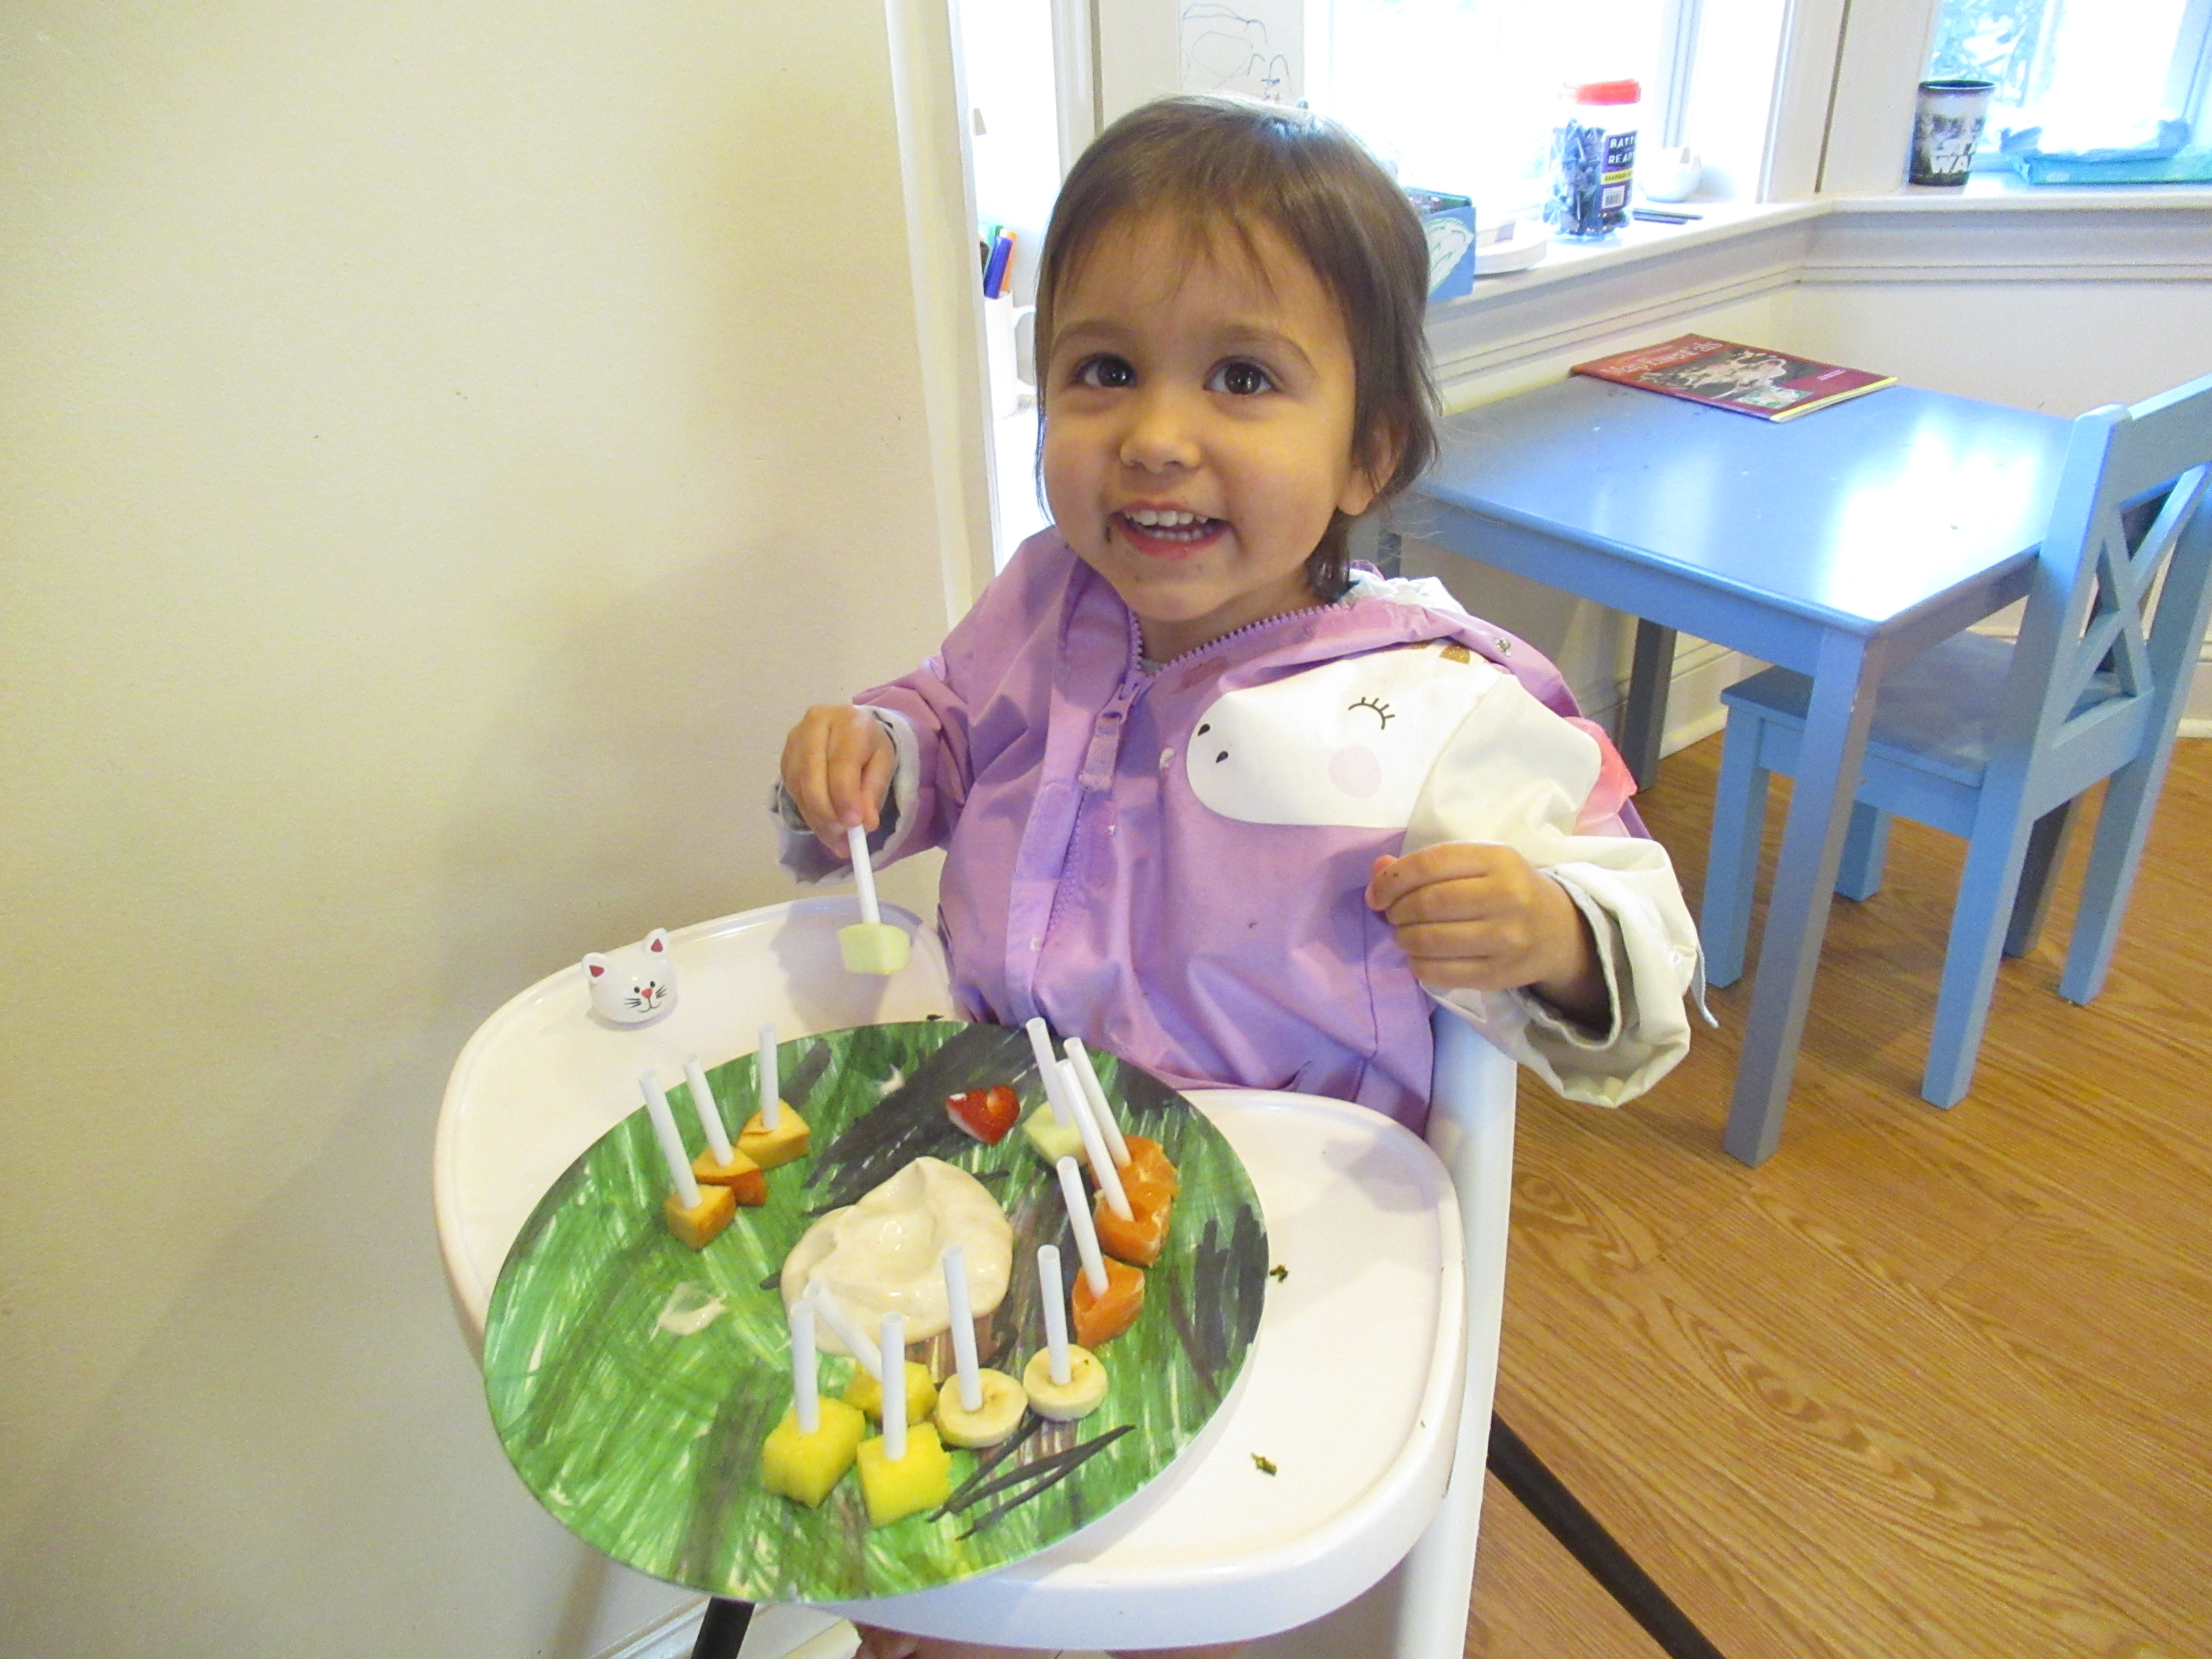
Just before Travis got home from school, I prepped a big platter of veggies and fruits that could be used to make a veggie “garden”. This can include almost anything, but we used an assortment of:

Celery

Snap peas

Cherry tomatoes

Baby carrots

Green beans

Broccoli

Green apple

Blueberries

I set out the plate, along with a cutting board for a “canvas”, and invited Travis to form the items into flowers.

There was so much room for variety here! The long green shapes like celery and green beans were perfect for flower stems. The slightly shorter snap peas could be grass.

Rounder shapes (cherry tomatoes, blueberries) worked nicely as the center of flowers, and we played around with ideas for petals, such as baby carrots or fuzzy broccoli trees.

This “flower” with a cluster of blueberries made me think of delphiniums!

Be careful though, because you’ll probably have garden “pests” who gobble up the flowers only moments after they’ve bloomed.

Advertisement

Make Pasta Noodles

Make Pasta (5)

I’ve tackled many homemade recipes with kids, but we’ve never properly made fresh pasta noodles. Today was the day to take the leap! Technically, I knew this recipe wasn’t going to turn out “right” with a toddler, but mostly the intention was for Veronika to have hands-on flour-y fun.

To start, I placed down several sheets of wax paper to protect the floor, then scooped out 2 cups flour. Instant fun! Veronika helped mound this into a volcano shape in the center of the wax paper.

Make Pasta (1)

I then whisked 4 tablespoons flaxseed into 12 tablespoons cold water for flax “eggs”, although honestly you could just use water. Veronika loves when we make vegan eggs like this, though, and is proudly in charge of the whisking.

Make Pasta (4)

Make a well in the center of the flour mound and begin adding the flax mixture, a little at a time.

Make Pasta (2)

Veronika loved helping stir with a fork after each addition; the flour begins to pull into the liquid in a way that’s quite neat to watch! Eventually you’ll need to start to using your hands, kneading until it forms a ball. I was so proud of Veronika for getting her hands right in there after a moment of hesitation.

Make Pasta (3)

Wrap the dough in plastic wrap and let stand at room temperature for 30 minutes. While a pot of water comes to a boil, roll the dough into a rectangle with a rolling pin. Veronika “helped” with this part, although mainly by jabbing at it with the rolling pin.

Make Pasta (6)

At this stage, things turned more into sensory play, so I wasn’t able to cut the noodles as suggested by online sources like Parents magazine. But I did slice off little bits of dough that we cooked up in boiling water anyway, just to see! Cook for about 3 minutes (until they float to the surface), then serve warm with marinara sauce. The kids declared the noodles yummy, although a bit odd in texture!

Make Pasta (7)

Animal Sandwiches, 2 Ways

Veronika recently loved helping make her own lunch so we tested out a few other fun ways to involve her with sandwich prep! For the first version, we made butterflies. Cut slices of bread in half so they form two triangles, then turn the points together to make them look like outstretched butterfly wings.

From here, the toppings are really entirely up to your child! We tried two versions: a savory and a sweet. For savory, I spread the “wings” with non-dairy cream cheese, and Veronika added slices of pickle. She ended up adoring the pickle and eating almost all of it straight off the wings, though!

For the sweet version, I spread the bread with peanut butter instead. This time she had raisins and banana slices for decorating, and even helped slice the banana with a butter knife.

This was a great chance for snacking, tasting, combining new tastes, plus squeezing in science since we could talk about the symmetry of the butterflies as we decorated and enjoyed.

A few days later, we turned to bigger animals for our sandwich play. First we used an assortment of cookie cutters to make animal shapes from slices of whole wheat bread. Veronika chose a cat, turkey, and owl.

She then helped spread non-dairy cream cheese on the animals, which was white “fur” on the cat, white “feathers” on the owl, etc., and a great way to talk about animals’ different coverings.

You can then add features like eyes or beaks with raisins and mini chocolate chips!

To be honest, Veronika never dined on these sandwiches, since it was more about sensory play, but she loved the experience!

Painted Toast

Here’s a cute way for a toddler help make his or her lunch! Before assembling a sandwich, your child gets to “paint” their own toast.

To set up, I poured 2 tablespoons non-dairy milk into each of two small dishes, and added food coloring to each. Veronika chose blue and green.

Using clean cotton swabs (or a clean paintbrush, if you have one), we dipped in the milk mixture and then onto slices of bread. Veronika loved seeing colors appear! I encouraged her to make dots and swirls. Meanwhile, I showed her how we could also draw more detailed pictures, like a smiley face.

Or a letter V for Veronika!

Once the design is to your child’s liking, toast the bread for 1 to 2 minutes in the toaster and the image will set. Prepare your tot’s sandwich of choice, and set out this happy lunch!

Rainy Day Pasta Sort

Dried pasta has so many uses, whether for simple sensory play, making big instruments to shake, or enjoying a little early learning. So when Veronika was a little aimless today, I simply poured three different shapes of pasta from our pantry onto a tray. You can aim to have very different shapes (for a young toddler) or pasta with subtler differences for preschoolers. We used: farfalle, shells, and penne.

First, I invited Veronika to explore all three shapes. She loved that the farfalle looked just like butterflies!

Next, I set out three small containers and challenged her to sort the pasta. The idea was a little hard at first (words like “sort” or “match” are new vocabulary for her). But once I put a few shells in one bin and then asked, “Where does the shell go?” she latched onto the idea. Soon we had three sorted types of pasta!

Of course then it became a free-for-all, with lots of sensory scooping and dumping of all that pasta. You can even dye it if you want to fill up even more time on a rainy day!

Dinosaur Fossil Excavation

Depending on the age of your child, this game can be either mostly sensory play or mostly STEM play. Either way, it’s sure to delight!

I set up a dinosaur excavation pit for Veronika with three kinds of “dirt”. The first was a box of chocolate cake mix, the second was crushed chocolate cookies, and the third was regular flour (although whole wheat flour probably would have worked better).

Next, I buried a few of our small plastic dinosaurs under the “dirt”. If your children are older, you can use store-toy bones or fossil prints, instead (or even make your own). Since I knew Veronika wouldn’t quite understand what she was seeing with the fossils, we stuck with whole dinosaur bodies. She was about to be a very lucky paleontologist.

I scattered a few rocks on top for a finishing touch, then set out an old shaving brush, bucket, and shovel. Time to dig!

She immediately took to shoveling up the dirt and transferring to her bucket, a process which she absolutely loved.

I showed her how to brush the dust and grime off the dinosaurs as she unearthed each one, but honestly she wasn’t much interested. Dinos, rocks, and dirt alike went into her bucket and then were dumped into the tray to start all over. She also enjoyed pouring the “dirt” back and forth between a few small plastic cups.

Don’t fear the clean-up. The mixture sweeps up easily… as long as you don’t get it wet. Trust me: You do not want to deal with wet chocolate cake mix on your floor.

Fruit Dips

Fruit Dips (1)

Veronika doesn’t like to eat yogurt off a spoon, but here’s a fantastic way to introduce the flavor to little ones who might otherwise be hesitant: turn it into a dip!

In general, toddlers love to dip food and this snack plays right into that desire. I set out a plate for her with a variety of cut up fruits, including strawberries, nectarine, oranges, green grapes, apple, banana, and pineapple. I wasn’t aiming for a full rainbow (although you could!), but we did hit nearly every hue from ROYGBIV.

Fruit Dips (2)

Next, I cut plastic straws into short pieces and then poked a straw piece into each fruit cube. Spoon a little vanilla non-dairy yogurt directly into the center of the plate. Time to dip!

Fruit Dips (3)

Veronika loved that she was in charge of this snack. Sometimes she would dip a fruit piece in and eat fruit and yogurt together. Sometimes she used the fruit more like a spoon for the yogurt, scooping it up and licking off. Apple pieces were her favorite for this particular method.

Fruit Dips (5)

I had one very happy little snacker.

Fruit Dips (6)

Froot Loop St. Patrick’s Day Fun

Froot Loop St Pats (11)

If ever there’s a day for rainbow cereal fun, St. Patrick’s Day is it. Here are a few ways we incorporated Froot Loops into the day to mark the holiday.

To start, surprise your kids in the morning by pretending a “leprechaun” visitor left behind a rainbow. I threaded Froot Loops in rainbow order onto a pipe cleaner, then inserted the ends into two “pots of gold” (vegan mini muffins), following a tip from Painted Confetti.

Froot Loop St Pats (1)

Since Froot Loops aren’t vegan, I told the kids this was magical leprechaun food for decoration, not eating. Travis was too busy to care, since he was so busy peeking inside a homemade leprechaun trap to see if it was caught inside. Looks like the little fellow got away!

Froot Loop St Pats (2)

Later in the day, Veronika and I used extra Froot Loops for a pretty rainbow craft. I drew the arcs of a rainbow with marker, and then dumped some of the cereal onto a tray. (Since it would be unfair to allow no snacking during a craft like this, I gave her a bowl of vegan cereal on the side for munching!).

Froot Loop St Pats (5)

Working with one color at a time, we made a line of glue dots along that rainbow arc and found the right color cereal in the tray.

Froot Loop St Pats (7)

Veronika stuck with it for a few pieces in each color, and I filled in the gaps. Preschoolers can try to tackle the full rainbow by themselves.

Froot Loop St Pats (8)

Cotton ball clouds were the final touch!

Froot Loop St Pats (10)

I loved the touch of magic that these projects gave to our holiday, leaving the impression that the leprechaun had really been there. If you truly want to wow your kids this St. Patrick’s Day, here’s one final shenanigan: Sneak downstairs before everyone else is awake and add a little green food coloring to the toilet bowl. Travis couldn’t believe this final bit of leprechaun evidence!

Froot Loop St Pats (3)

Homemade Coconut Butter

IMG_2252

It’s easy to make homemade butter just by shaking heavy creamer, requiring nothing more than a little muscle power, and that is a neat way for kids to see where their food comes from. We wanted to put a vegan spin on this project so decided to try making butter from coconut cream!

Make sure to purchase full fat coconut milk for this activity, not the light alternative, which likely won’t work.

Scoop a little of the solid coconut fat from the can into a small jar (empty baby food jars were the perfect size for small hands) along with some of the liquid.

IMG_2249

Then simply seal and shake! Obviously Veronika didn’t have the muscle to make the “butter” solo, as it required about 5 minutes total of shaking. We would pass the jar back and forth and shake it all the while, and her excitement mounted as she said she wanted to taste the butter.

IMG_2251

After shaking, the fat and liquid will combine into a creamy, smooth consistency. It’s not exactly butter of course, but it did have a nice spreadable consistency. Veronika absolutely adored it on crackers!

IMG_2259

While you probably don’t want to eat pure coconut cream every day, this was a fun treat to try out and she was so proud that she “made” her own snack.

IMG_2254

Apple Smiles

Apple Smiles (1)

This is a cute snack to make either before or after a visit to the dentist; it helps make things silly and not scary for toddlers!

To prepare the apple smiles, spread a wedge of unpeeled red apple with a little peanut butter. Add 3 mini Dandies marshmallows, then spread a second wedge of apple with peanut butter and place on top.

Apple Smiles (2)

Not only do these make a tasty snack and a chance to point out those shiny white teeth, but you can do more with it than that! We had an extra toothbrush and Veronika loved “brushing” the apple smiles to help them get clean. The peanut butter really will make the marshmallows a bit mucky and stained, adding a touch of verisimilitude. “Let’s brush off all that peanut butter,” she said so proudly, helping the apple smile get clean and bright.

Apple Smiles (3)

So a snack plus a quick lesson! Just make sure you brush real teeth after eating those sugary marshmallows.

Apple Smiles (4)